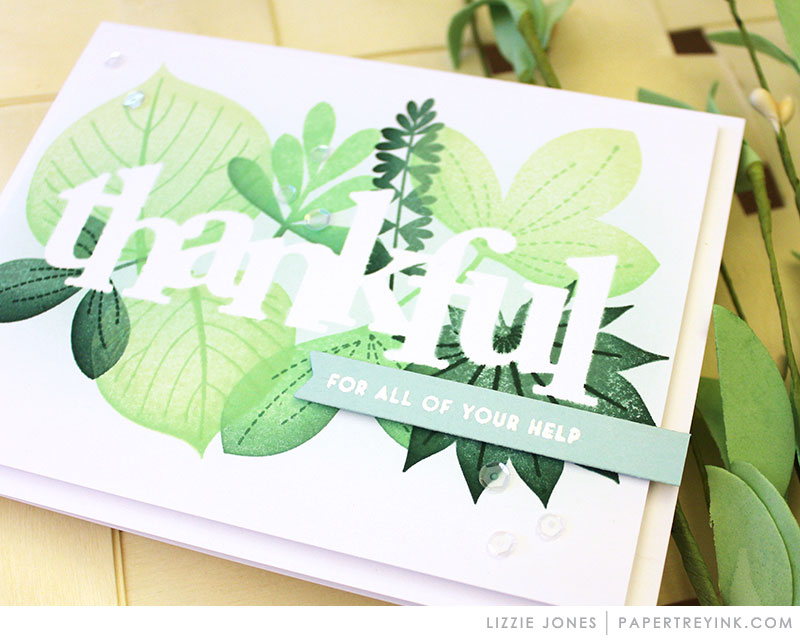
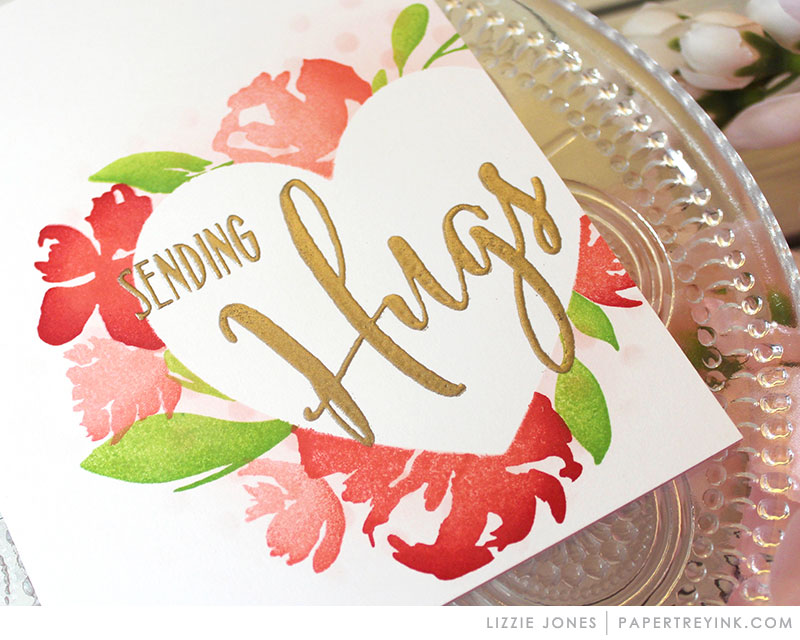
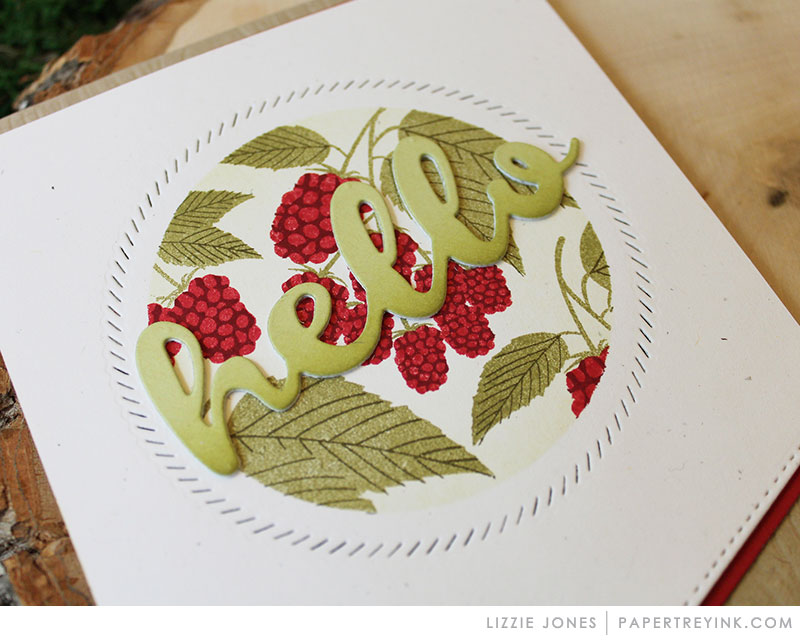
Join Lizzie Jones today as she shares some tips and trick to use die cuts to create negative designs in your stamped images:![]() “I love using die cuts to create negatives in a stamped design, but sometimes the holes in the pattern leave unfortunate gaps that make the greeting illegible or the shape askew. My favorite way to help minimize those gaps is not only simple, but incredibly effective. A little sponging goes a long way, friends! I hope you’ll pop by my post today to see a few different ways to incorporate this simple technique!”
“I love using die cuts to create negatives in a stamped design, but sometimes the holes in the pattern leave unfortunate gaps that make the greeting illegible or the shape askew. My favorite way to help minimize those gaps is not only simple, but incredibly effective. A little sponging goes a long way, friends! I hope you’ll pop by my post today to see a few different ways to incorporate this simple technique!”
 Supplies:
- STAMPS: Leave It Be, Sentiment Staples: Thank You
- INK: Aqua Mist, Mint Julep, Vintage Jadeite, Ocean Tides, Pinefeather, VersaMark
- PAPER: Aqua Mist, White
- DIES: Counting My Blessings Die Collection, Wine Bottle Tag #2 Die
- OTHER: Sunshine & Rainbows Kit (sequins), Foam Tape, Blending Sponges, Multi Medium Matte, White Embossing Powder
 Supplies:
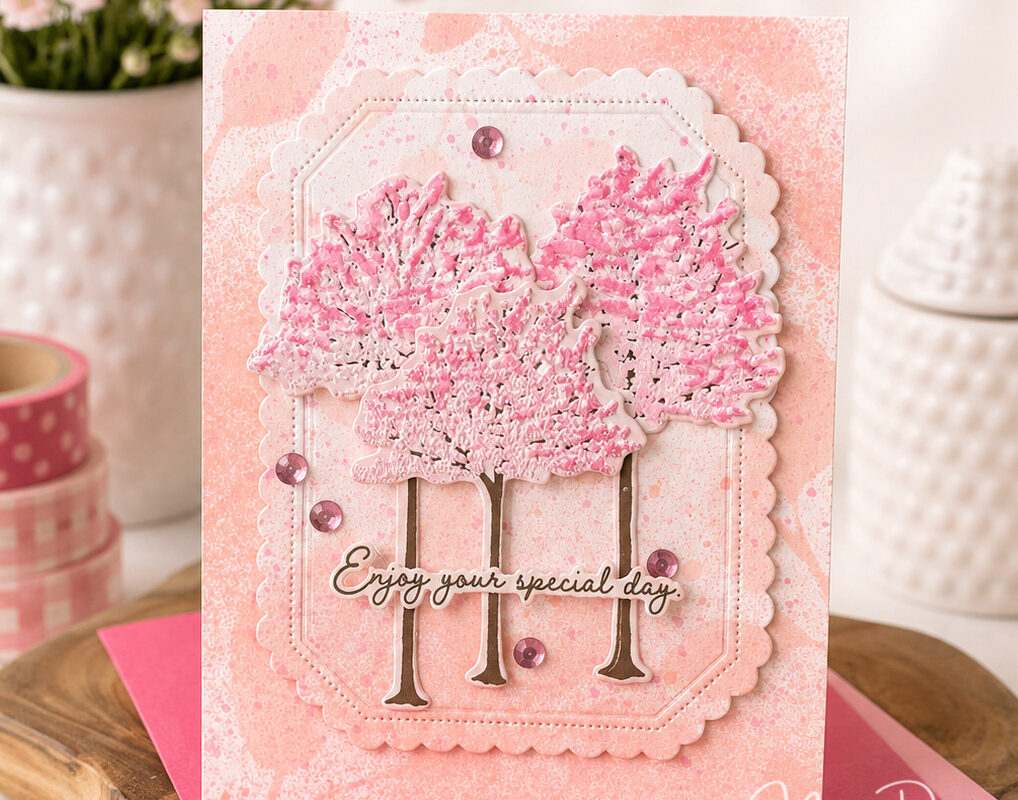
- STAMPS: Big Hugs, Botanical Bounty
- INK: Pale Peony, Berry Sorbet, Pure Poppy, Green Parakeet, New Leaf, Versamark
- PAPER: Pale Peony, White
- DIES: Perfect Fit Die
- OTHER: Stencil Basics: Dots, Blending Sponges, Liquid Platinum Embossing Powder
 Supplies:
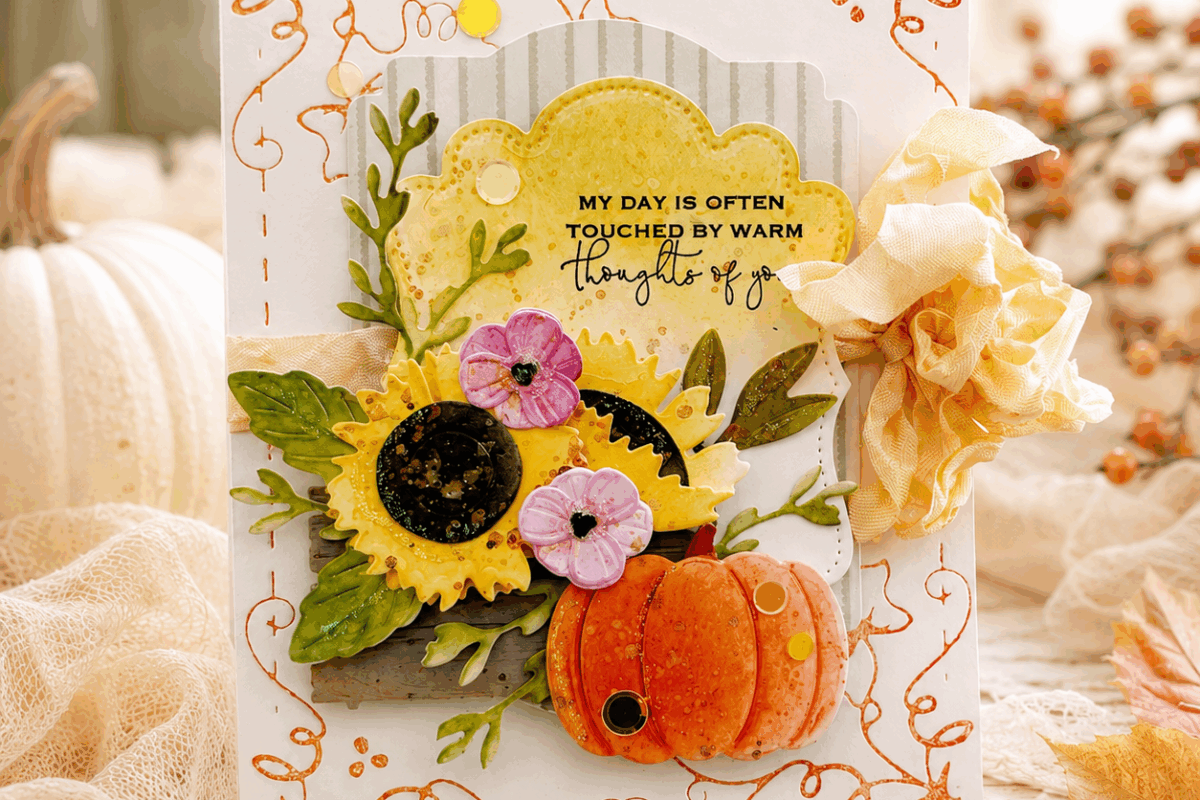
- STAMPS: Beautiful Berries: Summer
- INK: Spring Moss, Prairie Grass, Olive Twist, Pure Poppy, Scarlet Jewel
- PAPER: Classic Kraft, Rustic White, Pure Poppy, Spring Moss
- DIES: You Deserve Flowers Sentiments Die, Shape Shifters: Circle 2 Die, To The Point Edgers Die
- OTHER: Woodgrain Impression Plate, Embossing Pad Kit, Foam Tape, Blending Sponges, Xyron, Quickutz Nesting Circle Die Set
Leave a Reply