
Happy May, friends! It's the 6th of May and that means it's Rebecca taking over Nichole's blog again with a new Paper & Package post. Next weekend we celebrate a very special day here in the US: Mother's Day. It's a day to express your love and thanks to a very special lady; in my case, my mother has passed so it's also kind of bittersweet. While no one can ever take her place, I am fortunate enough to have a mother-in-law and an aunt who I consider to be like 'second moms' to me.
In my packaging post this month, I'm going to be altering the boxes, as well as dressing up the topping with stamps and dies. I've gotten each 'Mom' a small trinket of appreciation and, of course, each one must be wrapped up in the loveliest way possible. Thanks to a few supplies from Papertrey Ink, they are!
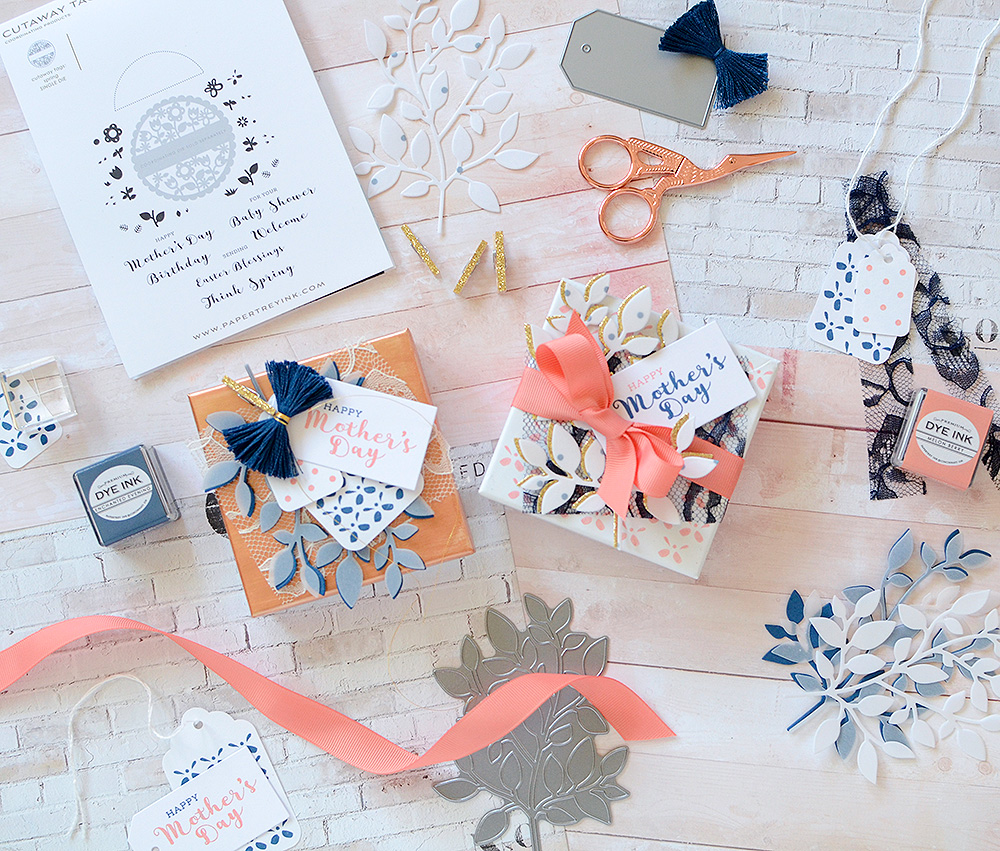
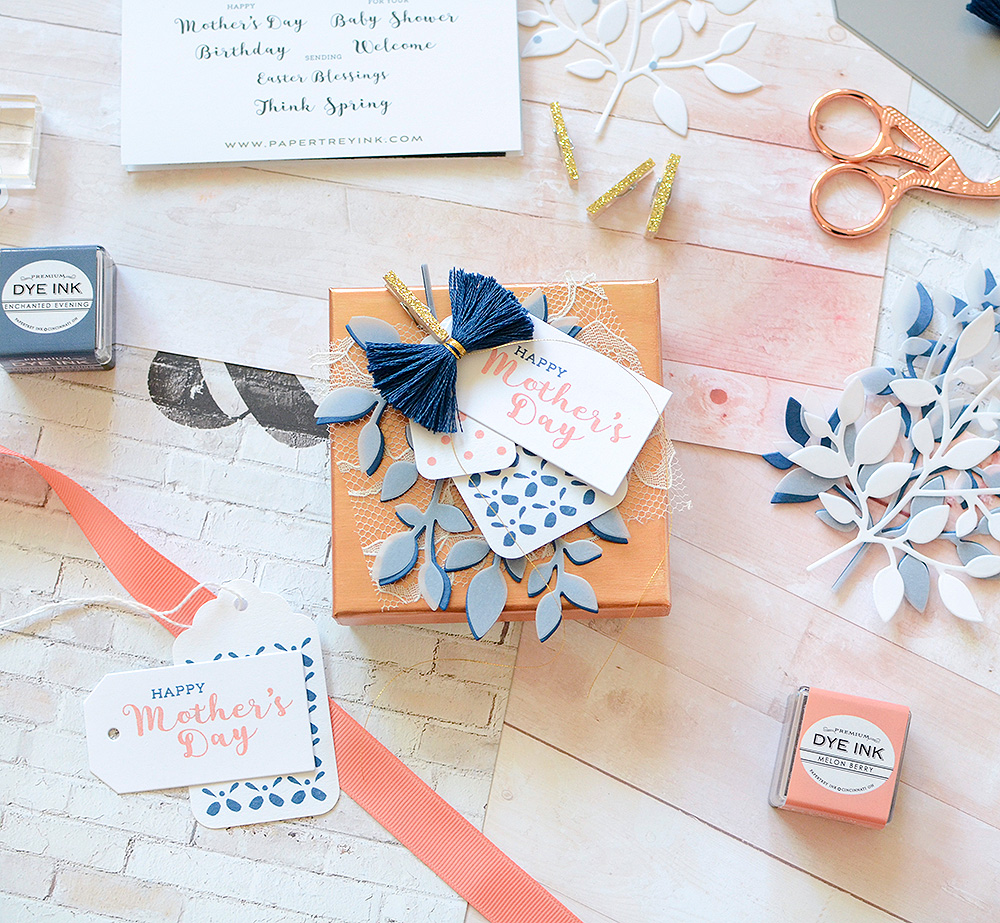
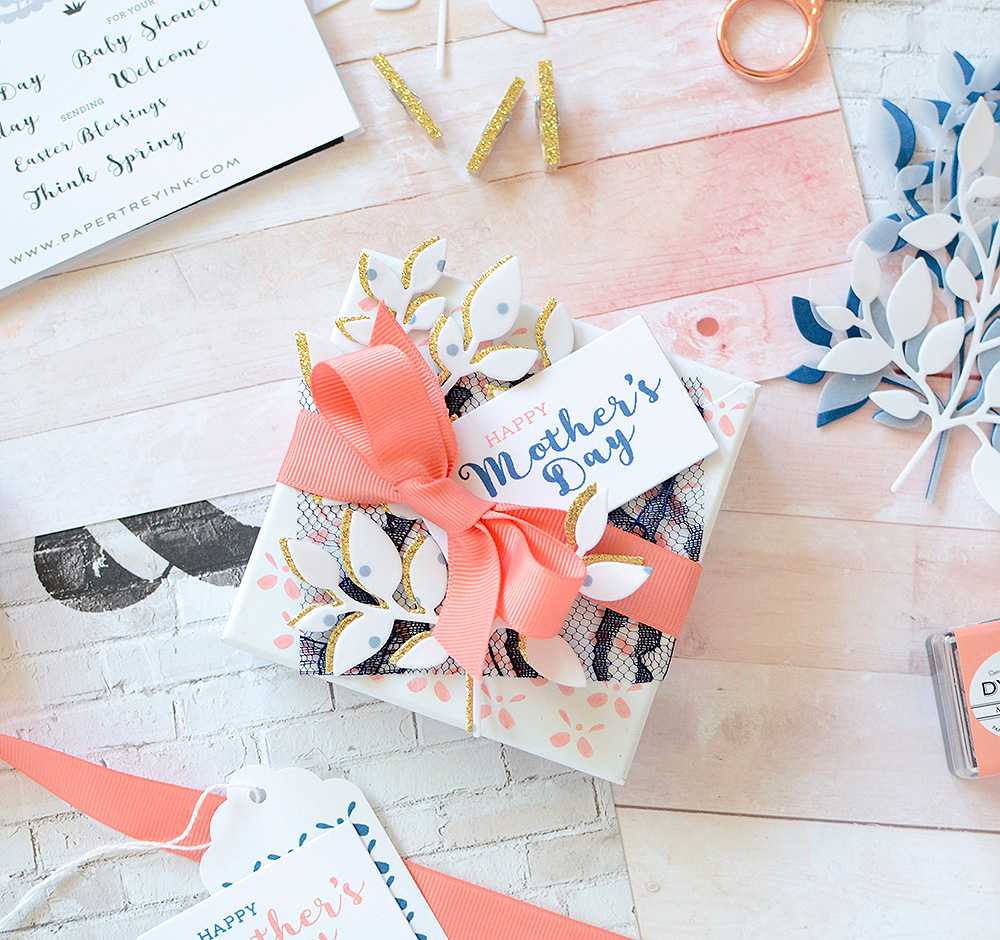
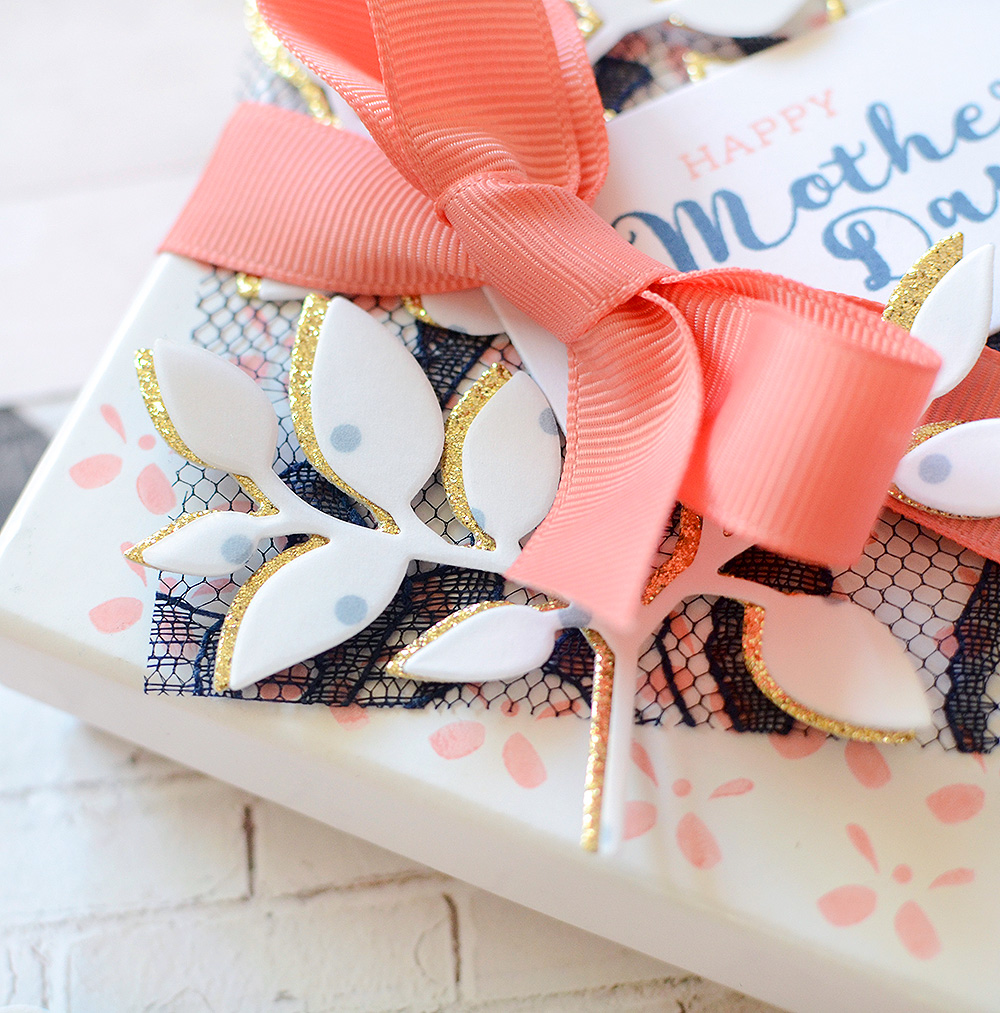
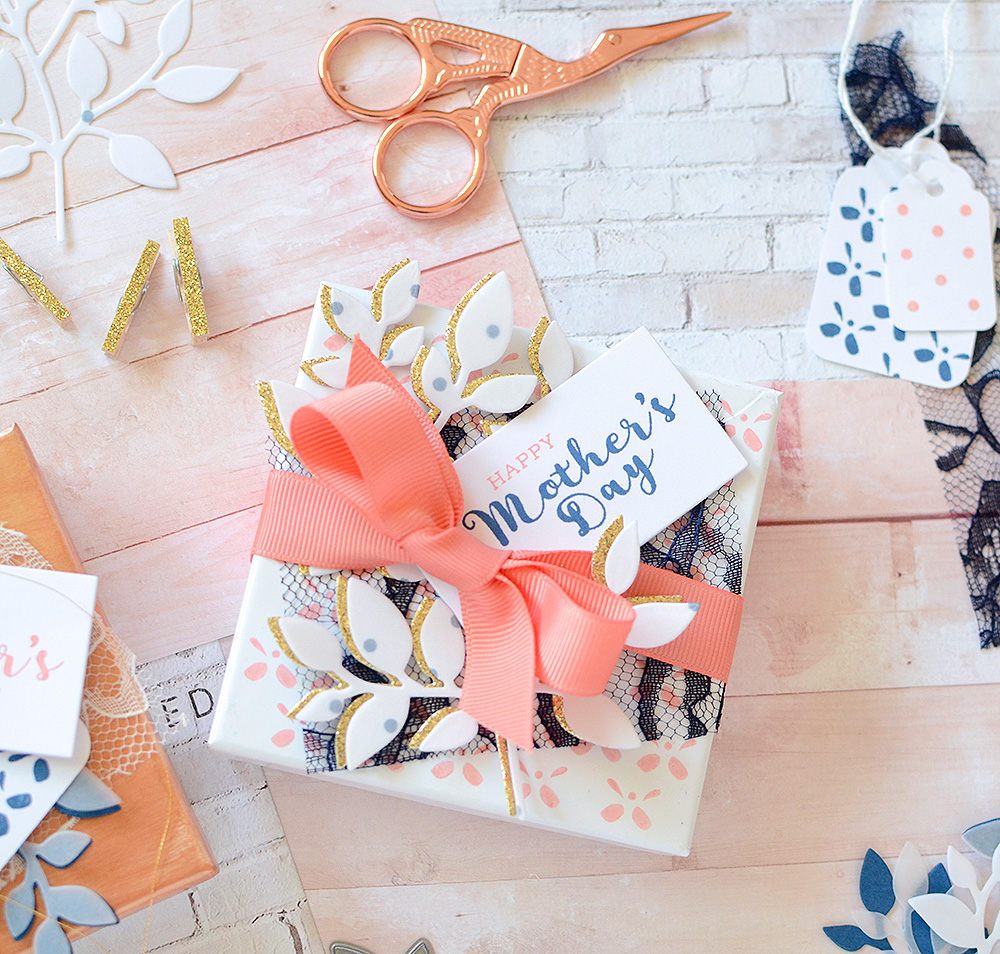
I'm so pleased with the way these turned out! The colors, for one, are stunning–Melon Berry and Enchanted Evening mixed with gold and copper. I also love when you have an idea for something, and what you're envisioning turns out even better than the image in your head. That doesn't always happen for me, but, luckily it did here, especially considering the importance of my recipients!
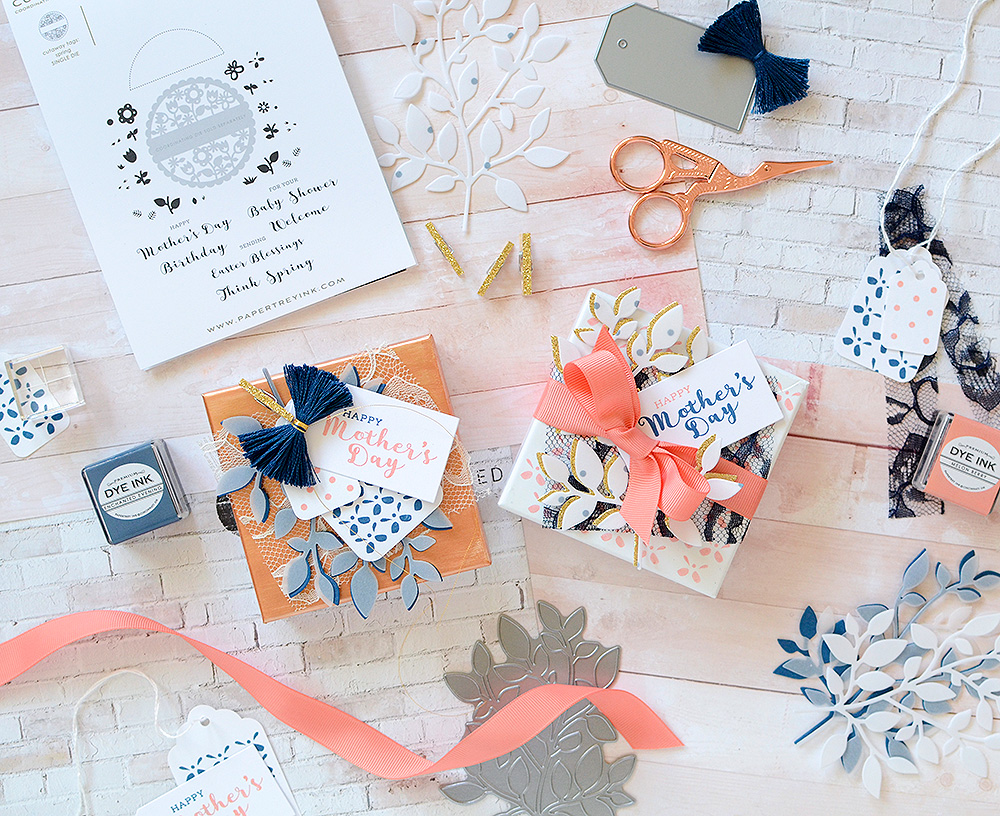
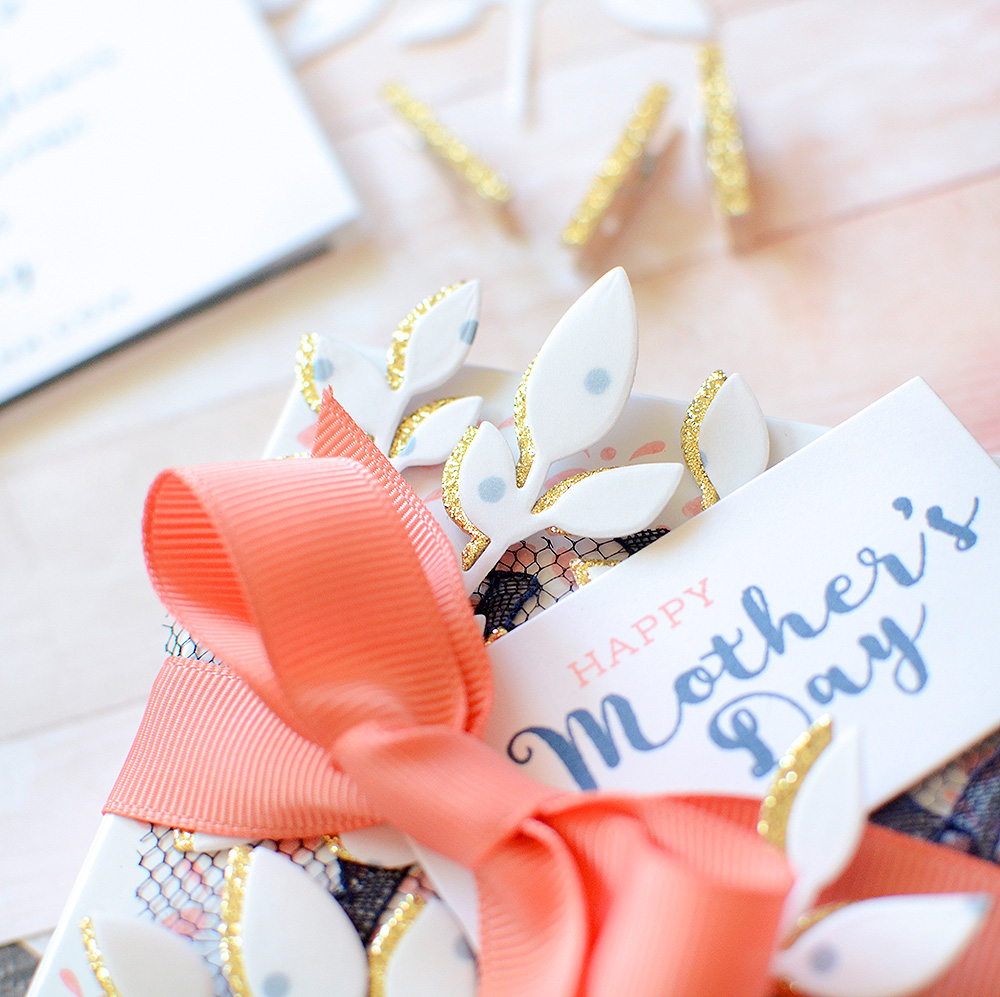
The Cutaway Tags: Spring stamp set ended up being the catalyst for this project. One obvious reason I chose to use it was for the brush lettered 'Mother's Day' sentiment. As I was deciding what other images I was going to use, 2 tiny stamps from that set stuck out. I had gone in with the intention of creating a floral scene with some of the leaves and flowers from it, but then I saw the little butterfly fill-in, and it reminded me of an eyelet pattern. When I stamped it in repetition in the Enchanted Evening ink, I was in love!
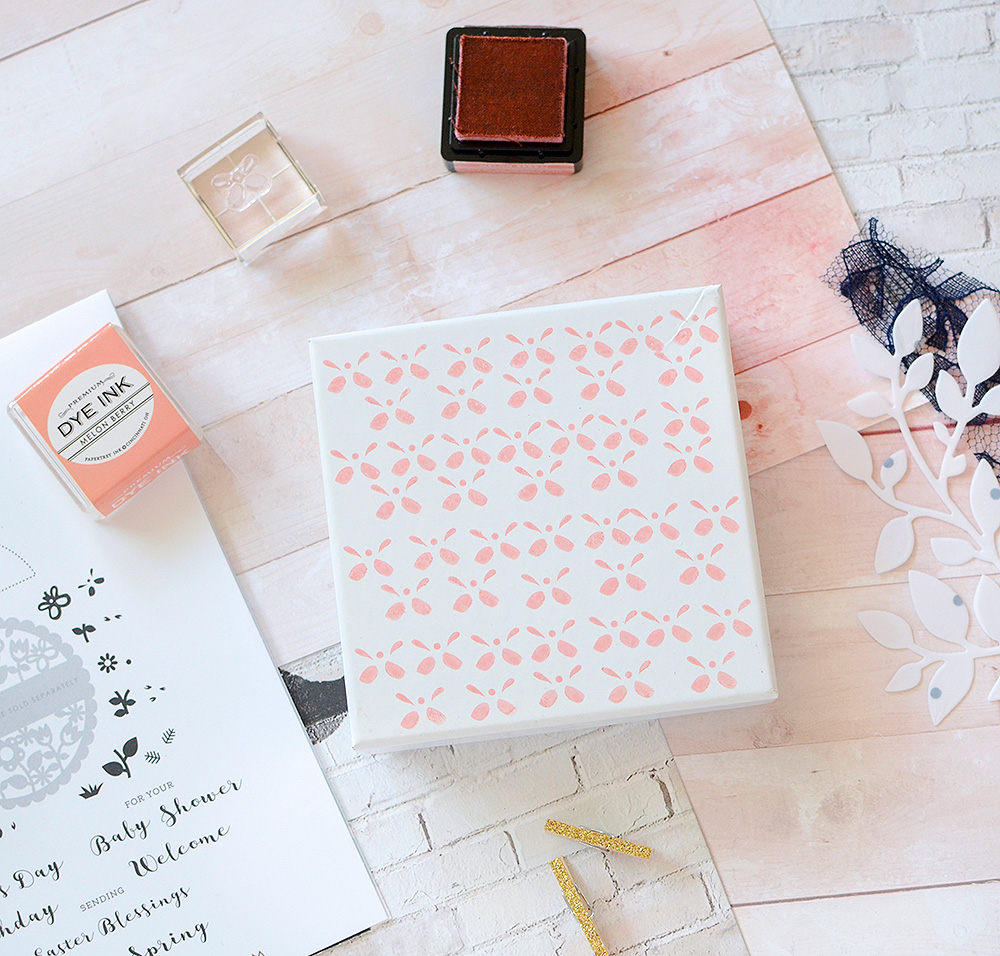
The second image was nothing more than a tiny dot. It's supposed to be the center of a little daisy-like flower, but I made myself a Melon Berry polka dot pattern with it and when I was done, I had a complementary tag to my blue eyelet tag.
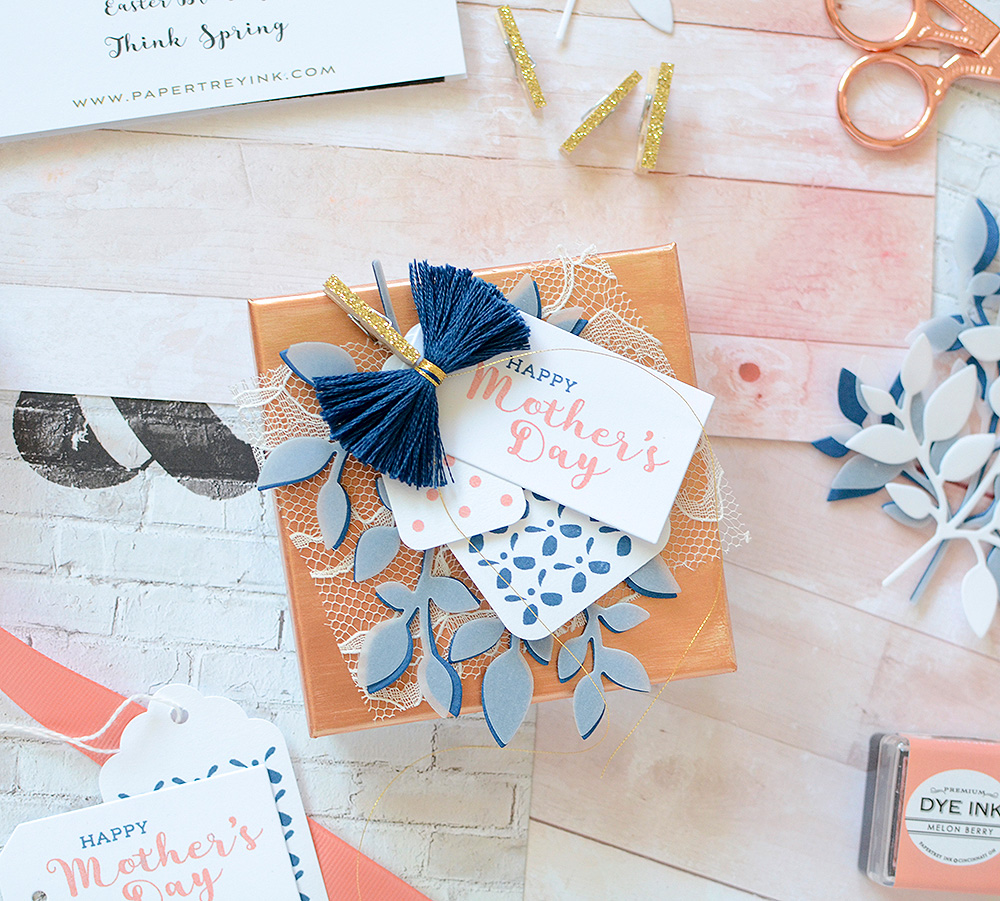
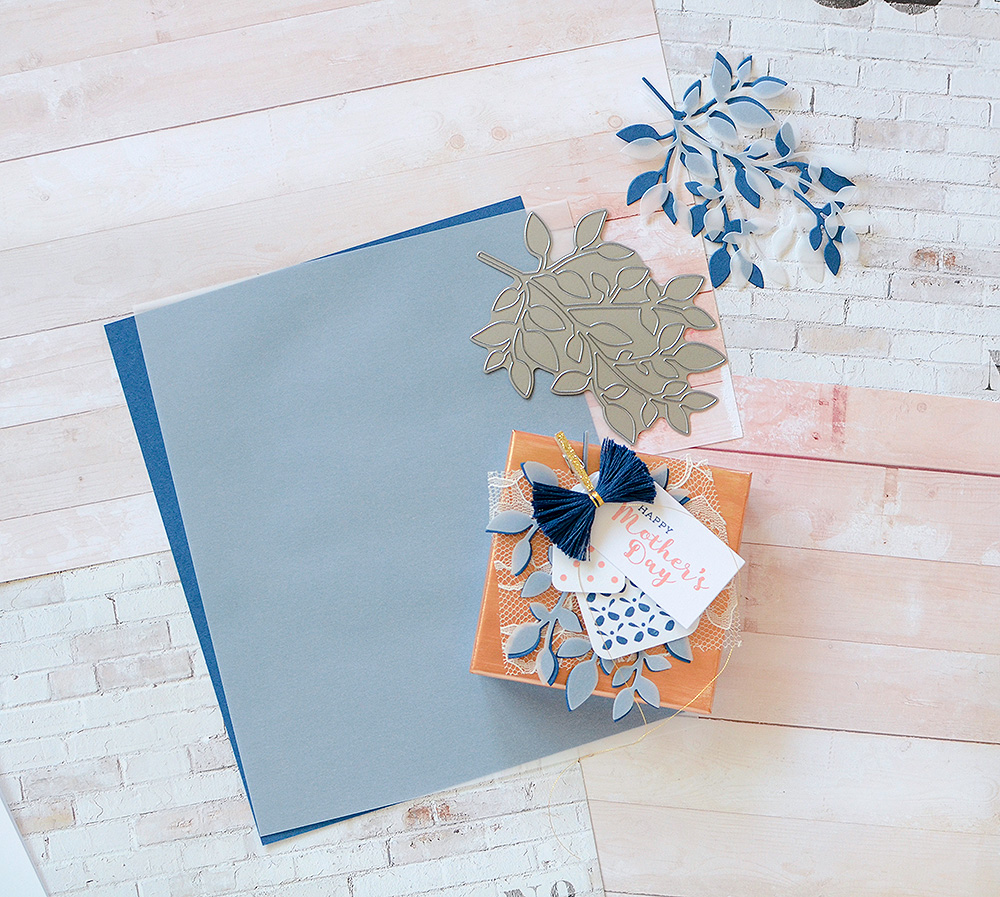
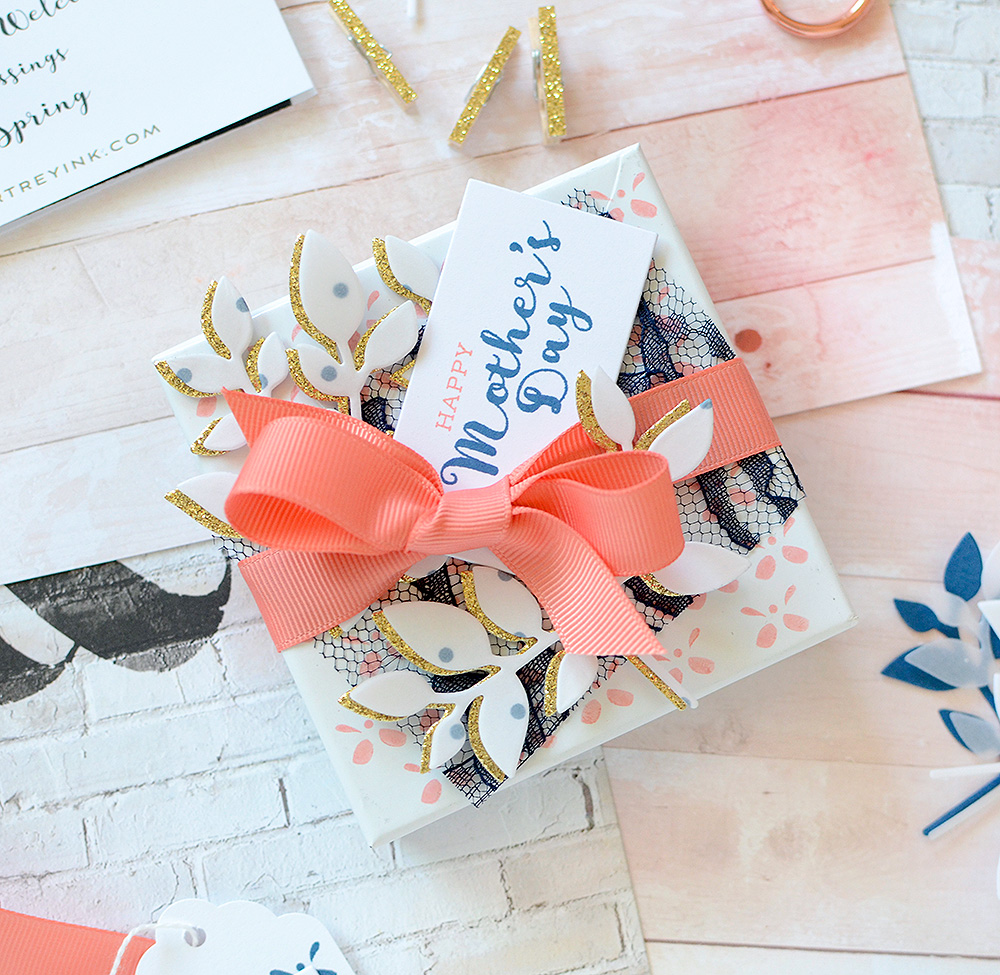
I then had to decide how I was going to use the tags. I really wanted to use them with the Branching Out die, but I also wanted them to stand out against the box. Because there was quite a bit of white already, due to the white tags, I thought they might be a bit pale against the white lid of the box. So I thought, what if I painted the lid?
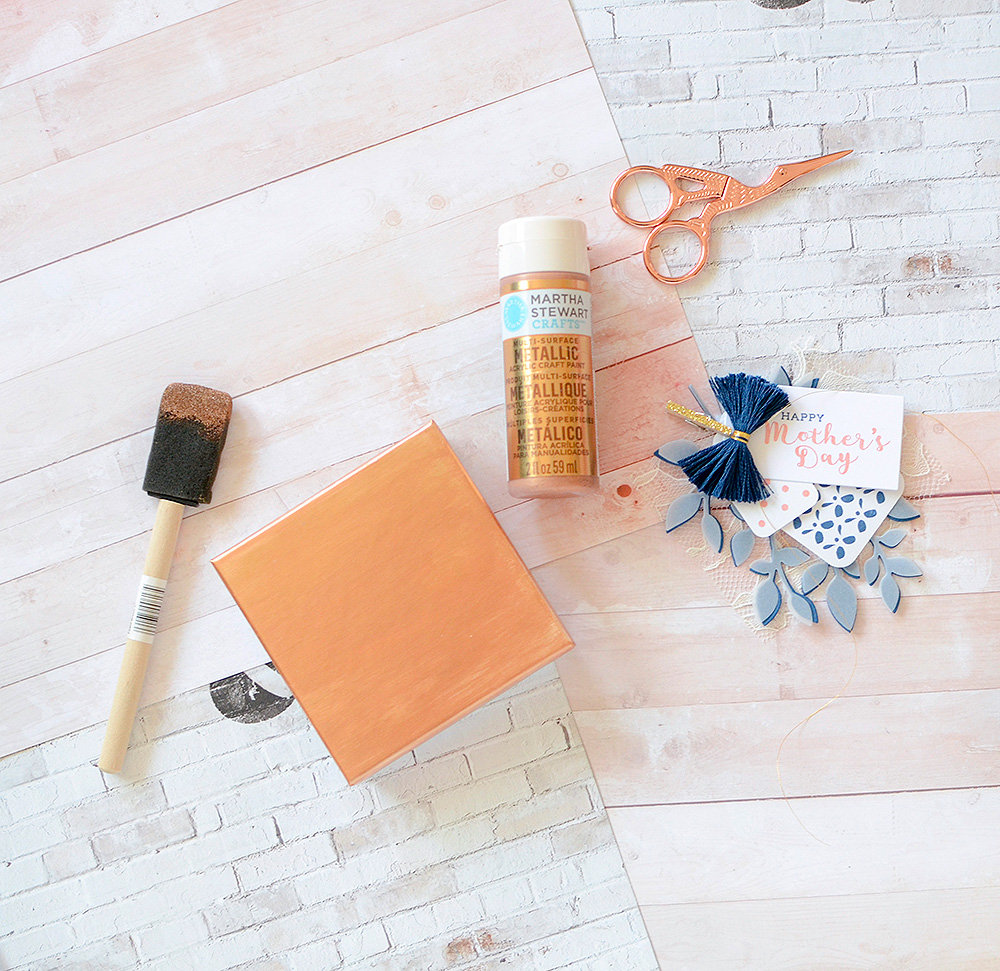
Decisions like this are always somewhat anxiety-inducing for me, because if they don't work out, then what?! I'll have to hunt down a new box and come up with a new plan, which can sometimes be time-consuming. Luckily, after messing around with a few different shades of gold, I found that the Martha Stewart Copper Metallic produced the color I was looking for, and looked so pretty with my navy and peach elements, really drawing out their beautiful hues.
I had my tags and my box, but now what to do with that leafy branch? My original thought was a vellum die cut and I did do this in the end, but not before trimming a second sprig from Enchanted Evening cardstock and placing it loosely behind the vellum branch. This provides some extra depth, and also offers a trio of hues–Enchanted Evening, frosted EE, and opaque white–instead of just one frosted blue.
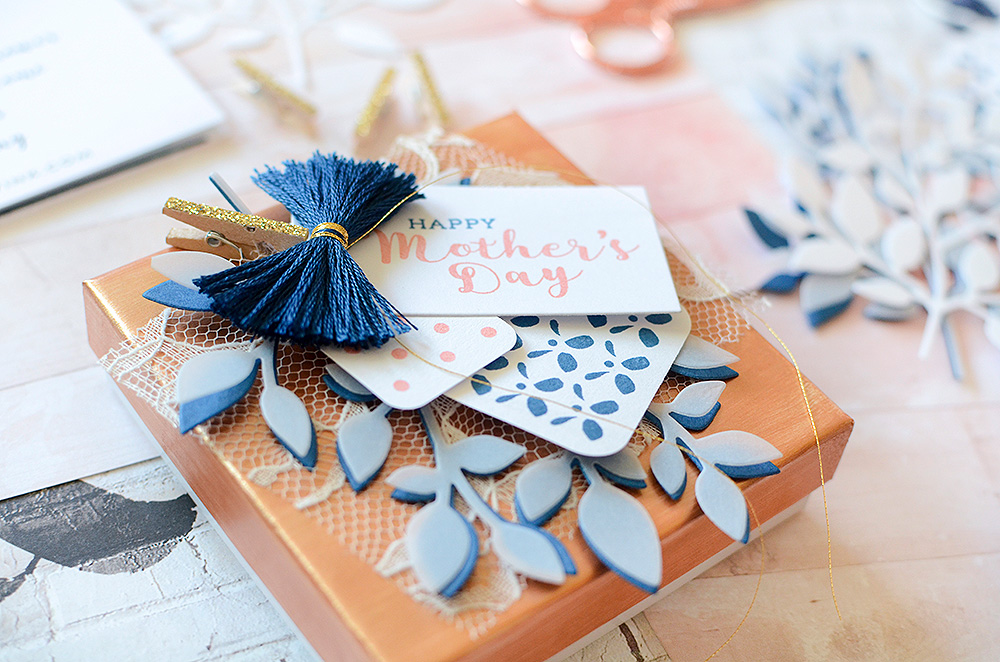
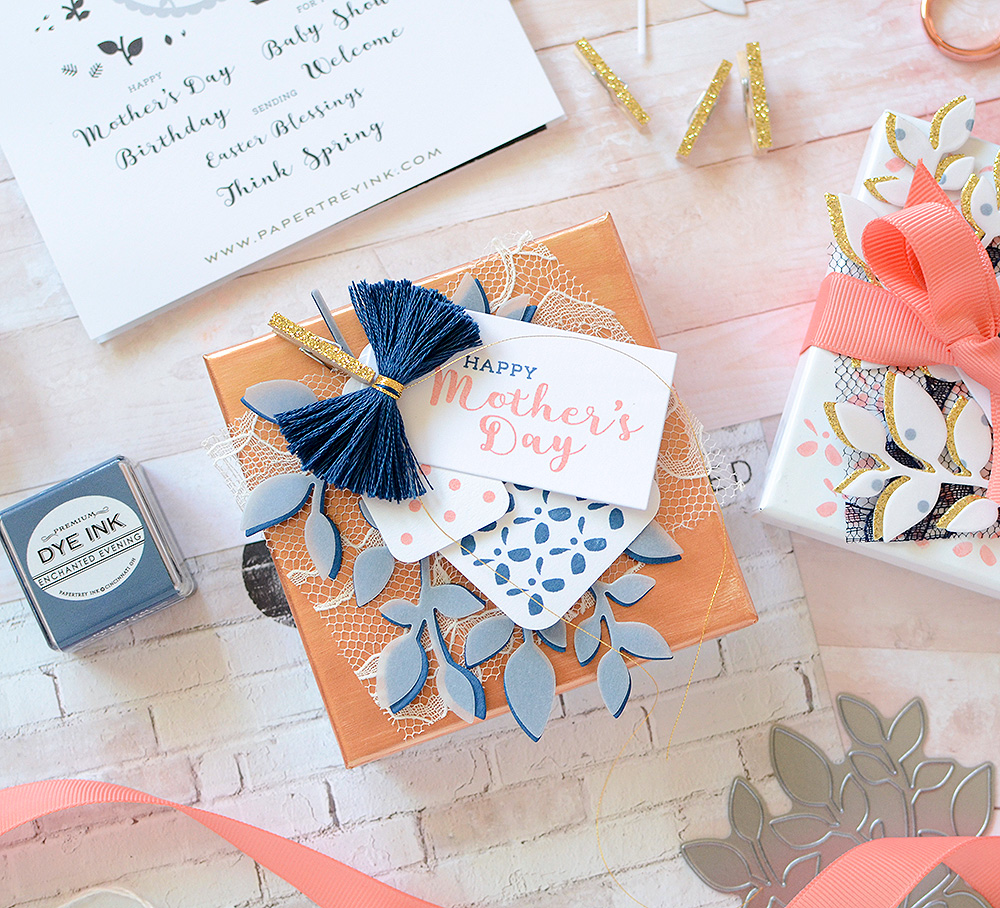
I made one more tag with the Fillable Frames #9 tag die and Mother's Day sentiment from the Cutaway Tags: Spring set. I snipped the Mother's Day stamp in two so that it would fit on the tag. Because I make a lot of tags, which are typically not as wide as cards, I often end up trimming my phrase stamps this way. Don't be afraid to try it–it opens up so many new possibilities and sometimes it's even fun to mix and match with other sets to create your own sentiment!
The last pieces of this package were a swatch of off-white lace, a mini glitter clothespin, and an embroidery floss bow. I used the DMC shade 3750, which is a terrific match to PTI's Enchanted Evening.
Moving onto the second package, I decided to try a little stamping on the lid this time. I loved the little "eyelet" pattern on the tag from the first package so much that I braved creating something like it on the lid. Using Melon Berry ink and the butterfly fill-in, I stamped repetitiously along the box. I knew that some of the pattern would be covered up, so if I made a mistake, if wouldn't be a big deal, but luckily, the stamping went pretty well.

I'm such a fan of this tiny little stamp! It creates such a pretty pattern of eyelet or lace and I love when a stamp meant for one thing can be used for another, don't you?
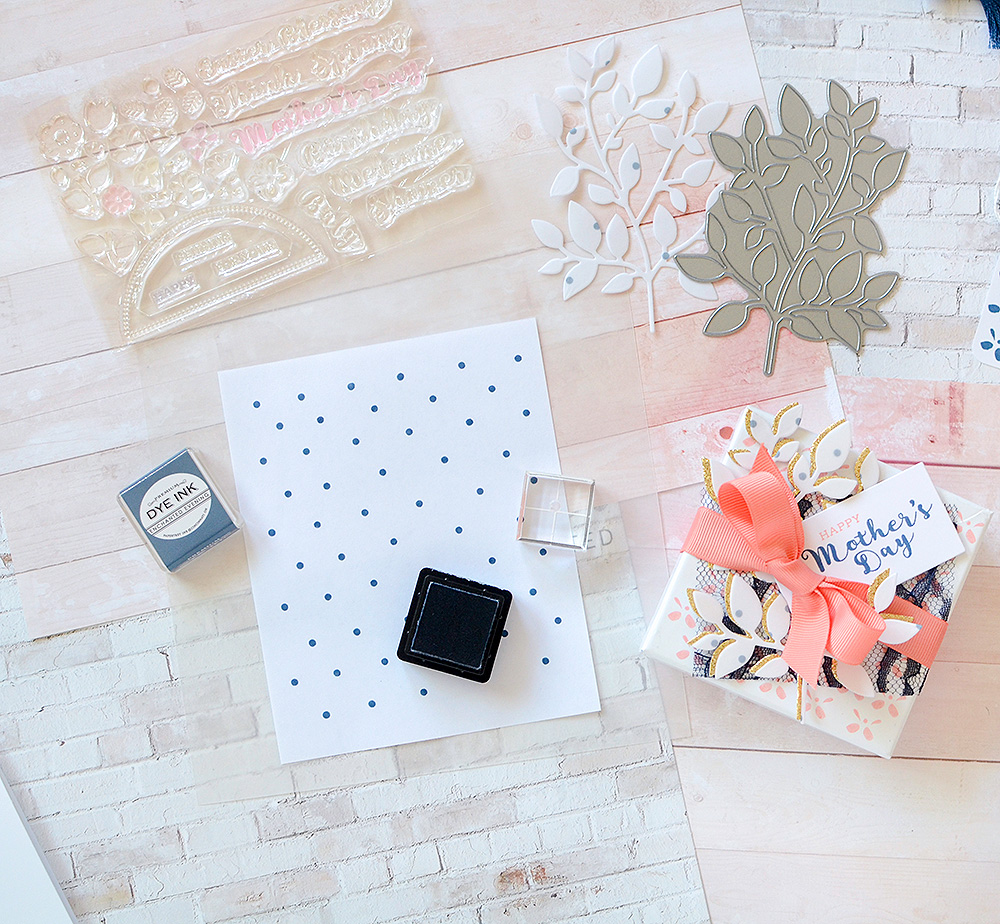
The second box has similar characteristics, but is definitely its own style! I made another "Mother's Day" tag, but stamped the phrase in the opposite colors of the first tag. I also used the branch die again, and while the layering technique is similar to the first package, there was a little more work involved.
Again, I wanted to use the vellum. While I was cutting the first vellum sprigs, I placed a simple piece of white printer paper underneath it, since my cutting plates are pretty cut up and I didn't want the feint lines of past cuts to come through on my transparent vellum. I just used a scrap piece of paper that had some handwritten notes on it. When I pulled the pieces apart, the vellum stuck to the printer scrap and it looked sort of cool, inspiring the idea for the vellum matte. But I decided to stamp a polka dot pattern in Enchanted Evening ink on the printer paper instead of using the scrap. It only took a minute or two to do the stamping and the result was a frosty, patterned branch that I adore!
(I did try using the Stamper's Select White cardstock for this, but the vellum doesn't 'stick' to it as well as it sticks to the thinner paper.)
Because I liked the effect of layering up the sprigs slightly offset, I did it again here, choosing to cut one of them out of gold glitter paper for a little subtle sparkle. I also used a swatch of lace underneath the fun stuff, but I chose navy this time. It's a nice pop of dark contrast to the lighter stamped box, branches, and white tag.
I finished off this package by tying a length of Melon Berry grosgrain ribbon around it, and tucking my stamped Mother's Day tag under the bow.
I think these are good enough to send off to 2 of the most important ladies in my life for Mother's Day 😉 I know they'll both appreciate my effort, and I've got a new appreciation for patterns and sweet, tiny stamps!

- Utilize your actual package! Don't be afraid to alter the outside of the box or bag with stamps or paint, especially if you need to add some extra interest of contrast.
- Do more with your stamp sets! Create patterns with the tiny fill stamps–or any stamps, for that matter. Also, if the phrases are too long or tall for your surface area, a strategic cut might be an easy solution.
Before I leave you, I just wanted to say thank you so much for all your sweet comments, questions, and suggestions you left after April's post! They are actually SO helpful as I try and prep for upcoming posts. I worry sometimes that I will run out of ideas or topics, and then I read your comments and think, oh my, this is terrific source material!! So, I want to address a few comments you asked last month…
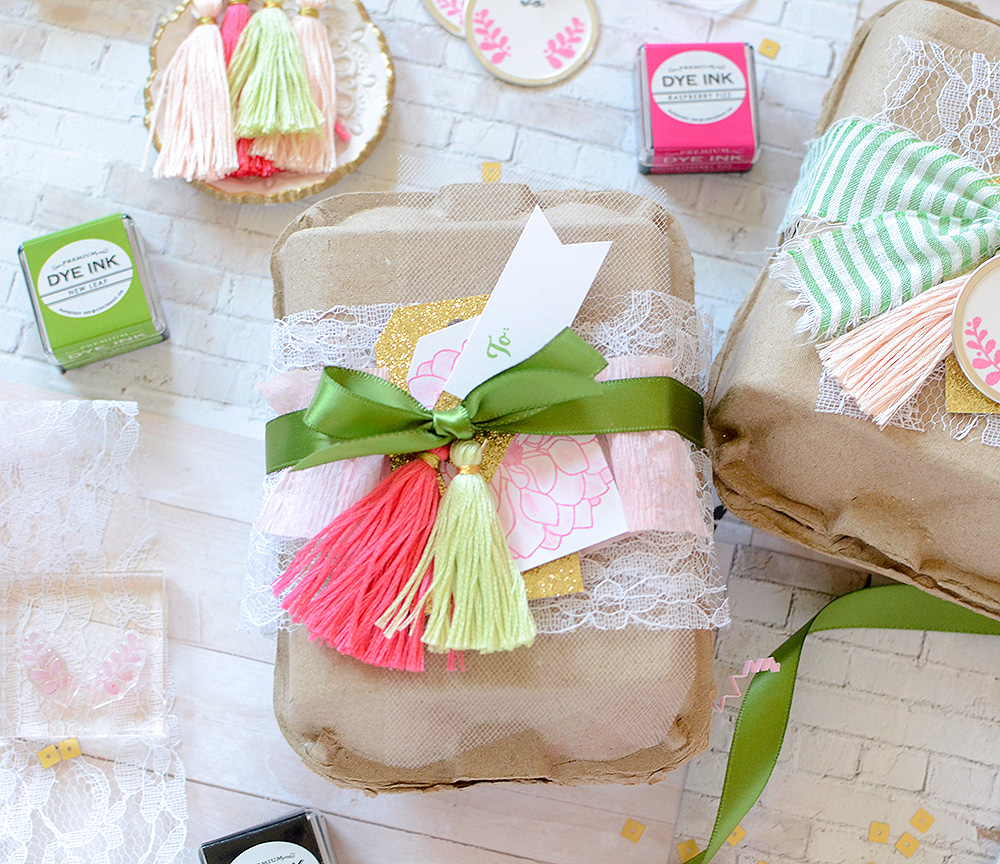
Several of you asked if I make my own embroidery floss tassels. I do and they are so easy! I'm definitely thinking there might be a tutorial post in the very near future for those. (Maybe even next month?!)
I also had some suggestions for future posts…
Card Set packaging from MERRYF: That is a fantastic idea and it's absolutely one I'd love to explore in an upcoming post. Thank you for suggesting it!
Wedding Gift Packaging from BECKY: It's wedding season, isn't it?! I'm definitely considering this for June or July! Also, your concerns about the tags falling off is not one to be overlooked so I'll make special consideration for that 😉
I LOVE that you're finding these posts helpful and I want you to know how much I appreciate your questions, suggestions, and sweet comments. I'll see you back here in June!

(All supplies from Papertrey Ink unless otherwise noted.)
Stamp Set:
Dies:
Ink:
Paper:
Stamper's Select Basic White Cardstock
Martha Stewart Metallic Copper Paint
American Crafts Gold Glitter Paper
Leave a Reply