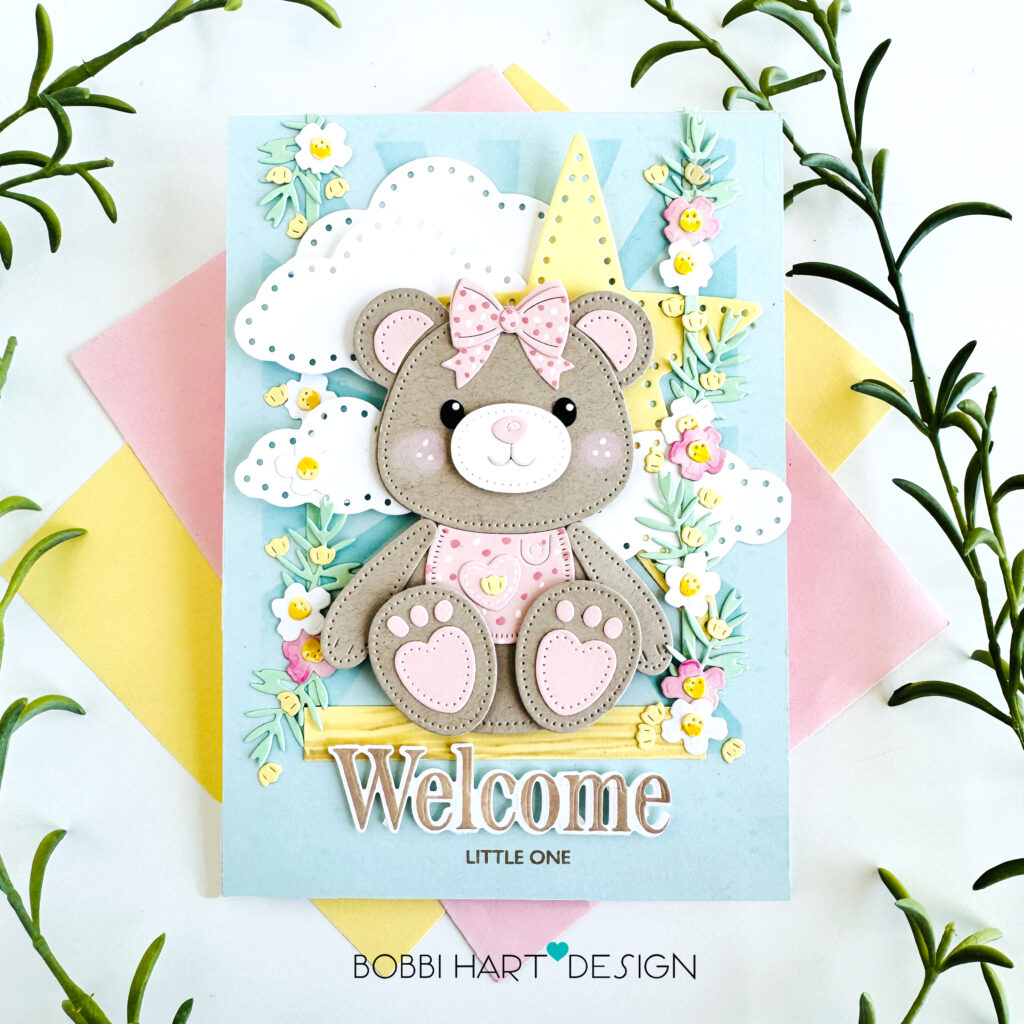
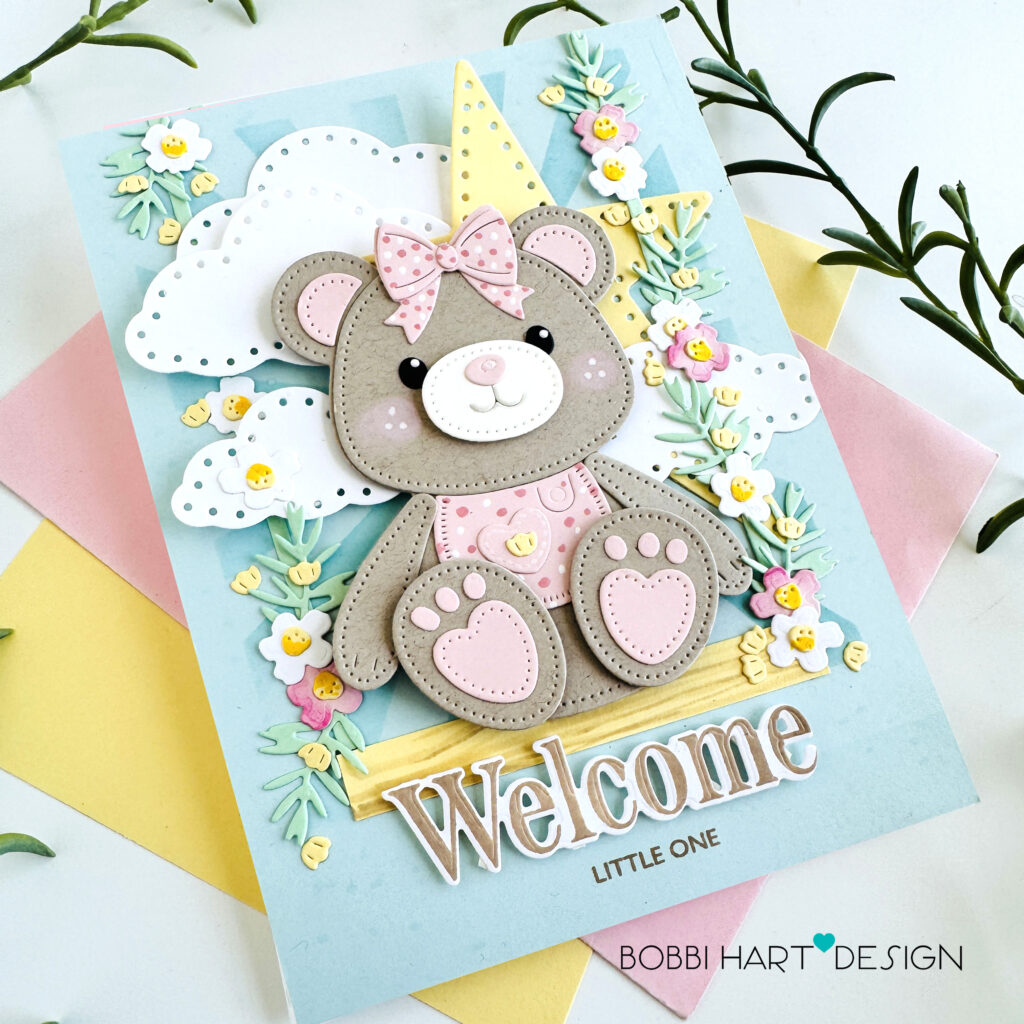
Soft florals, a sweet floral garland swing, and the cutest bear in a pink bow come together to celebrate life’s newest arrival. Today’s handmade baby card is filled with charming details and gentle colors, creating the perfect way to welcome a precious little one into the world. With blooming flowers surrounding the scene and a heartfelt “Welcome Little One” sentiment, this card is a beautiful keepsake for baby showers, newborn celebrations, or sending love to growing families. This card features the following Papertrey Ink products:
This is Big Sentiments: Welcome stamps and coordinating dies
Handmade With Love Mini stamp set and dies
Into the Blooms: Pressed Flowers dies
Cardstock colors used: Stamper’s Select White, Classic Kraft, True Black, Sweet Blush, Lemon Tart, Aqua Mist, and Mint Julep.
Here are the detailed directions below. Check out my coordinating REEL on Instagram to see this card come to life!
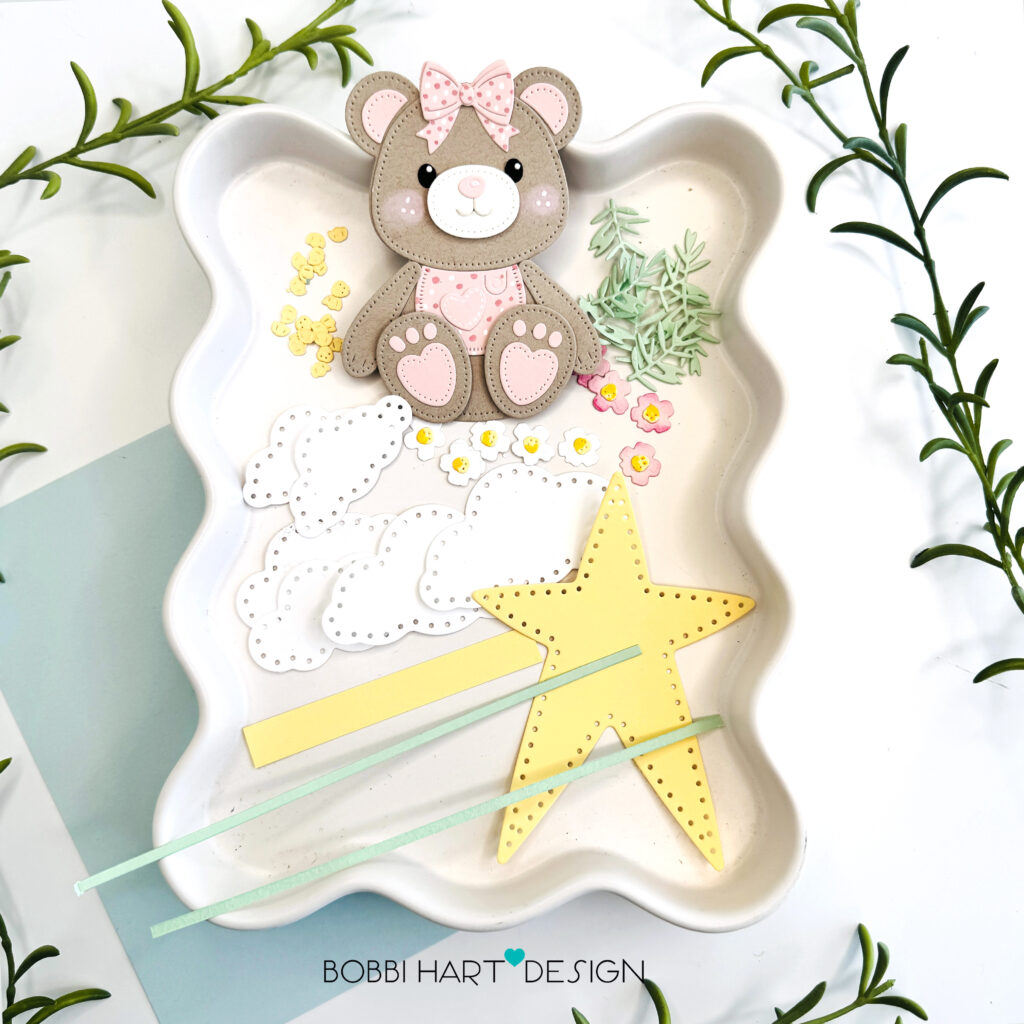
STEP 1: Die cut the following items shown.
Build-A-Bear dies – Die cut and assemble the bear using Classic Kraft, Sweet Blush and Stamper’s Select White cardstock with True Black for the eyes. Hand draw polka dots and add blush to the cheeks using Tattered Rose Distress Oxide Ink and a small round blending brush. Add white highlights using a white Acrylic paint pen. Note: You can choose any color for the bear and clothing. Have fun with it!
Starry Skies dies – Die cut one large, two medium and one small cloud from Stamper’s Select White cardstock. Die cut the largest star in the set from Lemon Tart cardstock.
Into the Blooms: Pressed Flowers dies – Die cut tiny leaves from Mint Julep, small flowers from Stamper’s Select White and Sweet Blush, and floral centers and tiny buds from Lemon Tart cardstock. Add some darker hues to the pink flowers using Kitsch Flamingo Distress Oxide Ink. Use a darker yellow marker to add shading to the Lemon Tart flower centers.
Cut two 1/8″ strips X 6″ from Mint Julep cardstock for the swing rope and one 3-1/2″ X 1/2″ piece of Lemon Tart cardstock for the swing seat.
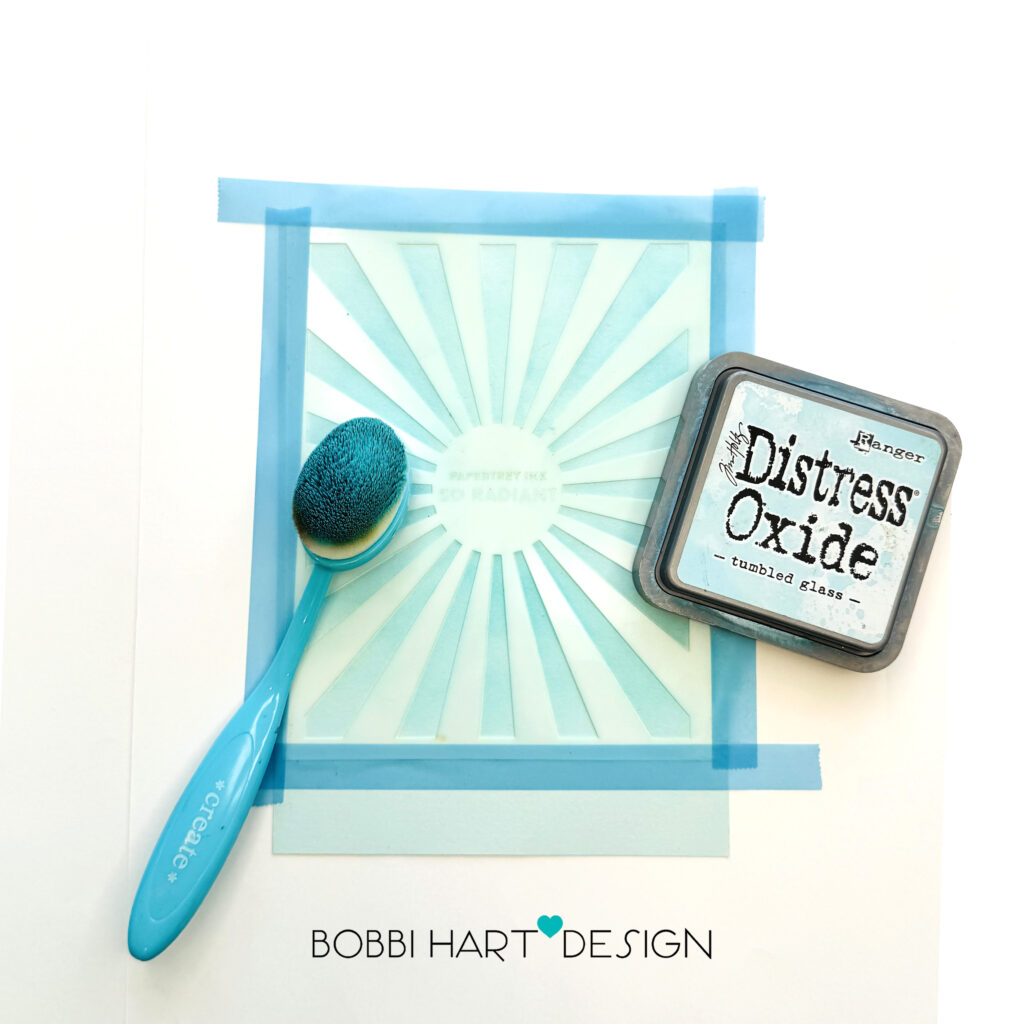
STEP 2: Cut a 5″ X 7″ piece of Aqua Mist cardstock for the card front panel. Using the So Radiant Stencil Collection stencil sheet with ALL the sun rays exposed, stencil the design on the cardstock as shown. Use Tumbled Glass Distress Oxide Ink for easy blending. Make sure the stencil is tight and aligned to the top edge of the panel. Tip: Tape the sides of the stencil to avoid any ink hitting those edges for a finished, clean edge appearance.
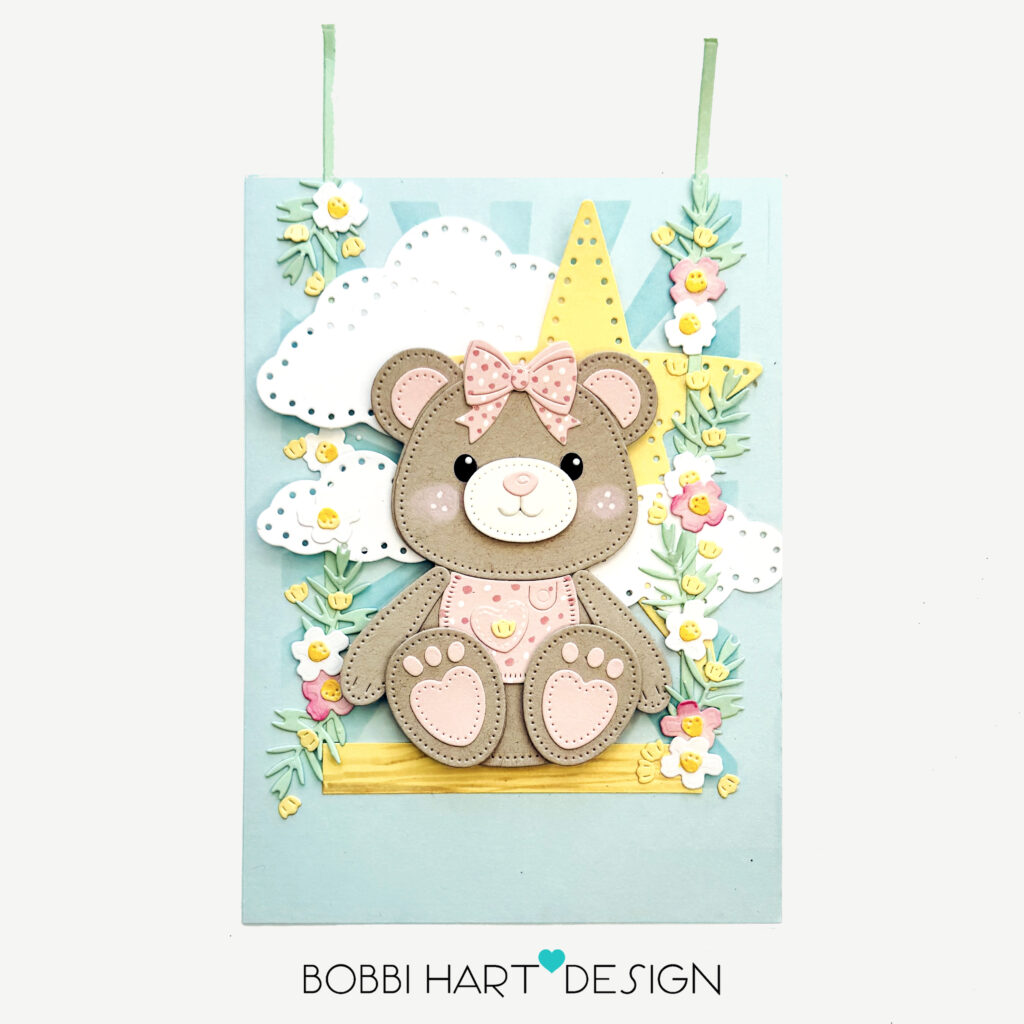
STEP 3: Attach the swing seat to the center bottom edge of the stencil. Attach the star, clouds and swing ropes over the stenciled area. Use foam tabs behind the left medium and left small clouds for dimension. Add the flowers to the swing ropes using glue, creating floral swag rope handles. Attach the bear to the swing seat using foam tabs behind the bear. Check out the REEL to see the assembly here.
STEP 4: Using This is Big Sentiments: Welcome stamps and coordinating dies, stamp “Welcome” using Classic Kraft Ink on white cardstock and die cut the word. Attach the word below the bear using foam tabs. Stamp “little one” below the word sentiment using Classic Kraft ink.
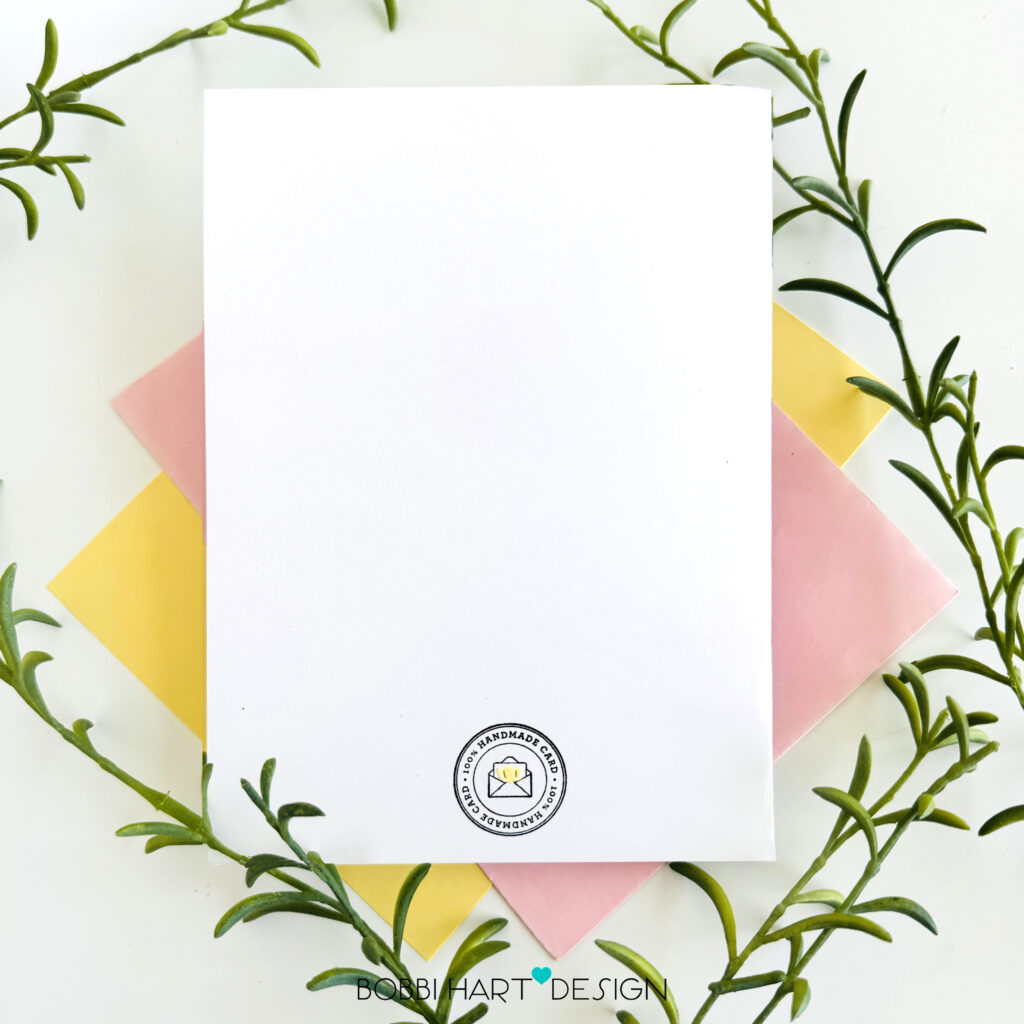
STEP 5: Cut and score a 10″ X 7″ piece of Stamper’s Select White for the card base and score down the middle. Before attaching the card front panel to the 5″ X 7″ card base, stamp a design on the back from the Handmade With Love Mini stamp set and dies. For an extra touch, add a singular flower bud by gluing it in place over the stamped image. Attach the card front panel to the card base to complete the card.
You can shop the entire collection here at Papertrey Ink! If you decide to place an order, please use the links in this post so that Papertrey Ink team knows what inspired you. I appreciate it very much. It helps me to continue to bring more ideas to you! Remember to check out my reel that coordinates with this blog post here.
Thanks for stopping by today. If you want to see more ideas and inspiration from me, subscribe to my blog, BobbiHartDesign.com. I’ll send you updates on new posts! You can also find me on Instagram as @BobbiHartDesign and on Facebook as BobbiHartDesign. Bobbi Hartmann Lemanski, Bobbi Hart♥ Design, Adding h♥art into every design
Leave a Reply