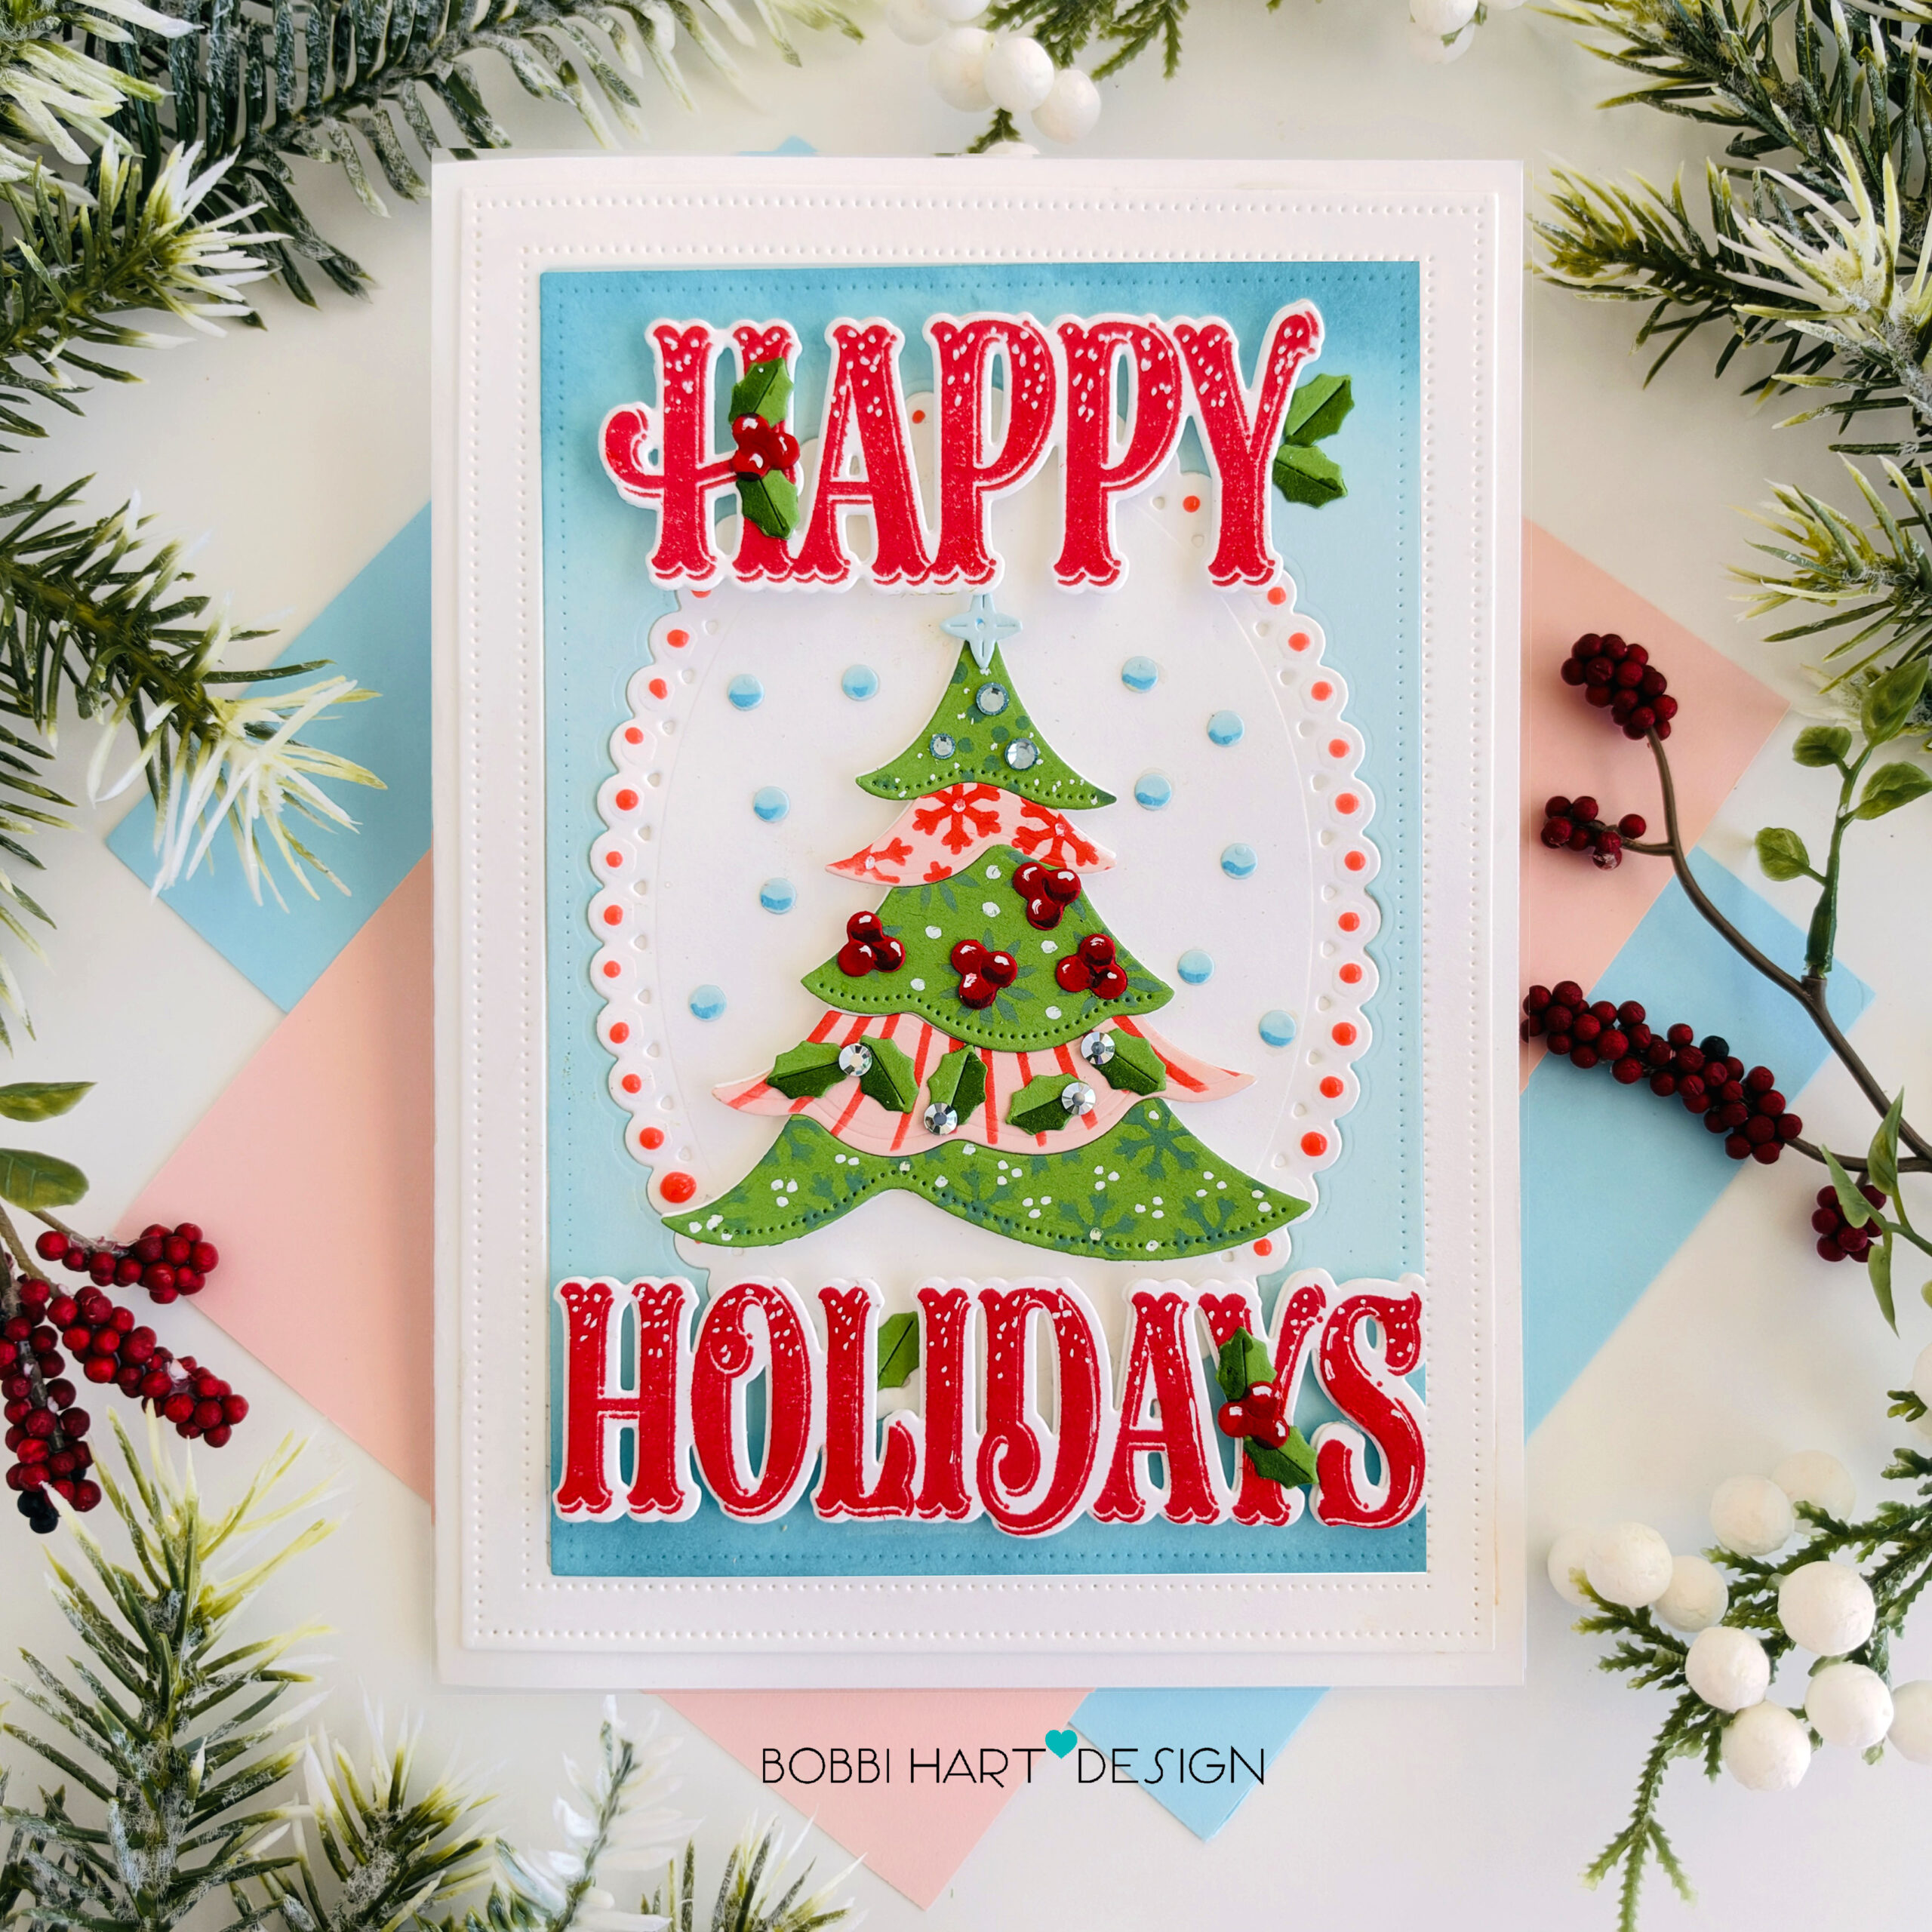
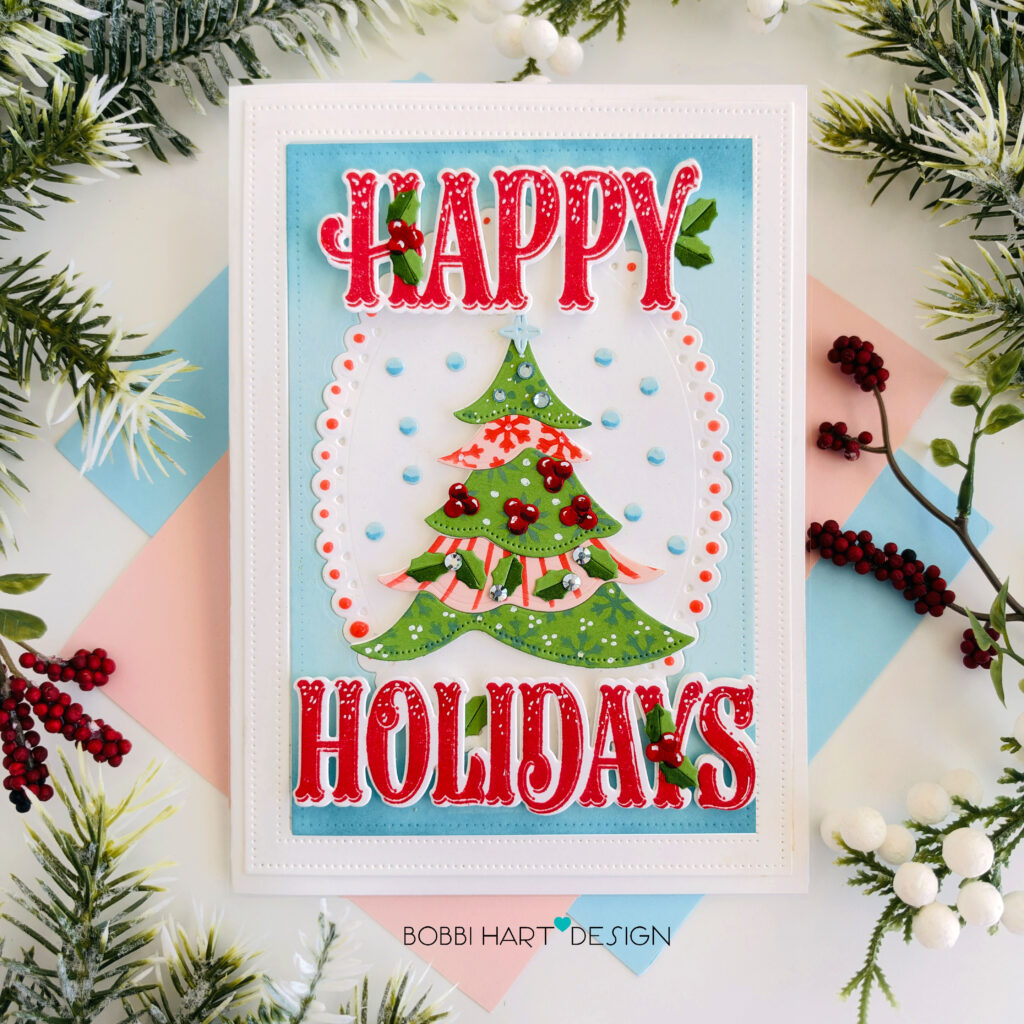
Bold holiday greetings and playful patterns bring festive cheer to today’s handmade card. A tiered Christmas tree takes center stage, dressed in layers of red, pink, and green stripes, delicate snowflakes, and whimsical polka dots. The tree is nestled inside a scalloped oval filled with gently falling snow and framed by a stitched rectangle for a little extra detail. A big, bold red “Happy Holidays” sentiment makes a grand statement, while sprigs of holly and bright red berries add the perfect finishing touches. This card is a fun mix of traditional Christmas colors, modern patterns, and holiday charm!
I’m using the following Papertrey Ink products for this 5″ X 7″ card:
This is Big Sentiments: Happy Holidays stamp set and coordinating dies
Love to Layer: Beaded Trim die set
Build-A-Whimsical Tree die set
Build-A-Whimsical Tree Stencil Collection
In Frames: Big & Tall Rectangles die set
This card is 5″ X 7″ and uses a white card base made from Stamper’s Select White cardstock. Here are the step-by-step details for creating this card.
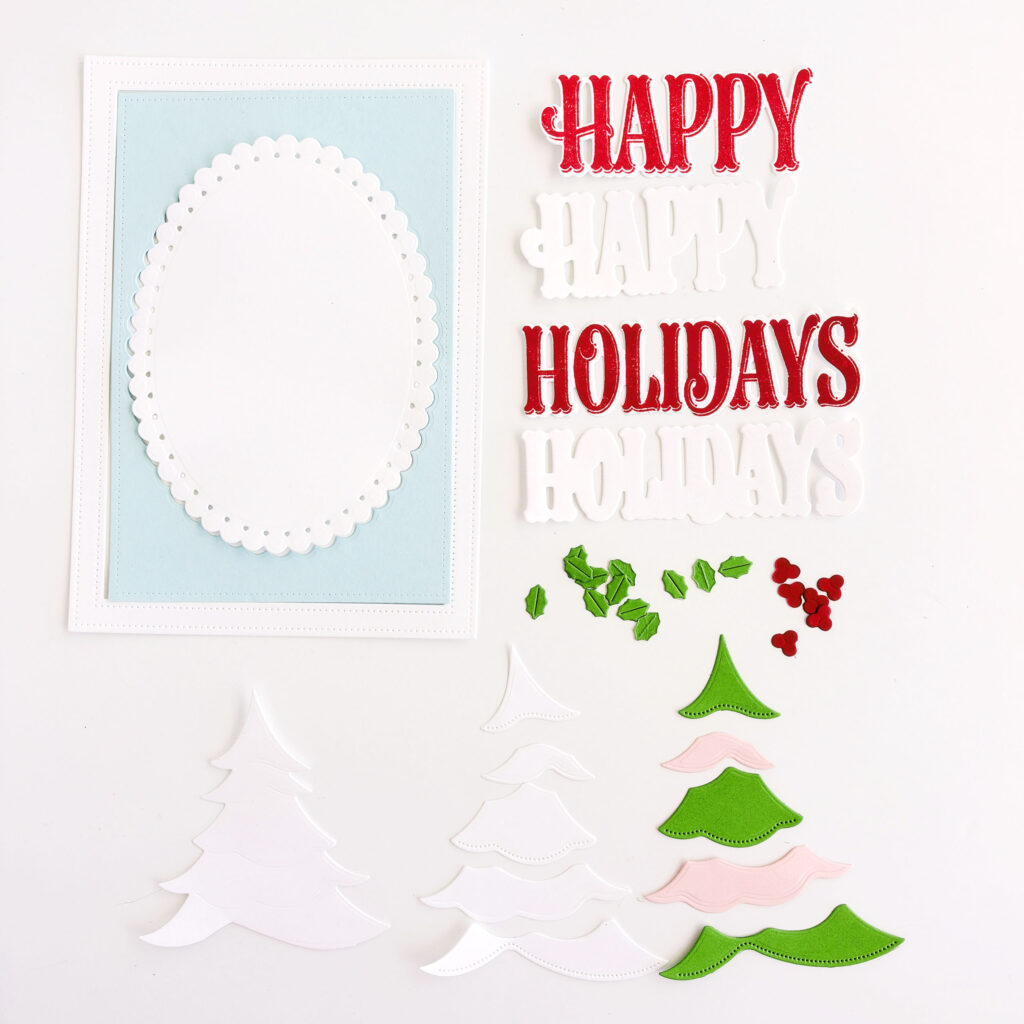
STEP ONE: Die cut the items shown using the This is Big Sentiments: Happy Holidays stamp set and coordinating dies, Love to Layer: Beaded Trim die set, Build-A-Whimsical Tree die set, and In Frames: Big & Tall Rectangles die set using cardstock: Stamper’s Select White Premium, Coastal Blue, New Leaf, and Sweet Blush. Note: Use the Love to Layer: Beaded Trim die to die cut the Coastal Blue cardstock center cut so that the white oval die cut fits perfectly inside the blue frame cutout.
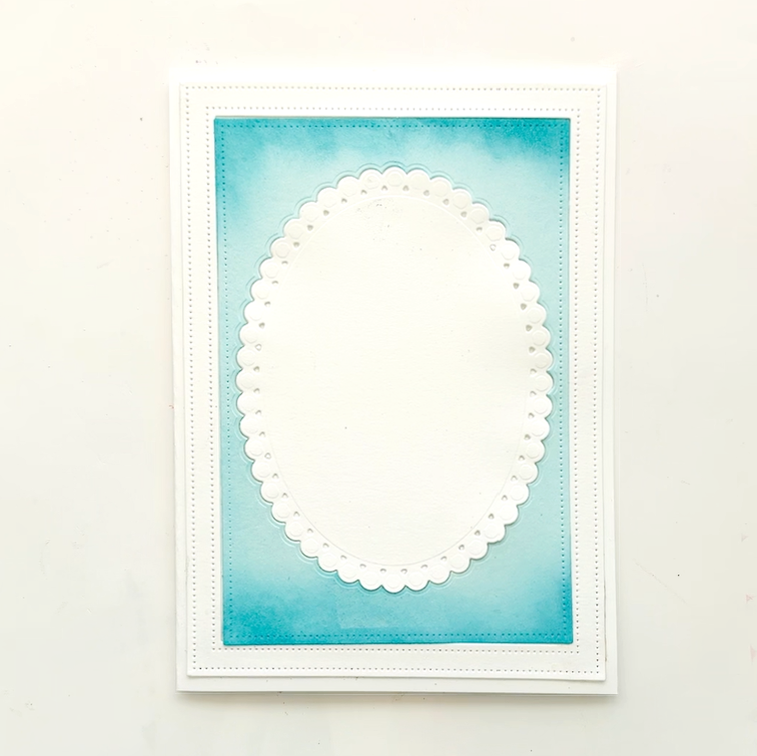
STEP TWO: Cut a 10″ wide X 7″ tall piece of Stamper’s Select White Premium and score down the middle to create a 5″ X 7″ card base. Using Distress Oxide Ink in Broken China, blend color around the edges of the coastal blue die cut to deepen the edges. Attach the large rectangular die cut, coastal blue frame and the Love to Layer: Beaded Trim die frame to the front of the card base.

STEP THREE: Stencil designs on the colored layers of the Build-A-Whimsical Tree die set using the Build-A-Whimsical Tree Stencil Collection using Candied Apple and Rustic Wilderness Distress Oxide Ink. Attach the base tree layer in the middle of the beaded trim oval using foam tabs. Leave room above and below the tree to attach the doubled-layered “Happy Holidays” sentiment. Use foam tabs to attach the die cut words. Layer the colored tree layers on the white tree base layer using the base as your layering guide so all pieces fit snugly together.
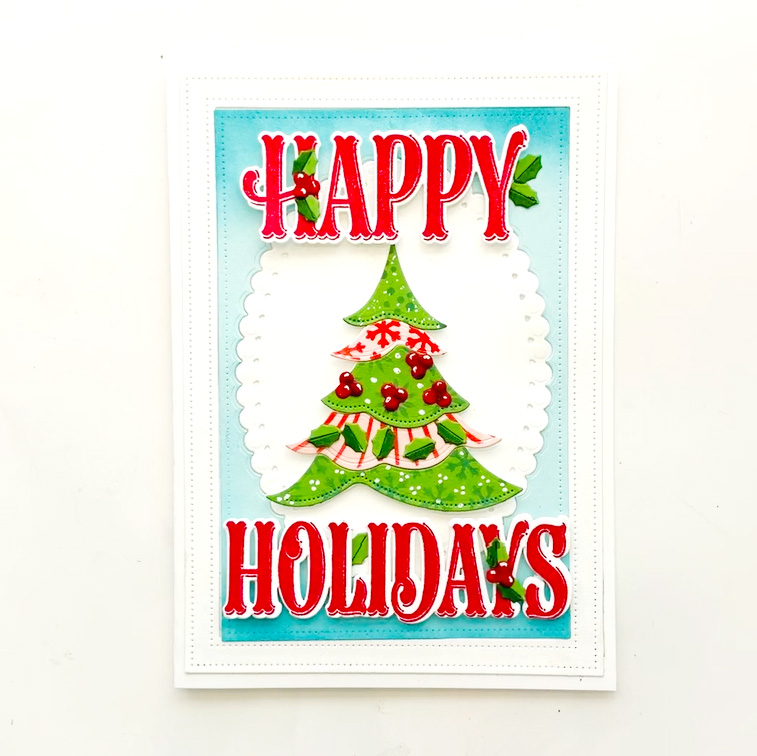
STEP FOUR: Embellish the tree and the sentiment with holly and berries die cuts. TIP: Add extra detail to the leaves using a darker green marker such as a YG67 as seen here. You can shadow the berries using Copic Markers in R89 (deepest shadow at the bottom) and R46 or R29 for mid-tone. This will make the berries appear round v. flat. Use a white pen to add extra detail on the tree layers and small highlights to the tops of the berries.
STEP FIVE: Using Pearl Dots or Pearl Pen, add red dimensional dots to the scallop petals of the oval frame. Add coastal blue circular snow dots around the tree. TIP: You can shadow the snowballs using a darker blue color such as a B02 Copic Marker. Add silver rhinestones to the tree layers for some sparkly bling! This card is complete and ready for December!
You can shop the entire collection here at Papertrey Ink! If you decide to place an order, please use the links in this post so that Papertrey Ink team knows what inspired you. I appreciate it very much. It helps me to continue to bring more ideas to you!
Thanks for stopping by today. If you want to see more ideas and inspiration from me, subscribe to my blog, BobbiHartDesign.com. I’ll send you updates on new posts! You can also find me on Instagram as @BobbiHartDesign and on Facebook as BobbiHartDesign.
Bobbi Hartmann Lemanski, Bobbi Hart♥ Design, Adding h♥art into every design
Leave a Reply