Penny here, welcome to Day 4, the grand finale of our October 2026 Release countdown! We have had four incredible days sharing our newest holiday designs, and we are wrapping up our reveal week with a playful, creative flourish.
Today’s debuts bring bundle-up winter fun and versatile design possibilities straight to your craft space. From dressing up adorable snowy friends in cozy winter wear to customizing open layouts with endless artistic freedom, today’s final reveals are sure to put a smile on your face. Let’s take a look at our last sneak peeks!
Build-A-Snowman Dies
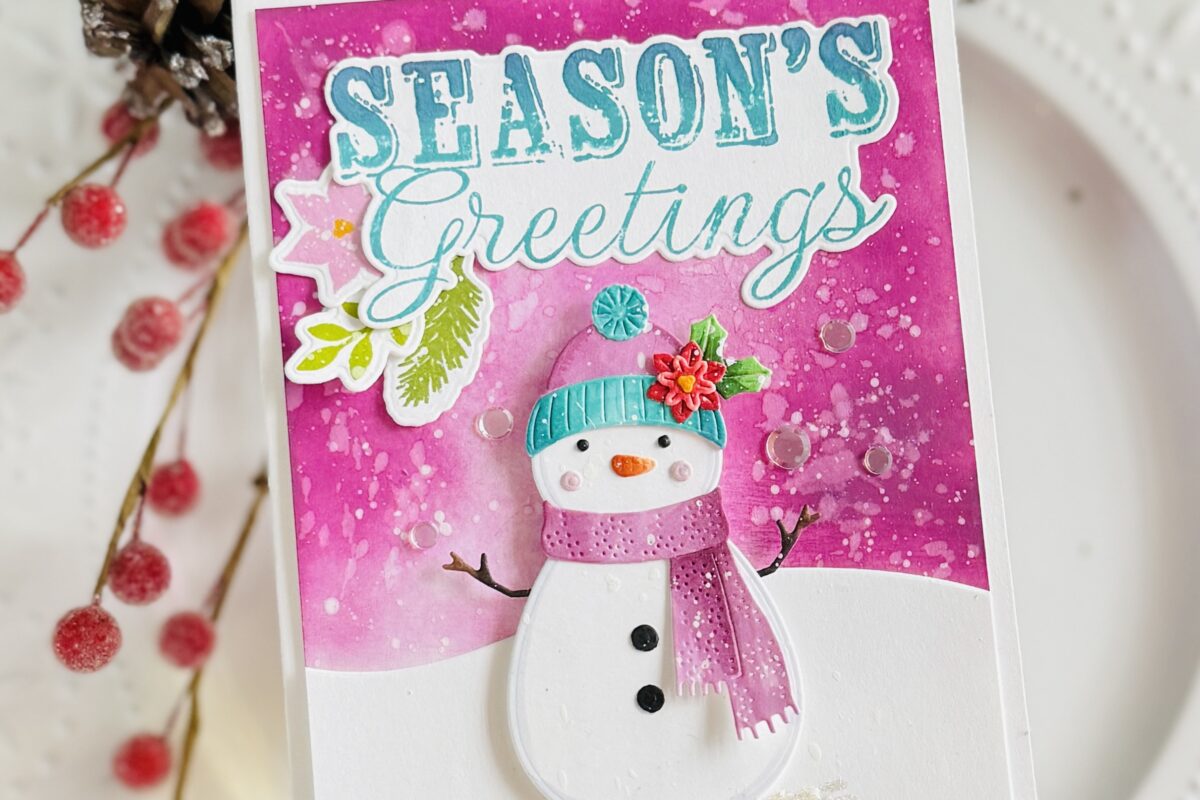
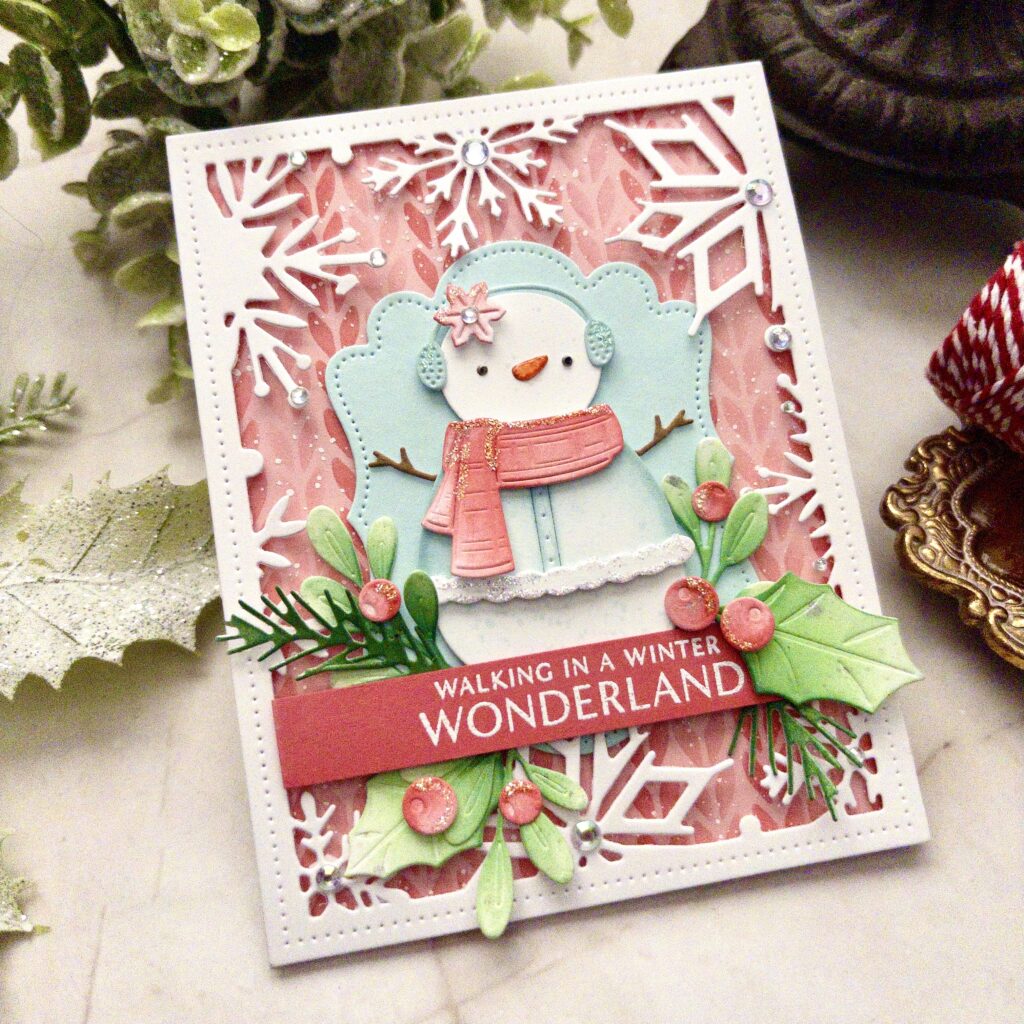
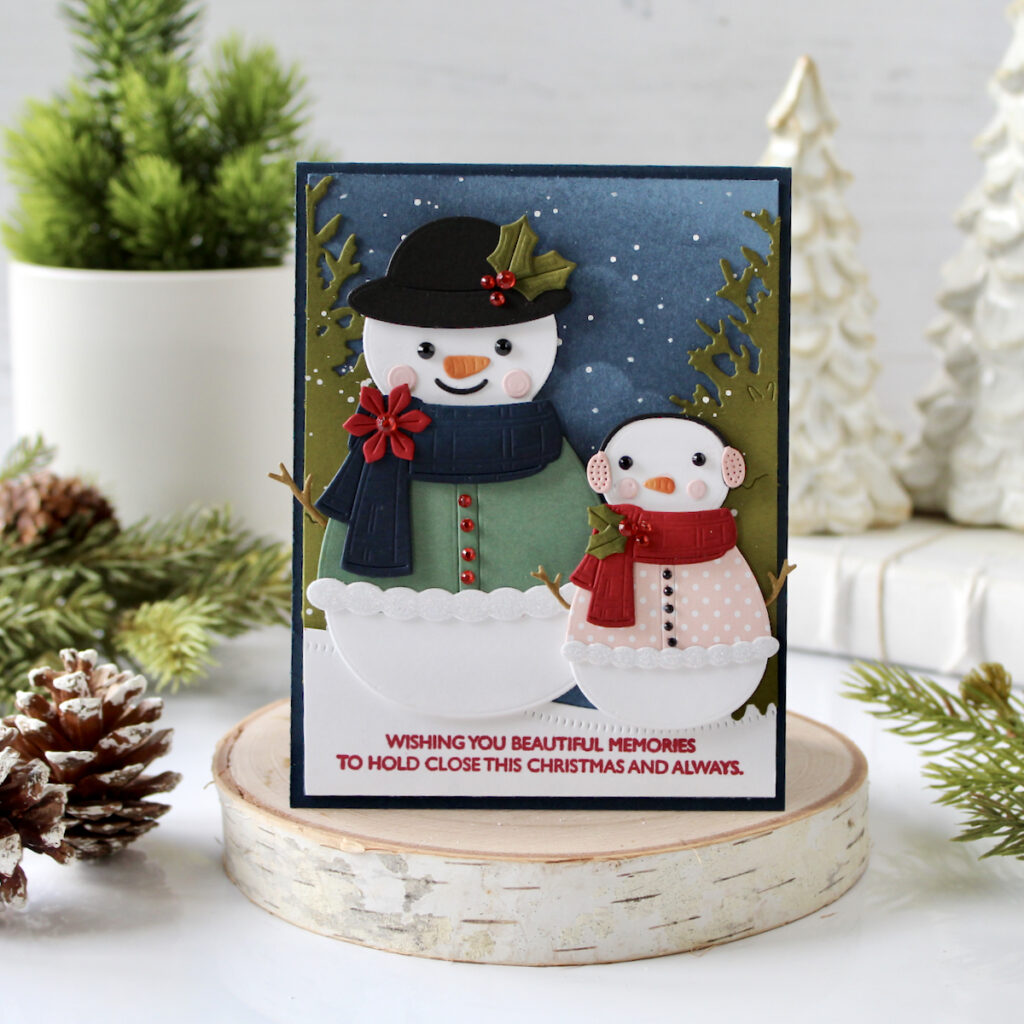
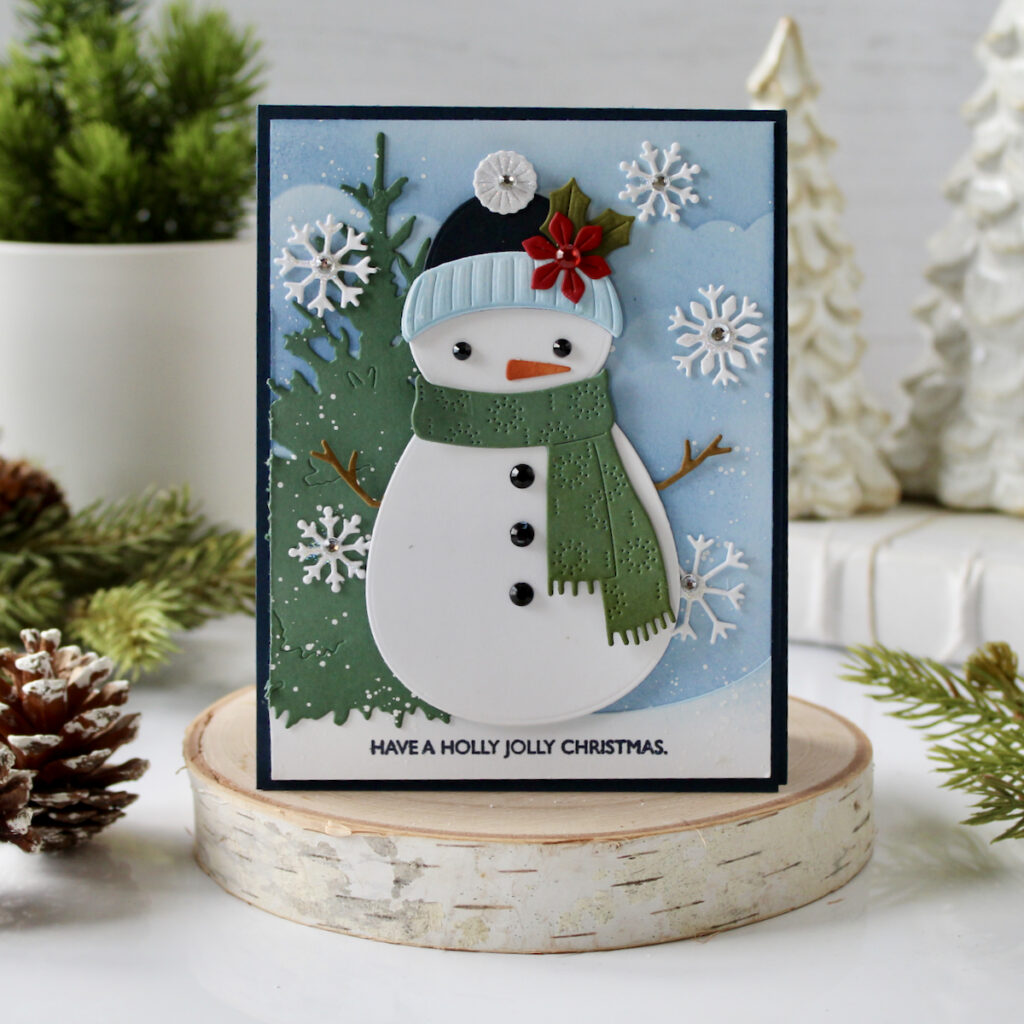
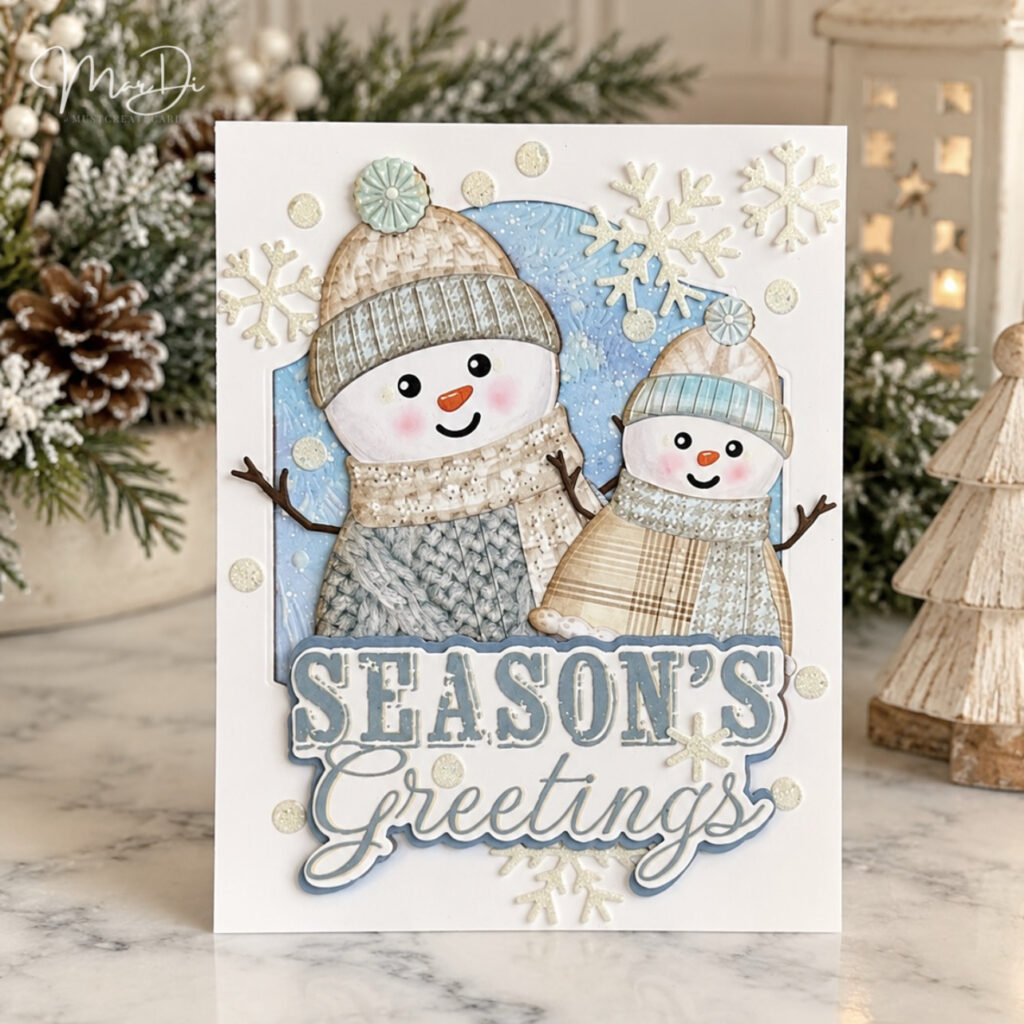
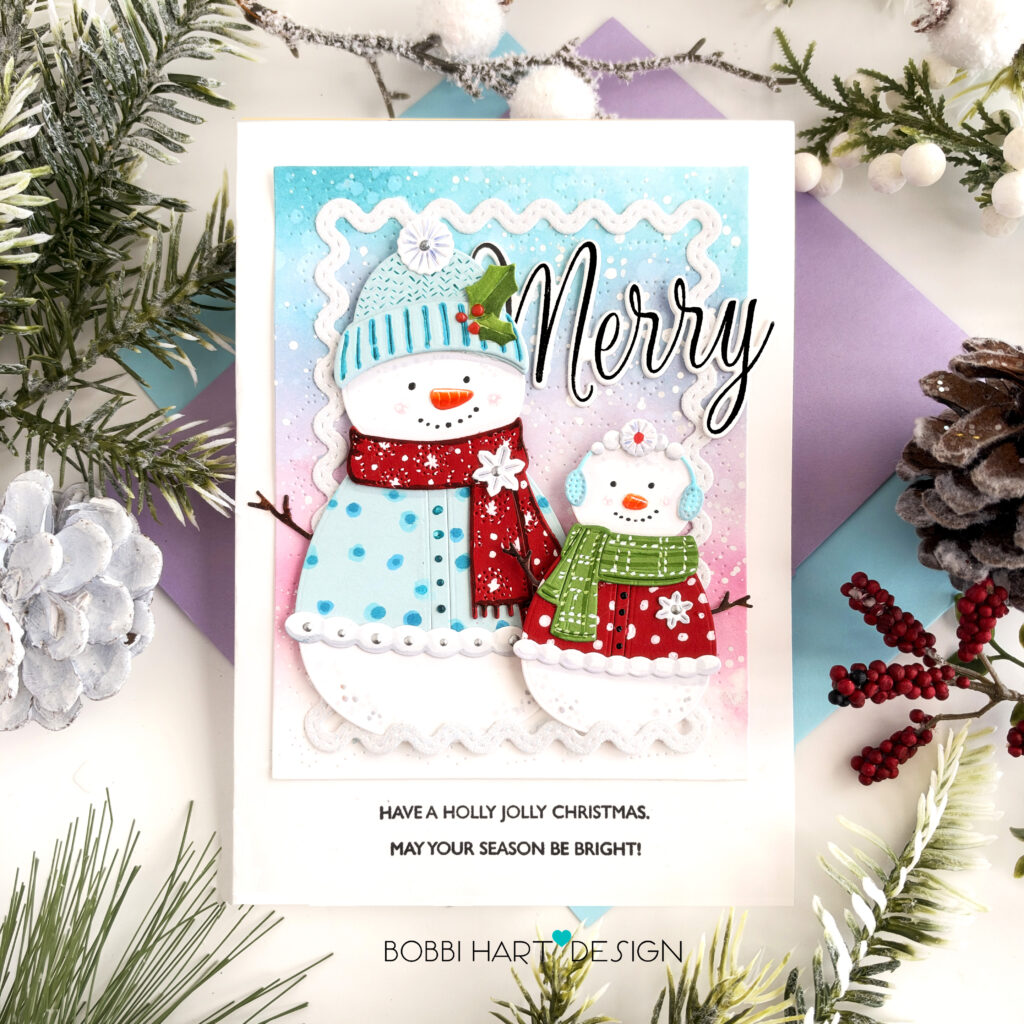
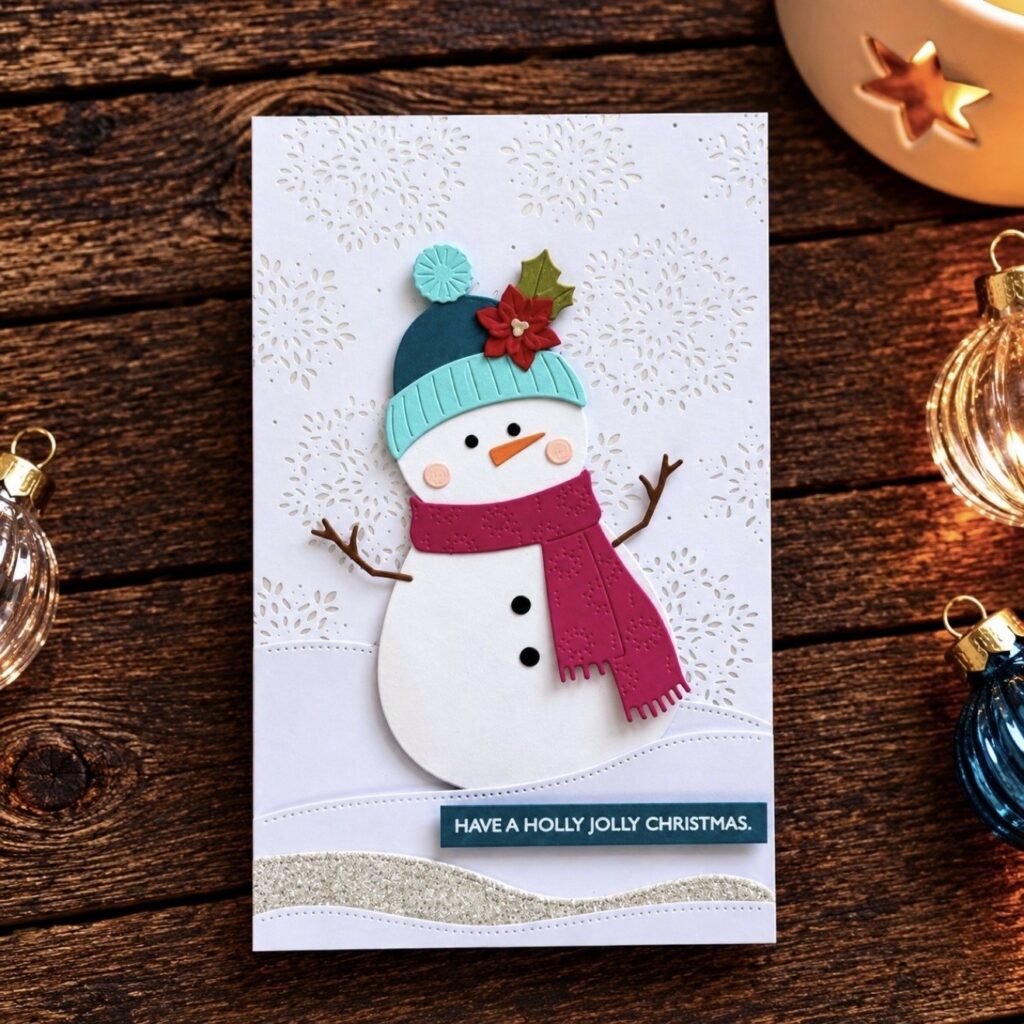
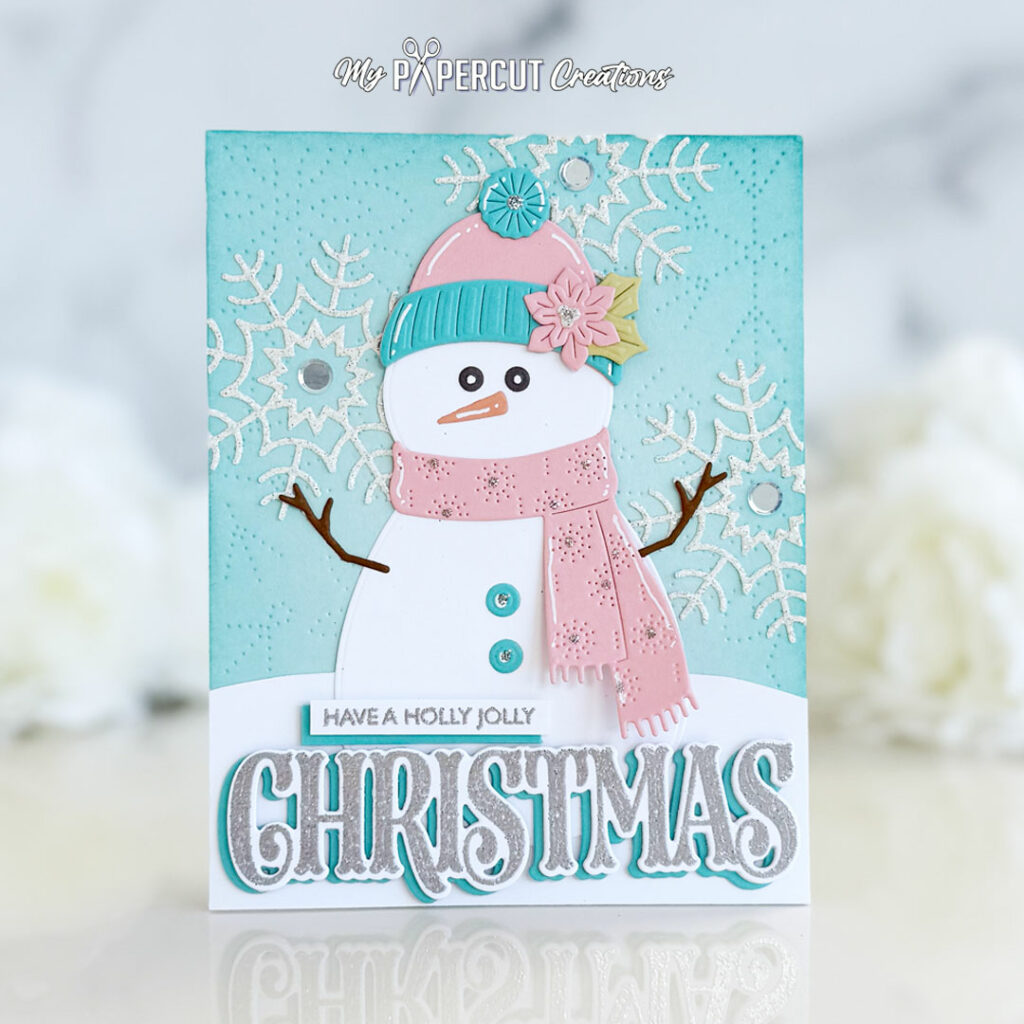
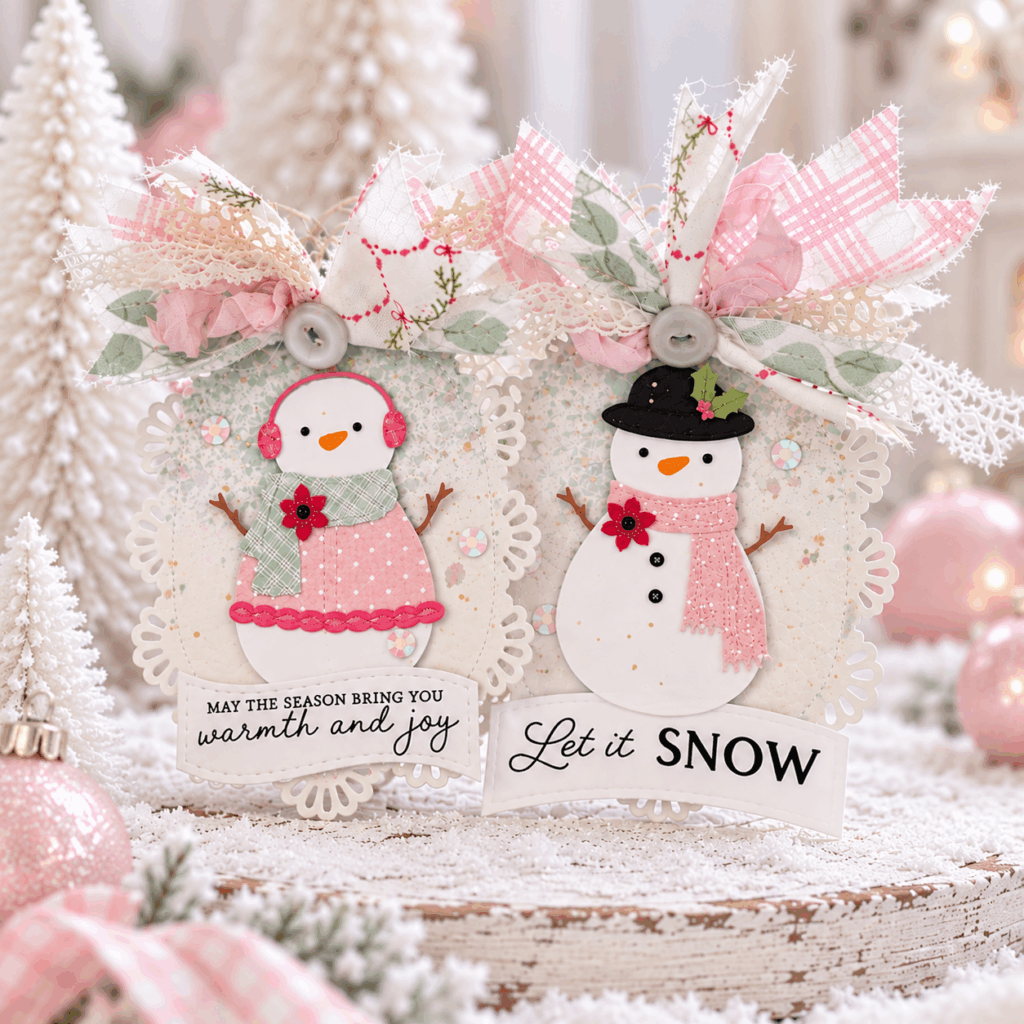
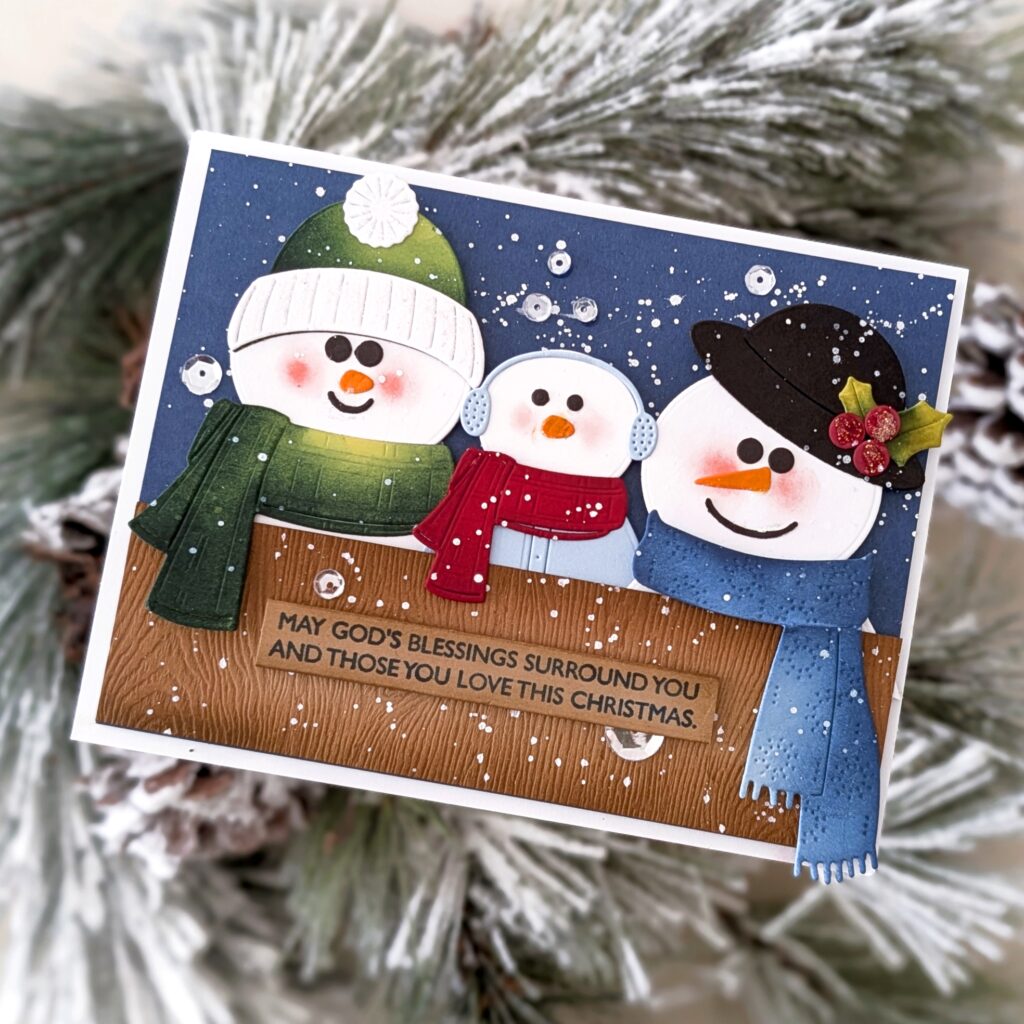
Craft winter personality with Build-A-Snowman! This multi-piece die set features large and small snowman silhouettes, warm winter coats, cozy patterned scarves, knit caps, earmuffs, top hats, stick arms, coal buttons, carrot noses, and festive holly accents. Mix and match all the fun wardrobe layers to dress up a pair of snowy companions for your winter card fronts!
Designer’s Free Space
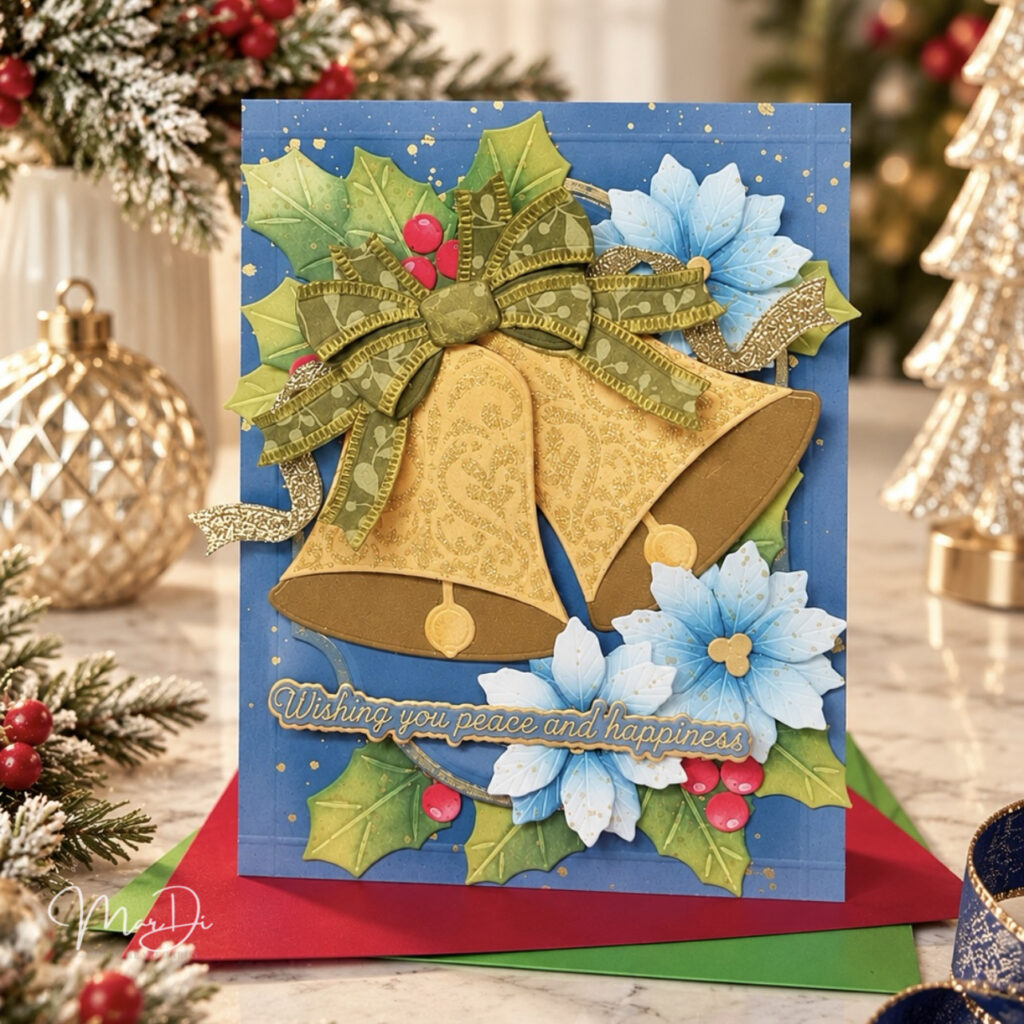
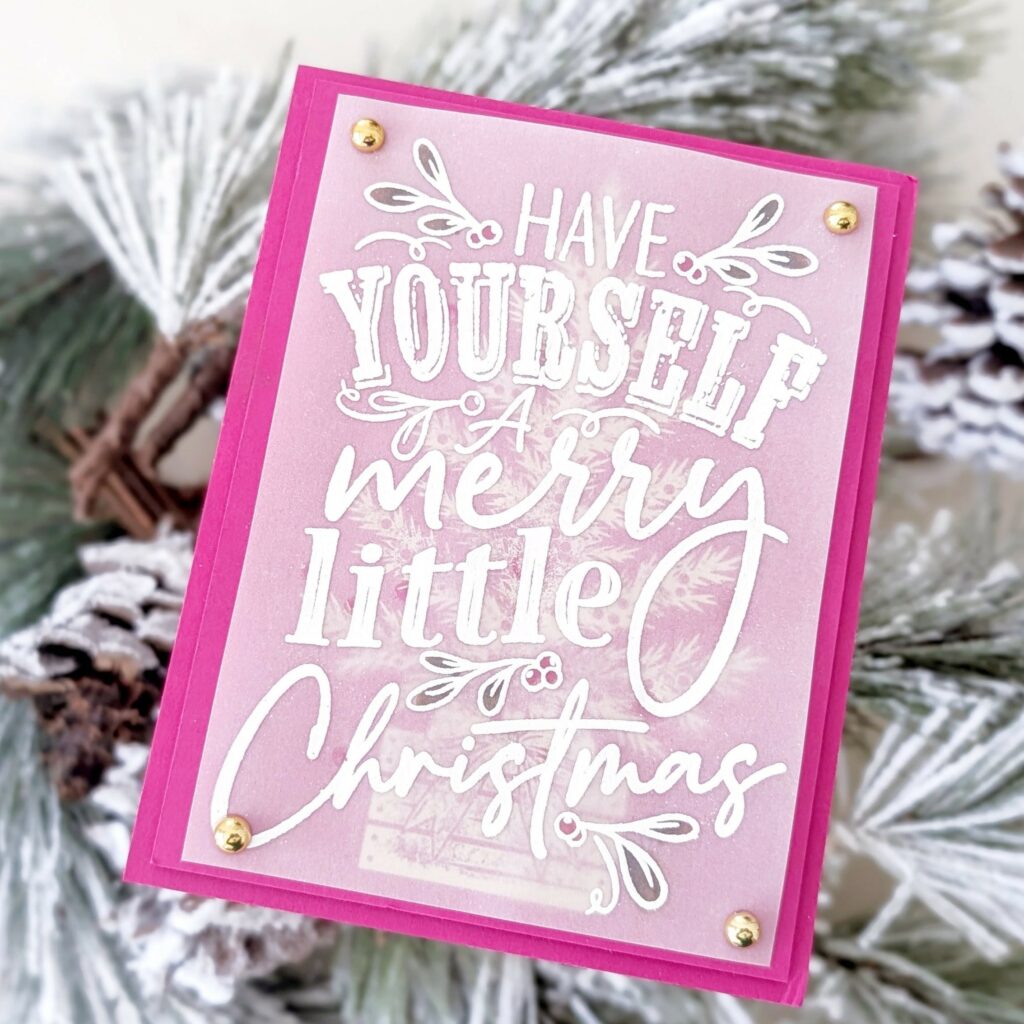
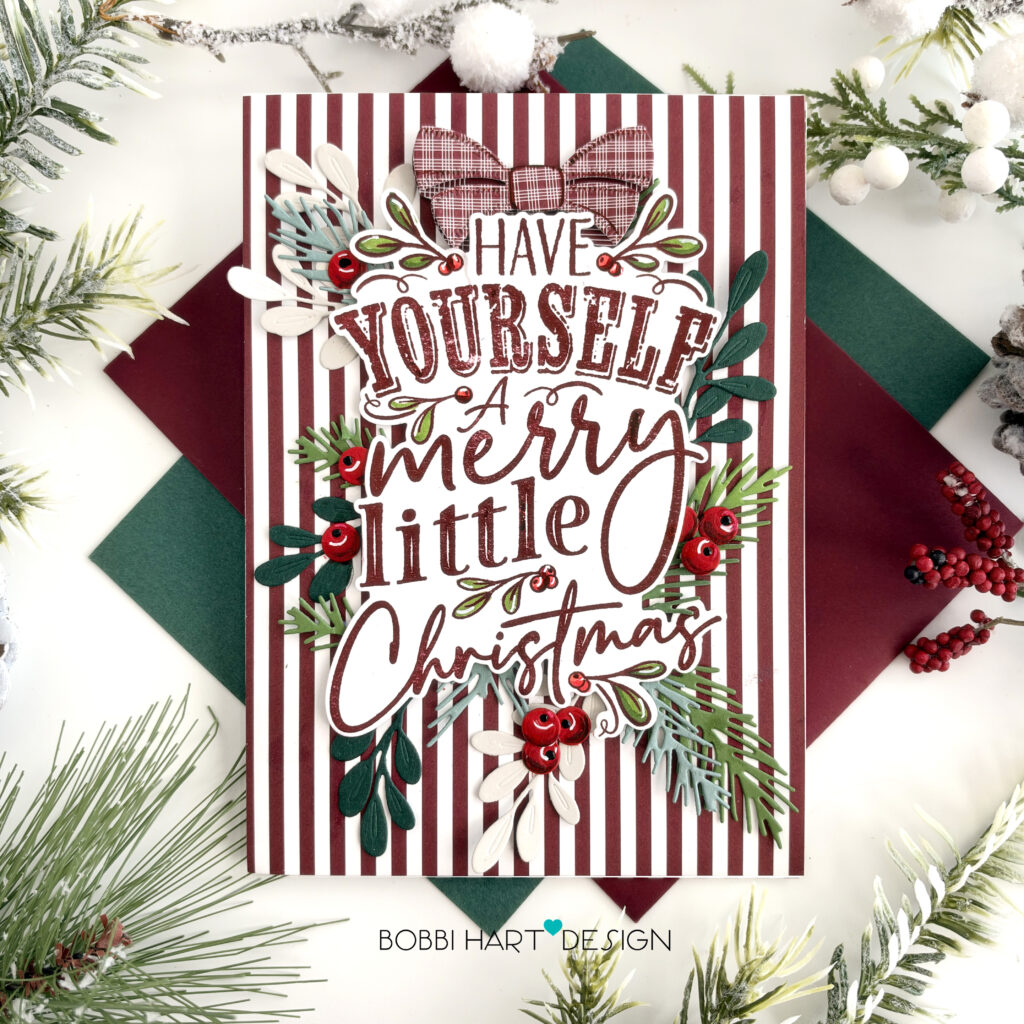
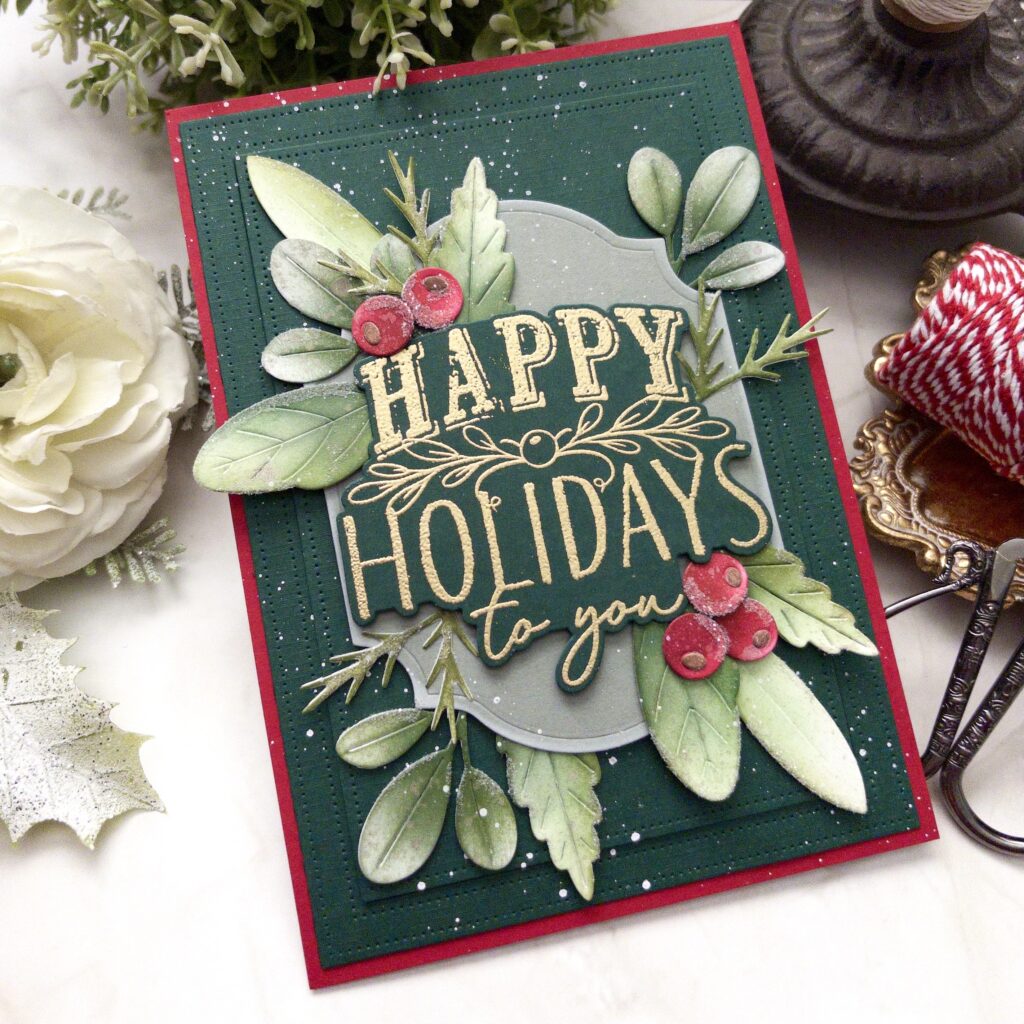
Today, our design team is taking over with Designer’s Free Space! Watch how our talented creators mix, match, and reimagine products from across the entire October release to bring you extra inspiration, unexpected combinations, and endless project ideas before launch day.
Get ready to be inspired! Our talented design team has been crafting up a storm with these new products, and their Day 4 projects are pure winter joy. From fully accessorized snowman duos to striking open-space card layouts, they are giving you a front-row look at all the ways to bring these final sets to life!
Take a peek at the gorgeous project gallery below, and keep a pen handy to jot down your top picks for your October wishlist!
Mark your calendars, tomorrow is officially Release Day! The full October collection lands in the shop Tuesday, October 27th at 12 PM ET. Set those reminders, and meet us back here tomorrow morning to shop all your favorites!
💖 Want a chance to win a $50 gift card? 💖
It’s easy! Scroll through the sneak peeks and leave a comment at the bottom telling us which project is your favorite.
CARDSTOCK: Stamper’s Select White, Dark Indigo, Sweet Blush, Orange Zest, True Black, Ocean Tides, Pure Poppy, Ripe Avocado, Classic Kraft
OTHER: PTI Red Gems, PTI Black Gems, White Paint, White Glitter Cardstock
TIPS:
Blend Dark Indigo Ink over the Spring Rain cardstock, then lightly splatter white paint across the surface to create a soft, snowy background.
Use foam tape to attach the hats and scarves, adding dimension to the scene.
Die cut the Christmas tree from the Build-A-Christmas Tree Die Set using Ripe Avocado Cardstock. Cut the tree in half and adhere one half to each side of the card front.
INK: Spring Rain, Blueberry Sky, Ocean Tides, Orange Zest, Pure Poppy
CARDSTOCK: Stamper’s Select White, Ocean Tides, Dark Indigo, Orange Zest, Pure Poppy
OTHER: PTI Clear Gems, True Black Gems, Red Gems, White Glitter Cardstock, Stardust Stickles, White Paint
TIPS:
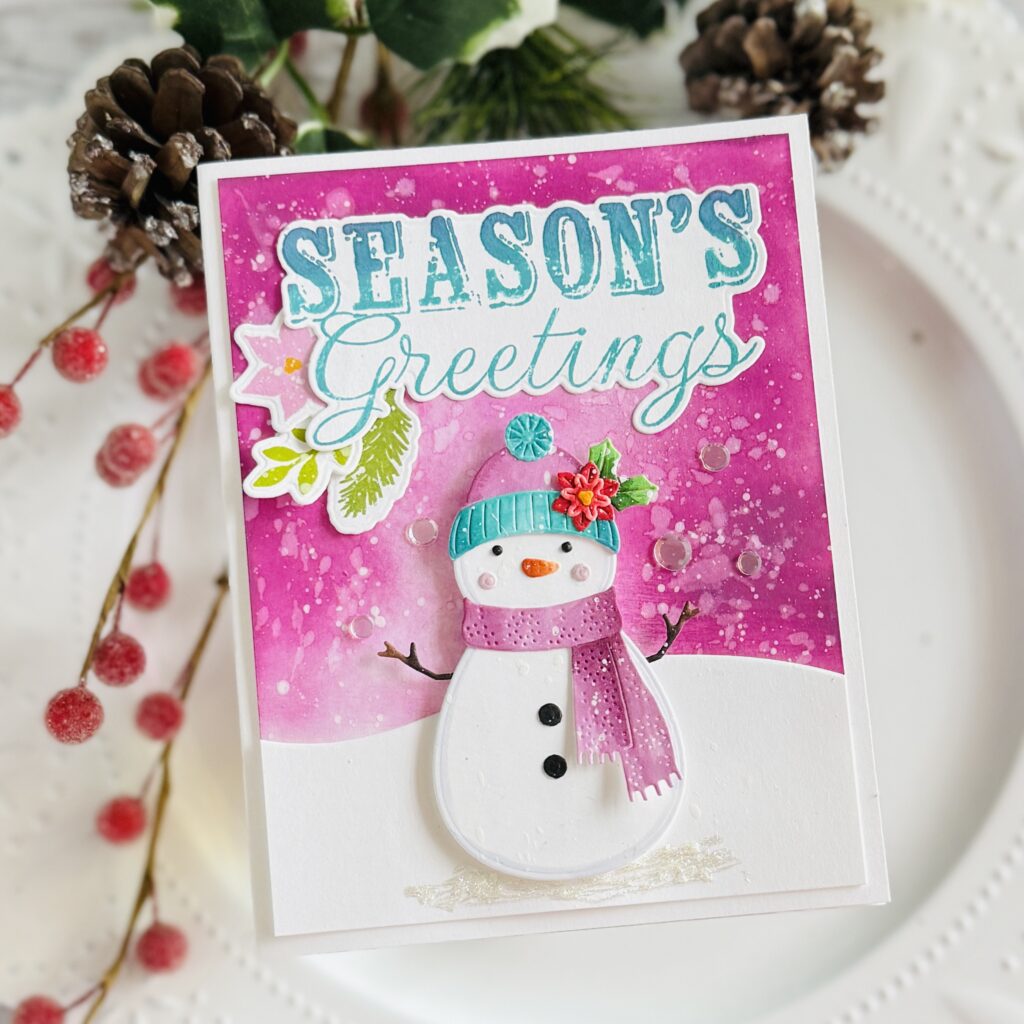
To create the winter scene, blend ink over the card front to form a soft background. Lightly splatter white paint over the inked area to resemble falling snow, then add the Christmas tree die cut and snowflakes to complete the scene.
Use foam tape to attach the snowman to the card front, then add gems for the buttons and eyes to create visual interest.
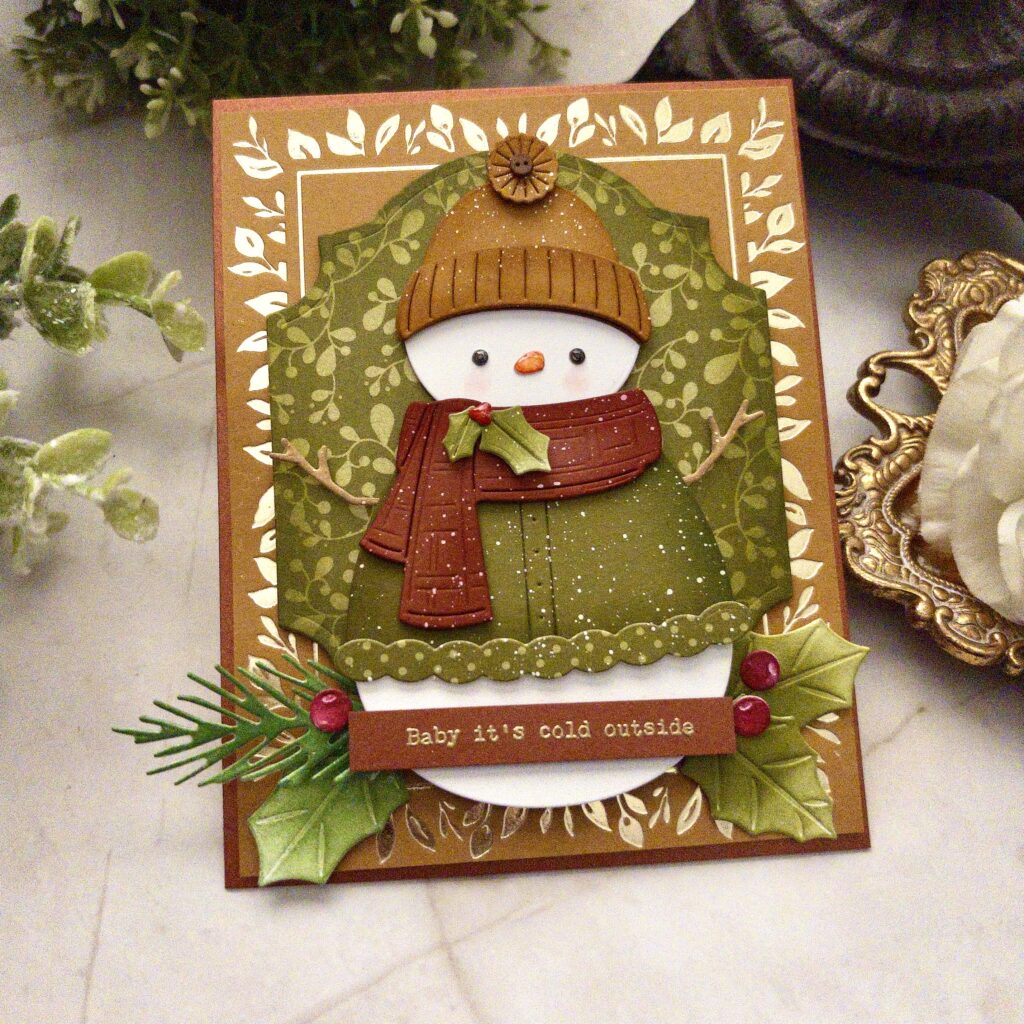
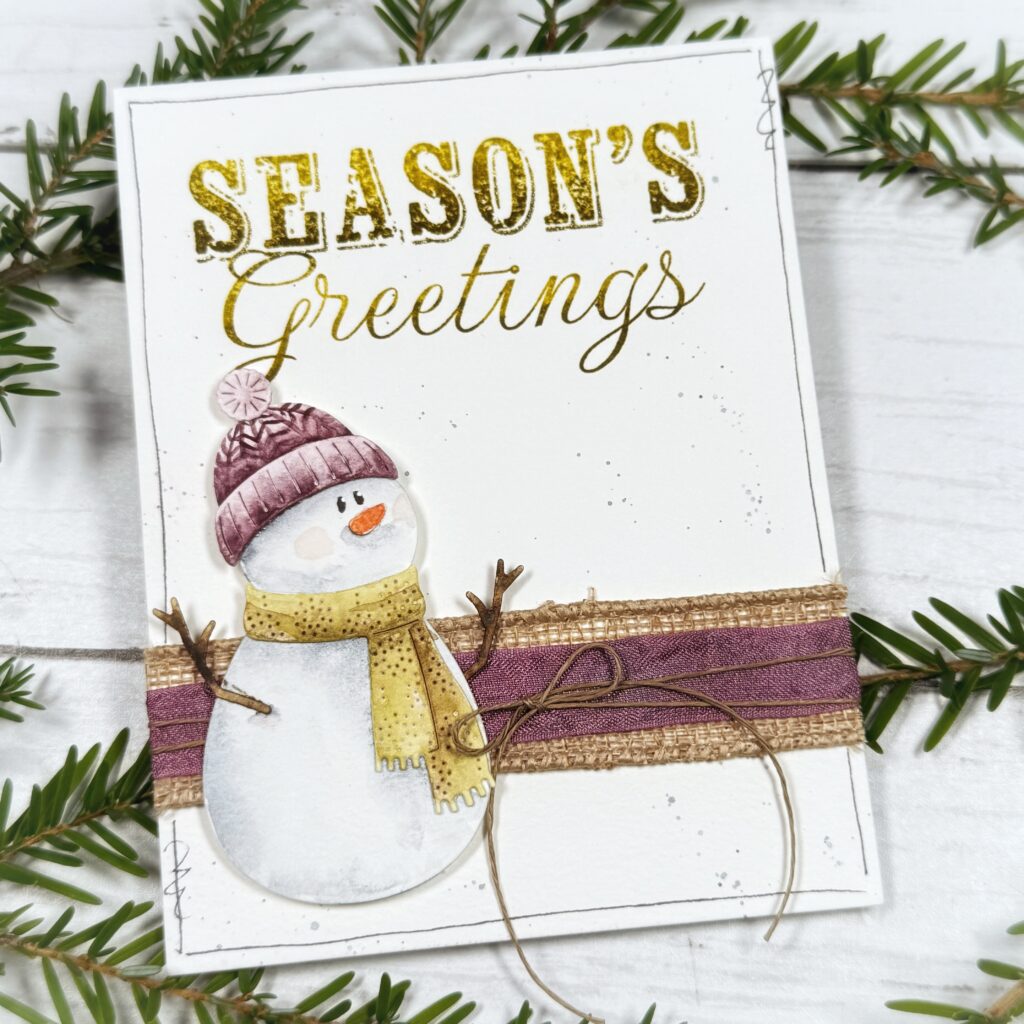
OTHER: Fresh Greens Hot Foil Plate, champagne foil, white gouache, gold embossing powder, glossy accents, mini button
TIPS:
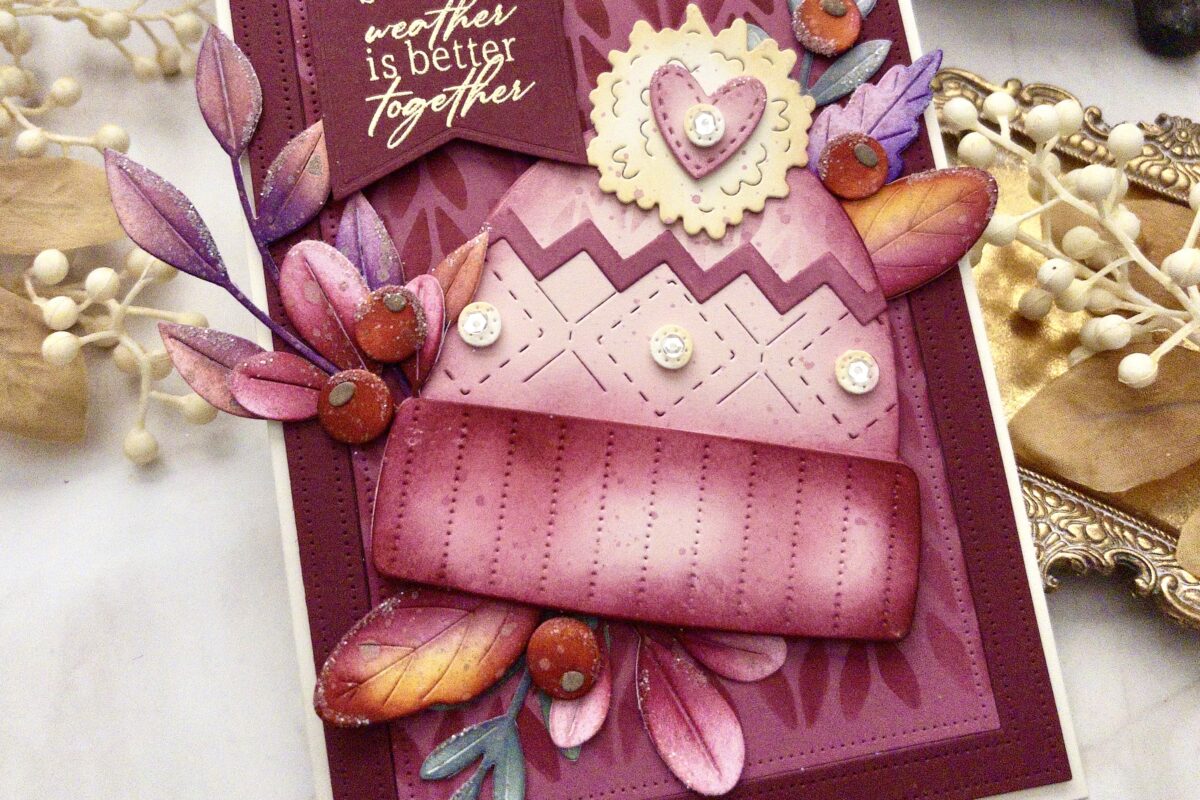
Use a tiny button on the hat for rustic charm.
Heat emboss on shimmer cardstock for a different look.
Use glossy accents on the eyes and carrot nose for shine.
Add “blush” to the cheeks with a small brush.
MarDi Rembold
Bobbi Lemanski
Liane Hodges
Brenda Noelke
Melissa Phillips
Betty Wright
Kassi Hulet
Kailash Naidoo
Designer's Free Space
MarDi Rembold
MarDi Rembold
Betty Wright
Bobbi Lemanski
Kelly Lunceford
Brenda Noelke
Kassi Hulet
Melody Rupple
MarDi Rembold
What a joyful finale to our October Release Countdown! We are completely smitten with the customizable snowman wardrobe layers, cozy winter accessories, and versatile layout elements making their grand debut today. Seeing these playful elements come to life has been the absolute best way to finish off our countdown! ✨
Take your time taking in all the creative inspiration from our design team above, and drop a comment below letting us know which Day 4 debut topped your final release wishlist!
Thank you so much for joining us for all four days of sneak peeks! We cannot wait for you to get your hands on these new treasures when the entire collection goes live. ❤️
Click HERE to see our October 2026 Release Winners page!
Winners will be announced tomorrow, October 27th at 5 PM ET.
Carmela Douglas Hubler says
Cute snowmen!! Love the different sizes!