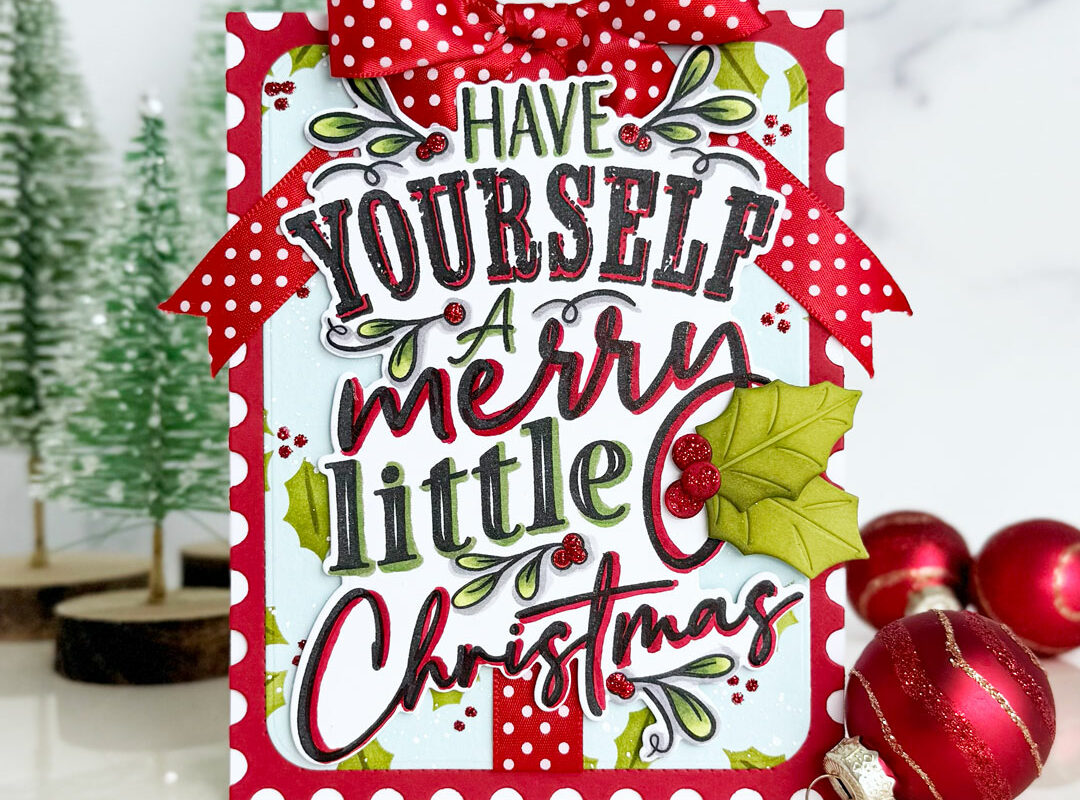
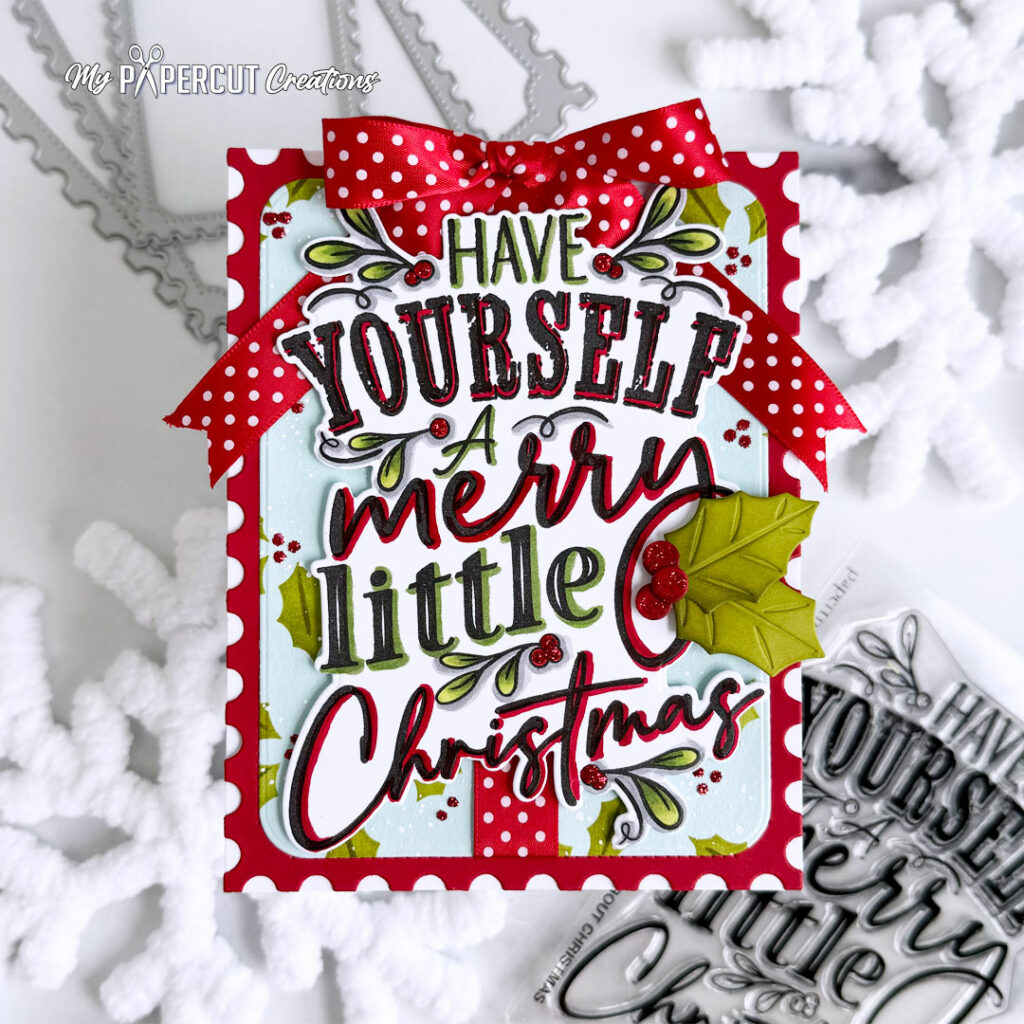
Hello, fellow crafters!! Brenda here sharing another Project Inspiration project with you today!! Nothing says Christmas quite like a festive combination of classic red, crisp white, and a touch of greenery! Today’s handmade card is all about spreading a little holiday cheer with its playful polka dots, beautiful holly accents, and an oversized red bow that steals the show. The cheerful sentiment, “Have Yourself a Merry Little Christmas,” takes center stage, making this design extra special. It’s a fun, festive creation filled with Christmas charm and just the right amount of sparkle!
Supplies
Stamps: All About Christmas
Dies: All About Christmas, North Pole Mail: Postage Stamp Frame Post Card, Rounded Rectangles, Build-A-Bell
Stencil: Holly Berries
Ink: Simply Chartreuse, Ripe Avocado, Pure Poppy, Scarlet Jewel
Cardstock: Pure Poppy, Coastal Blue, Simply Chartreuse, Stamper’s Select White
Other supplies: Pure Poppy Swiss Dot 5/8″ Ribbon, black Copic-friendly ink, Christmas Red Stickles, Copic markers, white bleed-proof ink, liquid glue, foam tape
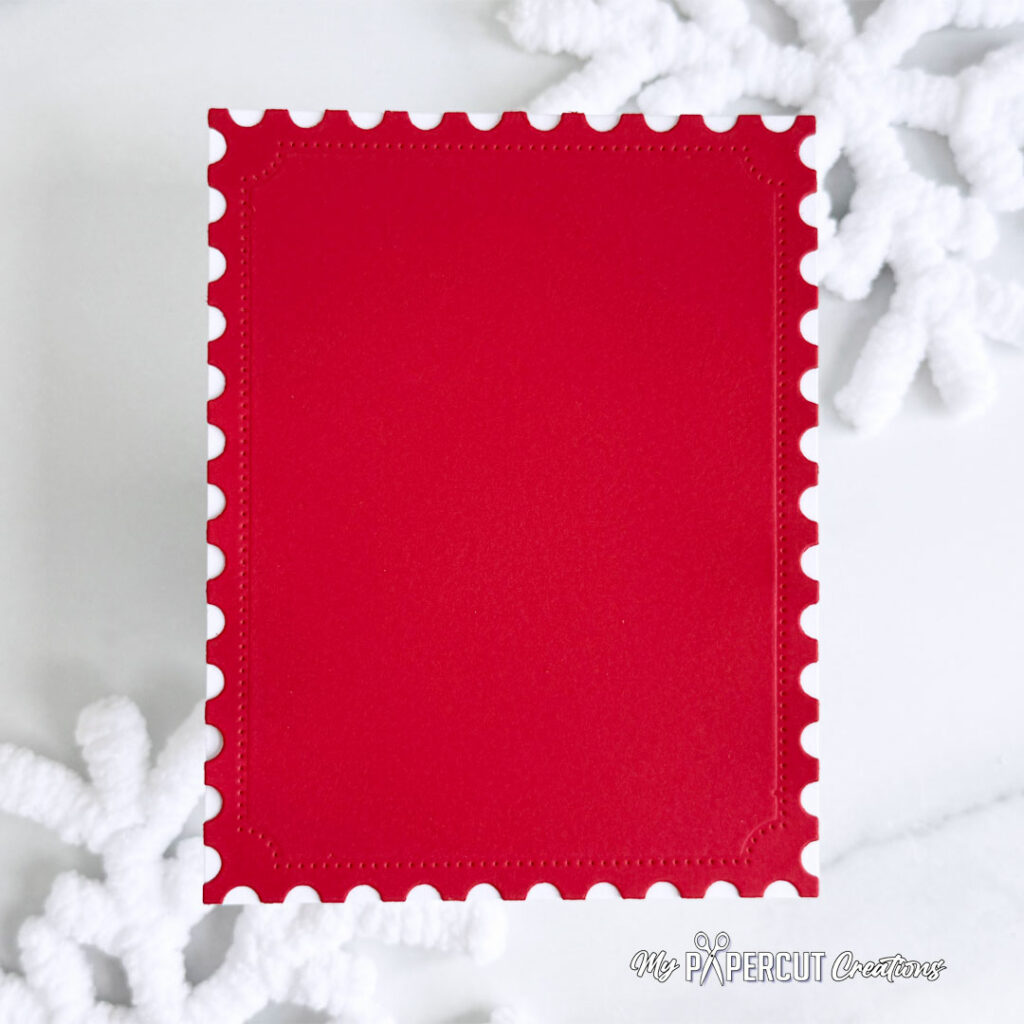
Step 1: Die-cut panel of Pure Poppy cardstock with the largest die in the North Pole Mail: Postage Stamp Frame Post Card Die Set and adhere to an A2 white card base.
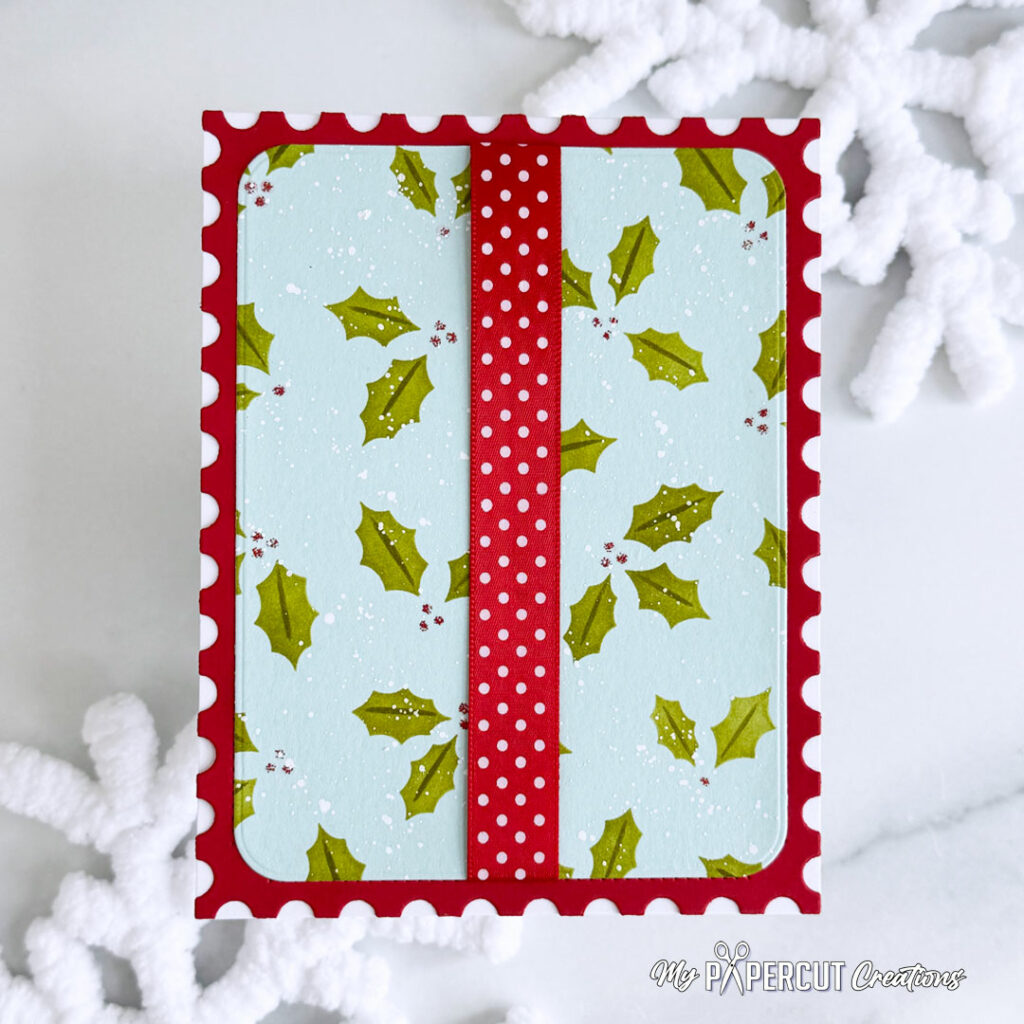
Step 2: Blend Simply Chartreuse, Ripe Avocado and Pure Poppy inks onto a panel of Coastal Blue cardstock through the Holly Berries Stencil Set. Splatter with diluted white bleed-proof ink. Die-cut with the largest Rounded Rectangles Die, then wrap a length of Pure Poppy Swiss Dot 5/8″ Ribbon from top to bottom and adhere the ends to the back. Adhere to the background with liquid glue.
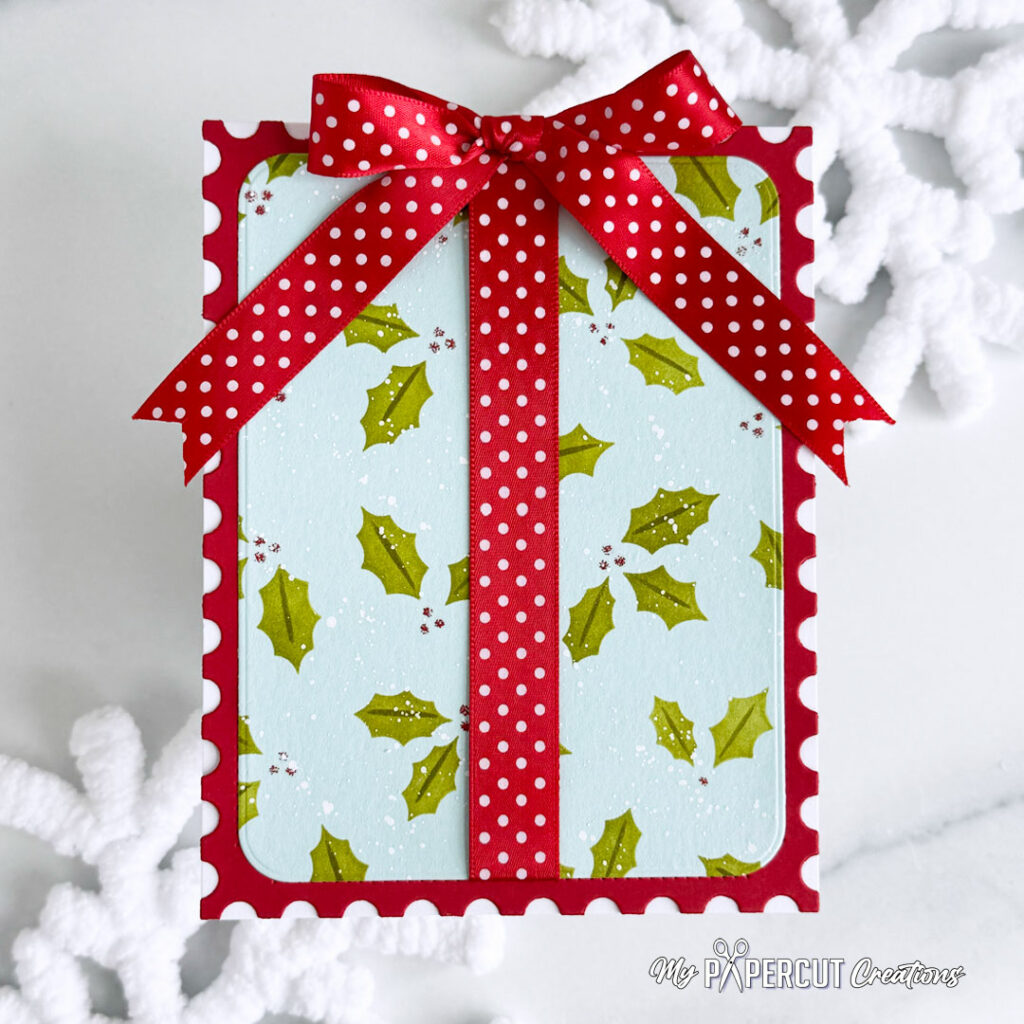
Step 3: Tie Pure Poppy Swiss Dot 5/8″ Ribbon into a bow and adhere to the top of the card.
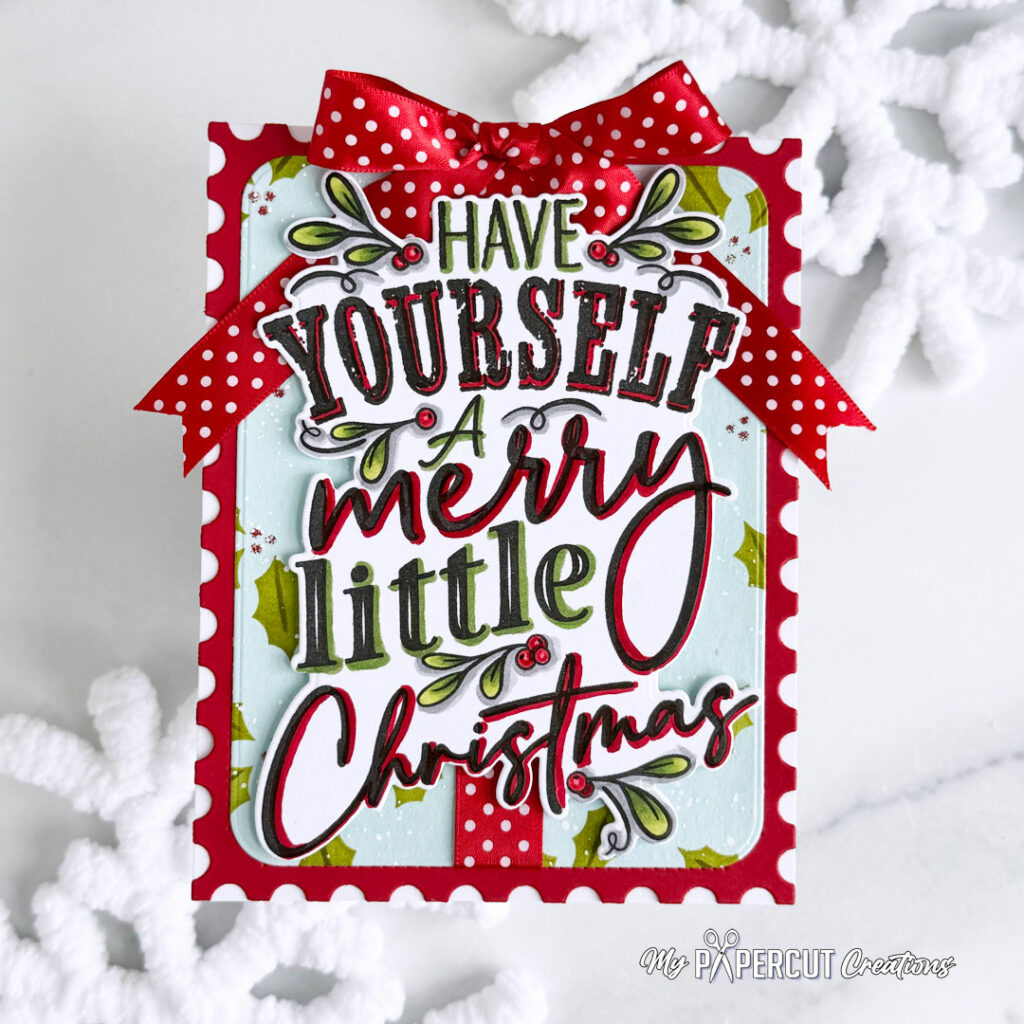
Step 4: Stamp the image from the All About Christmas Stamp Set onto Stamper’s Select White cardstock and color with Copic markers. Die-cut with the Coordinating Die and pop up with foam tape.
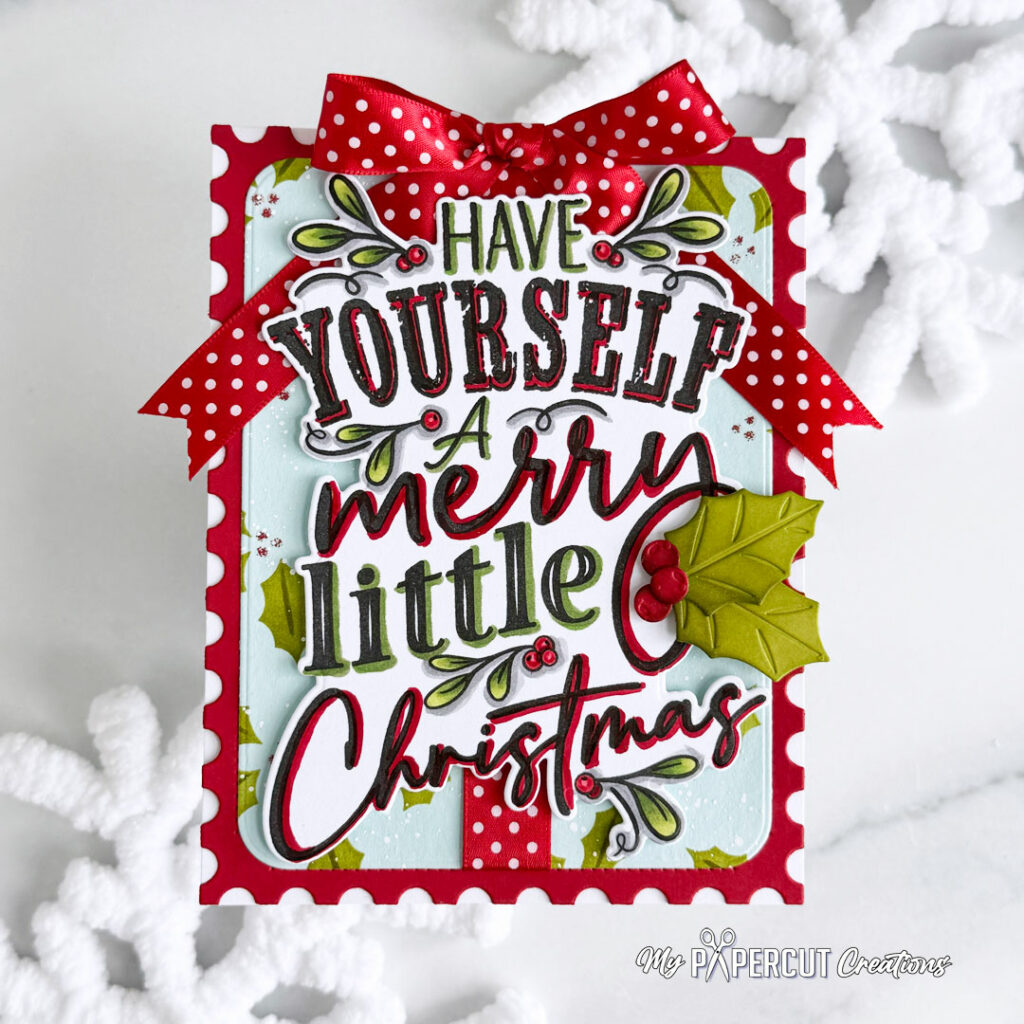
Step 5: Die-cut holly and berries from the Build-A-Bell Die Set from Simply Chartreuse and Pure Poppy cardstock. Add shading with Ripe Avocado and Scarlet Jewel inks. Adhere with foam tape, doubling it up where needed.
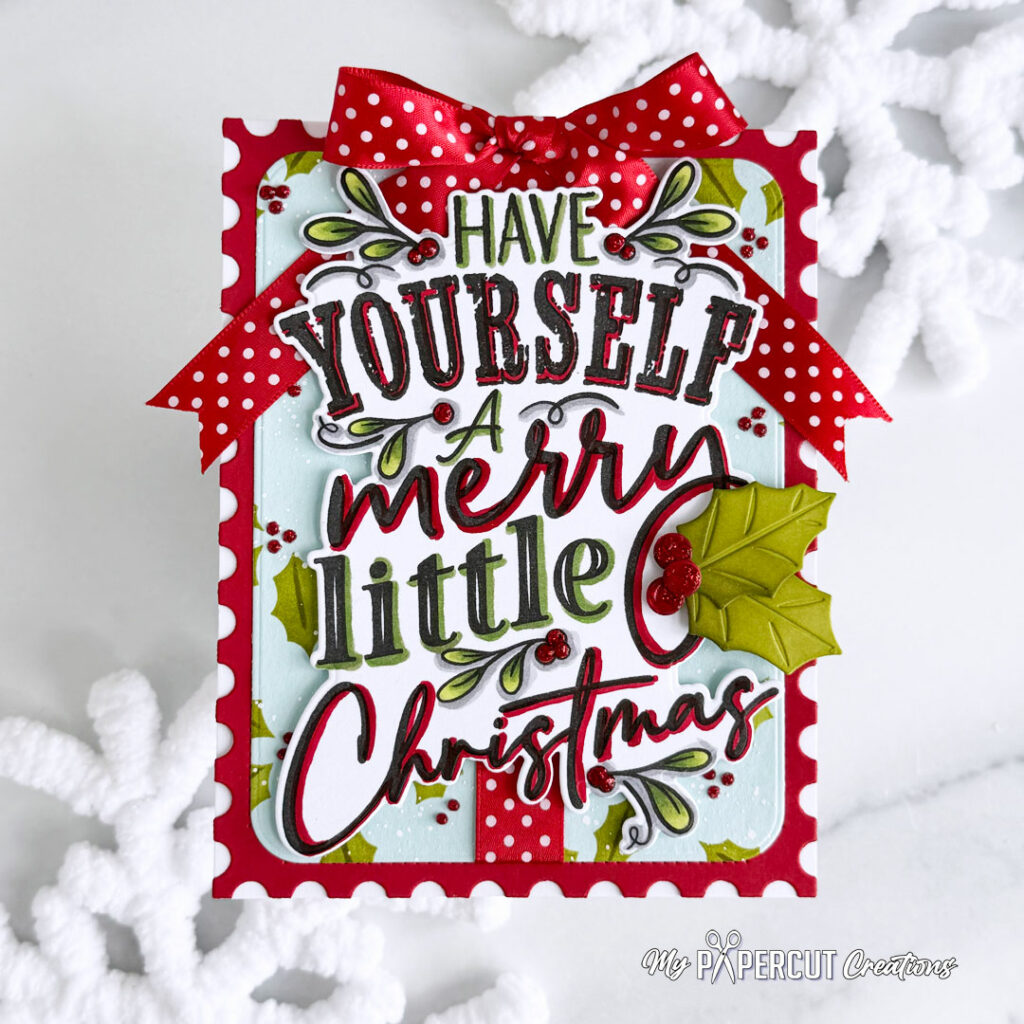
Step 6: Add Christmas Red Stickles to the berries on the background, sentiment and die-cuts.
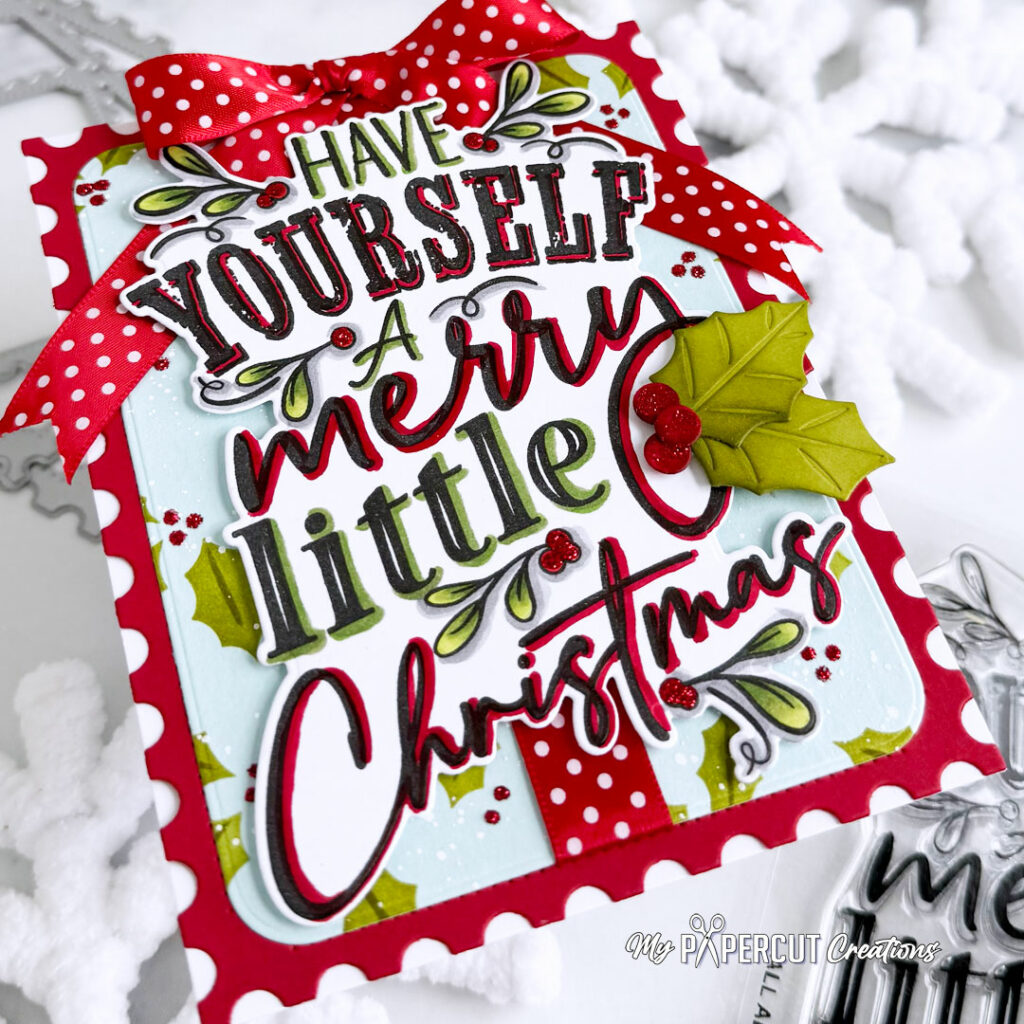
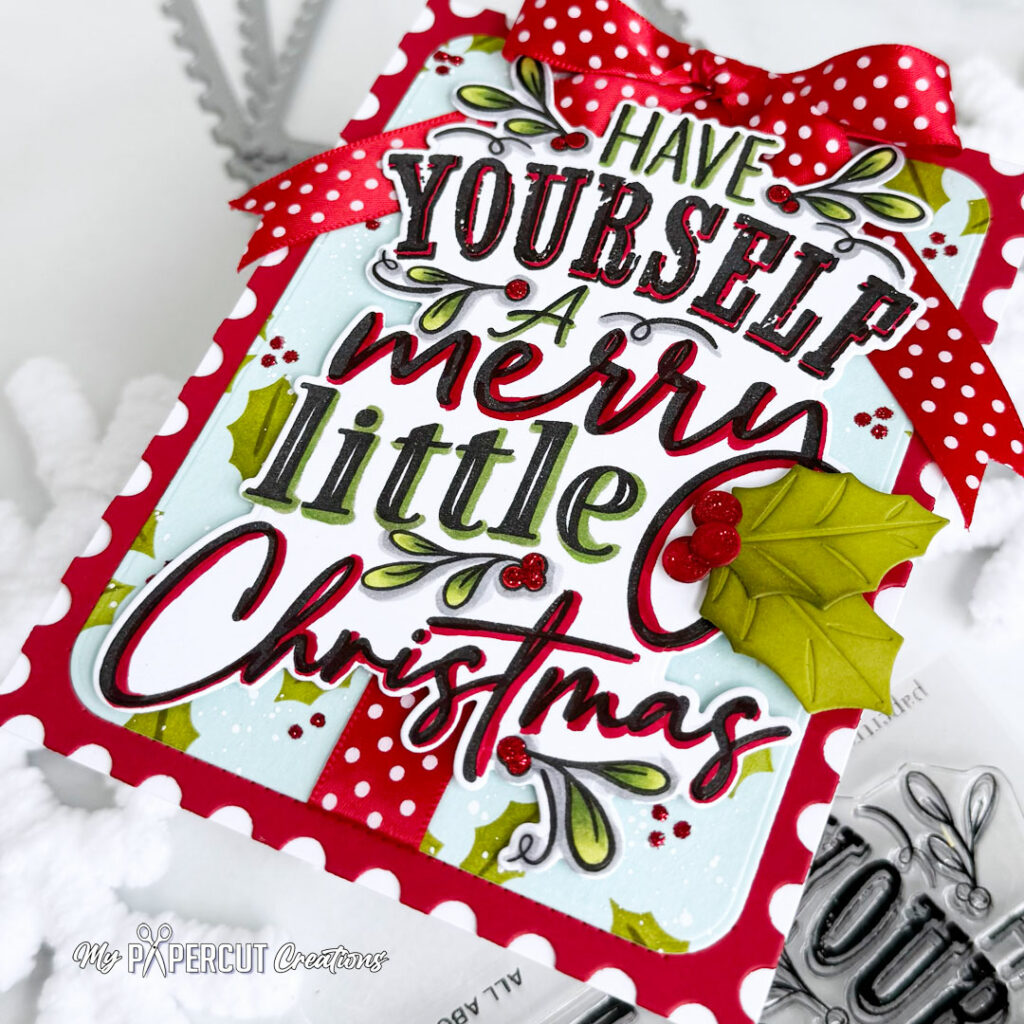
I hope this festive card has inspired you to add a little extra sparkle and Christmas cheer to your holiday cardmaking!! I just love how the bold red polka dots, cheerful greenery, and oversized bow come together to create such a merry design!! Sometimes a little ribbon and a whole lot of Christmas spirit are all you need to make a card truly special!!
Thank you so much for stopping by!! Have a wonderful week!!
Leave a Reply