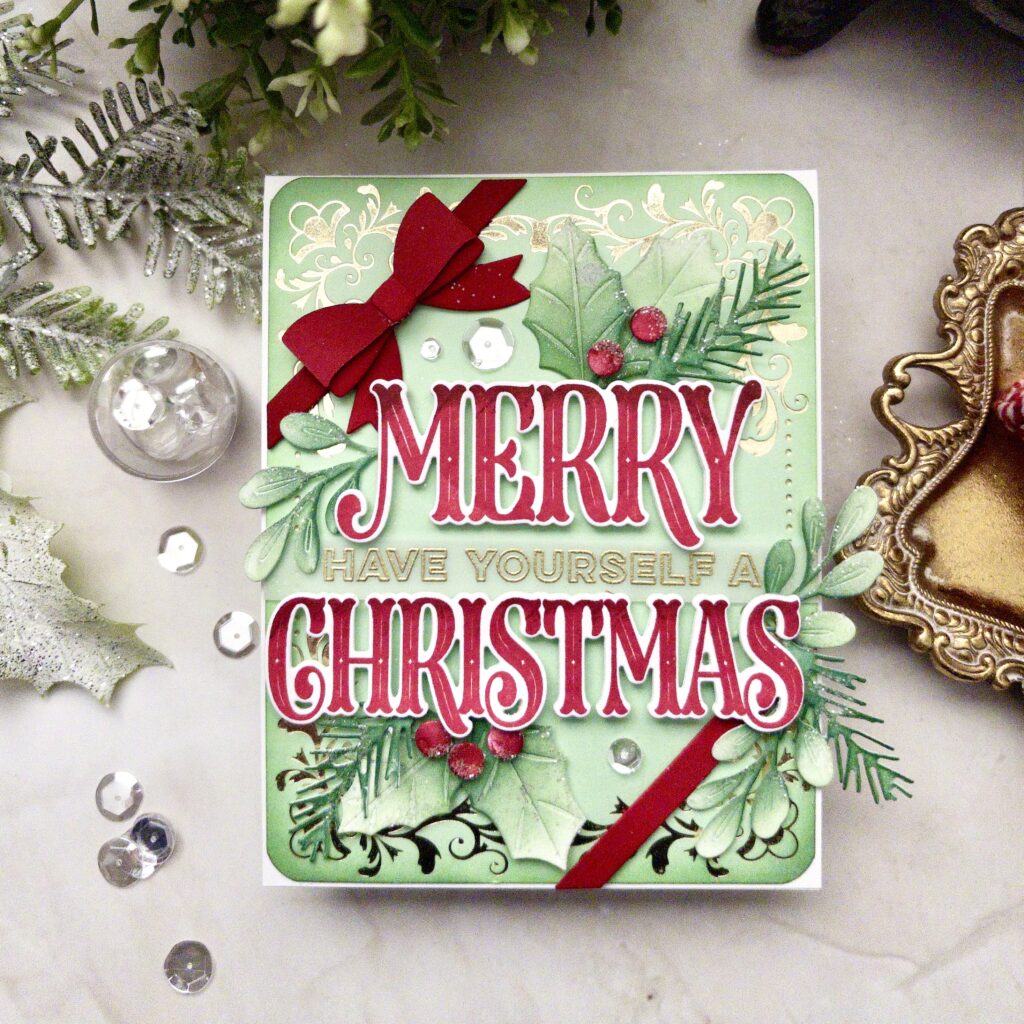
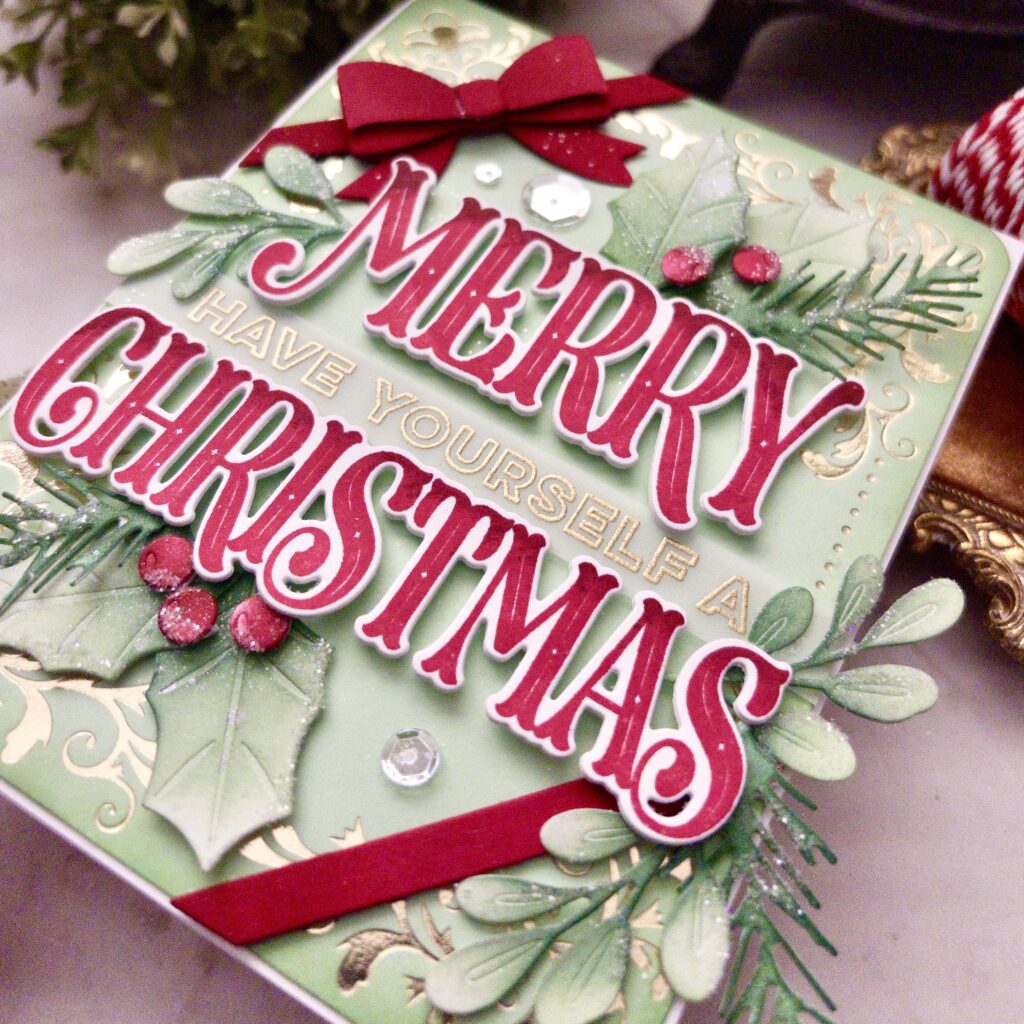
Kelly Lunceford gives Christmas cardmaking a fresh and festive twist with this beautiful Have Yourself a Merry Christmas Card. ❤️ The soft Mint Julep background, elegant champagne foil details, and bold red ombré sentiment create a lovely combination of classic Christmas colors with a fresh look. Layered greenery, berries, and a beautiful red bow add dimension and festive texture, making this card a wonderful design to recreate for the holiday season.
Kelly shares, “Have you ever created a card you ended up liking so much, you wanted to make it again? That has happened to me a few times but I never actually do it! Ha ha! I decided to put a twist on an old favorite of mine by switching up some of the colors and other details to create something altogether new and fresh!”
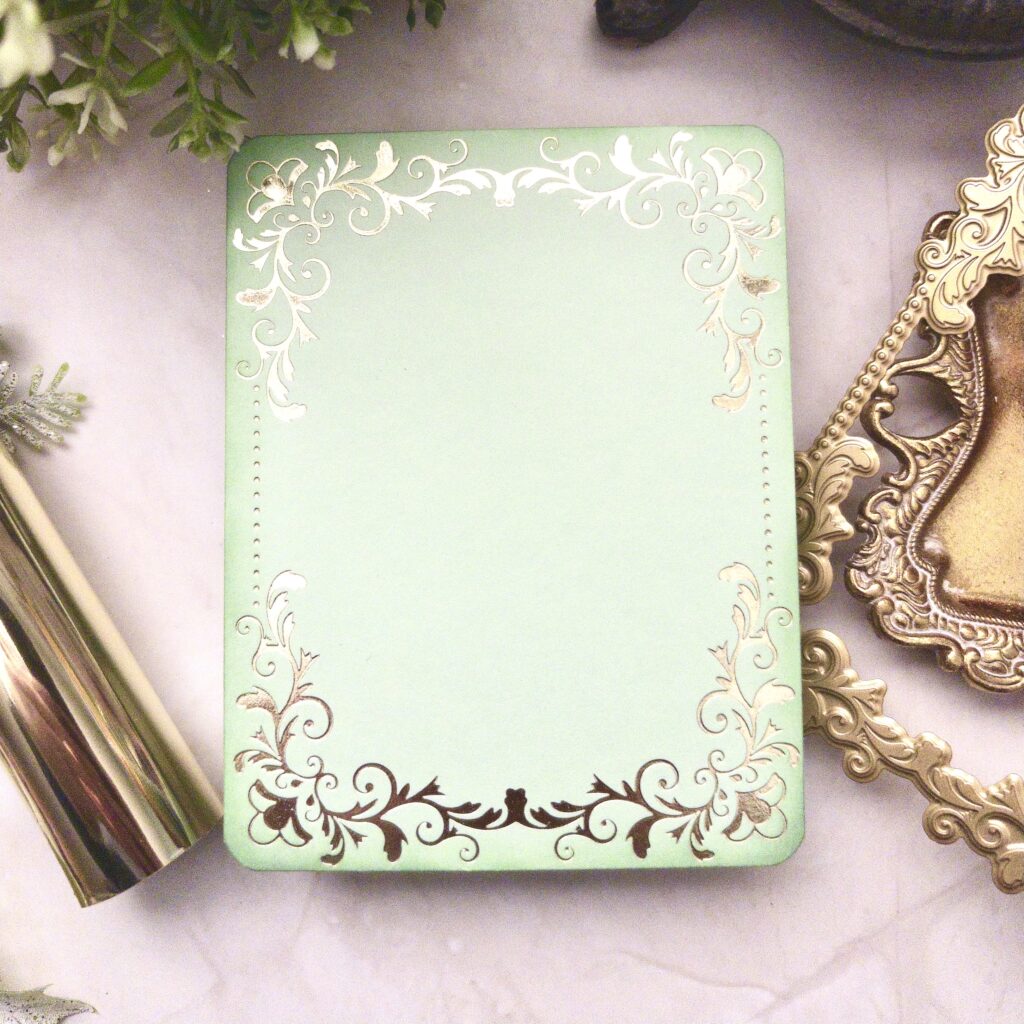
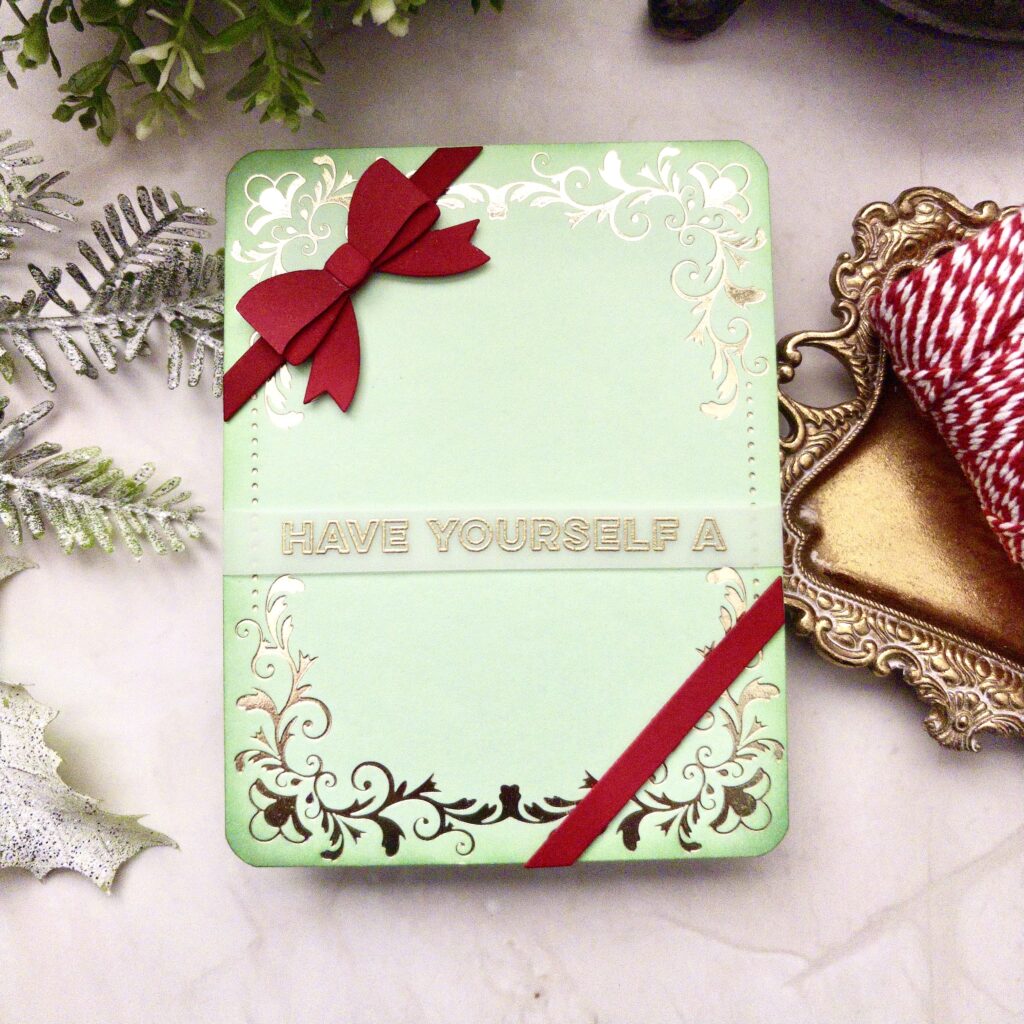
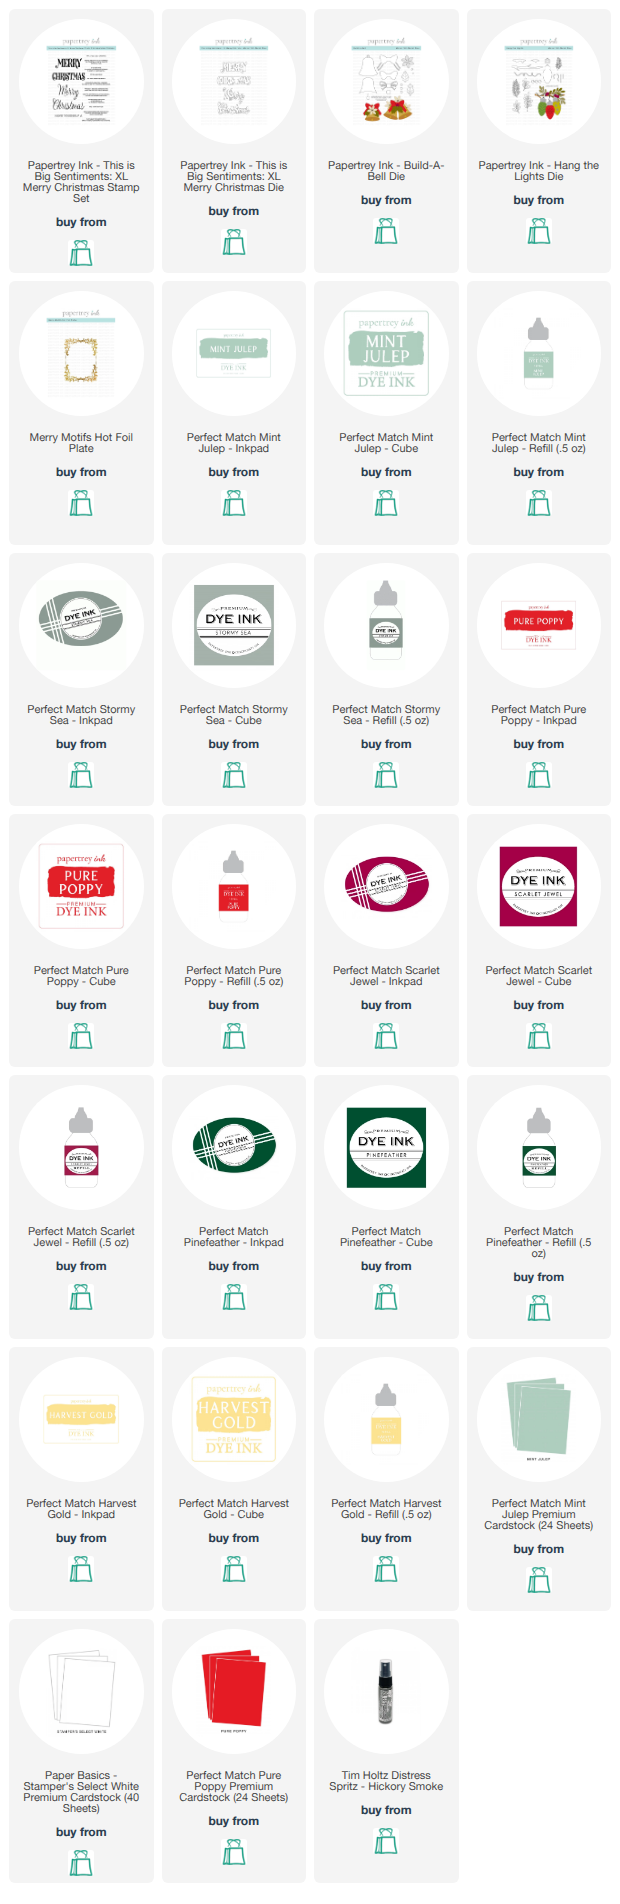
Step 1: Foil an A2 panel of Mint Julep cardstock using the Merry Motifs Hot Foil Plate. Trim it down close to the foil design and then use a corner rounder punch on the four corners. Blend some Mint Julep and Stormy Sea ink around the edges with blender brushes.
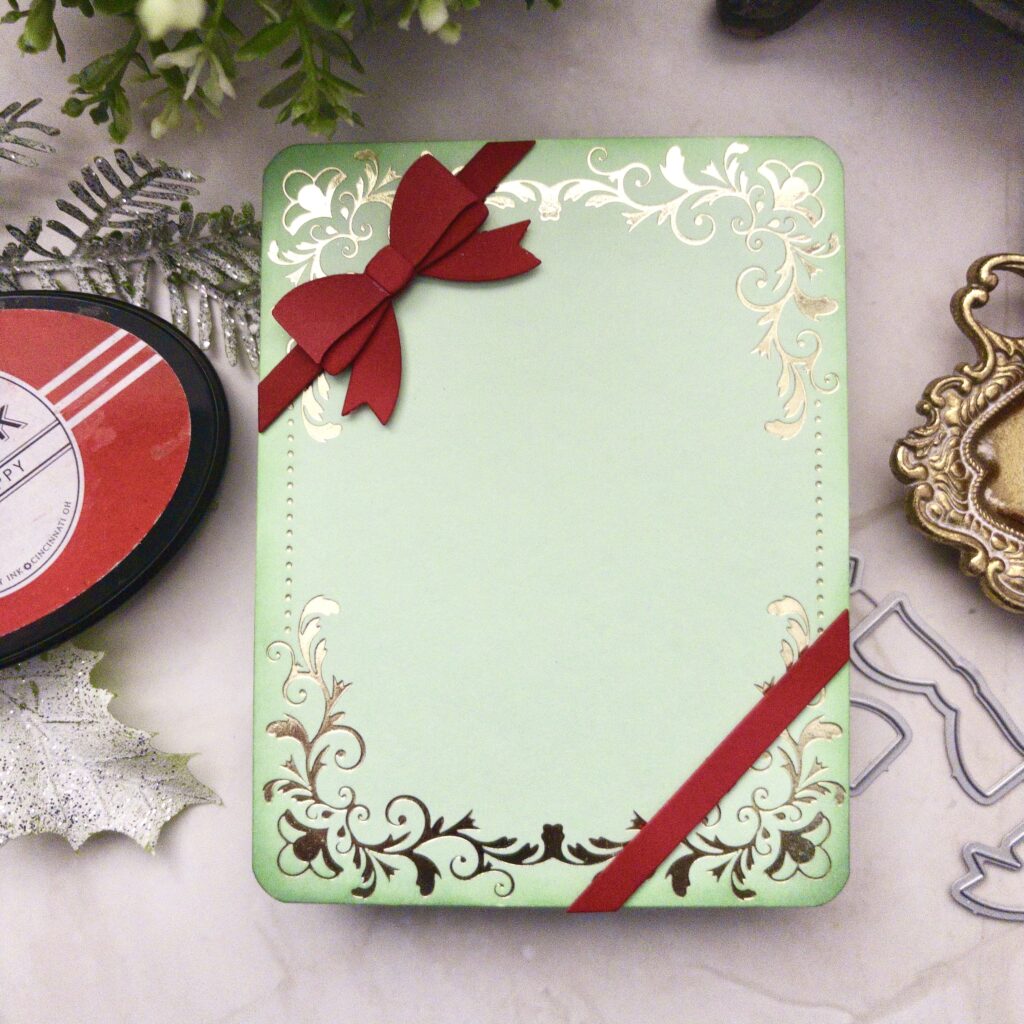
Step 2: Cut the ribbon and bow using the Wrap-it Ribbons die from Pure Poppy cardstock. Add the same color ink to create dimension. Assemble the bow using liquid glue and foam squares. Attach it to the foiled panel.
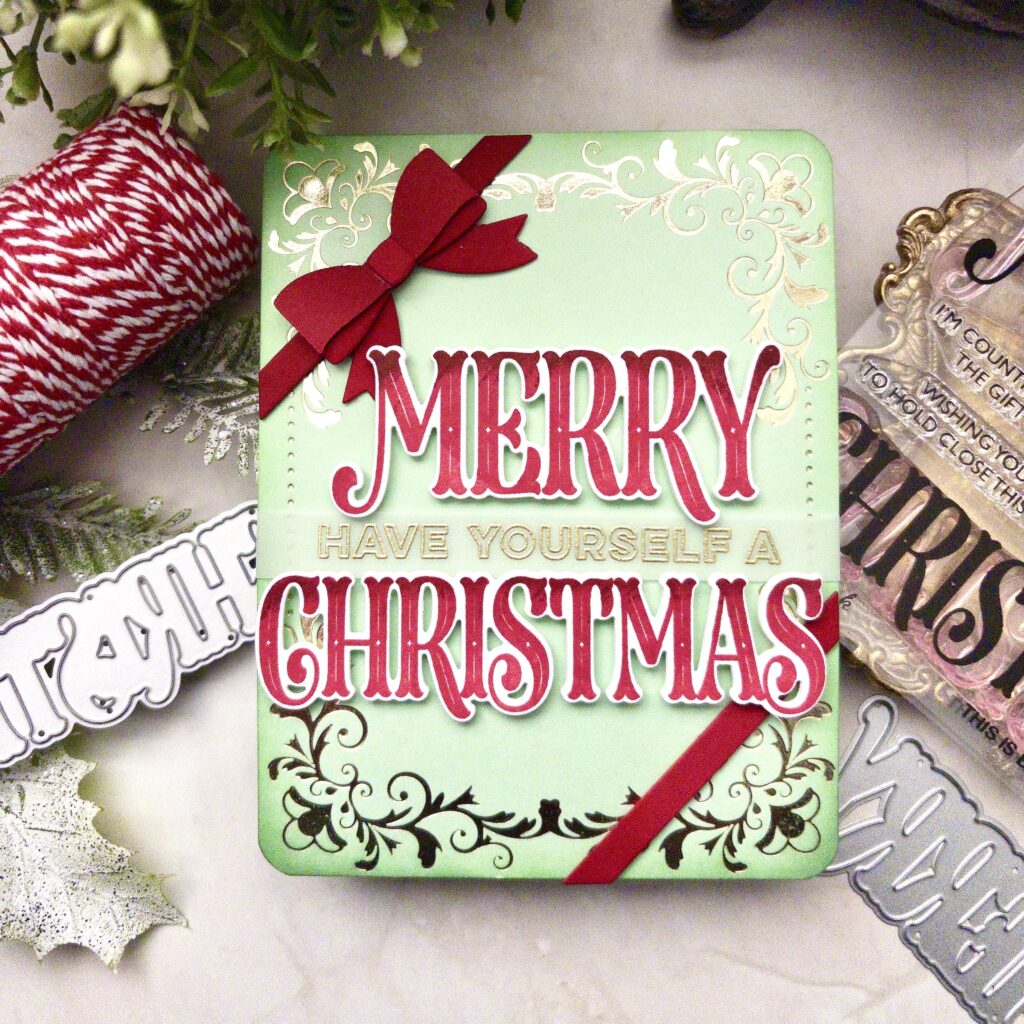
Step 3: Heat emboss the “Have Yourself A” portion of the sentiment, using gold powder on Vellum. Wrap it around the foiled panel and secure in the back with clear tape.
Step 4: Die cut the Merry Christmas sentiment three times for each word from Stamper’s Select White cardstock. Stamp one word each with Pure Poppy and Scarlet Jewel ink for an ombré effect. Stack the stamped words on the plain die cuts for a sturdy piece. Attach the sentiment to the card front using foam squares.
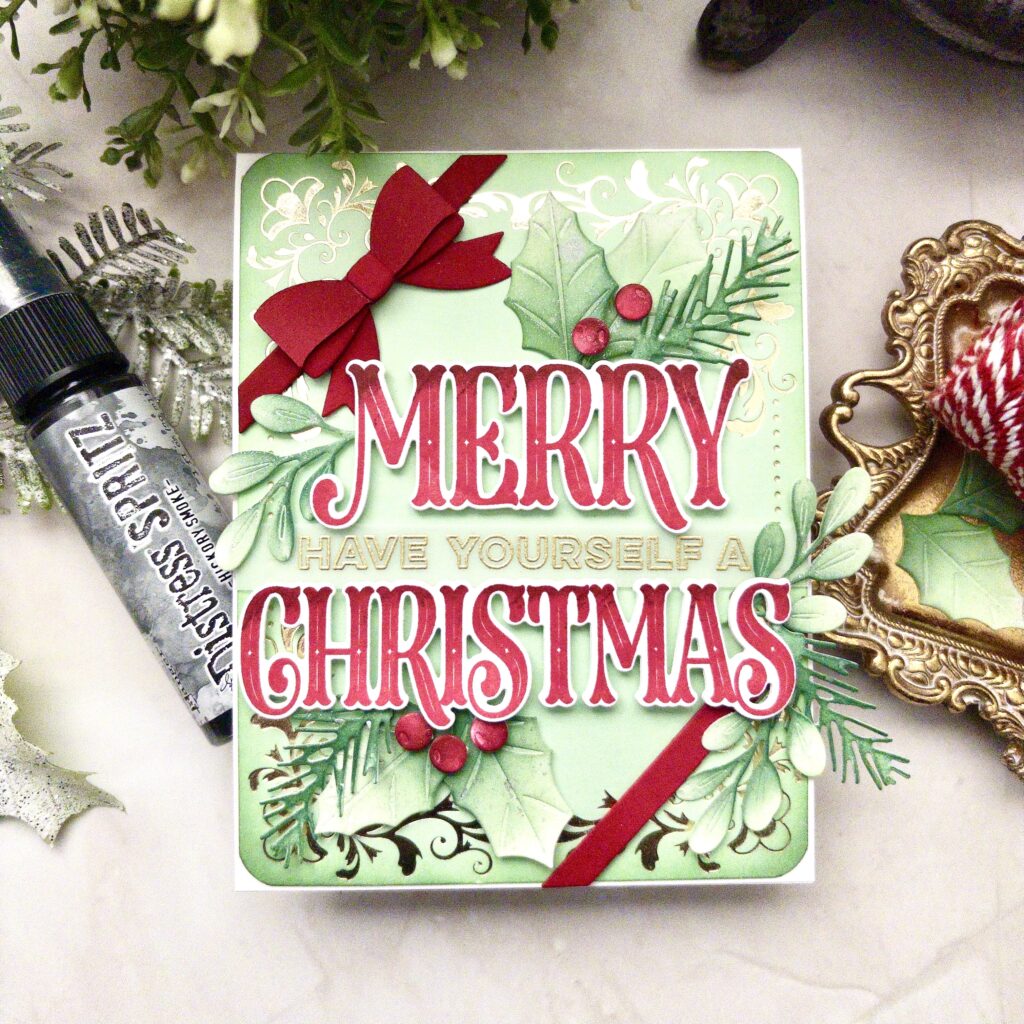
Step 5: Cut and color all of the foliage and berries using a blender brush and dye ink. Give them all a good spritz of Hickory Smoke Distress Spritz. Once they are dry, arrange them around the sentiment and bow using liquid glue and foam squares. attach the panel to an A2 top-folding white card base.
Step 6: add glitter to the foliage and berries and a trio of sparkling clear sequins.
This festive design is a wonderful reminder that sometimes a few simple changes can give a favorite card design an entirely new look. ✨ From the shimmering champagne foil and dimensional red sentiment to the beautiful greenery and sparkling berries, every detail comes together to create a Christmas card full of holiday cheer. Follow Kelly’s steps and experiment with your own favorite colors, foliage, and embellishments to create a design that’s uniquely yours. It’s a beautiful way to send warm Christmas wishes to someone special!


Leave a Reply