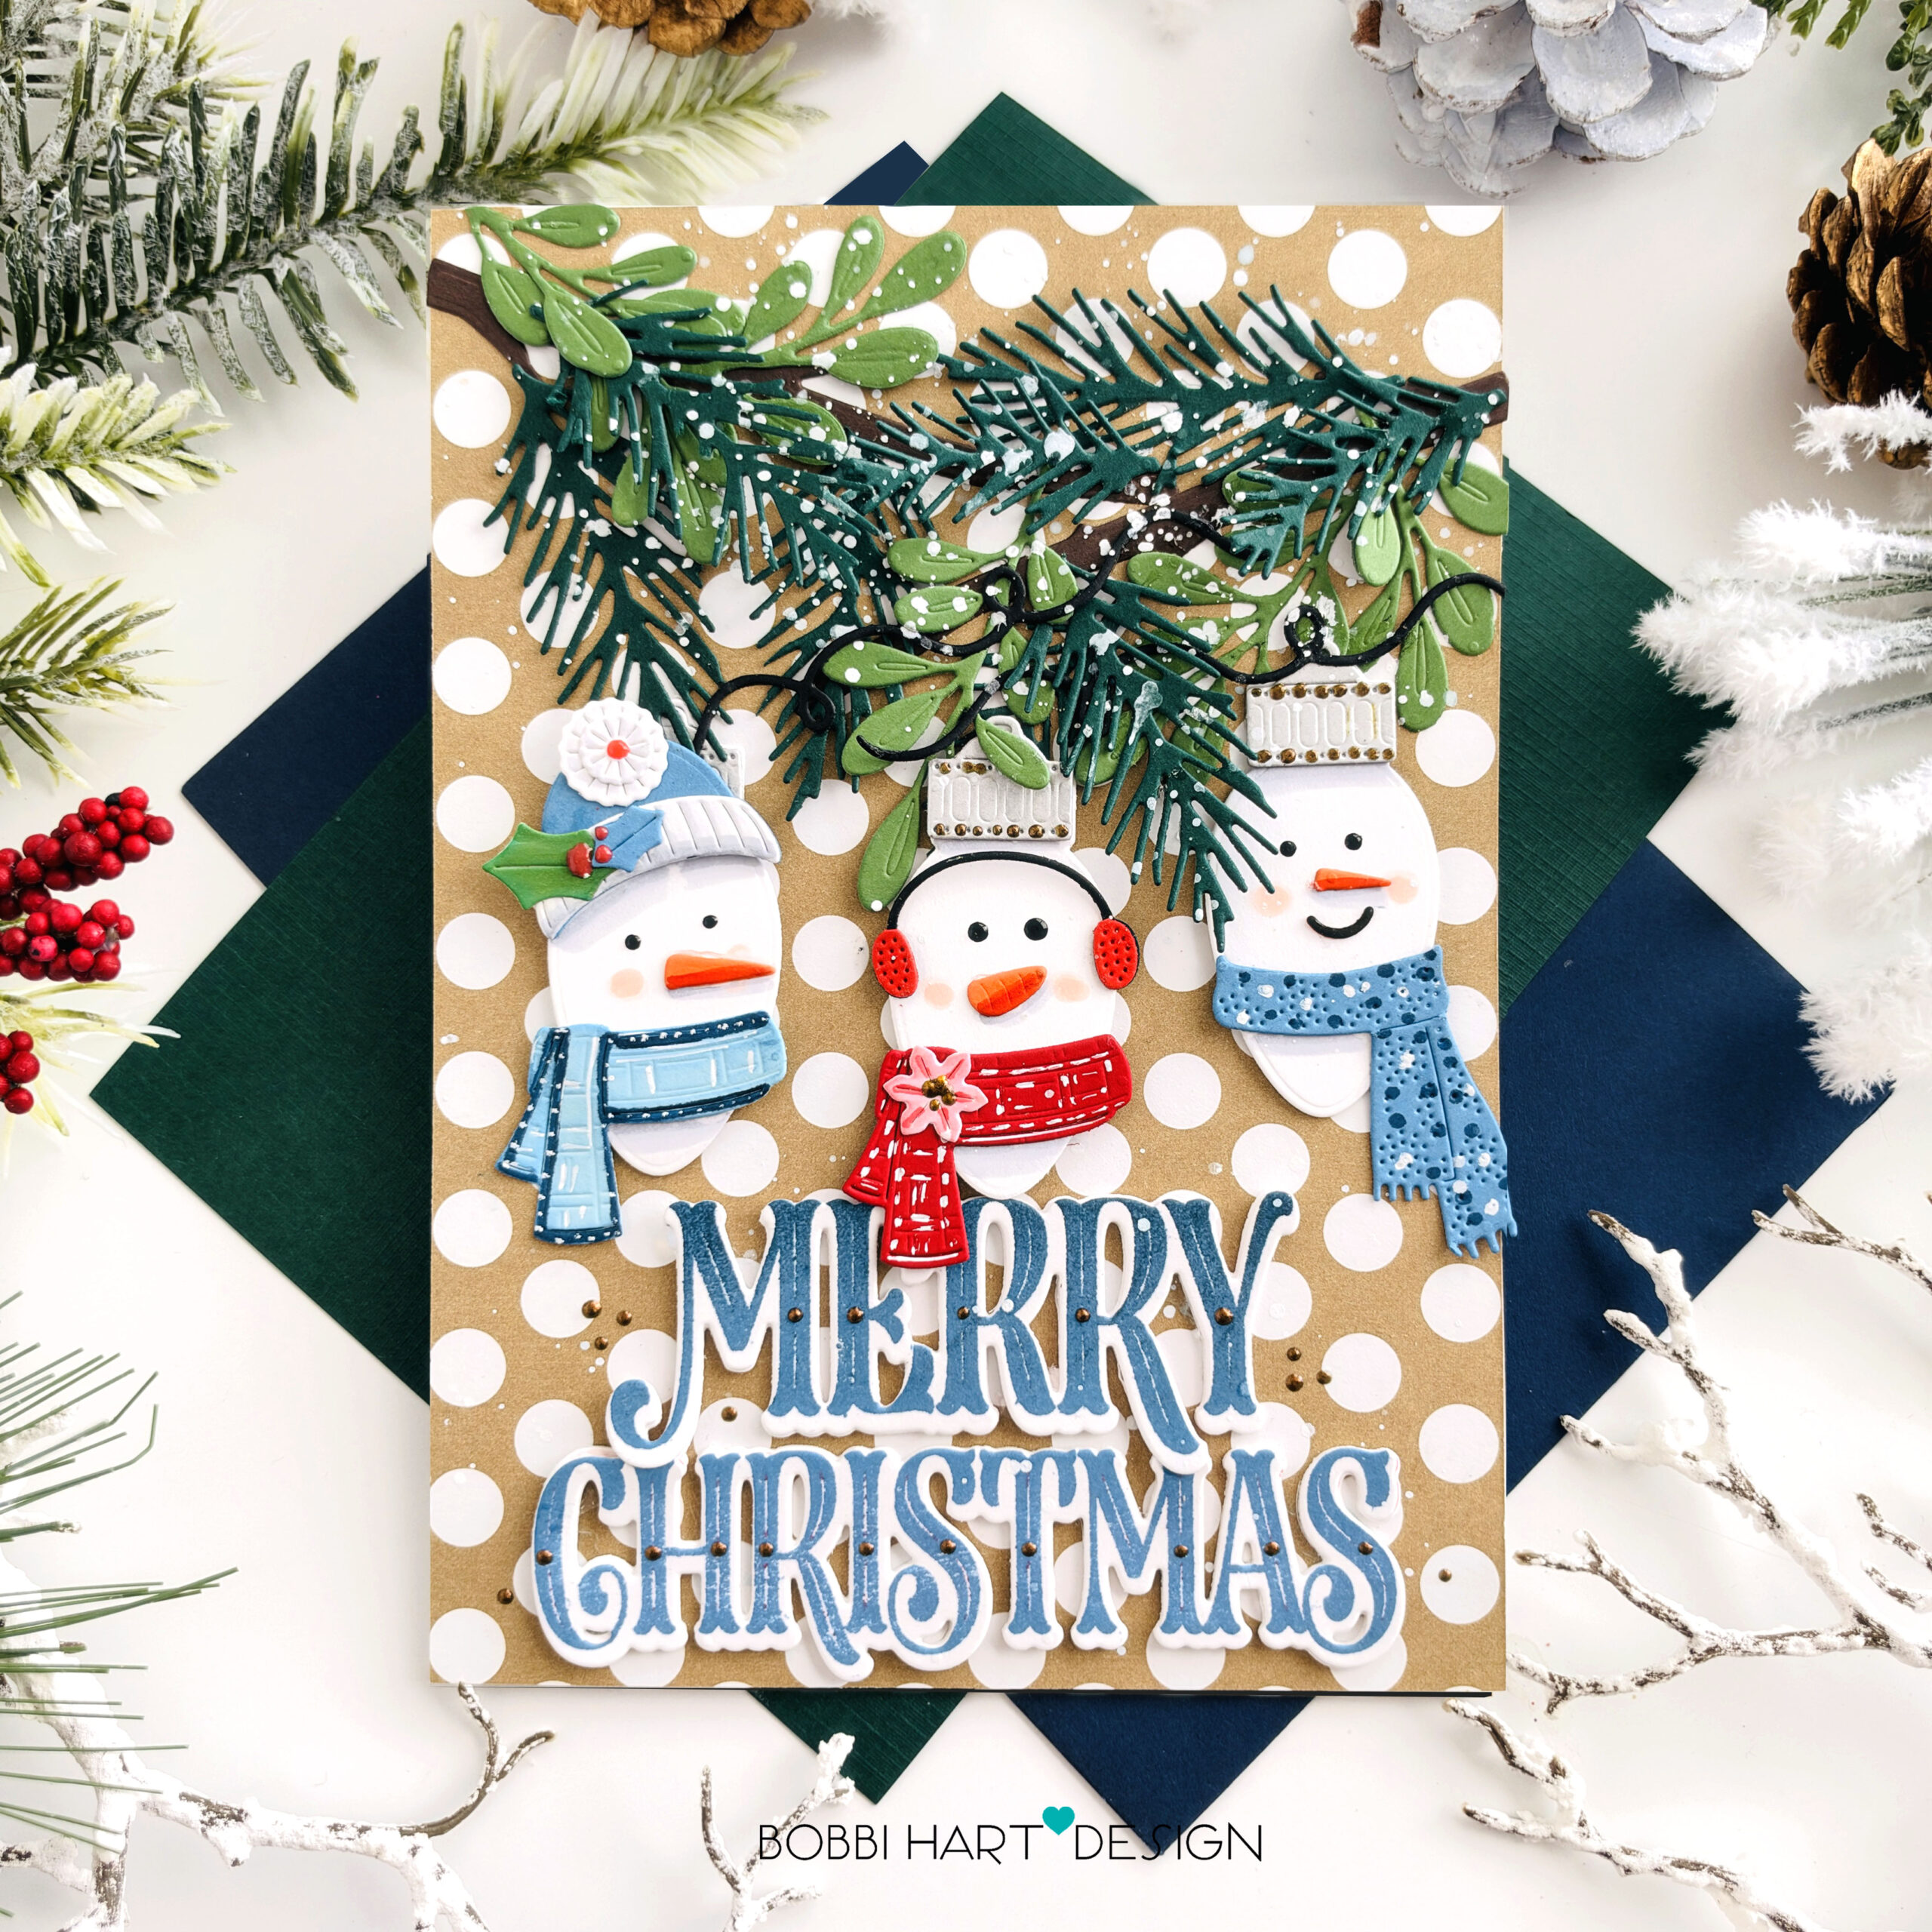
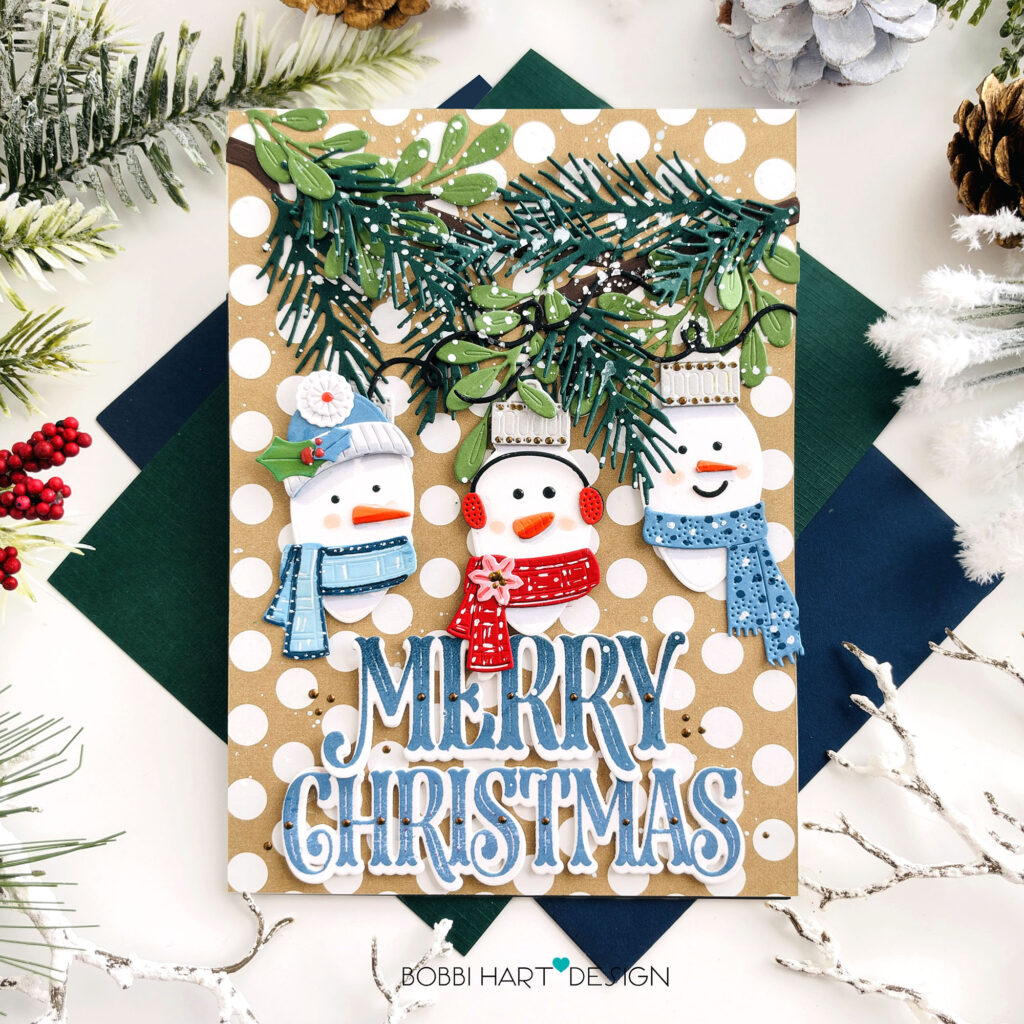
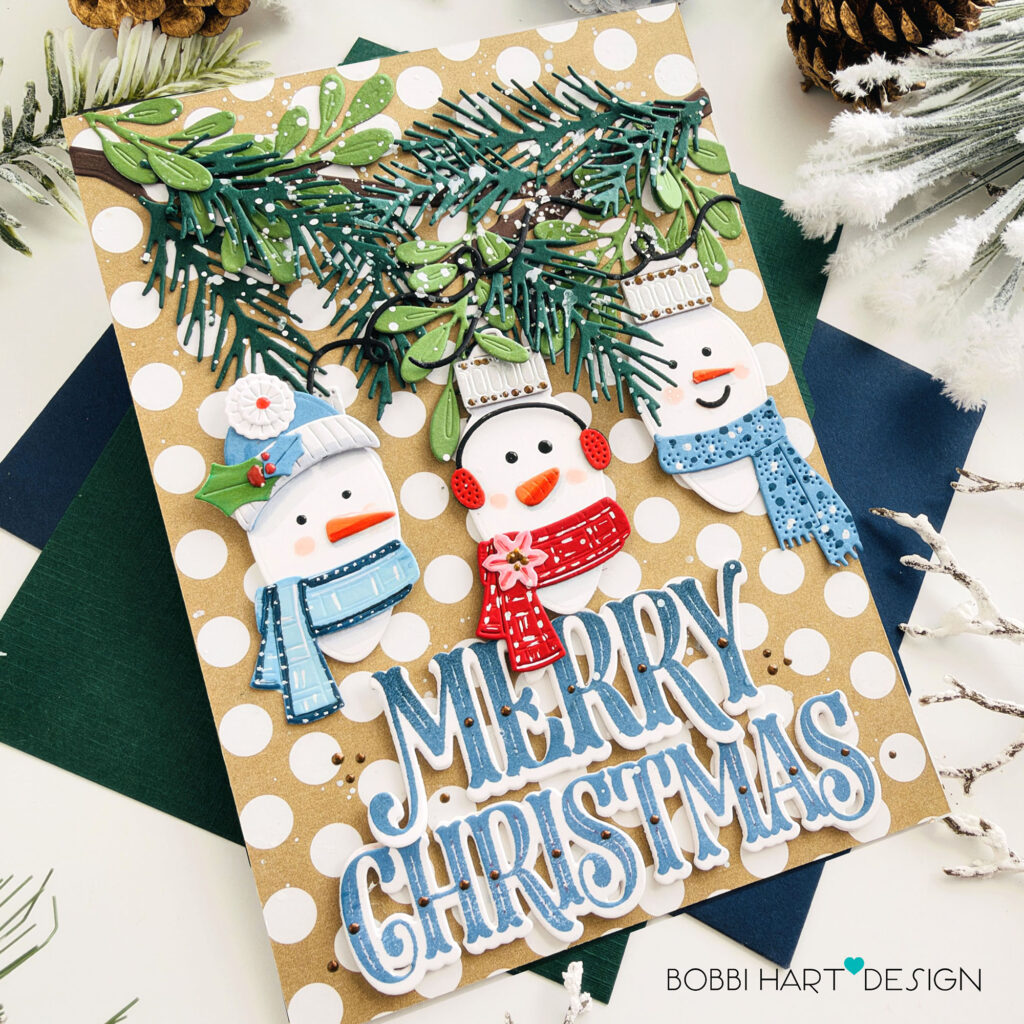
These three snowmen are all lit up and ready to spread some Christmas cheer! Today’s handmade card features a trio of whimsical snowmen made from white Christmas lights, each dressed for the season in cozy scarves, festive hats, and fuzzy earmuffs, complete with adorable carrot noses! Hanging from curly black strands of Christmas lights, these frosty friends are nestled among lush evergreen branches and sprigs of mistletoe. A bold, beautiful blue “Merry Christmas” sentiment adds the perfect pop of color to this playful holiday scene. Who knew Christmas lights could have so much personality?
This 5″ X 7″ holiday card features the following Papertrey Ink products:
This is Big Sentiments: XL Merry Christmas stamps and coordinating dies
Cardstock Solid: Stamper’s Select White cardstock, New Leaf, Pinefeather, Pure Poppy Blueberry Sky, True Black, Coastal Blue, Orange Zest, Dark Chocolate, and Luxe Silver cardstock.
Pattern Paper: Bitty Big Classic Kraft pattern paper pack
Inks: Blueberry Sky Dye Ink
The card is 5″ X 7″ and uses a white card base made from Stamper’s Select White cardstock. Here are the step-by-step details for creating this card.
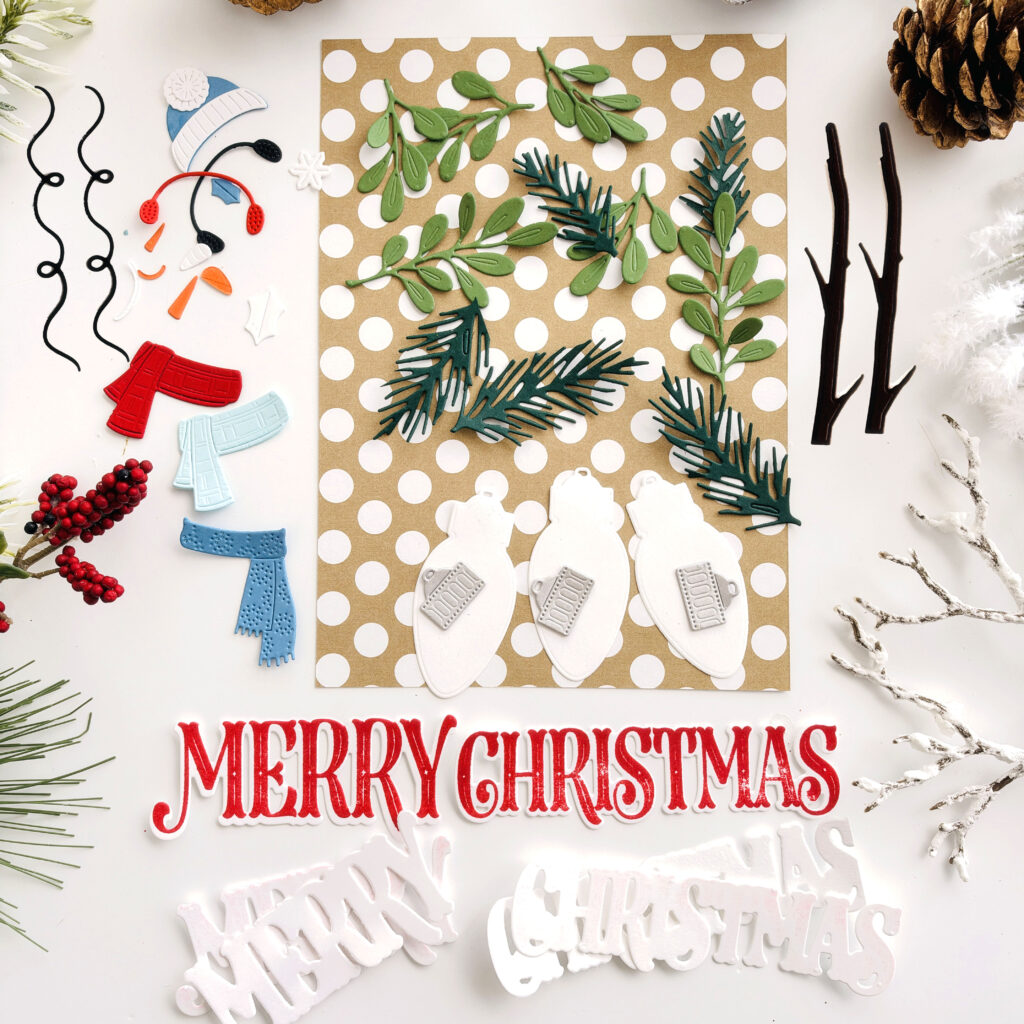
STEP 1: Die cut all of the elements for the card front using two sets: Build-A-Snowman Dies and Hang the Lights Dies. Use Stamper’s Select White cardstock for the three lightbulbs, poinsettia flower, cap puff ball and cap band, and holly leaf. Use New Leaf for the mistletoe branches and Pinefeather for the evergreen branches (Note: Cut four additional evergreen die cuts from Pinefeather to fill in around the branches.) Use Pure Poppy for the scarf and earmuffs and Blueberry Sky for the cap, holly leaves and scarf. True Black is for the strings for the lights and Coastal Blue for the scarf. Orange Zest is for the carrot noses and Dark Chocolate for the two wood branches. Use Luxe Silver cardstock for the lightbulb hangers. Cut a 5″ X 7″ card front piece from the polka paper included in the Bitty Big Classic Kraft pattern paper pack.
NOTE: I used Blueberry Sky Ink color for the “Merry Christmas” stamped sentiment in the final card design.
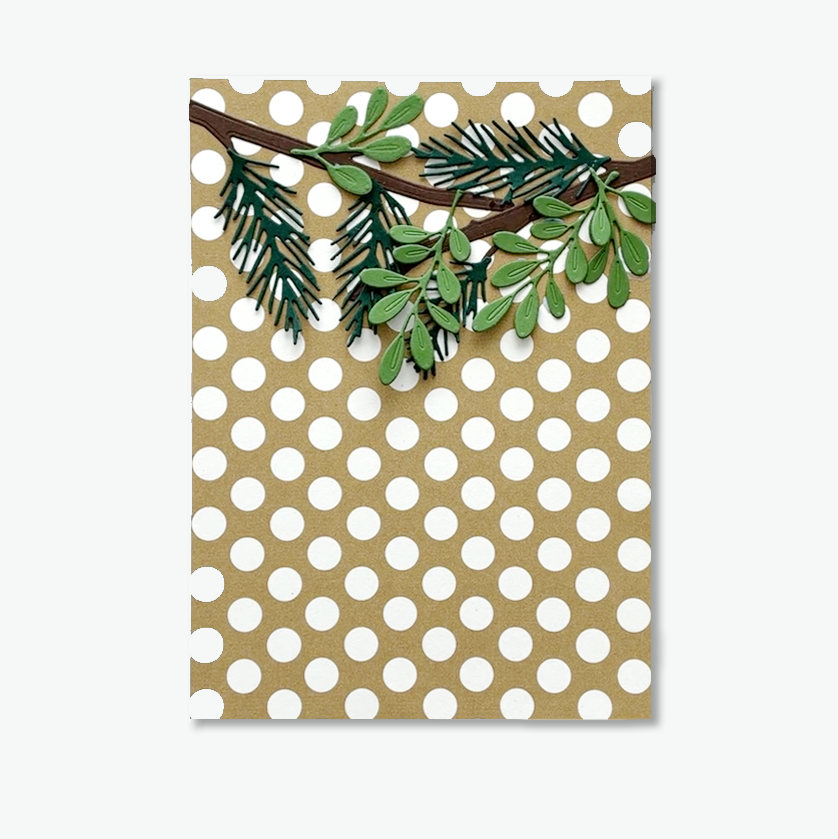
STEP 2: Attach the wood branches and evergreen and mistletoe leaves to the top of the card front.
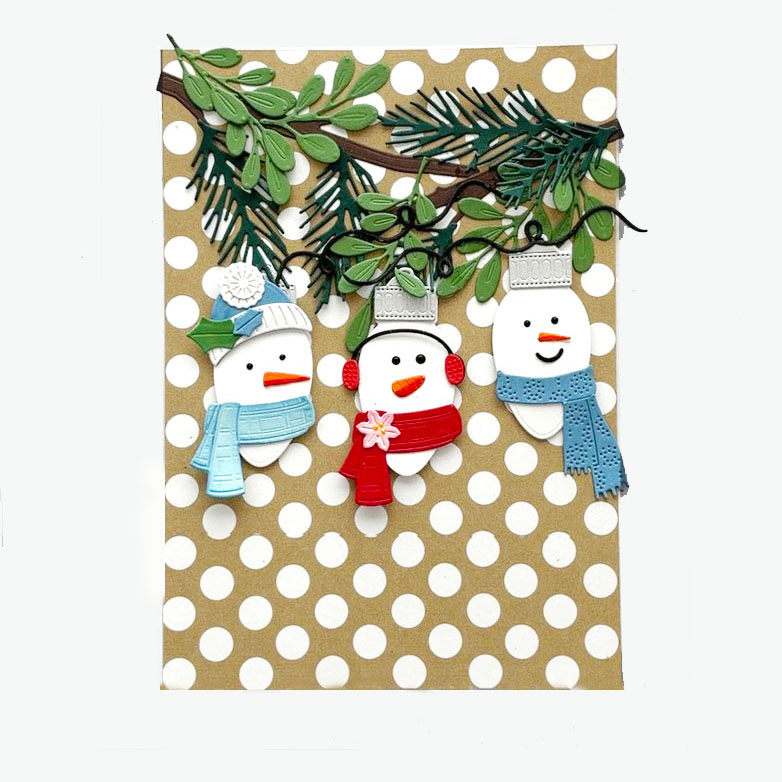
STEP 3: Assemble the lightbulbs by attaching the silver hangers. Adhere to the card front using foam tabs to make them stand out. Attach the black string(s) to the tops of the bulbs so they look like they are hanging from it. Add the snowman accessories to each bulb to create the snowmen.
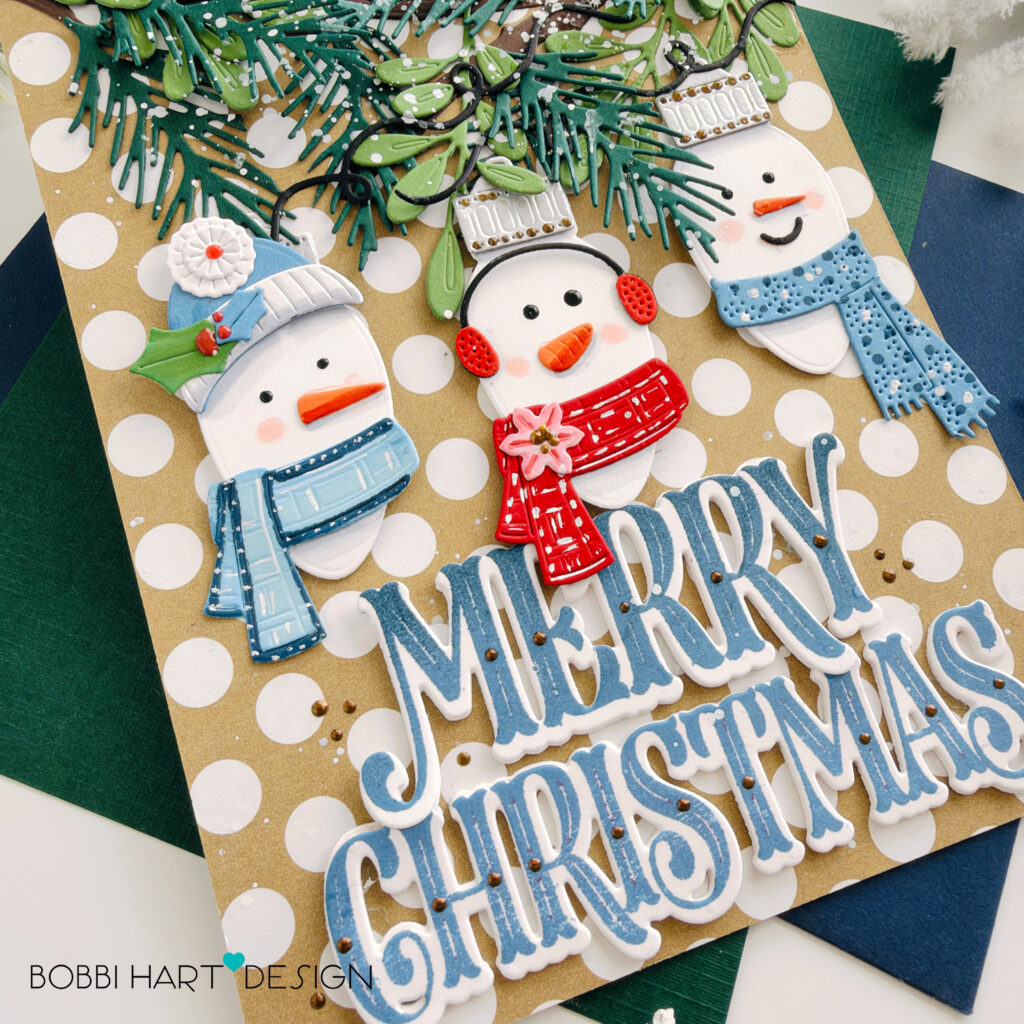
STEP 4: Stamp the “Merry Christmas” sentiment from the This is Big Sentiments: XL Merry Christmas stamps using Blueberry Sky Dye Ink. Cut the words out using the coordinating dies. Cut two additional sets of die cuts for each word out of white cardstock. Stack and glue them together to make the words thick. Attach the sentiment to the bottom of the card front, in a stacked layout.
Add additional detailing including eyes on the snowmen (use the dies or Pearl Pen), flower center, brass dots to the sentiment, etc. Use Pearl Pen or a similar product such as Stickles to add the dimensional details. Splatter white paint for snow over the entire card front.
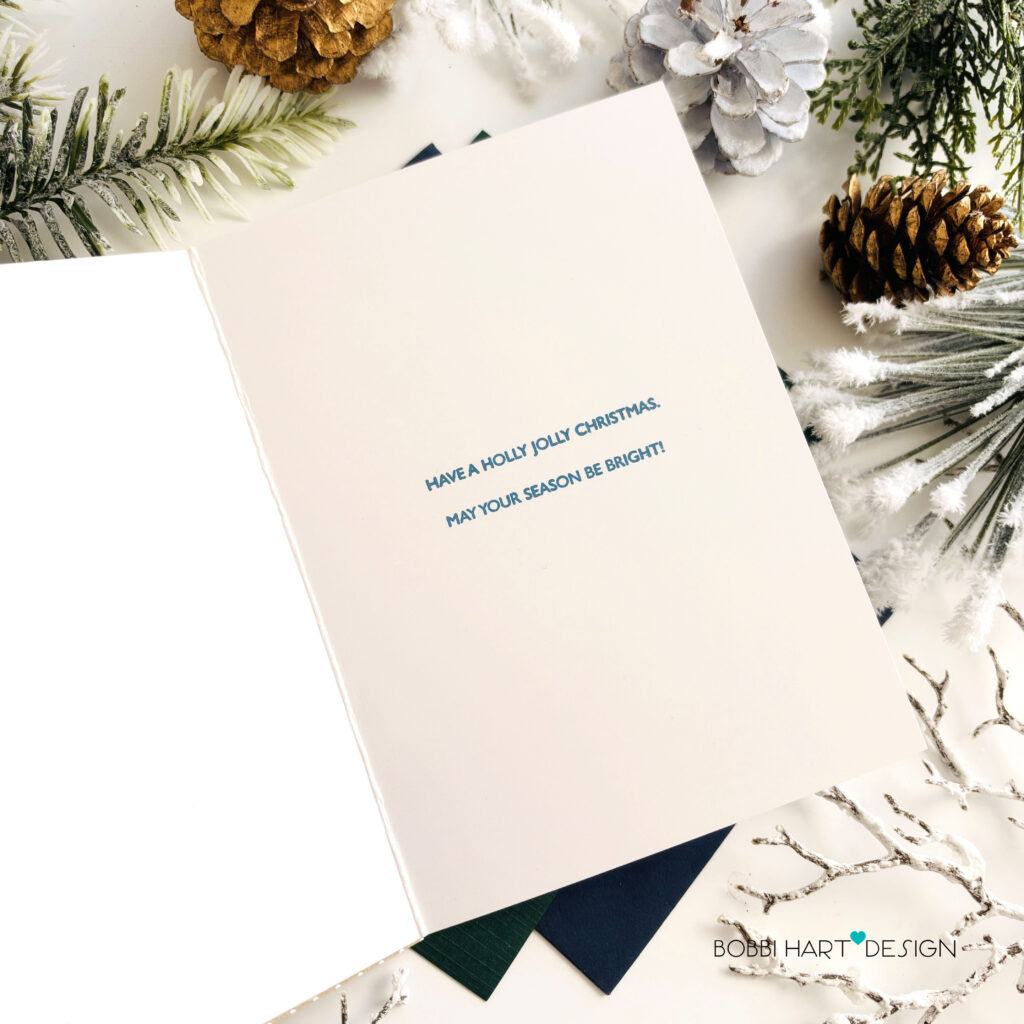
STEP 5: Cut a 10″ X 7″ piece of Stamper’s Select White cardstock and score down the center to create a 5″ X 7″ card base. Inside the card, stamp a sentiment from the This is Big Sentiments: XL Merry Christmas stamp set. Attach the card front to the card base.
You can shop the entire collection here at Papertrey Ink! If you decide to place an order, please use the links in this post so that Papertrey Ink team knows what inspired you. I appreciate it very much. It helps me to continue to bring more ideas to you!
Thanks for stopping by today. If you want to see more ideas and inspiration from me, subscribe to my blog, BobbiHartDesign.com. I’ll send you updates on new posts! You can also find me on Instagram as @BobbiHartDesign and on Facebook as BobbiHartDesign. Bobbi Hartmann Lemanski, Bobbi Hart♥ Design, Adding h♥art into every design
Leave a Reply