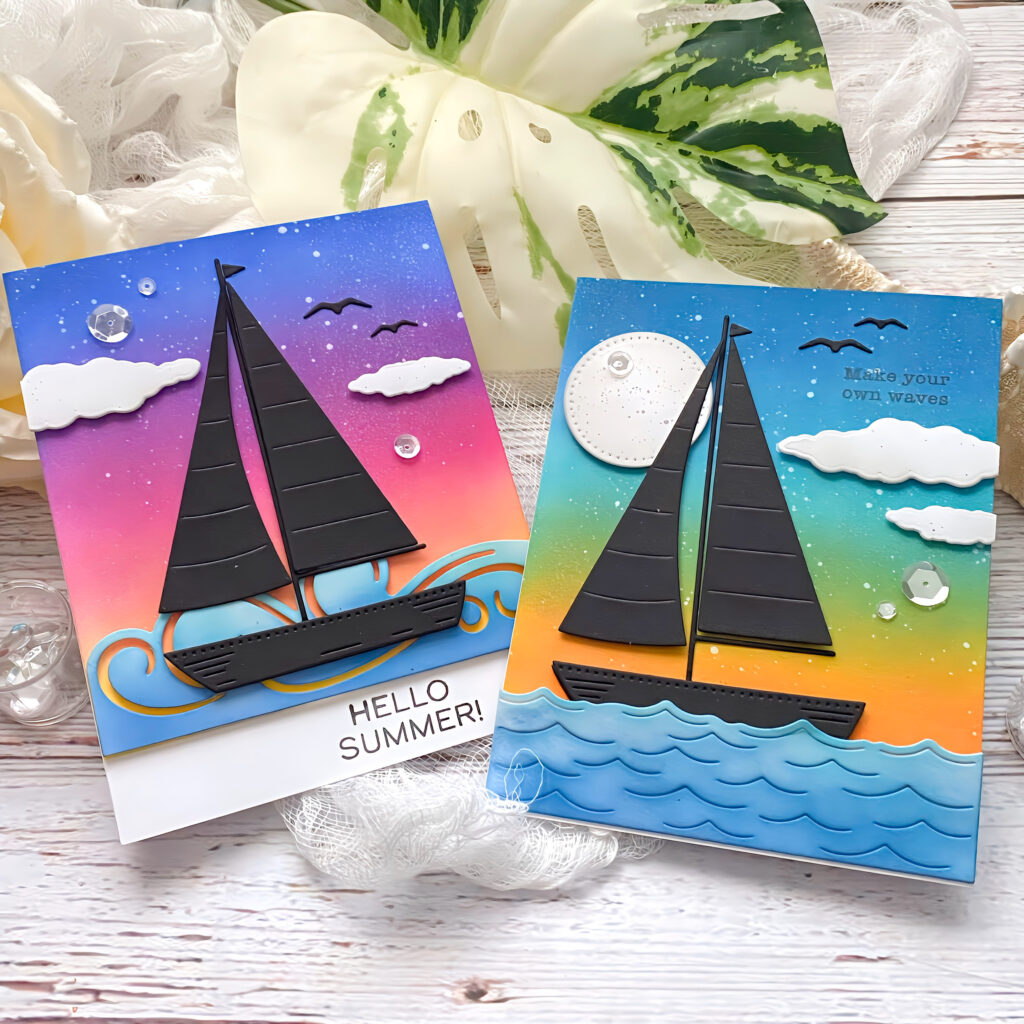
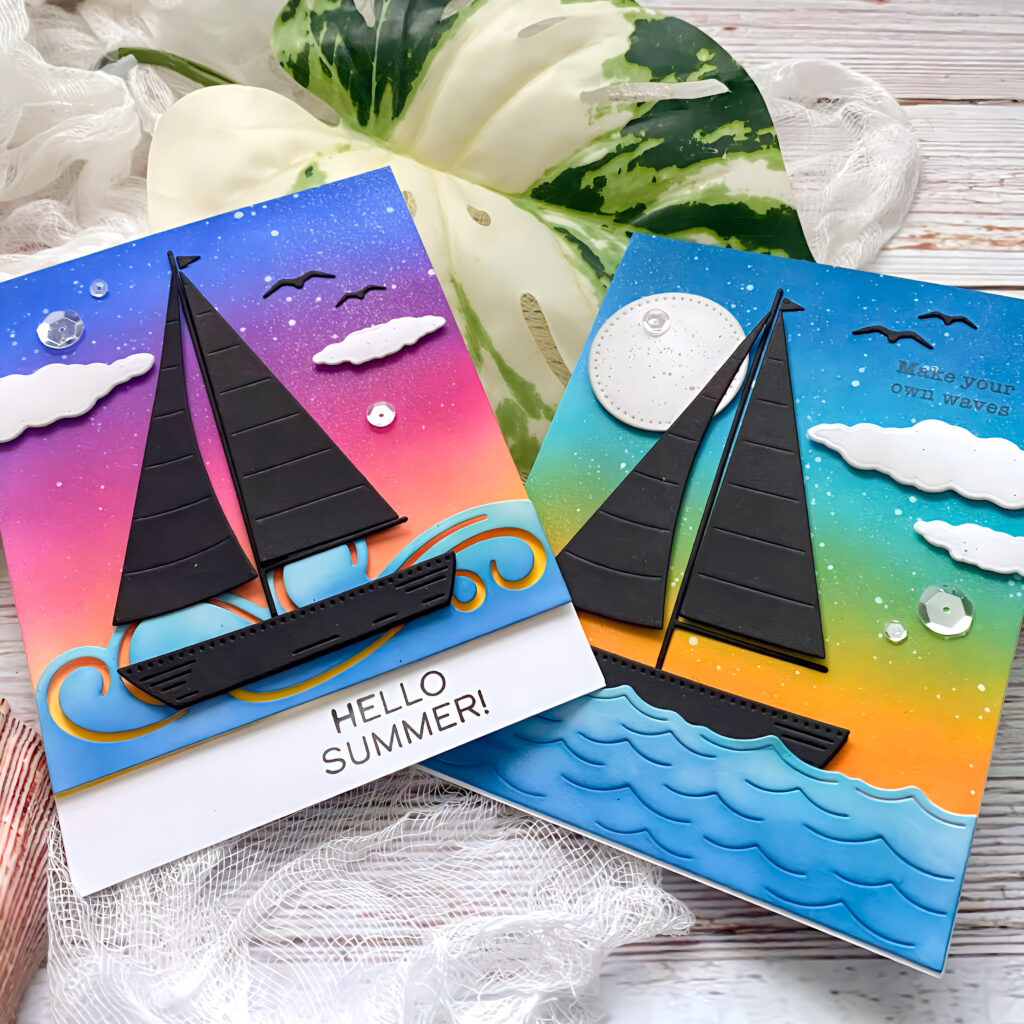
Trade florals for ocean breezes and colorful skies with this fun summer-inspired card duo by Kelly Lunceford! ☀️⛵ Kelly uses the Build-a-Sailboat Die to create two eye-catching designs featuring bold sailboat silhouettes against vibrant Distress Oxide ink-blended backgrounds. Layered clouds, waves, shimmer, and scattered sequins add movement and detail while the contrasting color combinations give each card its own unique summertime feel.
Kelly shares, “As much as I love creating with flowers during the summer, it’s also fun to switch gears and create cards using different summertime elements. The Build-a-Sailboat Die is just perfect for creating cards for all different occasions. I pulled out my blender brushes and oxide inks and had fun creating this pair!”
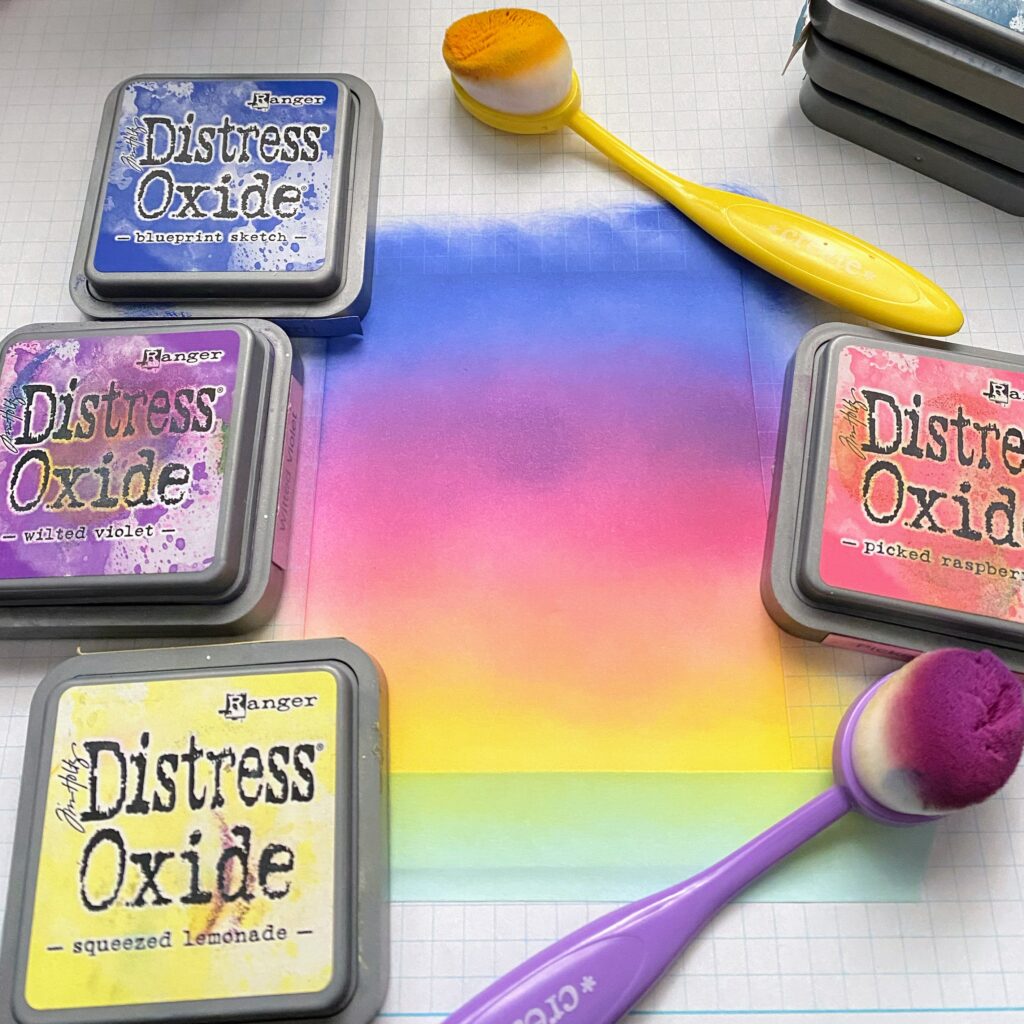
STEP 1: Cut two A2 panels from white card stock. Add some washi or masking tape to the bottom. Using blender brushes and distress oxide inks, blend the ink until you are satisfied with the background. If you are only making one card, only cut one panel and pick your favorite color combo for the blending.
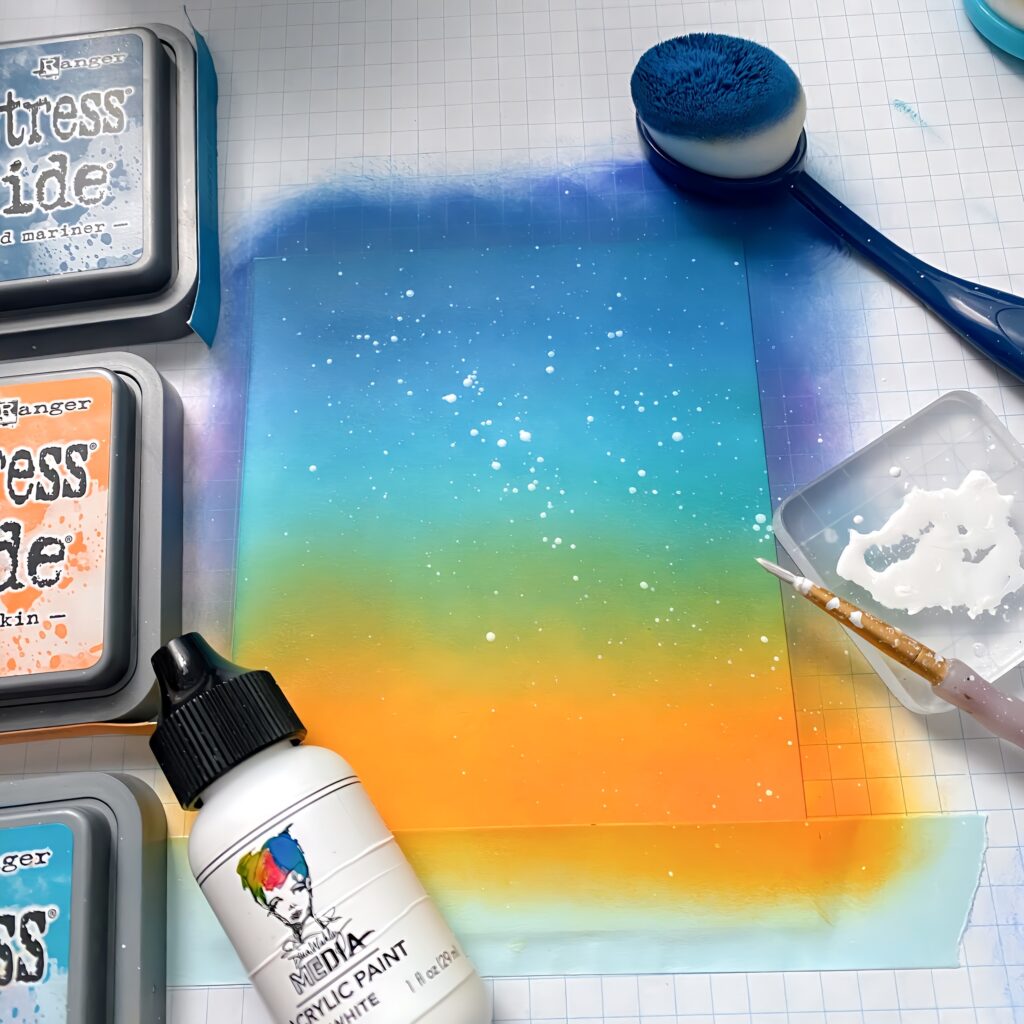
STEP 2: Add white acrylic paint splatter over the top; focus nearer to the top to create the illusion of stars.
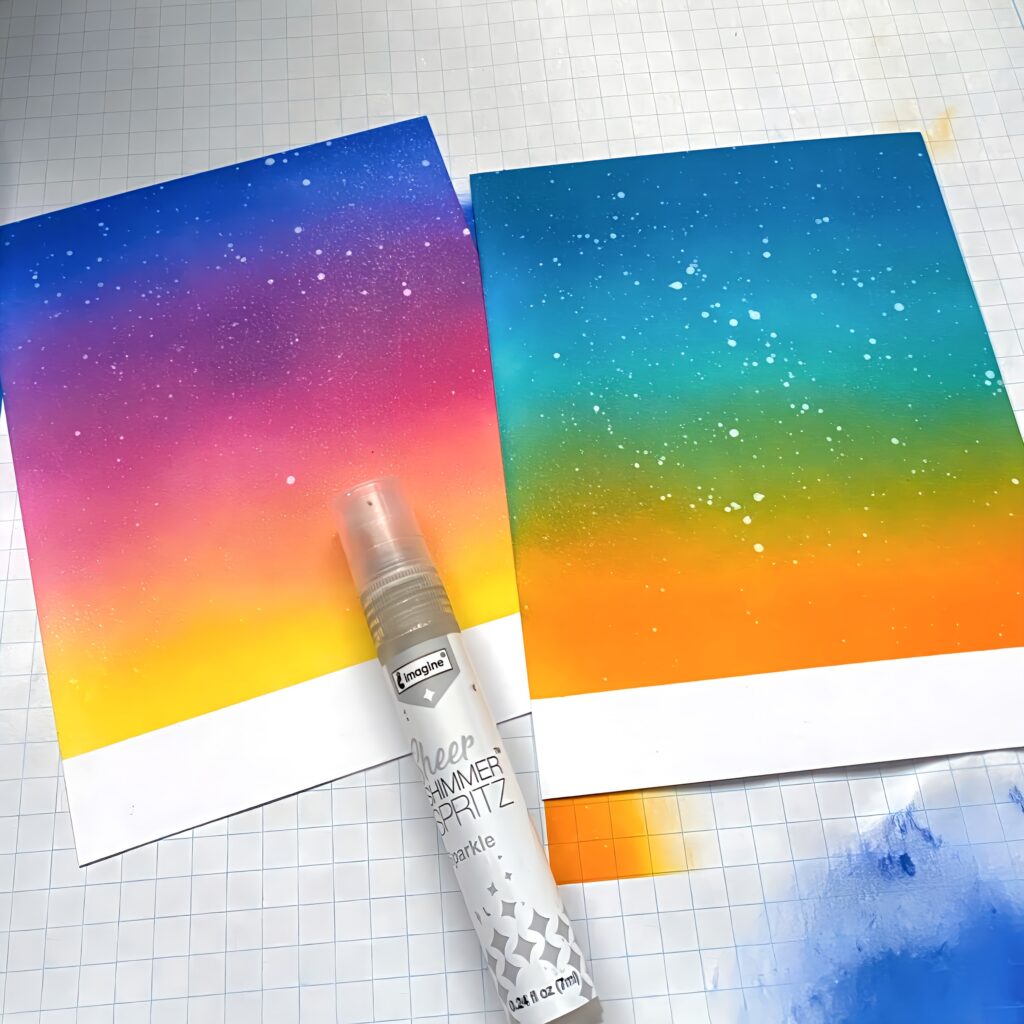
STEP 3: Spritz shimmer spray over the top of both panels.
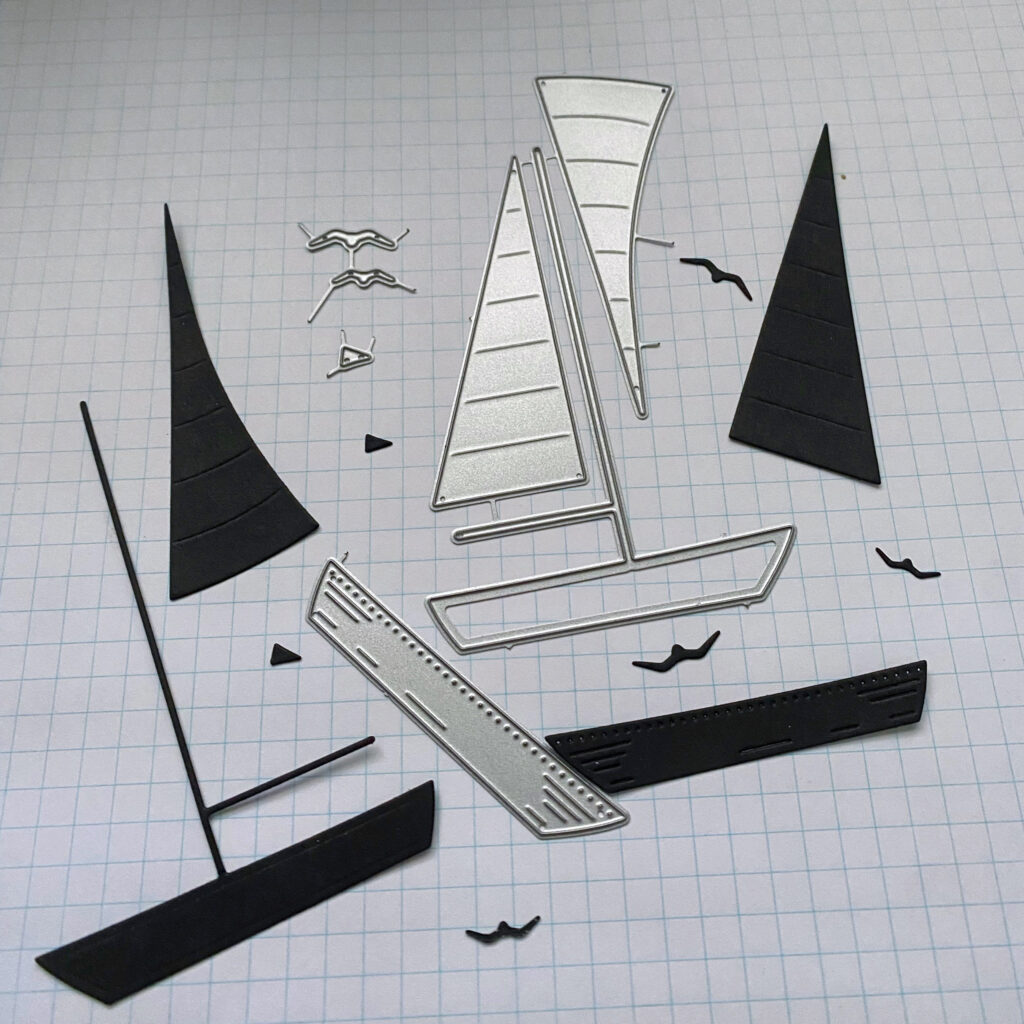
STEP 4: Die cut the sailboat pieces from black cardstock.
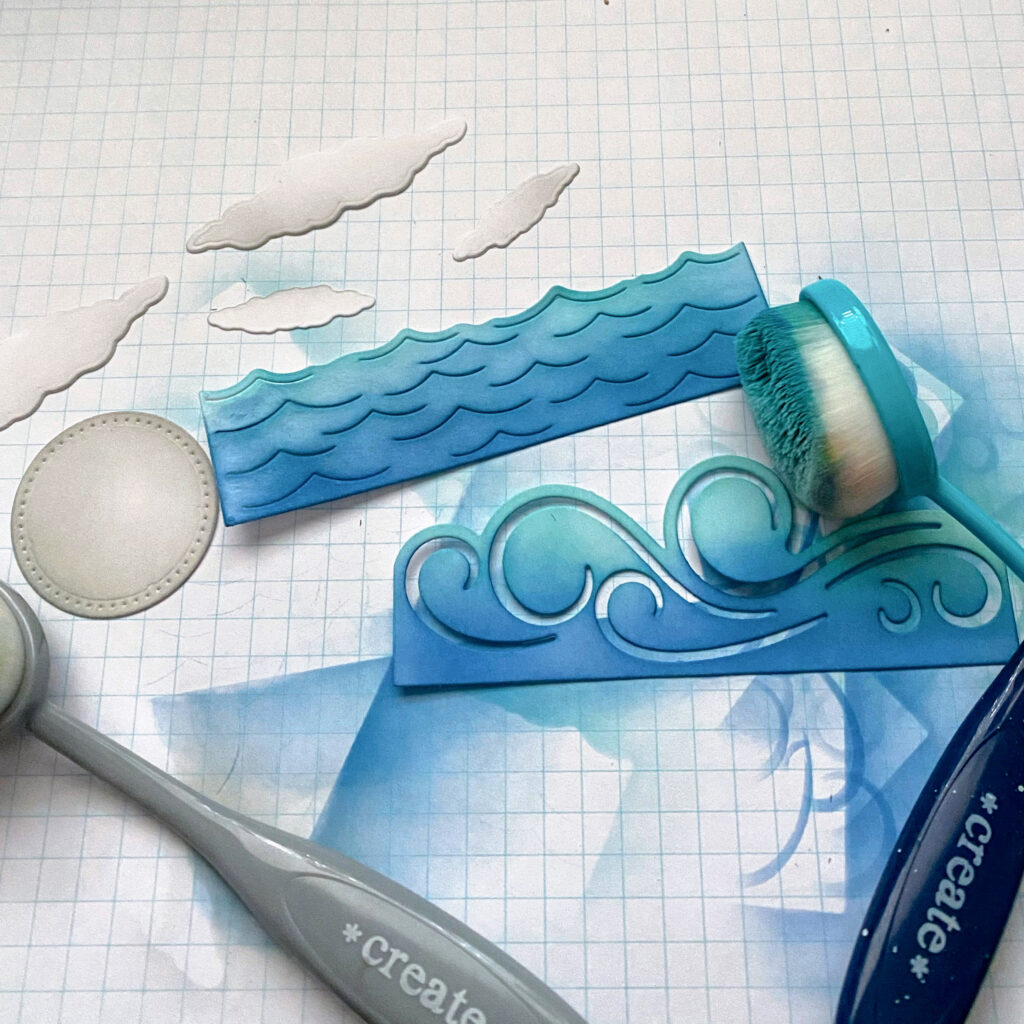
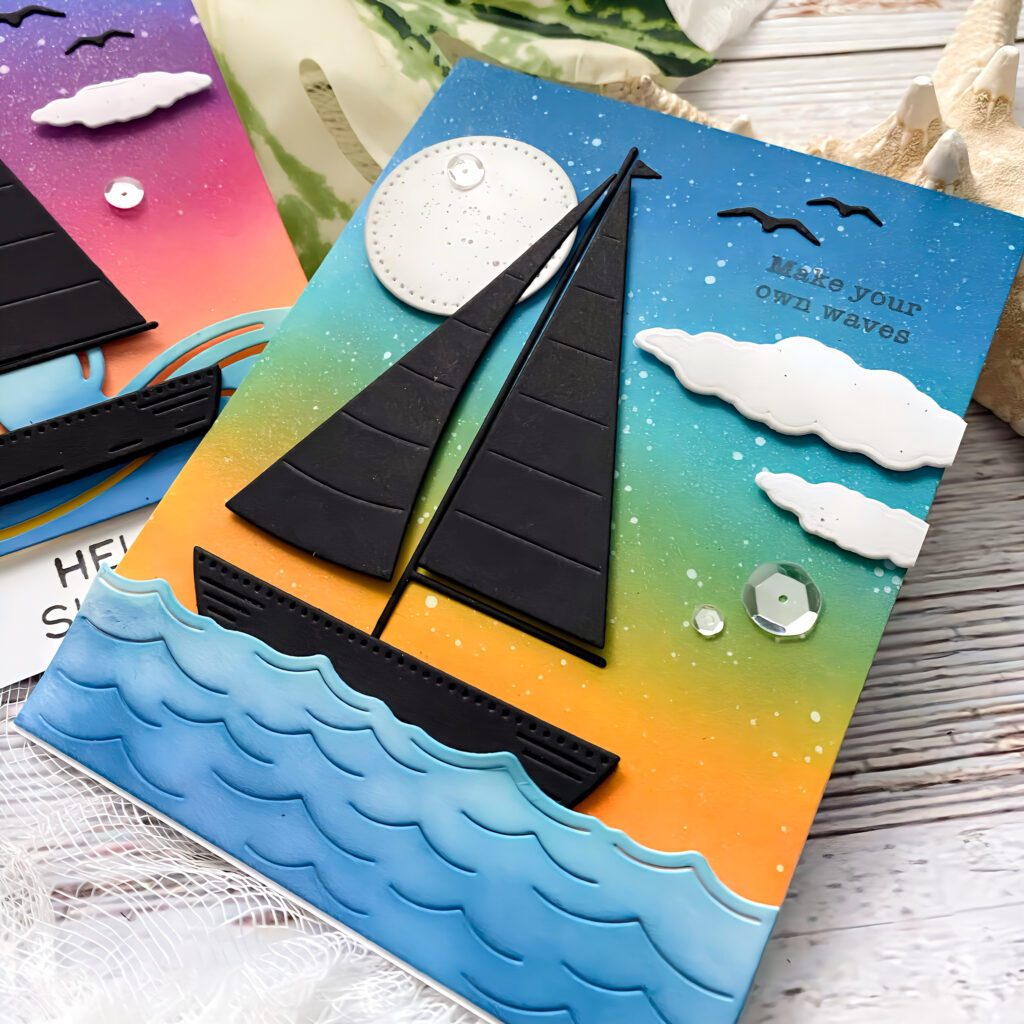
STEP 5: Die cut the clouds, moon, and waves from white card stock. Add grey distress oxide ink to the bottom of the clouds and the moon. Add a few shades of blue ink to the waves.
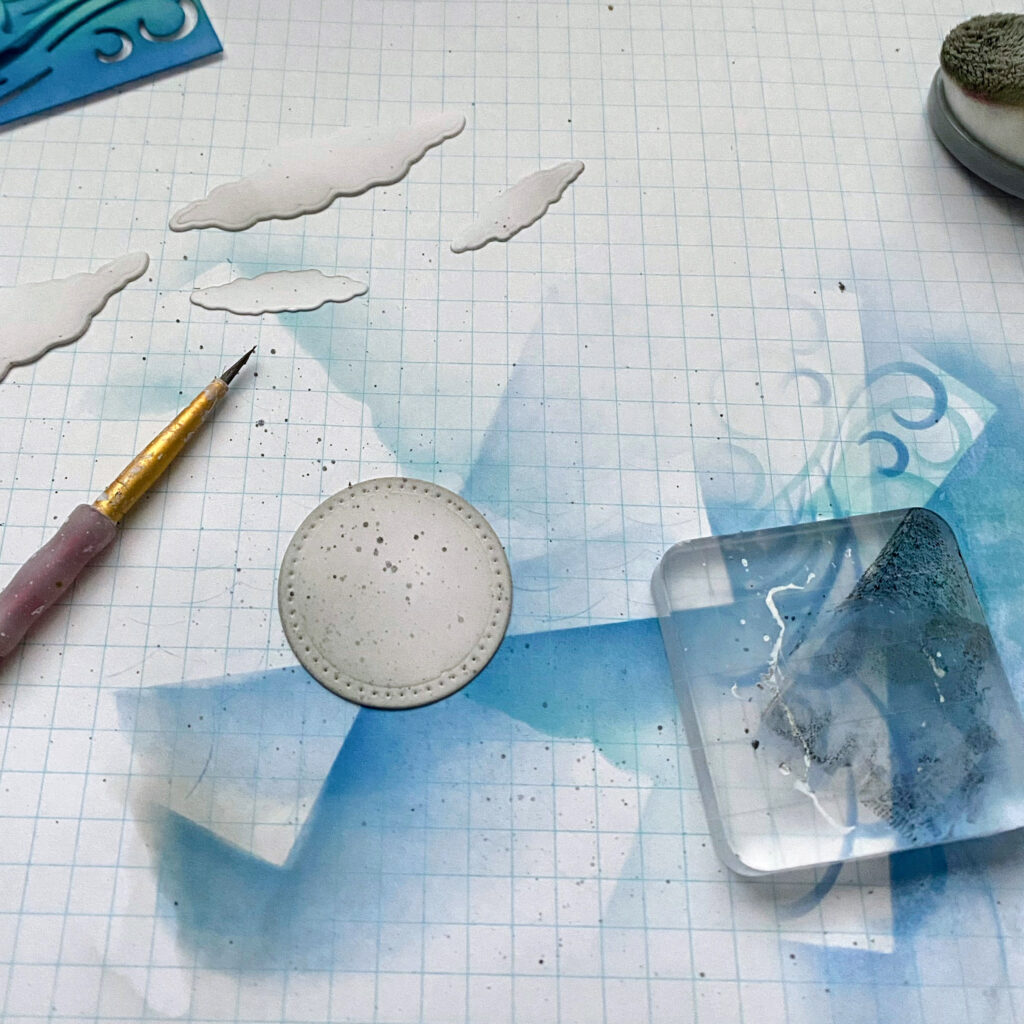
STEP 6: Add some black ink splatter to the moon.
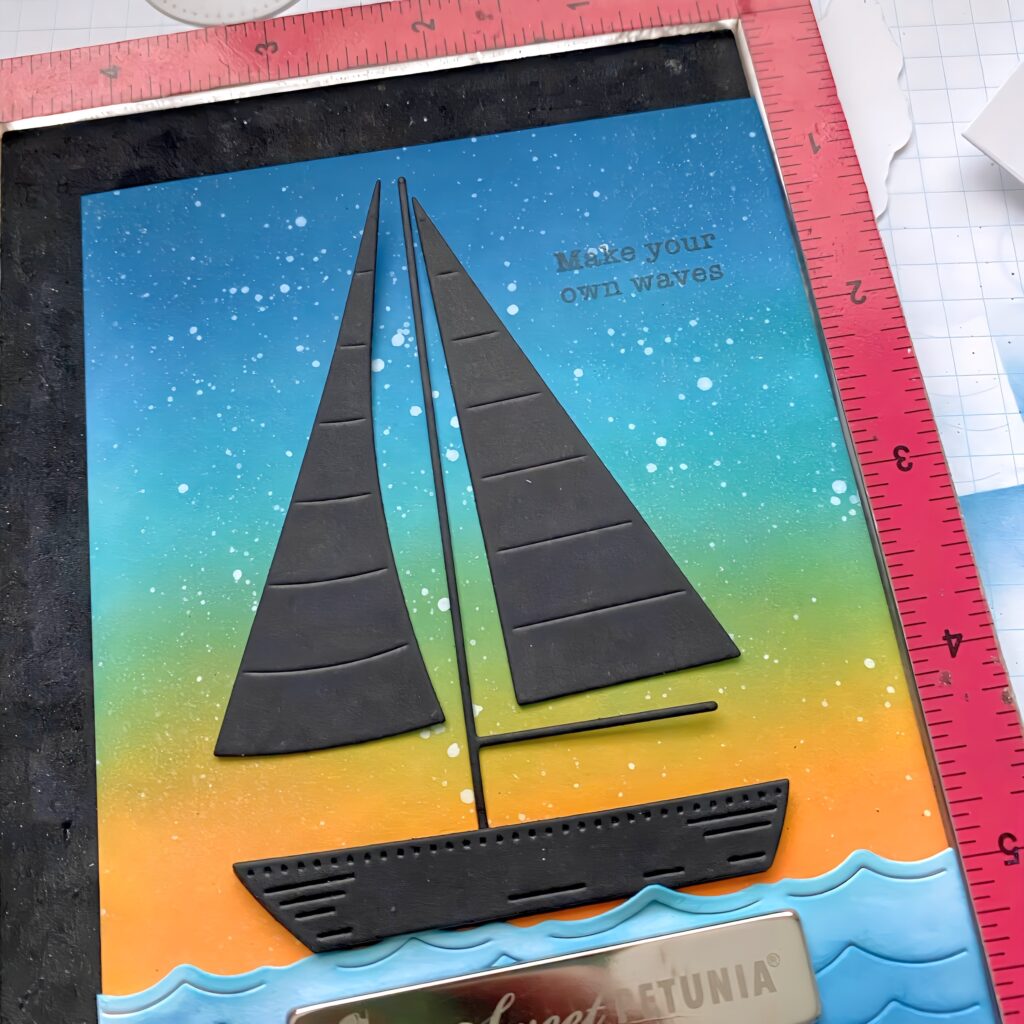
STEP 7: Stamp the sentiments on the ink blended panel. I chose one sentiment to be placed in the sky and the other at the bottom on the white portion. The sailboat portion is not glued down, but rather placed there to make sure the sentiment is in the right spot.
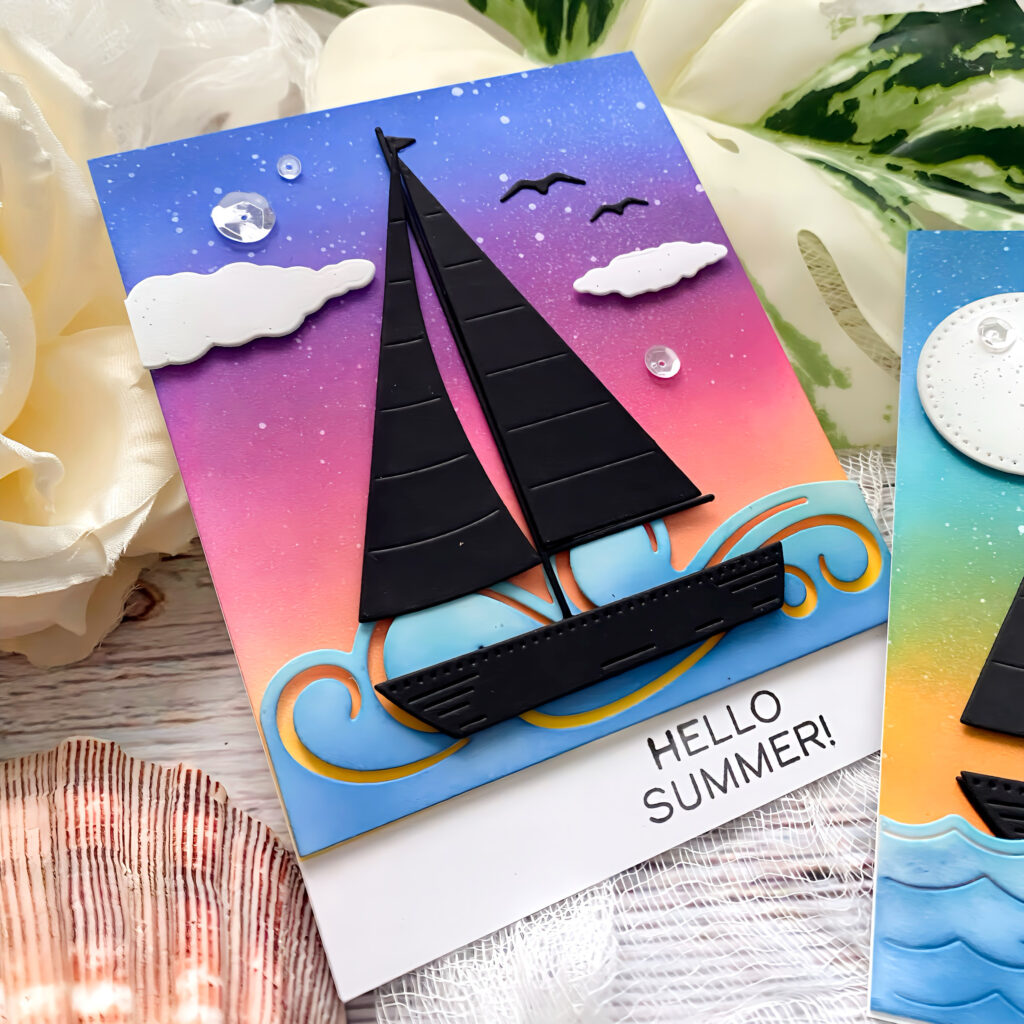
STEP 8: Add the waves, sailboat pieces, clouds, and moon using foam squares and scor tape. The Scor Tape was used at the bottom of the card on the right to secure the waves at the bottom. This allowed me to tuck the sailboat behind the waves to give a realistic illusion.
STEP 9: Add sequins and attach the panels to A2 card bases.
This project is a wonderful reminder that summertime cards can take on so many different looks while still feeling fresh and fun. ✨ From the ink-blended skies and layered waves to the bold sailboat focal points and subtle shimmer details, Kelly’s card duo offers beautiful inspiration for creating scenic designs with plenty of personality.
Whether you’re making summer greetings, vacation-themed cards, or simply experimenting with color combinations and backgrounds, let these cards inspire your next creative project. Be sure to tag Papertrey Ink on Instagram when you share your version — we’d love to see how you make it uniquely yours.
Reader Interactions
Comments
Cherylsays
Your cards are wonderful! What was the color used between the pumpkin and mariner on the second card?
Cheryl says
Your cards are wonderful! What was the color used between the pumpkin and mariner on the second card?
Thank, Cheryl