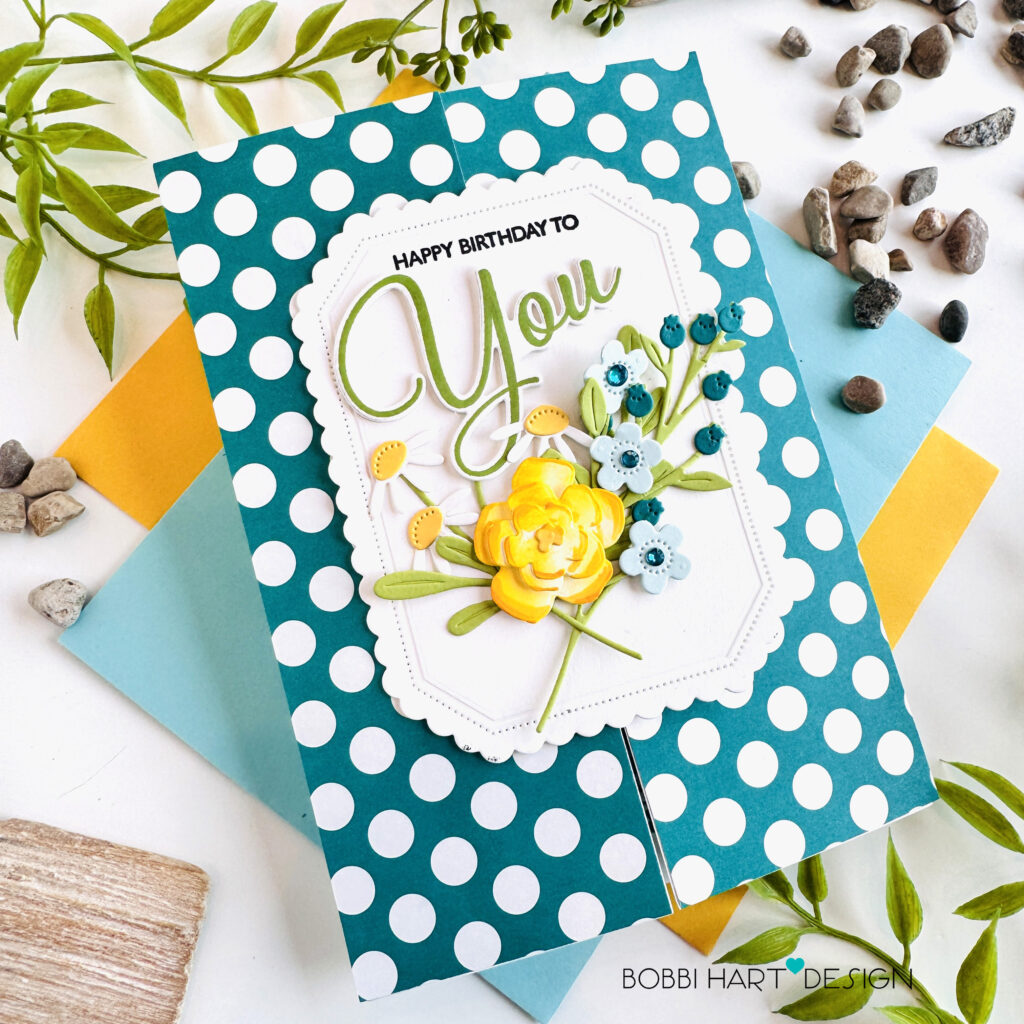
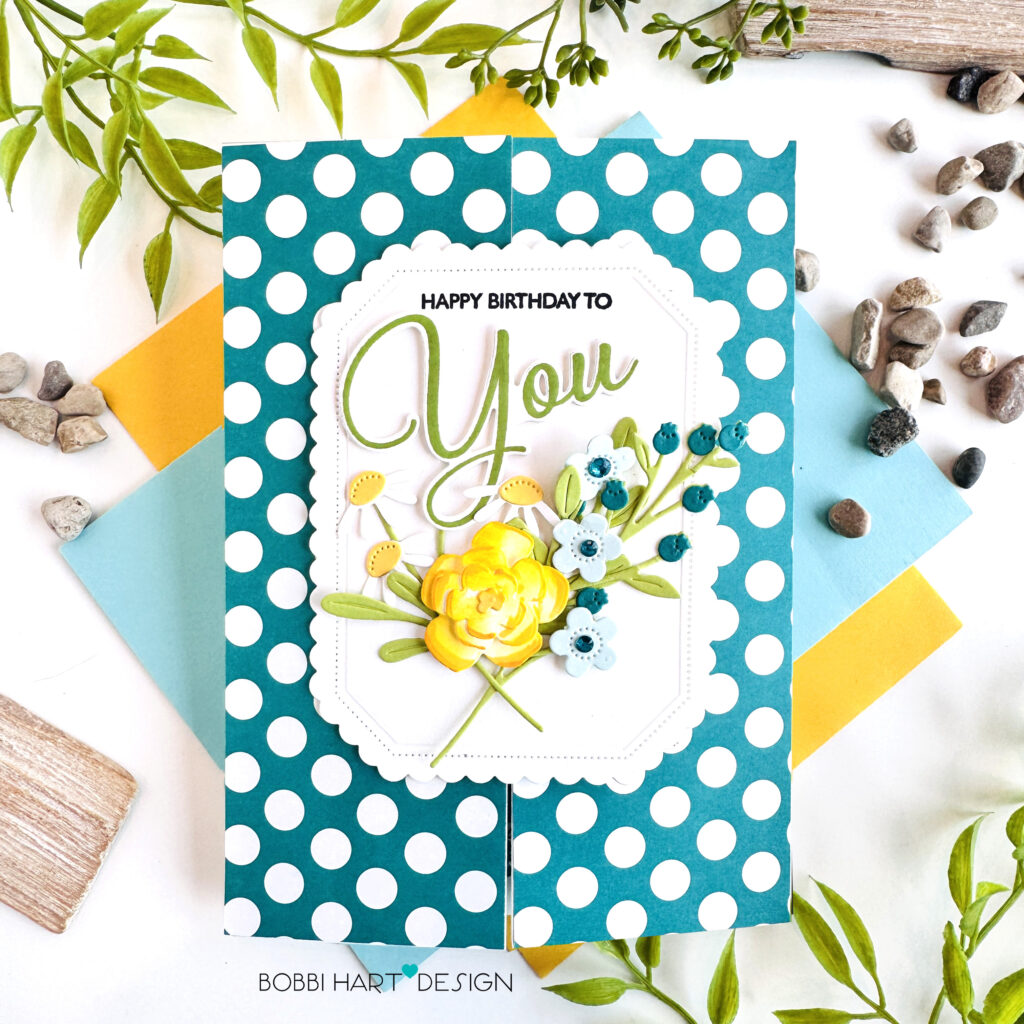
Shouldn’t the best birthday cards come with a little surprise inside? This 5″ X 7″ handmade card starts with a bold “YOU” framed in a sweet scalloped frame filled with whimsical, stemmed florals, set against a playful and bold teal polka dot background. But there’s more than meets the eye. The card front features a Velcro enclosure that opens to reveal a coordinating dotted tag that pops up. Bursting with fresh aqua and sunny yellow florals, leafy greens, and plenty of birthday cheer, the pop-up tag makes the inside just as special as the outside. It’s colorful, interactive, and such a fun way to celebrate someone special!
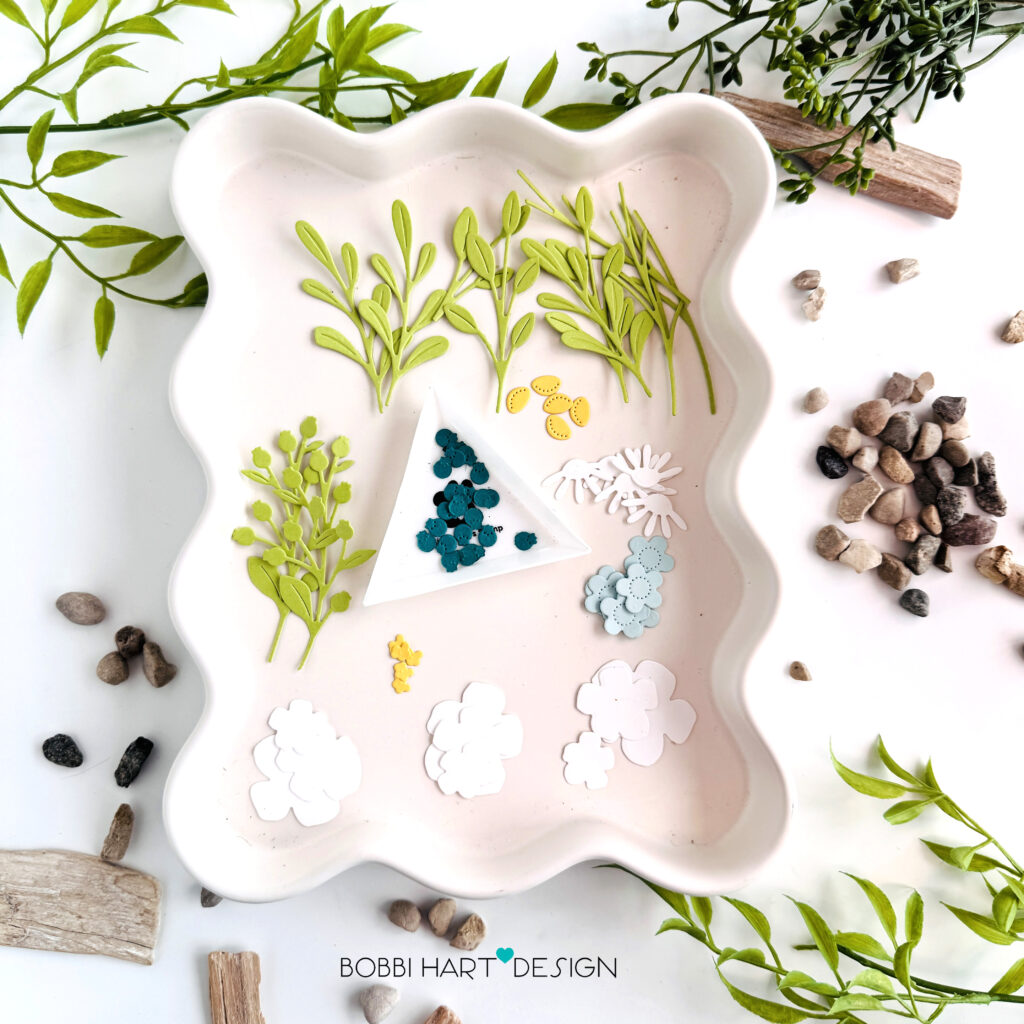
STEP 1: Die cut these floral elements from the Build-A-Flower Garden Die and Into the Blooms: Freshly Picked Dies from Stamper’s Select White, Coastal Blue, New Leaf, Harvest Gold and Tropical Teal cardstock. I used Distress Oxide Ink in Mustard Seed to add yellow to the edges of the triple layered white flowers.
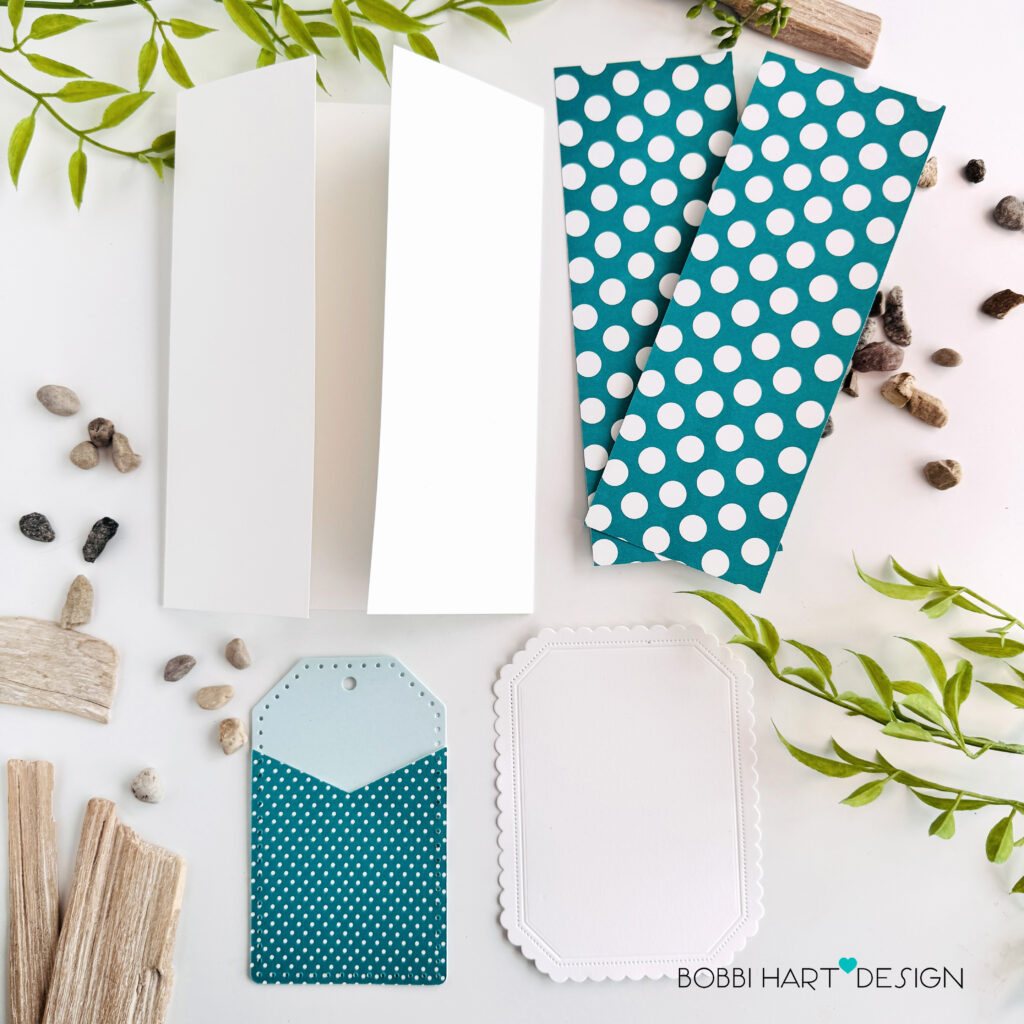
STEP 2: Die cut a 10″ X 7″ piece of Stamper’s Select White cardstock. Score 2-1/2″ in from each of the 7″ sides to make the gatefold flaps. Die cut two 2-1/2″ wide X 7″ tall pieces from the large polka dot pattern paper. Attach the pieces to the card’s gatefold flaps. The paper is from the Bitty Big: Tropical Teal pack.
Die cut the pocket tag using Bitty Big: Tropical Teal pack pattern paper, Coastal Blue cardstock and the In Stitches: Tucked in Tag Dies.
Die cut the largest scallop frame from white cardstock using the Love-to-Layer: Sweet Scallop Dies. Cut two frames.
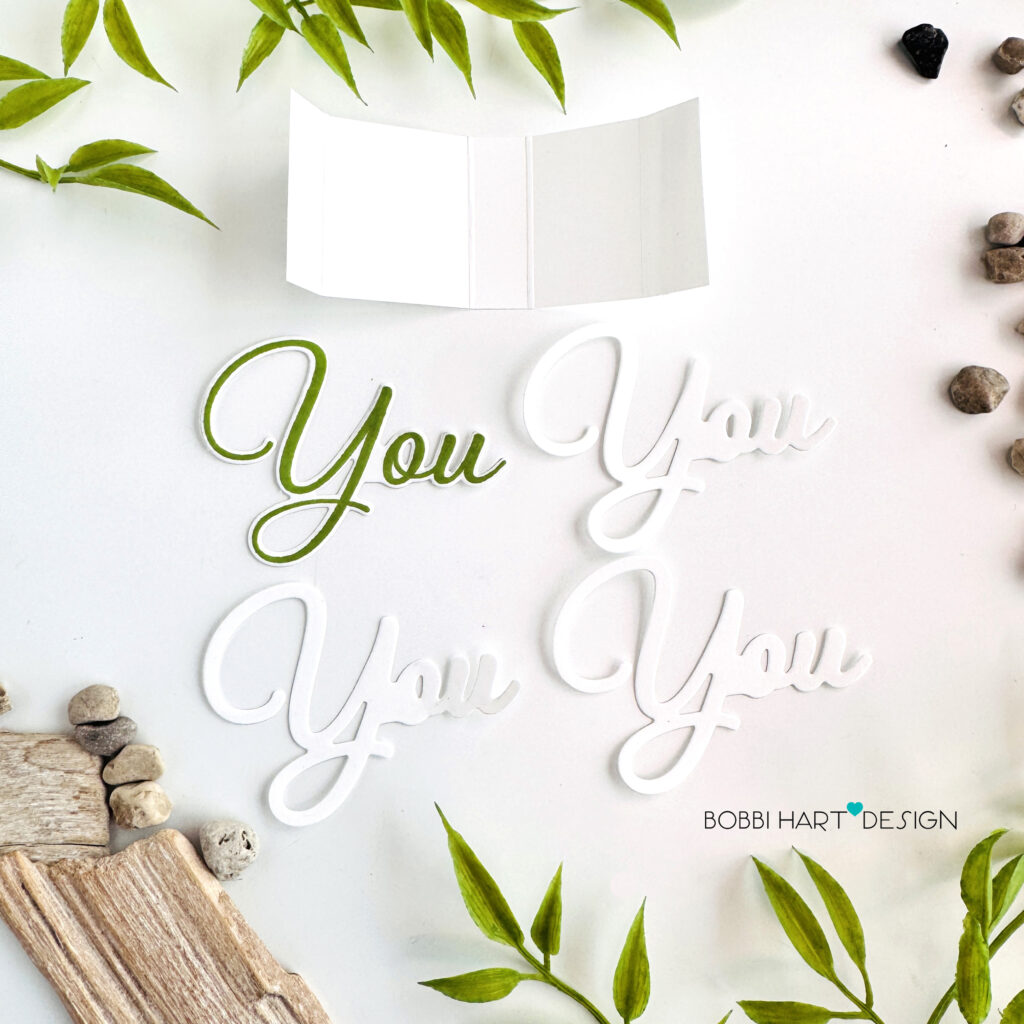
STEP 3: Stamp the “You” scripted die in New Leaf Dye Ink and die cut using the This is Big Sentiments: You stamps and coordinating dies. Die cut three more and glue them all together to make a thicker die cut.
Cut a 1-1/2″ wide X 3-1/2″ long white cardstock strip. Score at 1/2″, 1-1/2″, 2″, and 3″. Create a 3D box by folding the strip into a rectangle. Use double sided tape to tape the ends together. This box will be the pop-up feature that makes the tag stand off the card’s base.
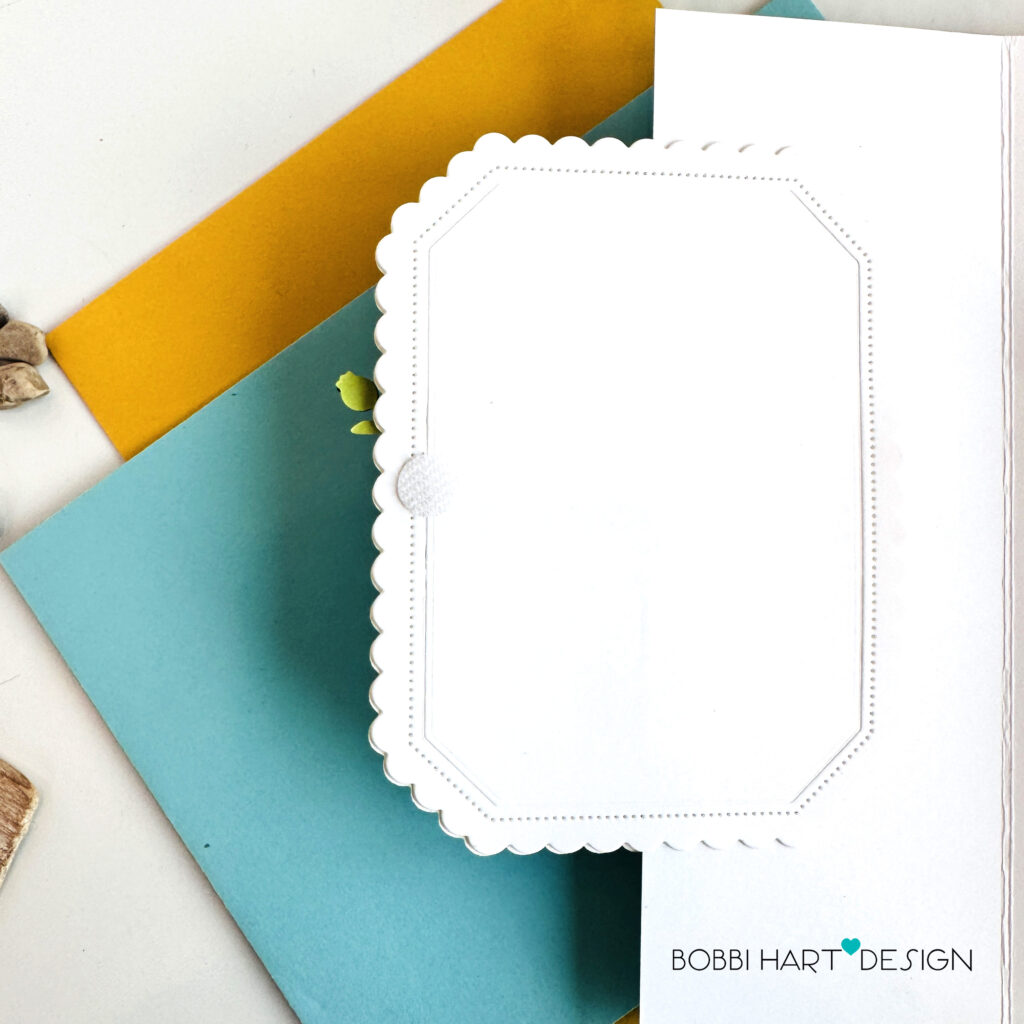
STEP 4: Attach one scallop-edge frame to the front, left side gatefold and one to the back side, matching them up. Add a Velcro enclosure on the back side and attach the other part of the closure to the right side flap.
Tips:
I like to keep the Velcro dots stuck together, then close the card and press to make sure the other dot is sticking in just the right place for perfect alignment.
I stuck the first dot side on one of the white polka dots on the right flap so that it blended in as a dot on the pattern paper. Then I closed the scallop frame over it to connect the other dot side.
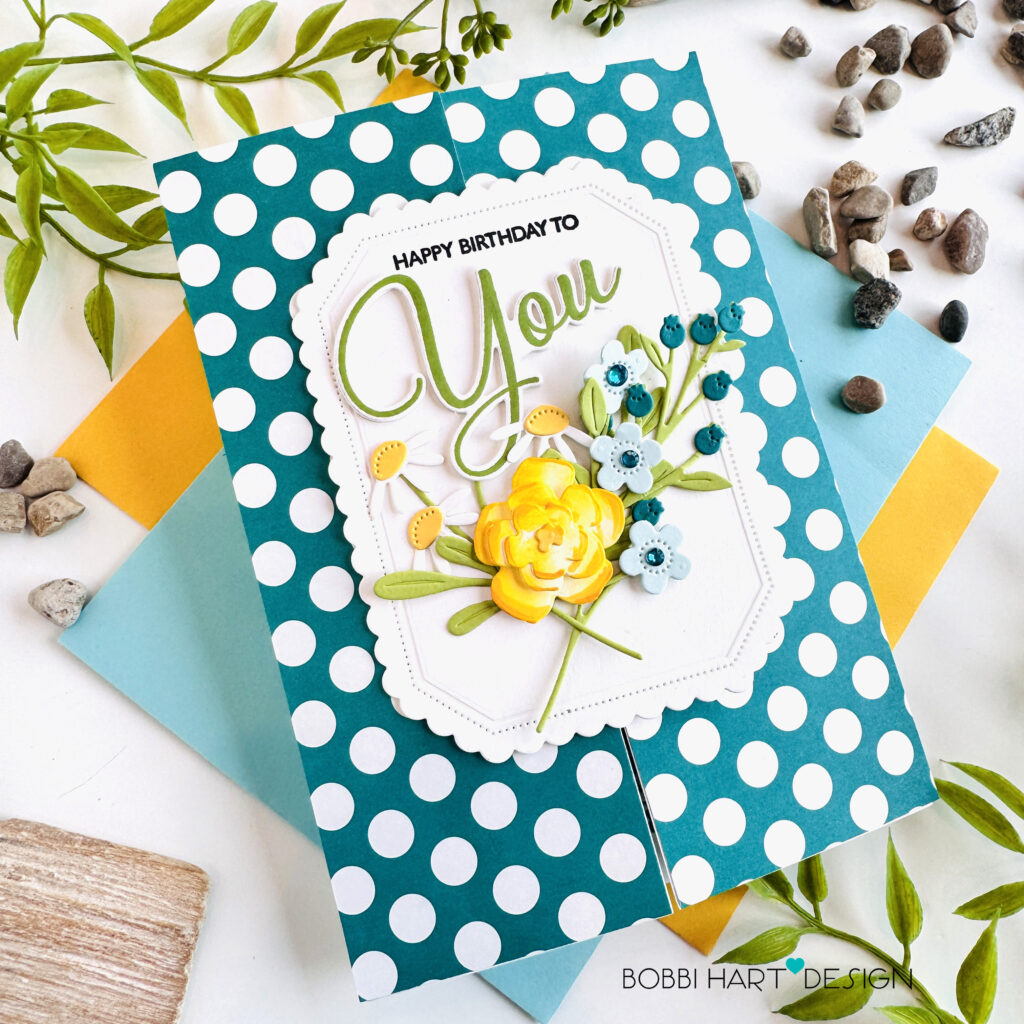
STEP 5: Stamp at the top of the scallop frame, the “Happy Birthday to” sentiment. Attach the “You” die cut right under it. Add a few of the floral stems to the frame. Add gem sticker rhinestones to the centers of the coastal blue blossoms.
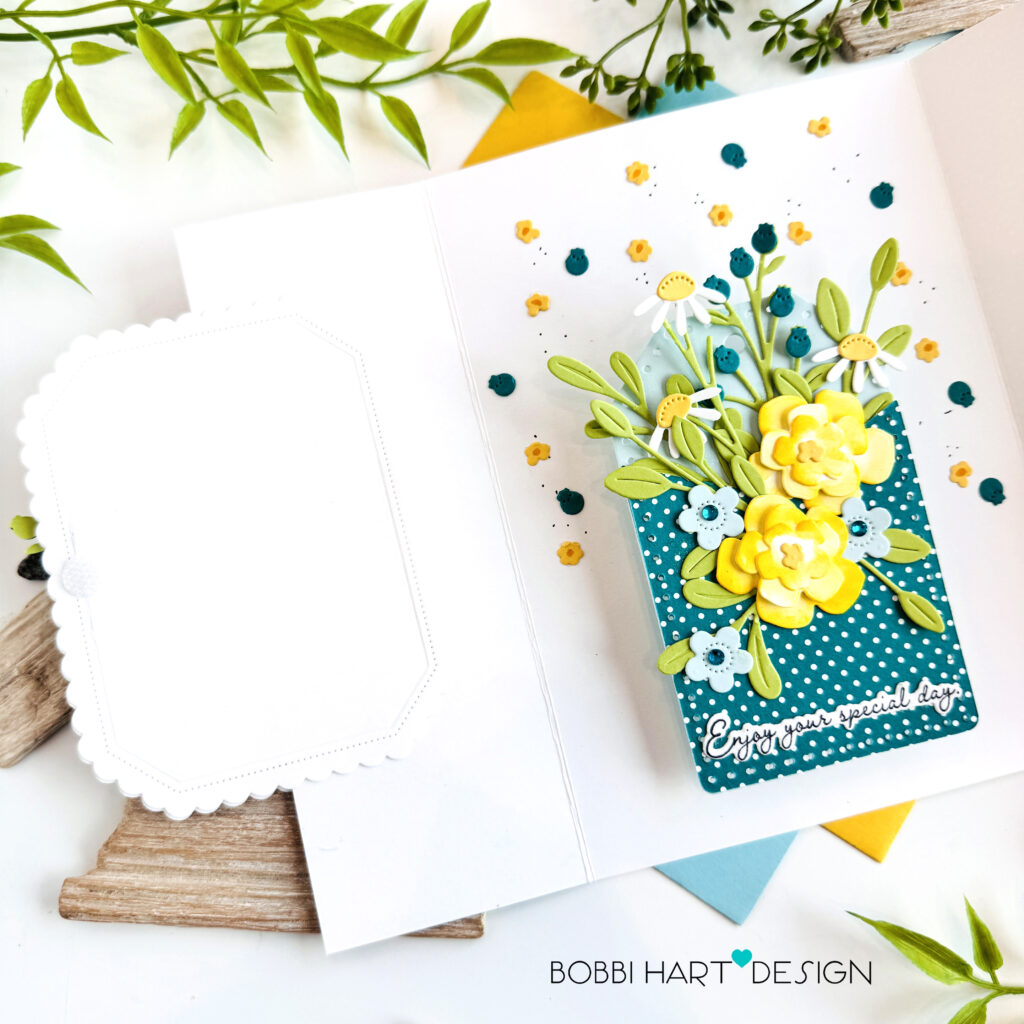
STEP 6: Add flowers to the tag. Add the gem stone stickers to the Coastal Blue florals.
Stamp in True Black Dye Ink, die cut and attach to the front of the tag, the “Enjoy your special day” sentiment using the Meadow View stamps and coordinating dies.
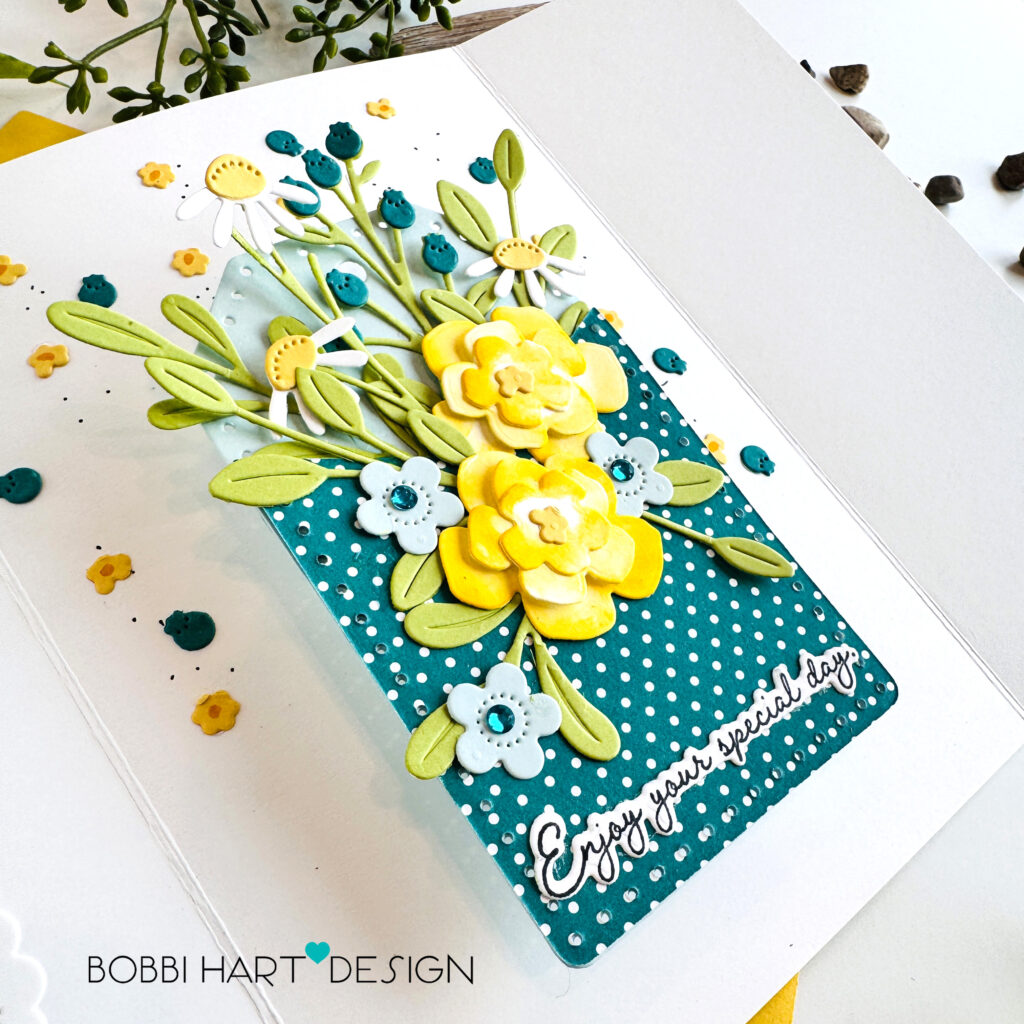
STEP 7: Inside the card, assemble the square pop-up folded rectangle and attach inside, centering it width wise and making sure the bottom of the tag has room to fold down. Attach the tag to the pop-up feature using double sided tape for extra strength.
Add any additional tiny florals around the tag on the card’s back. Using a fine-tip black marker, add dots for whimsy around the die cuts to complete the card.
Check out my reel on Instagram where you can watch me assemble this card. The card comes to life right before your eyes, for “reel!”
You can shop the entire collection here at Papertrey Ink! If you decide to place an order, please use the links in this post so that Papertrey Ink team knows what inspired you. I appreciate it very much. It helps me to continue to bring more ideas to you!
Thanks for stopping by today. If you want to see more ideas and inspiration from me, subscribe to my blog, BobbiHartDesign.com. I’ll send you updates on new posts! You can also find me on Instagram as @BobbiHartDesign and on Facebook as BobbiHartDesign. Bobbi Hartmann Lemanski, Bobbi Hart♥ Design, Adding h♥art into every design
Leave a Reply