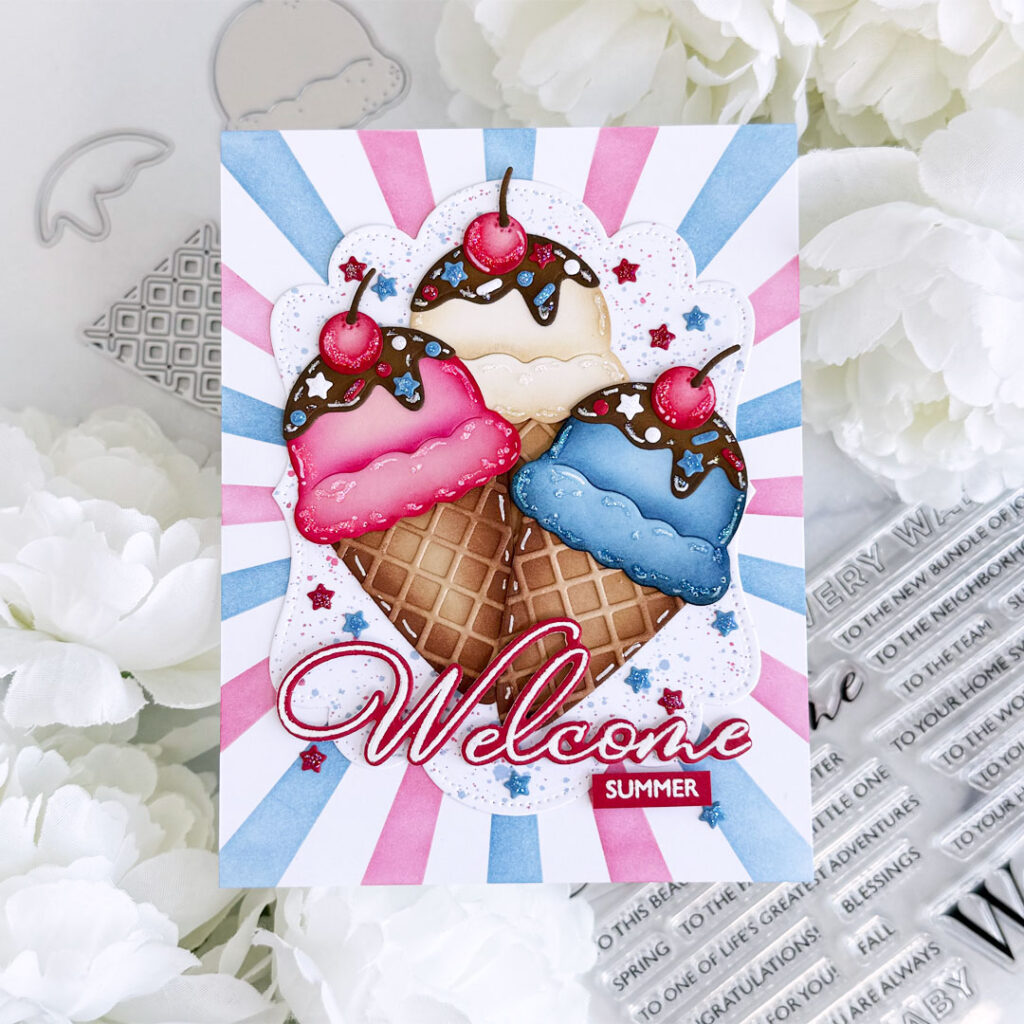
Happy Sunday, crafters!! Brenda back with another Project Inspiration project to share with you today!! The Sweet Americana Die Set includes dies to create delicious ice cream cones, refreshing popsicles and a slice or a whole delectable pie!! I can’t wait to use the other dies in the set, but I decided to focus on the ice cream cone for my card today!! Does anything scream SUMMER on a hot summer’s day more than an ice cold, refreshing ice cream cone?!? I think not!!
Supplies
Stamps: This Is Big Sentiments: Welcome
Dies: Sweet Americana, Love to Layer: Whimsy, This Is Big Sentiments: Welcome
Stencil: So Radiant
Ink: Pure Poppy, Blueberry Sky, Hibiscus Burst, Classic Kraft, Dark Indigo
Cardstock: Pale Peony, Spring Rain, Vintage Cream, Fine Linen, Cocoa Bean, Dark Chocolate, Pure Poppy, Blueberry Sky, Stamper’s Select: White
Other supplies: Star Dust Stickles, foam tape, liquid glue, Versamark ink, white detail embossing powder, pale yellow & brown ink, white gel pen
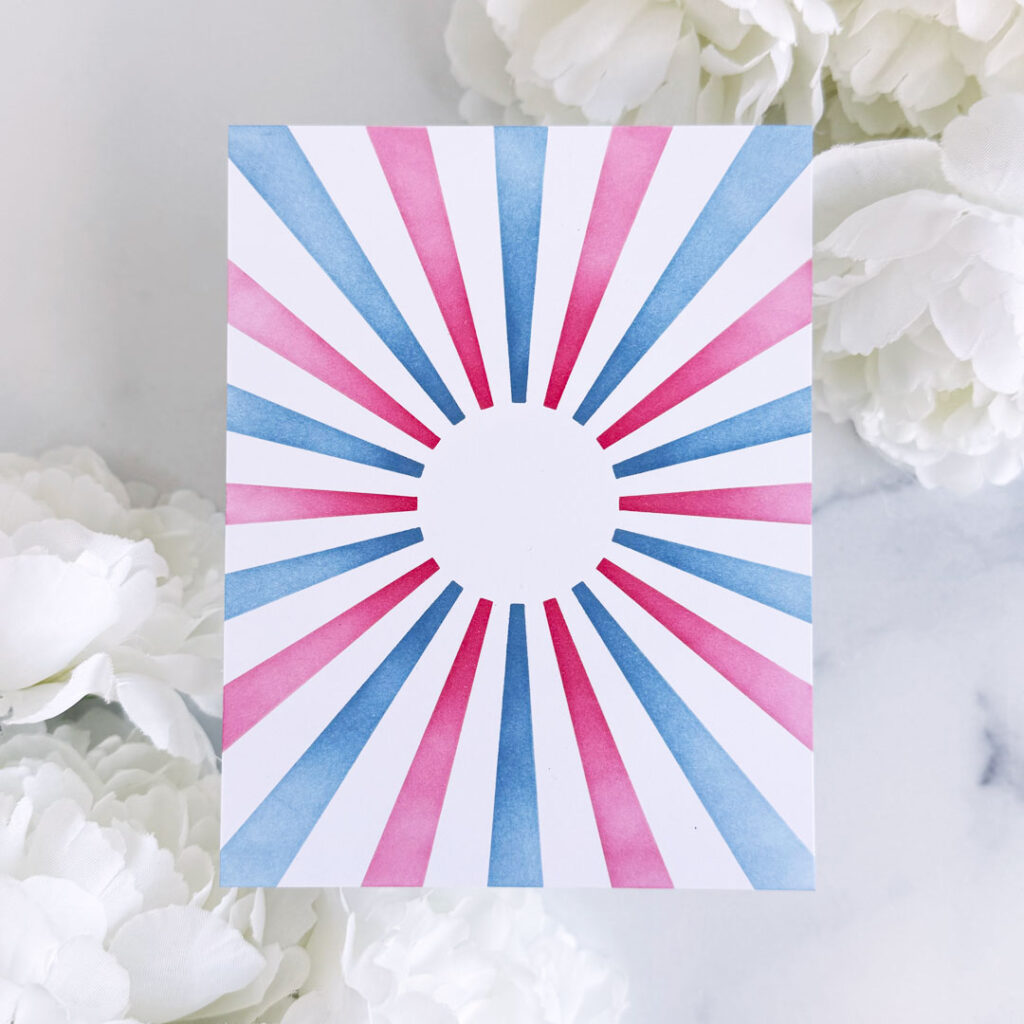
Step 1: Stencil Pure Poppy and Blueberry Sky inks through two layers of the So Radiant Stencil onto an A2 panel of Stamper’s Select: White cardstock using blending brushes.
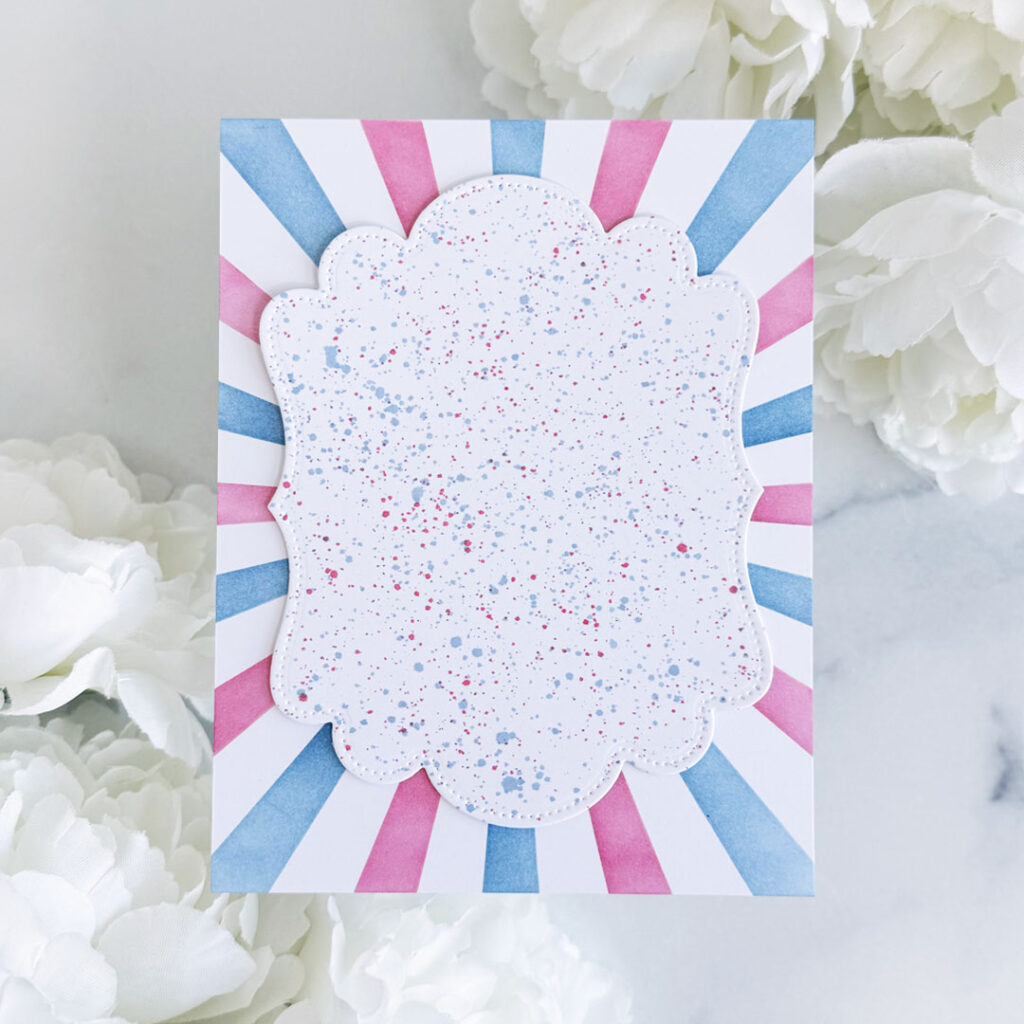
Step 2: Die-cut the largest die in the Love to Layer: Whimsy Die Set from Stamper’s Select: White cardstock and splatter it with diluted Pure Poppy and Blueberry Sky inks. Adhere to the background with liquid glue.
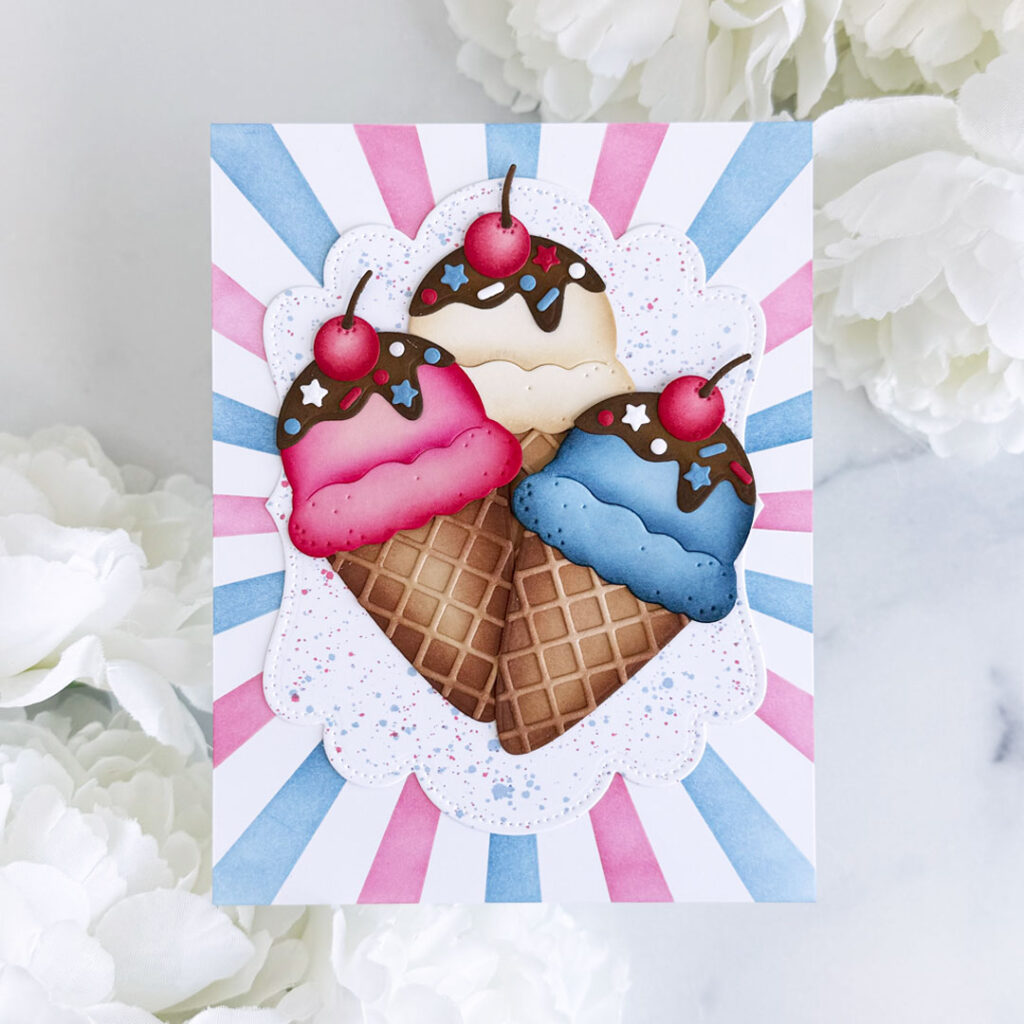
Step 3: Die-cut the elements for the ice cream cones using the Sweet Americana Die Set from Pale Peony, Spring Rain, Vintage Cream, Fine Linen, Cocoa Bean, Dark Chocolate, Pure Poppy, Blueberry Sky and Stamper’s Select: White cardstock. Add shading to the ice cream with Hibiscus Burst, Pure Poppy, Classic Kraft, Blueberry Sky, Dark Indigo and pale yellow ink; the cones with Classic Kraft and brown ink; and the cherries with Hibiscus Burst and Pure Poppy inks. Adhere all the die-cuts together with liquid glue, then add to the front of the card.
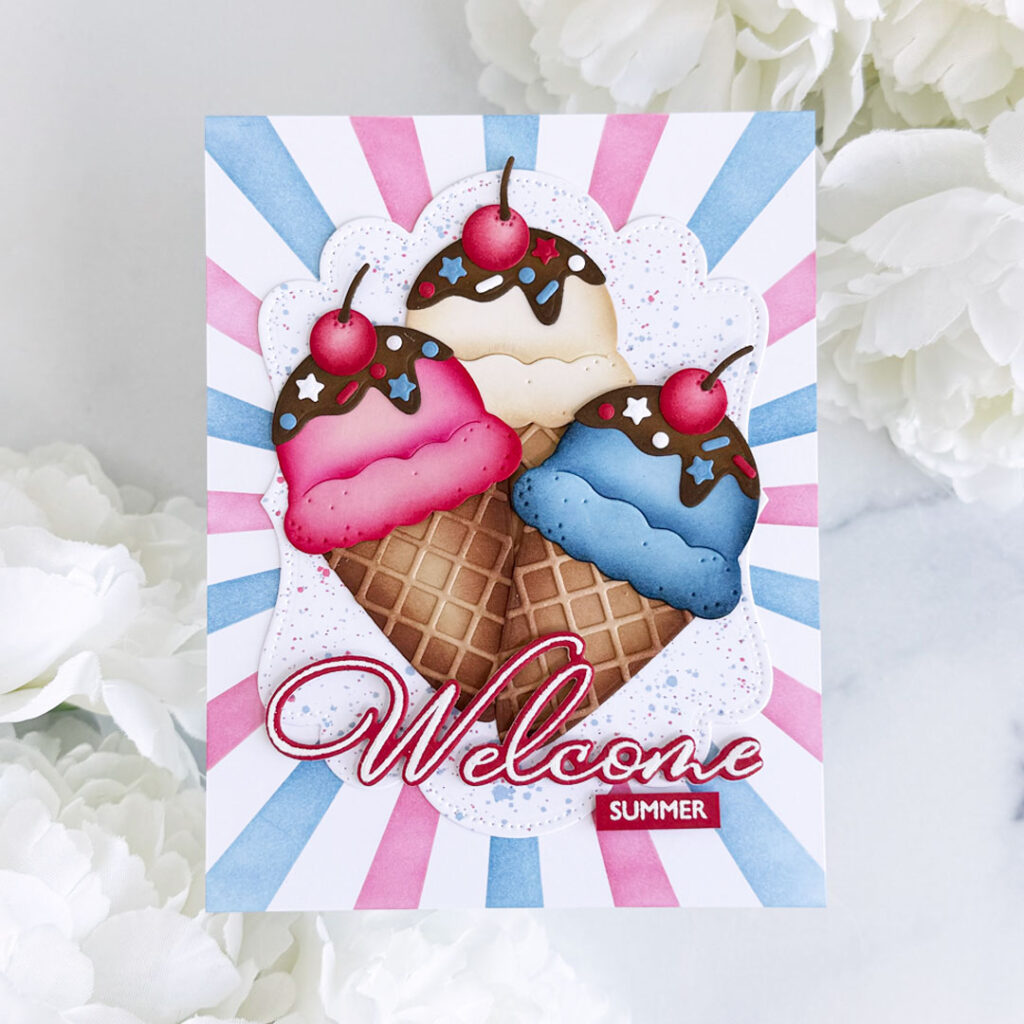
Step: 4: Stamp the sentiment from the This Is Big Sentiments: Welcome Stamp Set onto Pure Poppy cardstock with Versamark ink and emboss with white detail embossing powder. Die-cut “Welcome” with the This Is Big Sentiments: Welcome Coordinating Die and trim “summer” into a narrow banner. Die-cut the “Welcome” die three more times from Stamper’s Select: White cardstock and adhere them behind the stamped one, then adhere to the front of the card with liquid glue. Pop up the “summer” strip with foam tape.
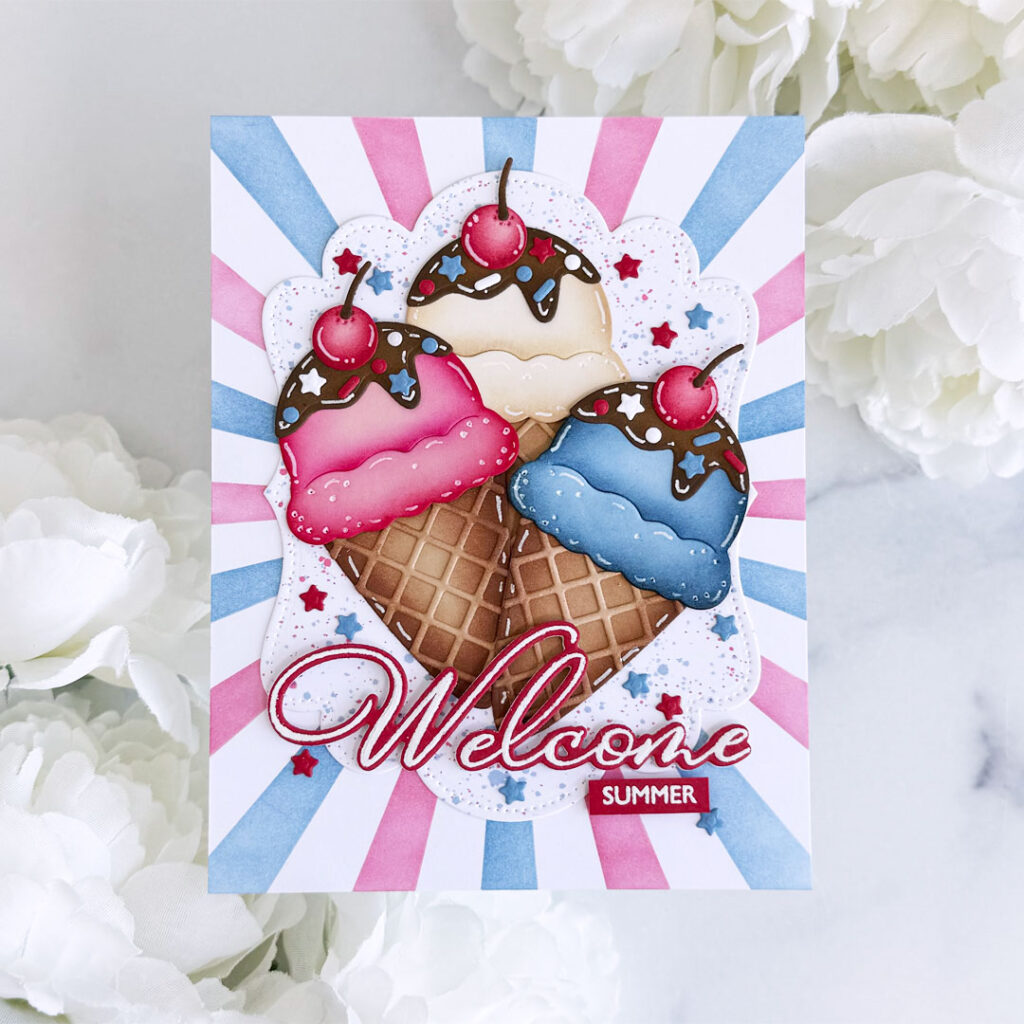
Step 5: Adhere extra star sprinkles to the background and add highlights to the die-cuts with a white gel pen.
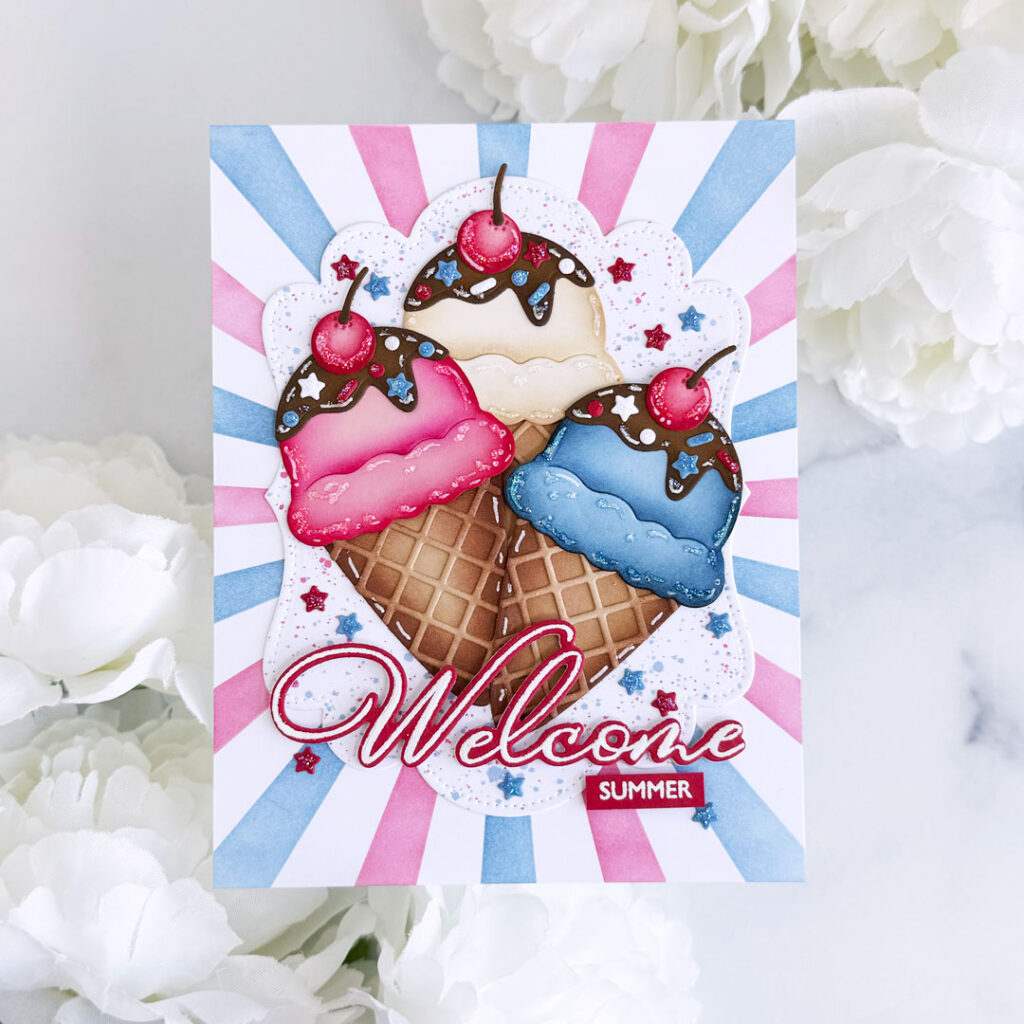
Step 6: Add Star Dust Stickles to the ice cream, cherries and sprinkles for a bit of sparkle.
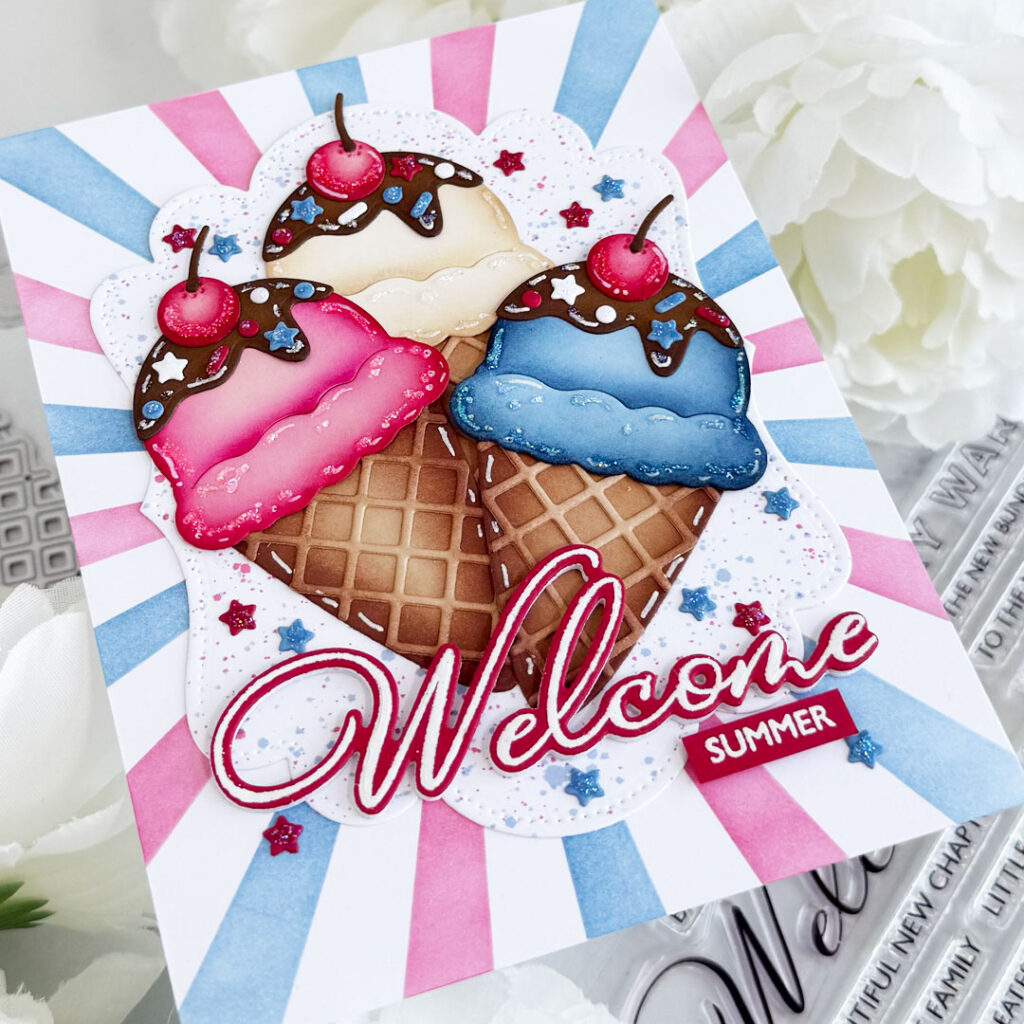
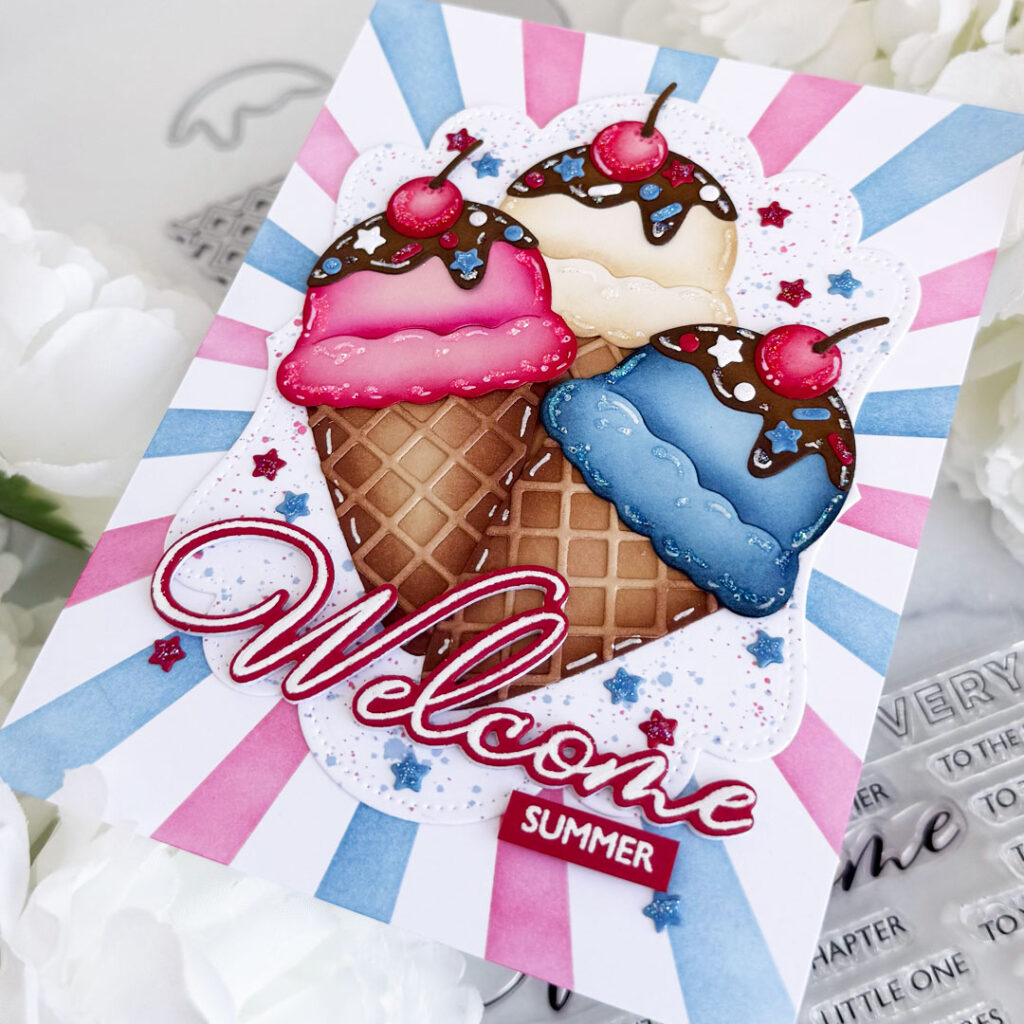
Anyone else ready for a refreshing ice cream cone?!?
Thank you so much for stopping by today!! Enjoy the rest of your weekend!!
Leslie Parker says
Such a fun stamp & die!
Sheila Fisher says
Love this!!!