Hi everyone! It's Rebecca guesting on this happy Thursday! If you're like me, there are times when you could craft the day away on just one project, while other days you're lucky if you have time to take a shower, let alone dive into a lengthy piece of work. I think we've all experienced both ends of that spectrum and that's what I'm talking about today: Packaging, Fast and Slow.

I just came off an incredibly hectic month that just kept on throwing me curveballs. It ended with my son getting sick and a wishy-washy 3-day vacation. So many things were left up in the air and when we came home, I had to throw myself back into whipping up some quick gifts for friends we're seeing later this week. That's really difficult to do sometimes, especially when your headspace is otherwise occupied by your overwhelming to-do list.
What do you then? Number one, don't panic! Packaging doesn't always have to consist of layers upon layers of handmade love. It's the thought that counts and even though you'll see me go on and on about my love for all things wrapped up pretty, don't forget that! It's the thought that counts.
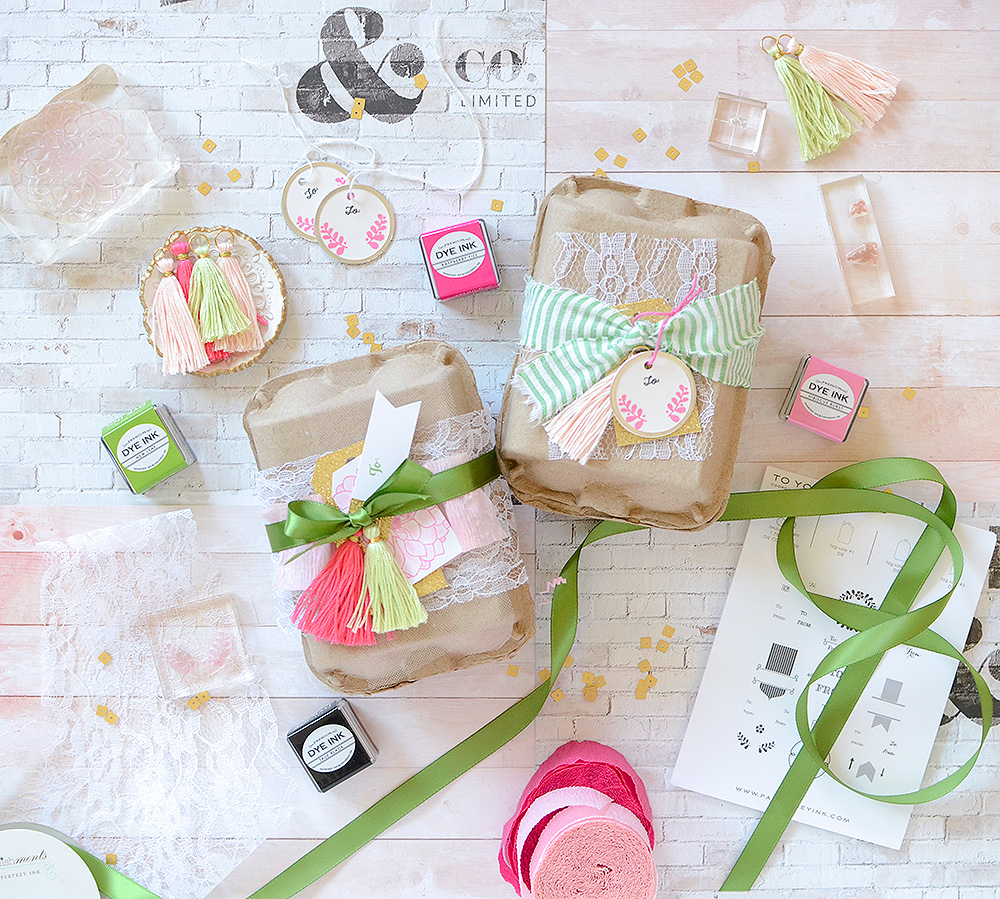
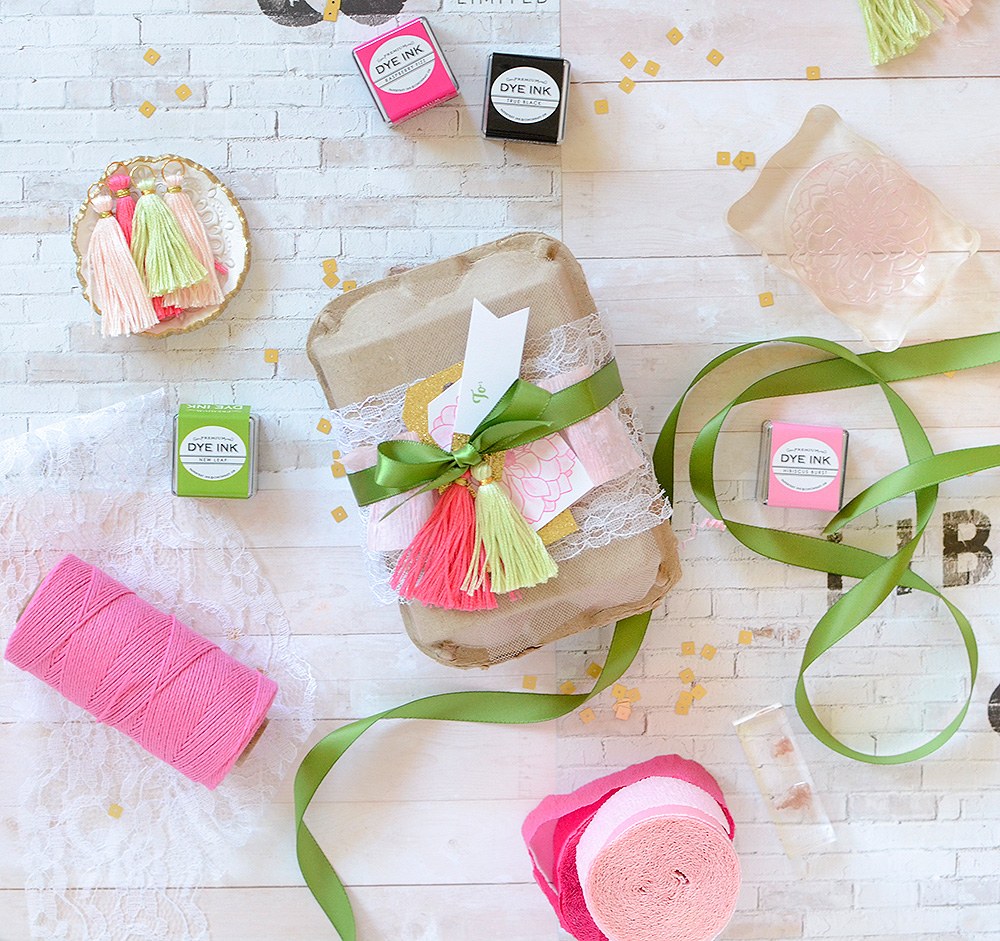
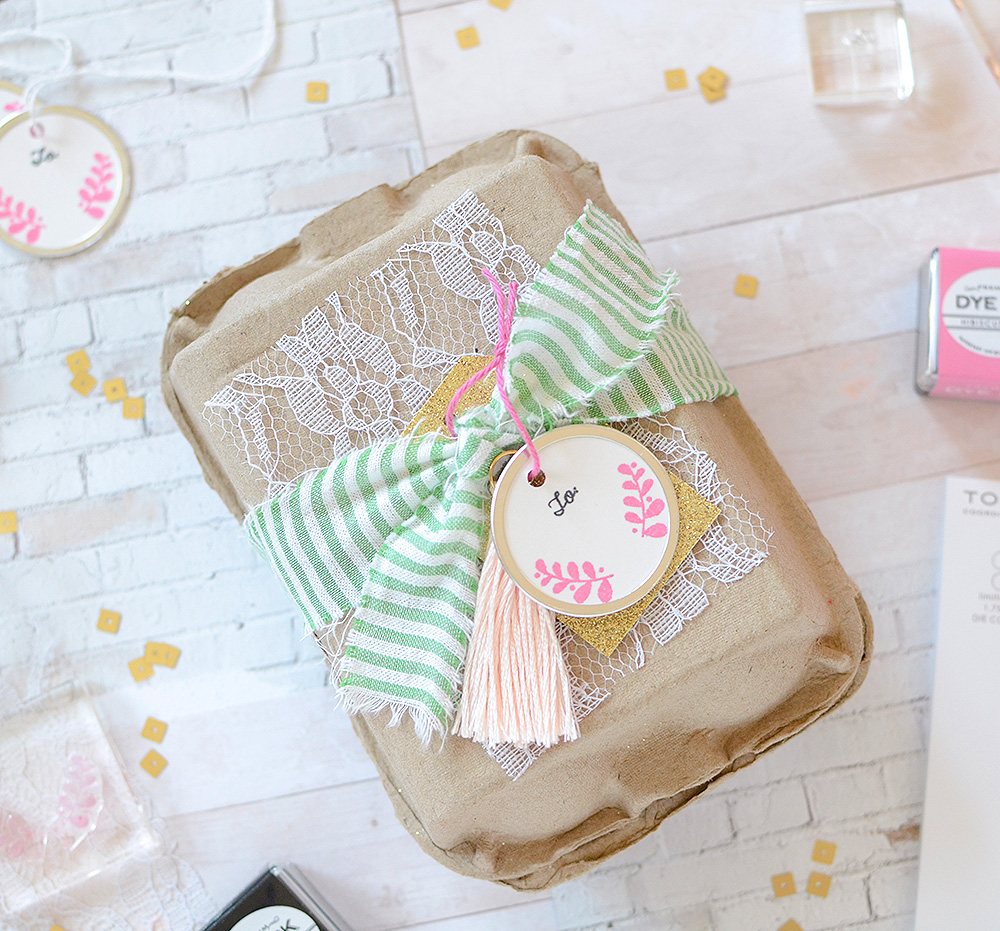
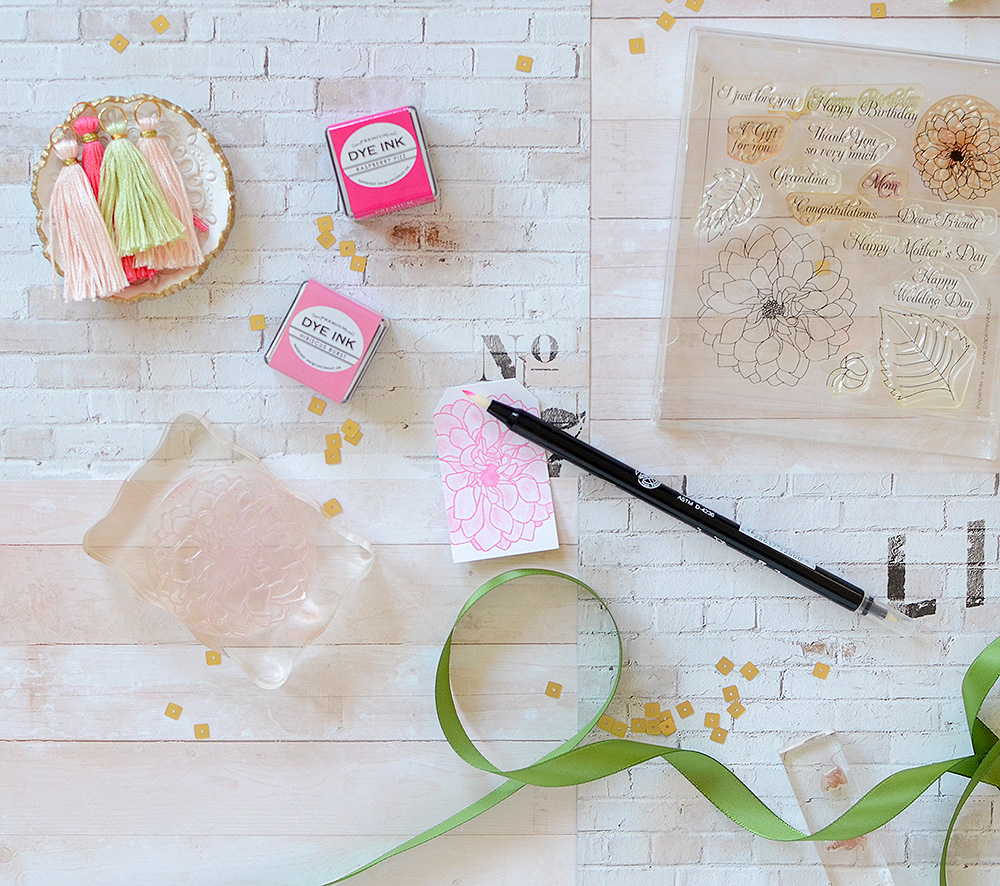
My first package is made from scraps and castoffs. Everything I chose, save for the egg carton, was within arm's reach on my desk. (I did make the gift tag especially for this post, but ANY tag will do when you're short on time. Use a scrap of paper and hand-write the recipient's name on it if that's easiest for you. It's totally OK!)
I found these egg cartons in the dollar section at Target last week. They're cute for spring and Easter and they'll hold small treats like jewelry and candy. Each cost only $1! I purchased 2 with this post in mind.
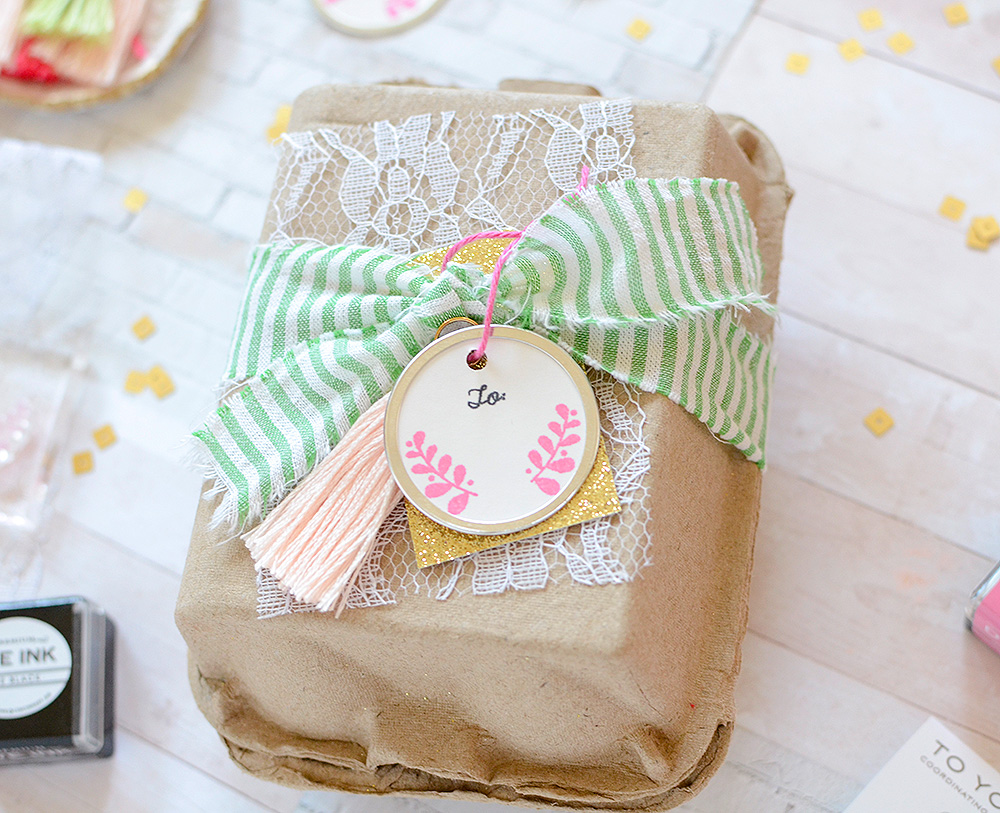
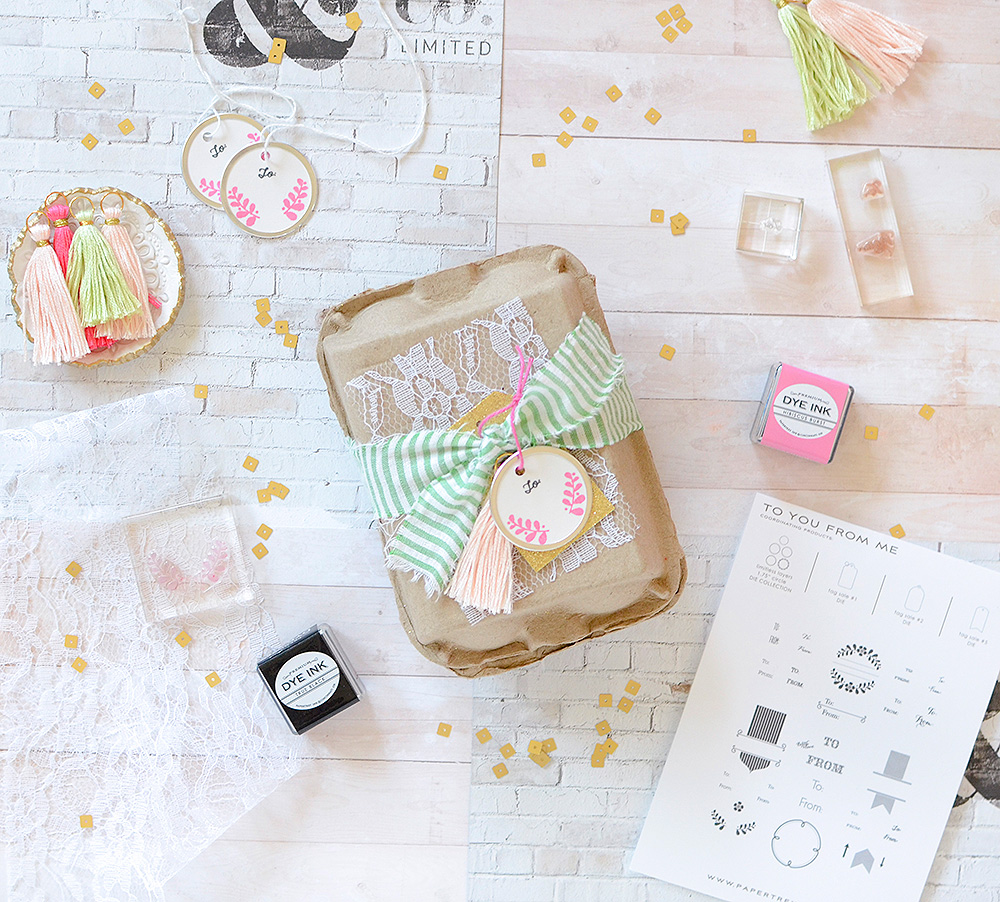
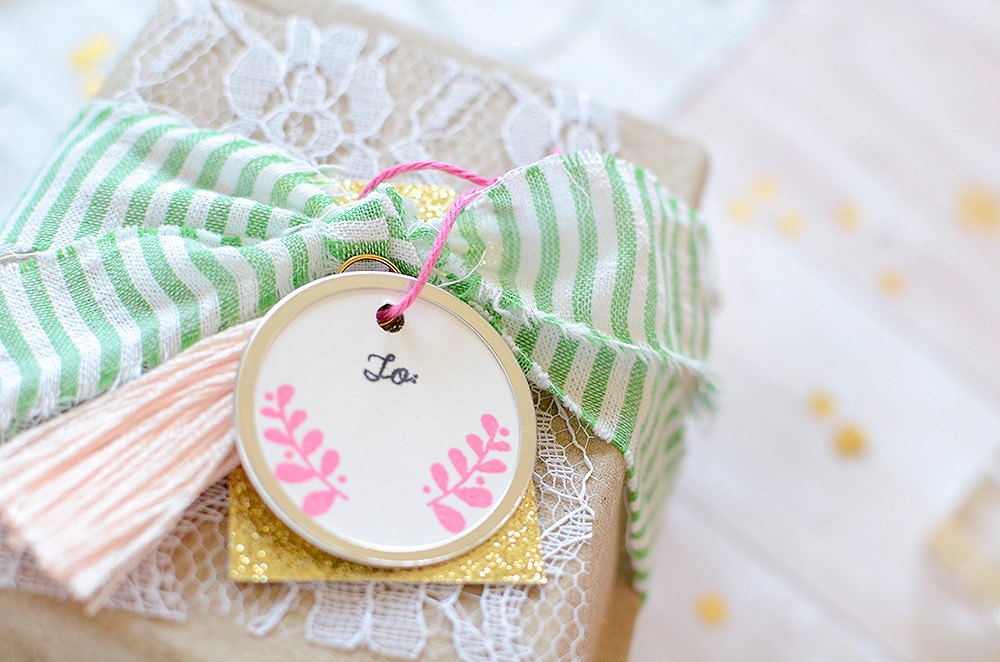
Again, I made the "To" tag, but in the simplest way. I took an Avery metal rim tag (a handful of which sit in a dish on my desk), stamped the floral notes on it using Hibiscus Burst ink, and then stamped "To" centered at the top in True Black. The stamps are from To You From Me which is a staple in my stamp collection. A simple stamped "To/From" sentiment on a tag or small piece of paper can actually make a pretty big impact, so I find myself using the different variations of this set often.

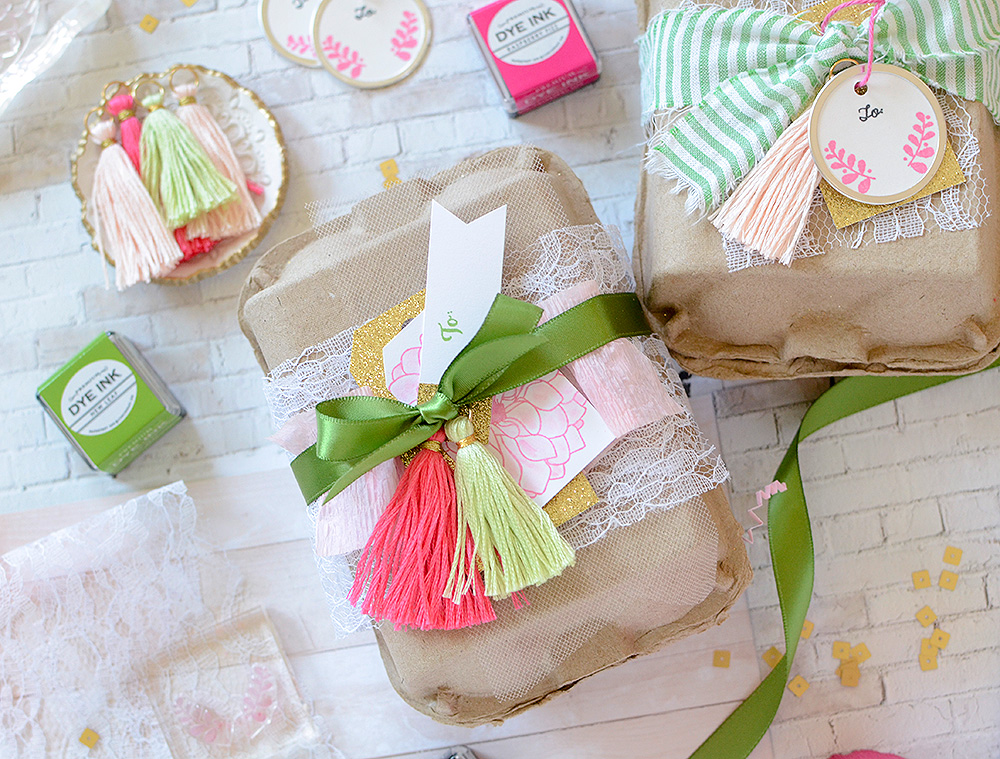
When you're short on time, but want to look like you made an effort, I find that the formula of texture / pop / splash works well. You'll notice all of the different textures on my package–lace, fabric, glitter, a metal rimmed tag, and the embroidery floss tassel. Texture goes a long way in creating interest and I normally add small bits of particular textures. As I said, I used scraps, castoffs, and ready-made items that were within reach.

I've got several textures, and now I need some pops of bright color. Hibiscus Burst pairs so well with the green on the fabric, and together they make a very pretty spring duo, so I stamped the small stems in the pink hue to liven up the package, and used a similar pink twine to tie on the tag.
A splash can be anything that drives home the WOW! factor. Again, this is meant to be a simply dressed gift, so I didn't want to spend a lot of time making elements or messing around with tricky placements and layers. My splash in this case is the glitter tag, which I made using the PTI Fillable Frames Die #9. Hint: I always make extra tags/banners/often-used items when I'm die cutting. It saves so much time! Because the tag was already made, from a sheet of American Crafts gold glitter paper, all I had to do was slip it under the fabric knot and be done.
You don't have to spend lots of time on wrapping a gift. Remember: Texture / Pop / Splash, and use what you can reach.
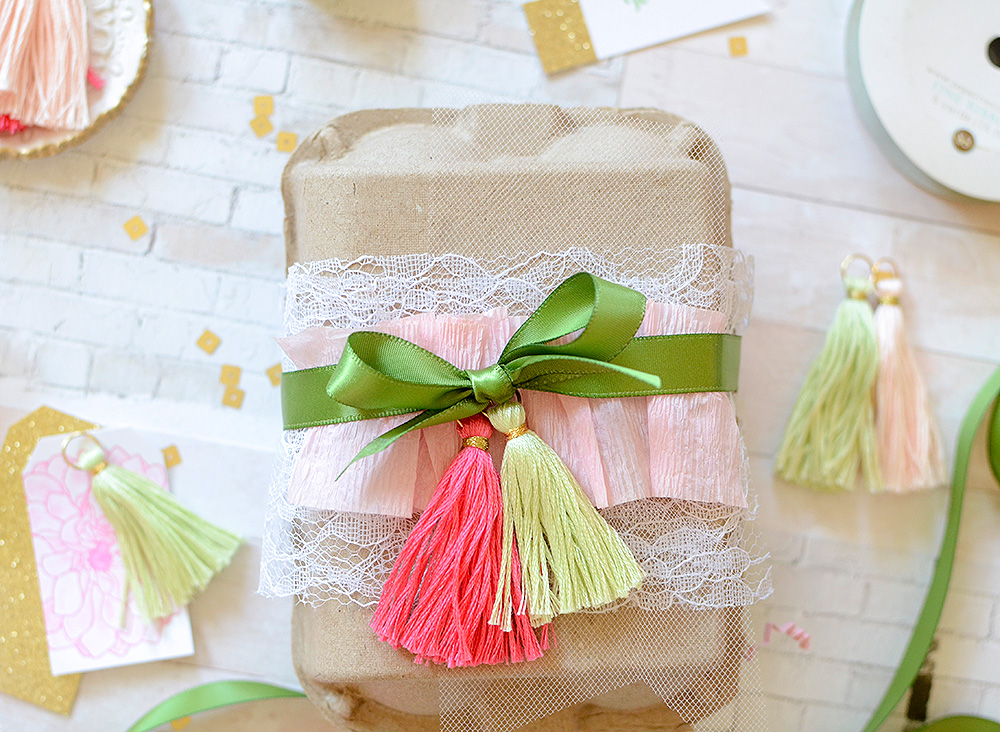
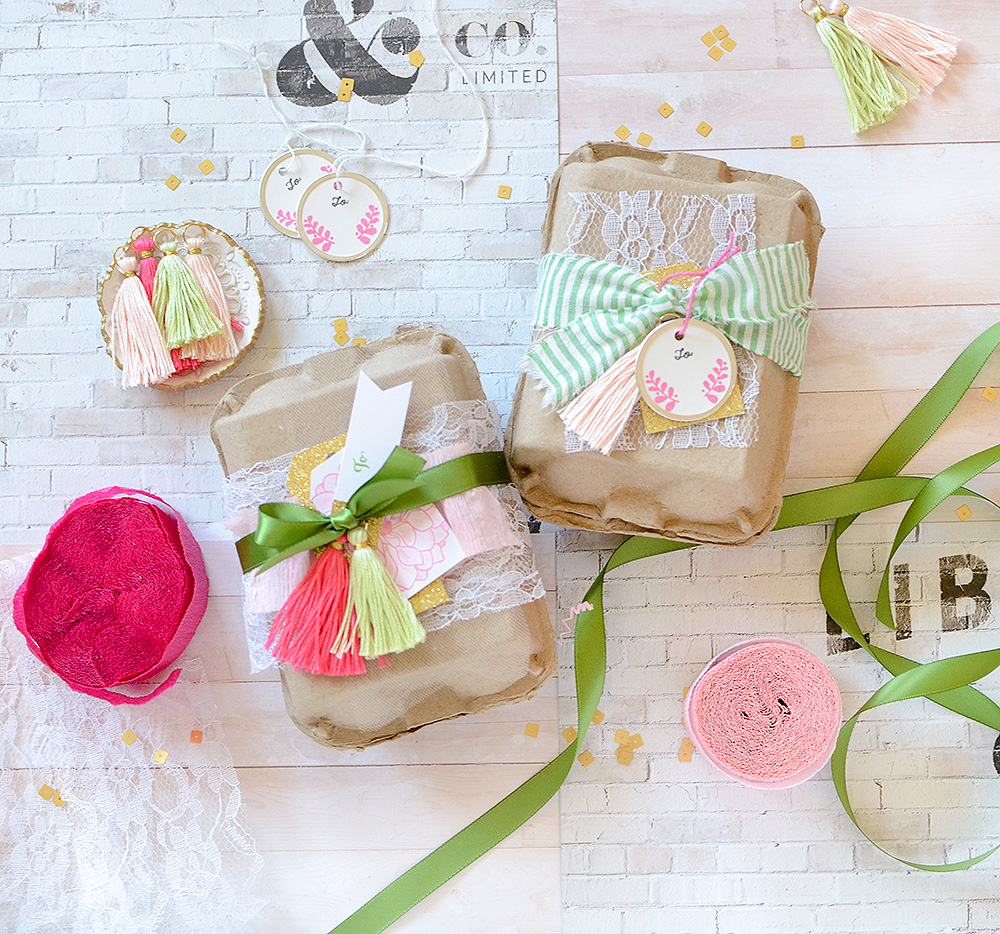
Now let's say you have more than 5 minutes to throw something together. Using some of the same principles as the quickie-wrap, we'll spend a bit more time on a similar gift. I'm using an egg carton and the white lace again to start. This time, though, I'm going to use more than just a scrap. This particular lace comes in spools and it's about 4" wide. I'm going to wrap it around the carton twice. I won't secure it now, since I'll be doing that a bit later in the process.

The next thing I'm adding is some pale pink crepe paper. This is just the basic streamer-style crepe that comes wound in a long roll, ready for party decorating. I've taken about 10" of it here and scrunched it over the top of my lace. You can add a little glue to secure it it you'd like, though I didn't.
A word about adhering: It's my common practice to NOT adhere elements to my packaging. I (don't) do this with the hope that my recipient can reuse any of the tags and trims on a future package. If it's all glued to each other, it makes it harder to reuse sometimes and it's likely to get thrown away. There are always cases when adhering is a must, of course, because you also don't want to go to lots of trouble to create something thoughtful and have it all fall away before you can deliver it. Use your best judgement, and, when in doubt, add a dab of glue.
After I ruffled the crepe paper strip, I took some New Leaf satin ribbon and tied it around my carton. I first looped 2 embroidery floss tassels through the left end of the ribbon, then tied it into a bow. This will secure my lace and crepe paper in place. (The crepe paper gets a bit fussy, however, so if that's driving you crazy, go ahead and glue it down!)
While the lace and the crepe paper provide texture, the green ribbon and bright pink tassel serve as pops of bright color. Time to decide which tags to use, and how to make a splash.
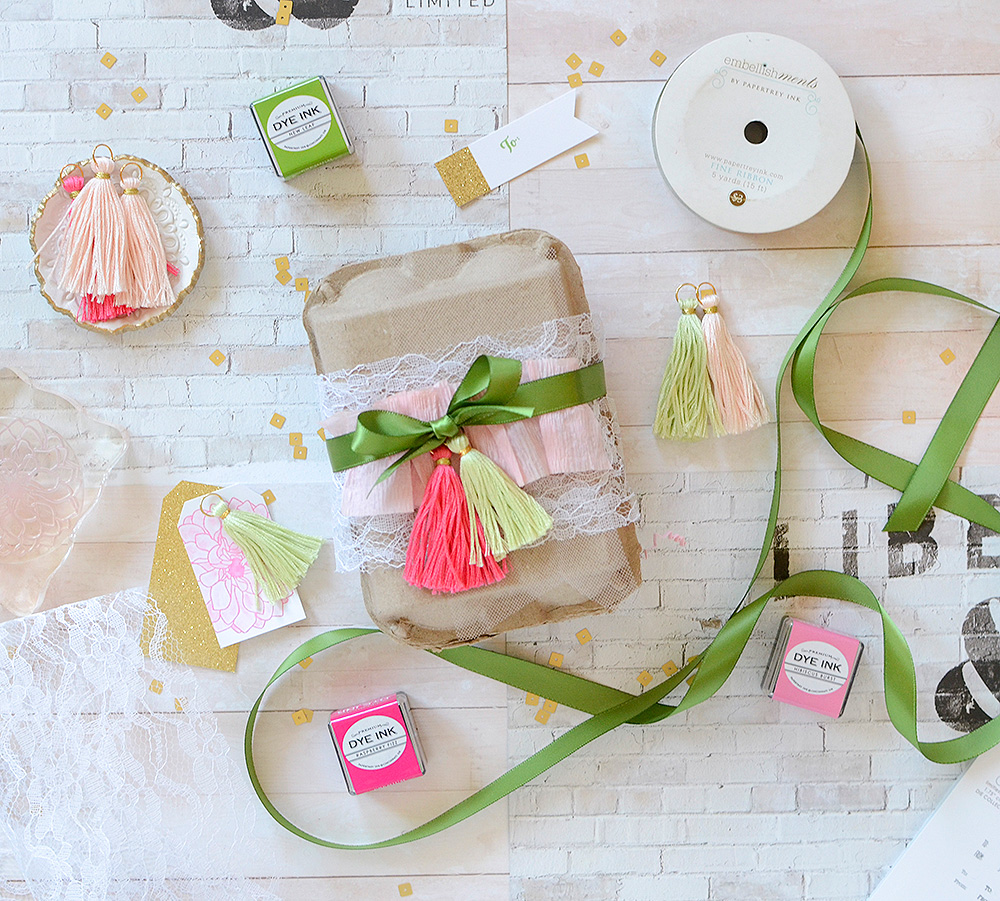
I'm thinking spring here so something floral always works for that. I grabbed an old favorite stamp set, Delightful Dahlia, and stamped the large dahlia on a piece of Stamper's Select White card stock. I stamped it in Hibiscus Burst and chose to use a blender pen with that same ink to color in the petals. This is a relatively new technique for me, and it was just right for this wrap.
Using the Fillable Frames #9 die again, I cut the stamped piece into a tag, then layered it with a larger glitter tag. I used the Minute to Make: Holiday Tags die and because it cuts 3 at a time, that leaves me with 2 tags ready to go for quick future projects. (Yay!)

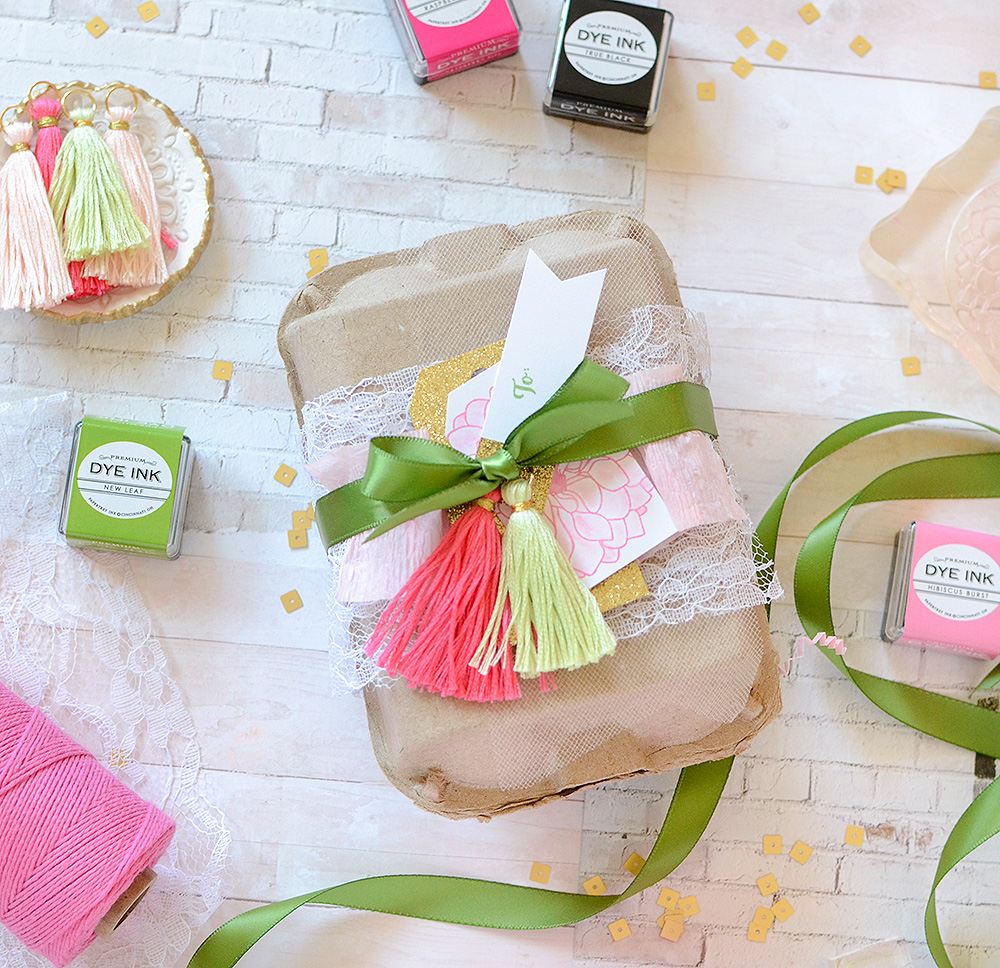
I still needed a sentiment, though, so I made one last tag with the Number the Stars Banner die and white card stock. I placed a piece of 5/8" gold glitter tape across the top, just to add some detail, and stamped "To" at an angle in New Leaf ink.

While any of these tags could serve as the splash of WOW for this package, I think it's a combination of all three and the contrast they provide when layered together.
This package took more time and effort, as well as several more products, but they both come from the heart and proclaim the air that thought went into each one.
Here are a few tips to remember, whether you're wrapping has to be done fast, or whether you can slow it down and take your time:
Texture / Pop / Splash
- Add texture for interest, a pop of color for surprise and contrast, and a splash of WOW!
- If you're short on time, don't overthink it.
- Use what's ready, available, and within reach.
- If you have the time to slow it down, do!
- Use any supply at your disposal to create something special.
- Take a few minutes to create a few embellishments for a quick emergency project.
+ + + + +
If you remember in my previous Paper & Package post, I told you I'd answer the question I get asked so often: Why spend so much time on something that will be torn open and thrown away?
Answer:
It's my hope that my recipients won't throw away the wrappings! I'm careful to leave components un-adhered when possible, as I mentioned earlier. I have gotten back a few accessories that I gave, in the form of pretty packages. A couple of friends have put their own spin on the embellishments and I absolutely loved that! Also, it's really important to know your recipient! If they aren't the sort who will care how much time or trouble it took you to package up their gift, maybe you go with "less is more" design. I do not wrap this way for my 6 and 4 year old, for example 😉
I hope you enjoyed today's post and packaging! If you have any questions, feel free to ask in the comment section below. I'll see you next month!

Leave a Reply