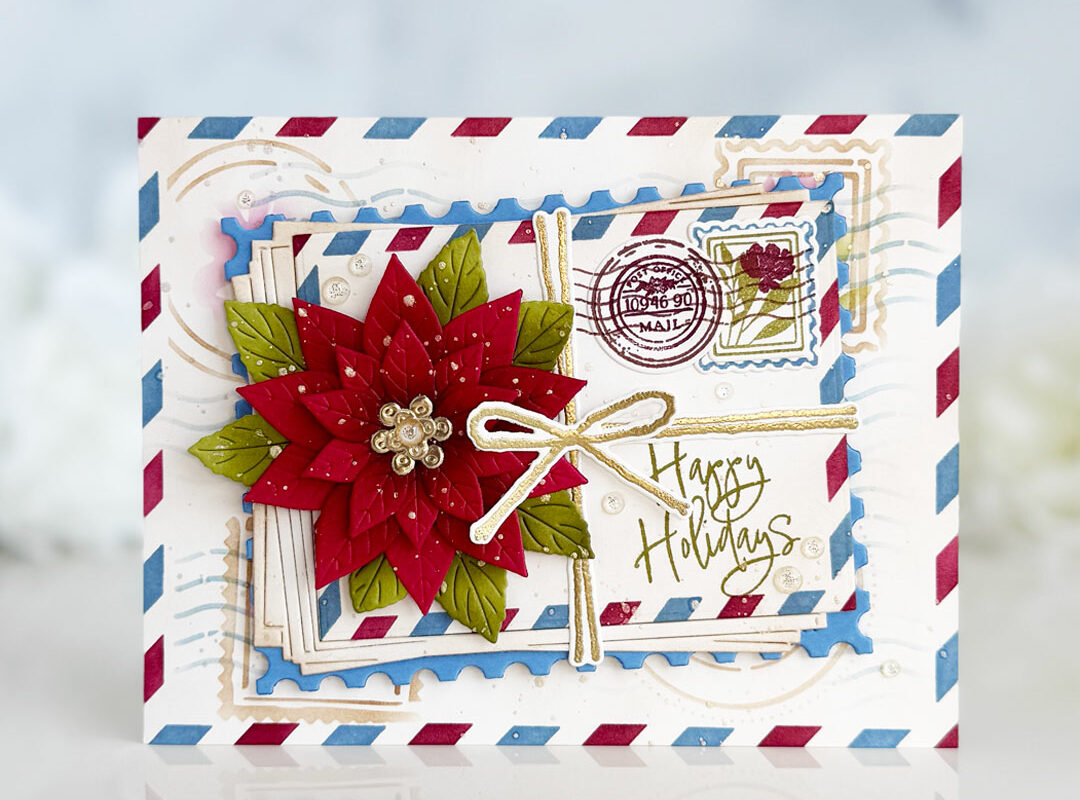
We are welcoming Danielle to the Make It Monday Series today! She's getting right down to business by showing you how to use your cover plates as a stencil for applying dimensional media. Once dry, it has a lovely flocked effect. Click play to learn more:
If you are joining along this week, here are the details concerning the Make It Monday Challenge.
–A new Make It Monday Challenge will go up every Monday morning at 9am EST.
–Create a project utilizing your take on the challenge. Your project must use at least one Papertrey product and a cover plate die as a stencil.
–Post your project on your blog, in your gallery or on any other photo-hosting site (such as photobucket or flickr).
–-Add your project to our InLinkz list below.
–You will have until 7am, Monday, September 30th, to add your link to the list to be eligible to win. And you can enter as many times as you like.
–We will be tweeting and posting on our Facebook page every night (between 5-9pm EST) highlighting a Featured Project. These tweets/Facebook postings will just be a shout-out regarding projects that caught our eye.
–One randomly selected winner will be chosen from ALL the entries on Monday, September 30th, after 7am. The winner will be posted here on this blog post, on Twitter and Facebook. The randomly selected winner will get a $25 PTI gift certificate to spend however they like!
Good luck to everyone and we look forward to seeing your projects!
EDITED TO ADD THIS WEEK'S WINNER:
Congratulations to Kathryn A. for being randomly selected as this weeks winner! Please email Customer Service and provide the email address you would like your $25 gift certificate sent to! And a big thank you to everyone else who participated in this challenge. There were so many amazing entries! Enjoy the rest of your week!
Hooray, Danielle! What a wonderful tutorial and perfect way to start the week! Can’t wait to try this! BTW, GREAT card set!
Great job on your first MIM series, Danielle! Can’t wait to see what more great things you have in store for us. 🙂
Love these, Danielle! They are so gorgeous yet so easy to achieve!! Thanks for sharing your creativity with us:)
I enjoyed your video, very informative and easy to follow. I will be looking forward to more in the future.
gorgeous card Danielle..and love your video!
What an awesome 1st video you did a great job!! Have a great day
DIANA L.
dianamlarson.blogspot.com
Yeah Danielle! So excited to see you added to the Make it Monday line-up! It is the “Monday night football” of the crafting world!!! Love your tutorial and card set! I have 4 card fronts drying on my craft table! Yay!
🙂
Great card Danielle, loved the tutorial, such a fun looking technique, Cathy x
Wonderful tutorial Danielle!!! Now I want to find my modeling paste 🙂 Thank you ♥
Wonderful cards! I’ve seen this technique on cards and I appreciate this video showing how to easily achieve it. CONGRATS on your first and fab video, Danielle! 🙂
You are a wonderful instructor, clear and concise and make it all seem so easy. Thank you! I l am wondering where you purchased your work surface boards and the sticky squares. Love the cover plates, definitely in my next purchase:)
Hi Danielle, great cards – I had fun playing with this
Gorgeous. I think I need every product you worked with today.
Gorgeous, Love it!!
GREAT idea, and even better tutorial!
this was so much fun! Thanks for the great tutorial!
Hi Deb, Thank you for your nice note! The gray mat is a Martha Stewart cutting board. I’ve had it quite awhile, but it’s made for quilting I think. It’s rather large, 24″ x 12″ I believe. The black pad is a foam stamping pad by Inkadinkado. I think maybe it came from AC Moore. The sticky squares are by Glue Arts: http://www.gluearts.com/adhesive-squares.html
Hope that helps!
Danielle
Danielle, thanks for a FABULOUS video tutorial!
Your card is simply beautiful!
You’ve inspired me to try the technique!