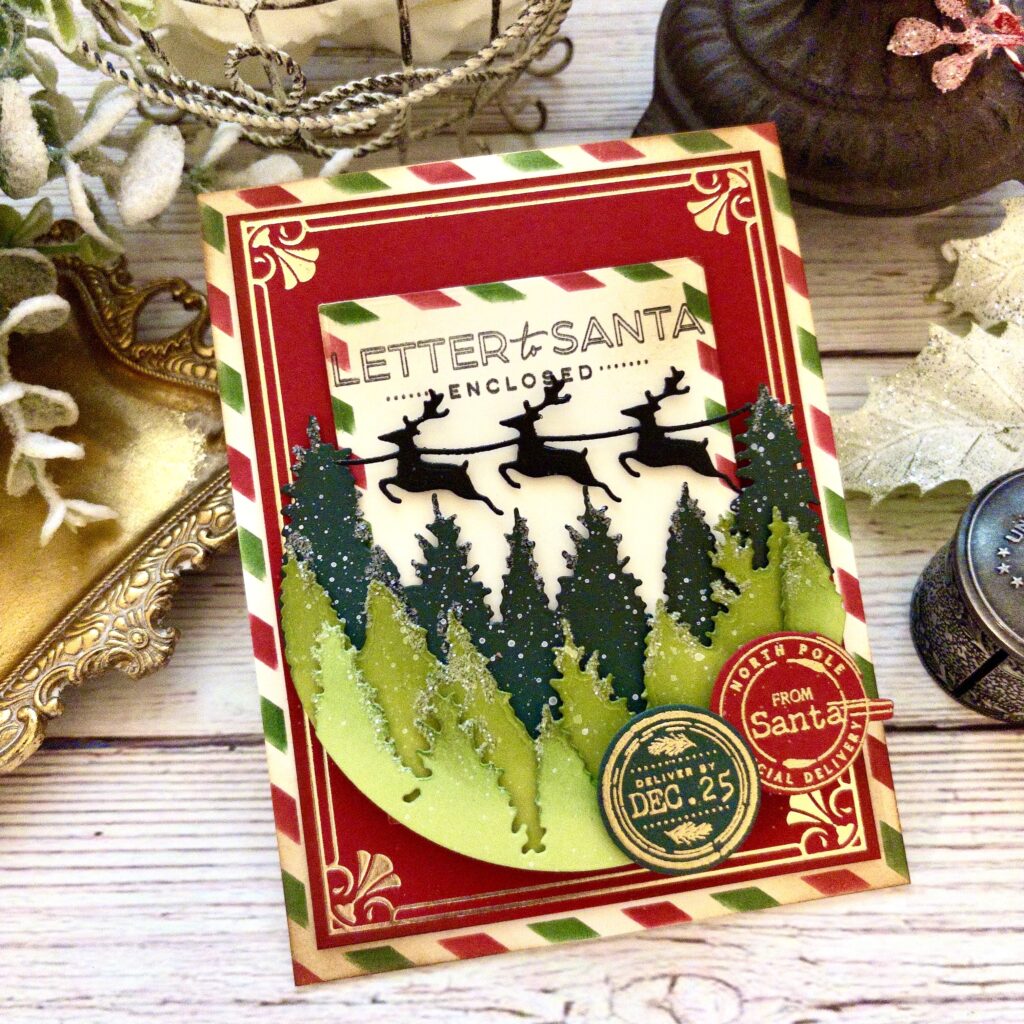
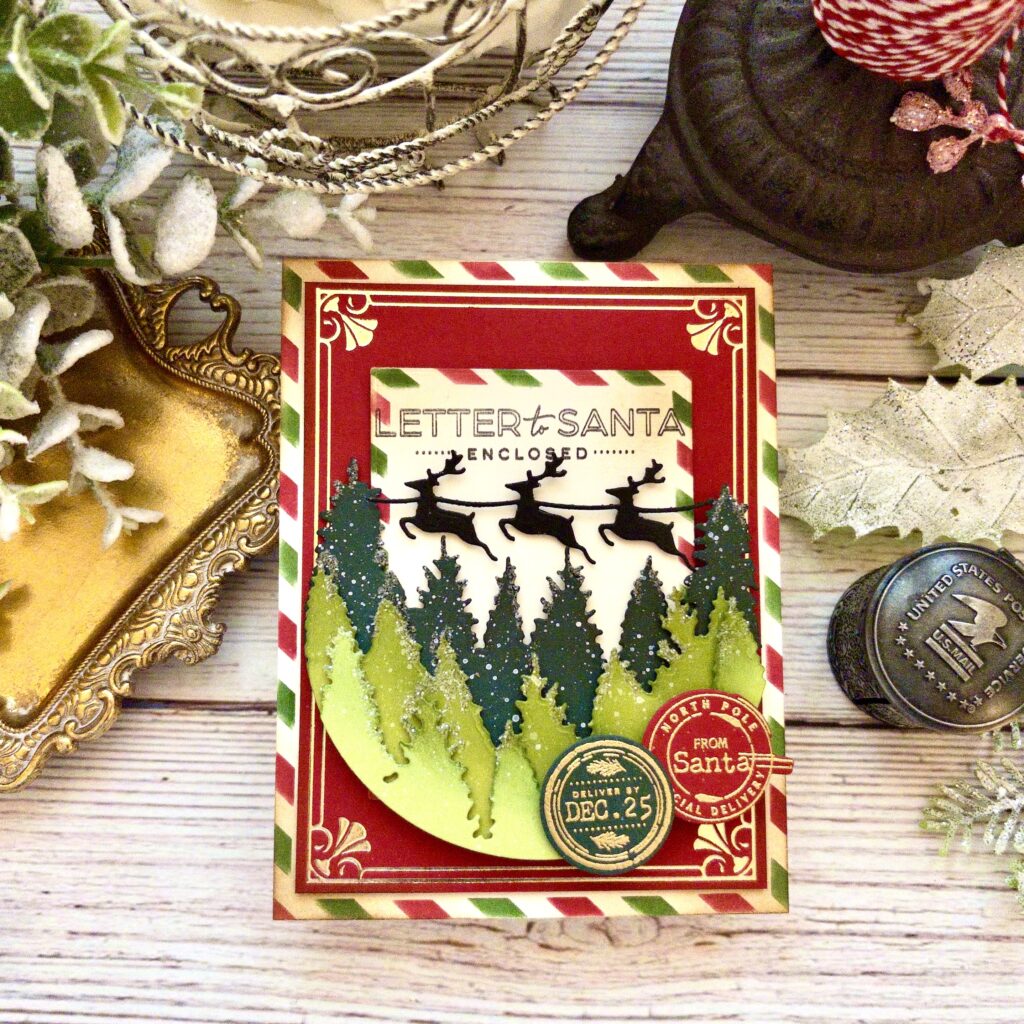
Kelly Lunceford puts a festive spin on holiday cardmaking with this charming Letter to Santa card, combining classic Christmas colors with layered die cuts and nostalgic postal-inspired details. 🎄✨ A beautifully foiled frame and stenciled airmail border create the perfect backdrop for a woodland scene featuring evergreen trees, Santa’s reindeer in flight, and vintage-style North Pole postage accents. The layered design captures the excitement and wonder of sending a special letter to Santa, making this card a delightful project to add to your handmade holiday collection.
Kelly shares, “Have you ever made a card and wondered if you could tweak it just a little bit, it could be perfect for Christmas or another holiday? That happened to me with the latest release! One of the cards I made reminded me of Christmas so I decided to tweak a few things to create something new! I had so much fun imagining and executing this Christmas card, and now I’m one card closer to being ready for the big day!”
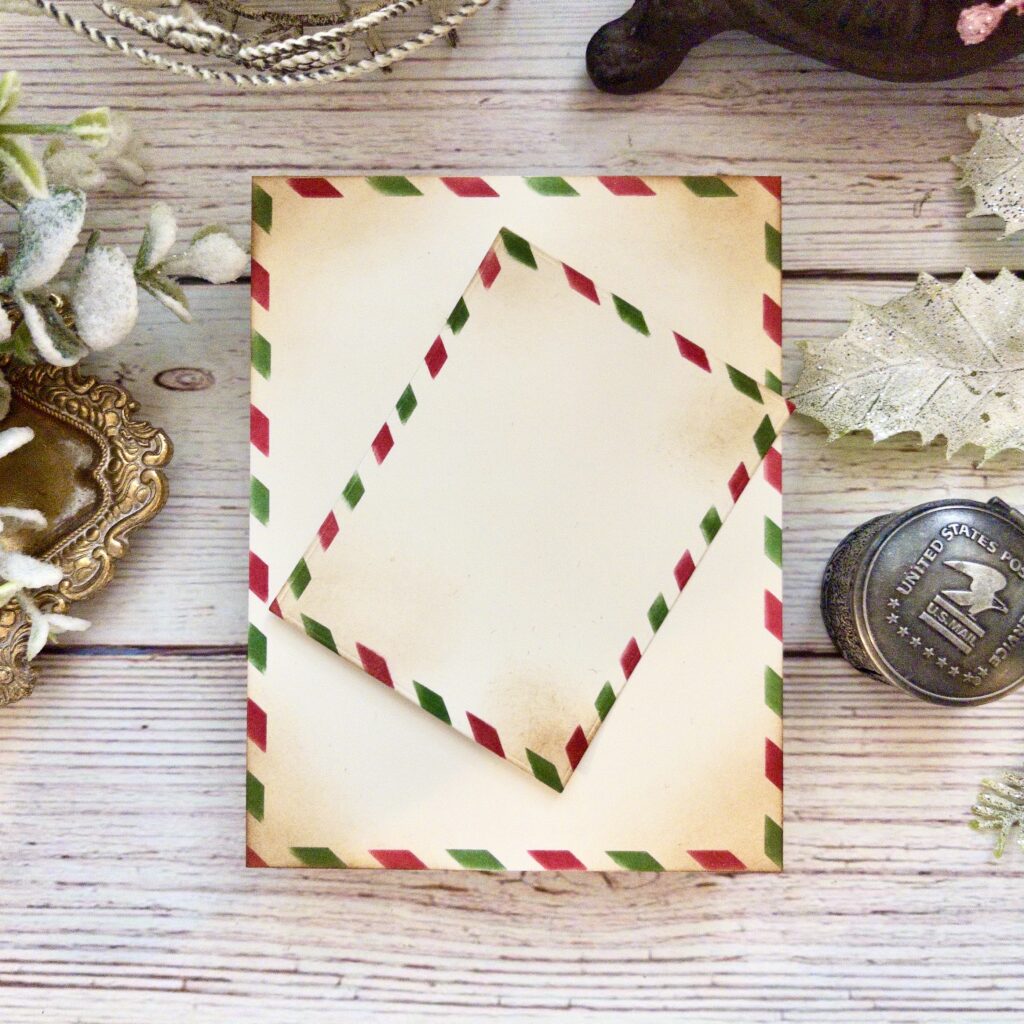
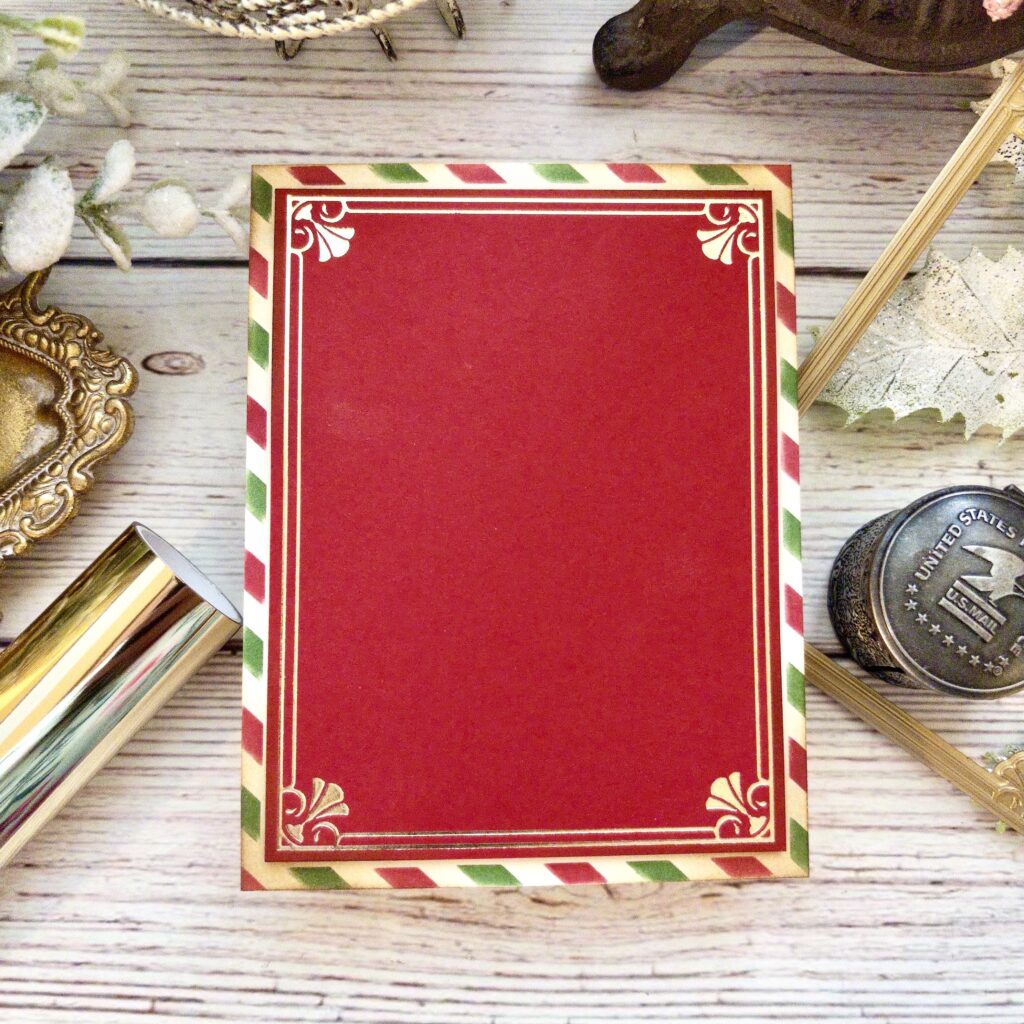
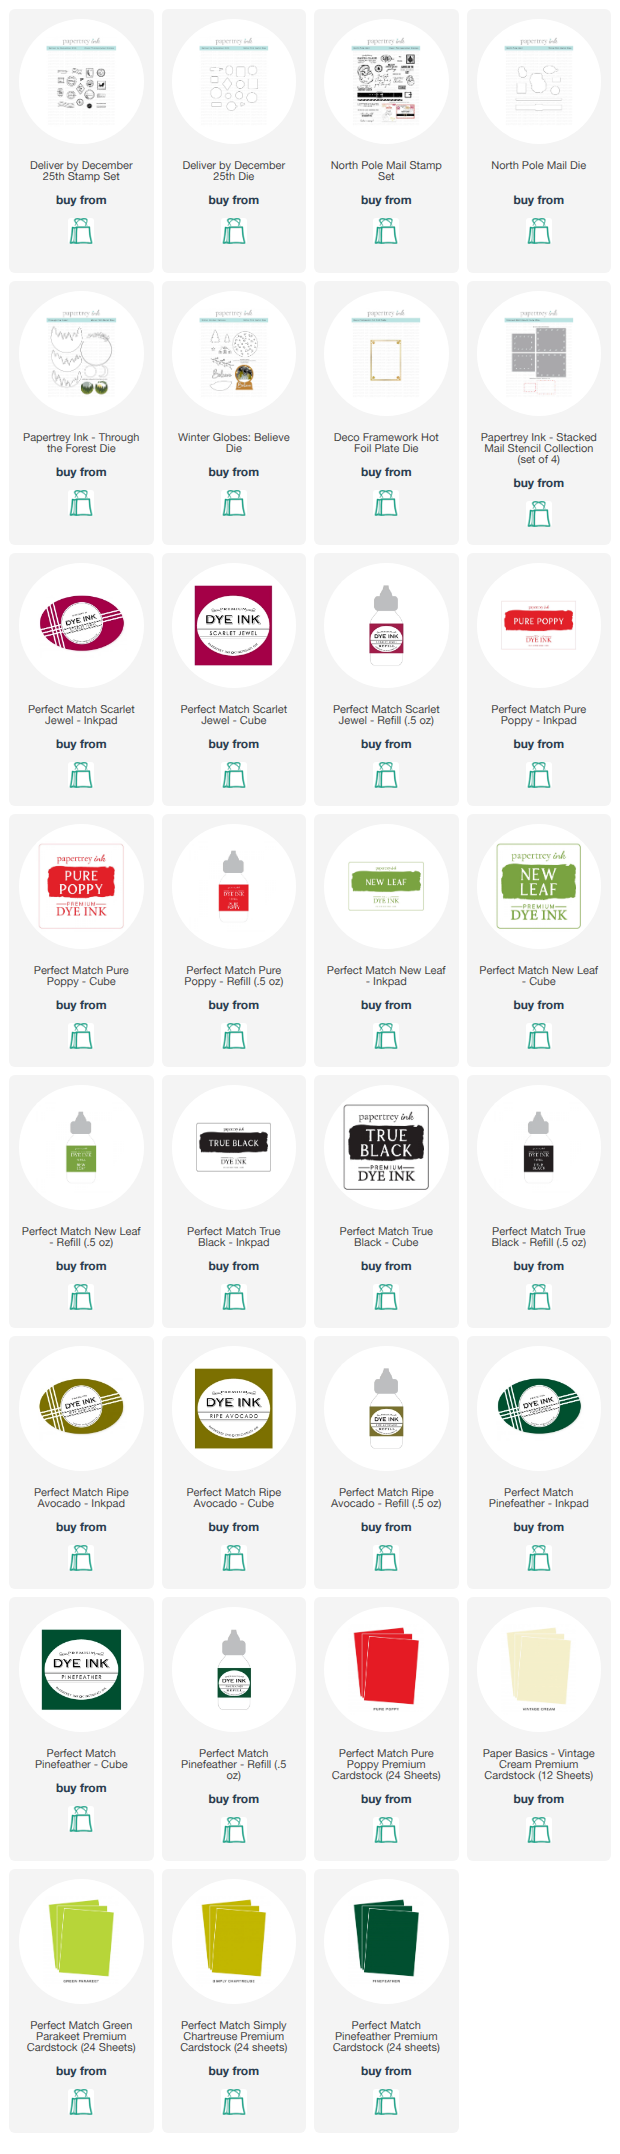
STEP 1: Stencil an A2 panel of Vintage Cream cardstock using the Stacked Mail Stencil Collection. Use the smaller sized stencil on a smaller panel (set this one aside for later). Attach the larger one to a top folding A2 card base using liquid glue or the adhesive of your choice.
STEP 2: Foil a piece of Pure Poppy cardstock using the Deco Framework Hot Foil Plate. Cover up the foiled portion (on each corner) with a sticky note and add some Scarlet Jewel ink around the corners. Attach it to the stenciled panel using foam squares.
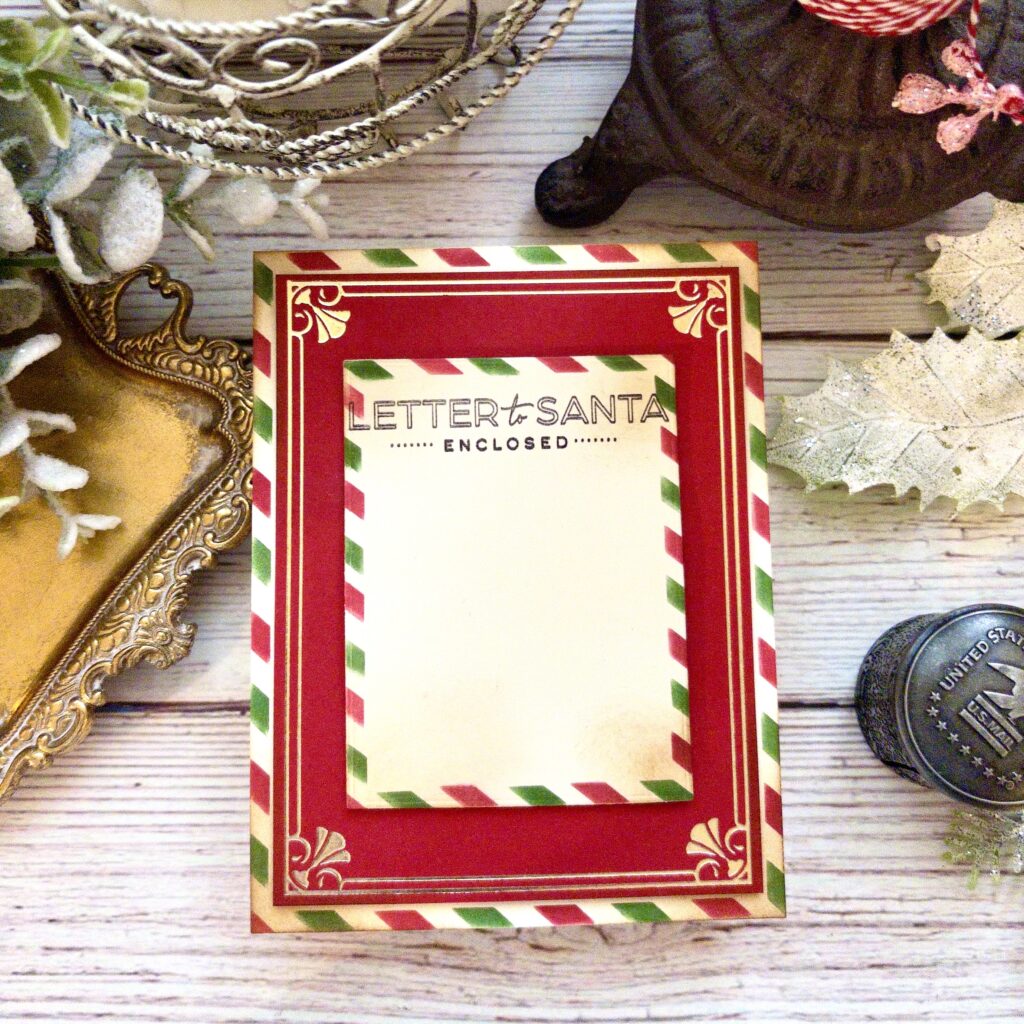
STEP 3: Stamp the sentiment at the top of the smaller stenciled piece. Attach it to the foiled panel using foam squares.
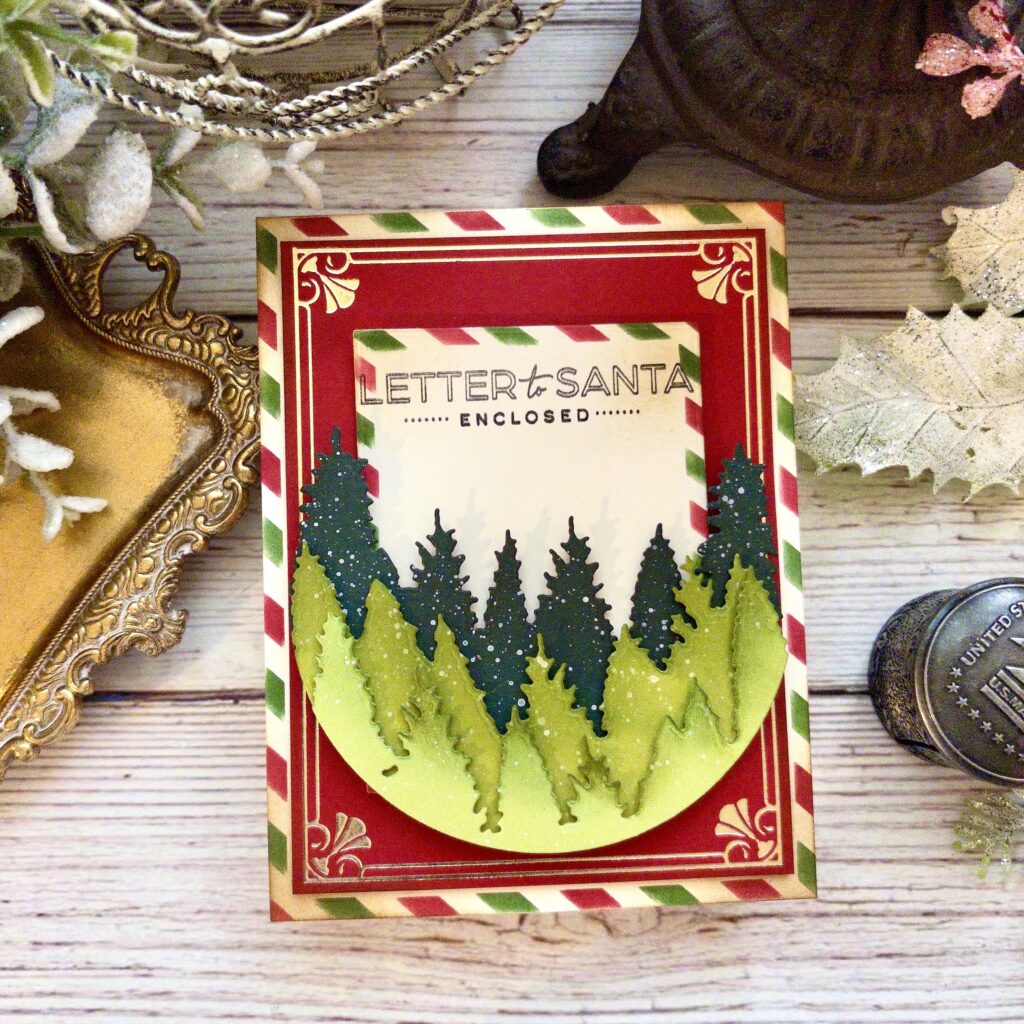
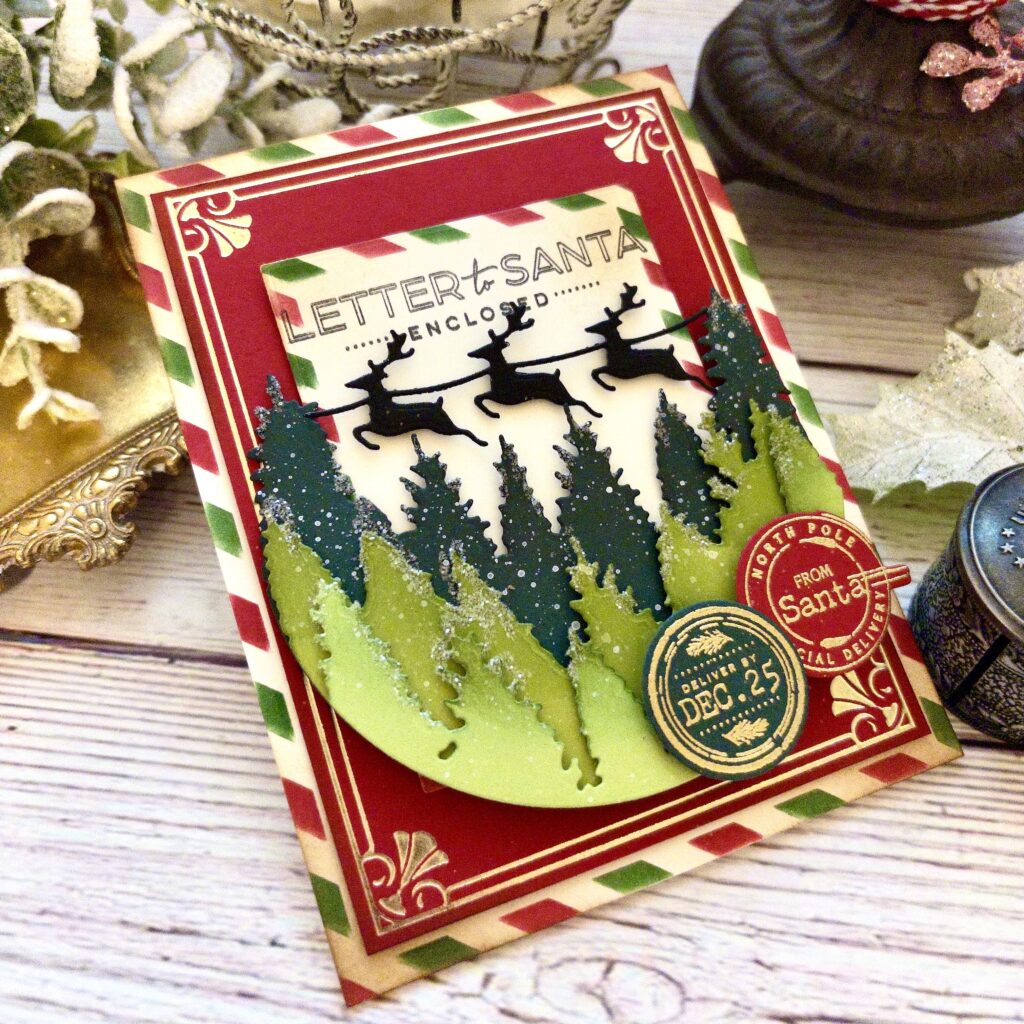
STEP 4: Cut the pieces for the tree portion. Add ink shading and white paint splatter. Attach it to the card using foam squares.
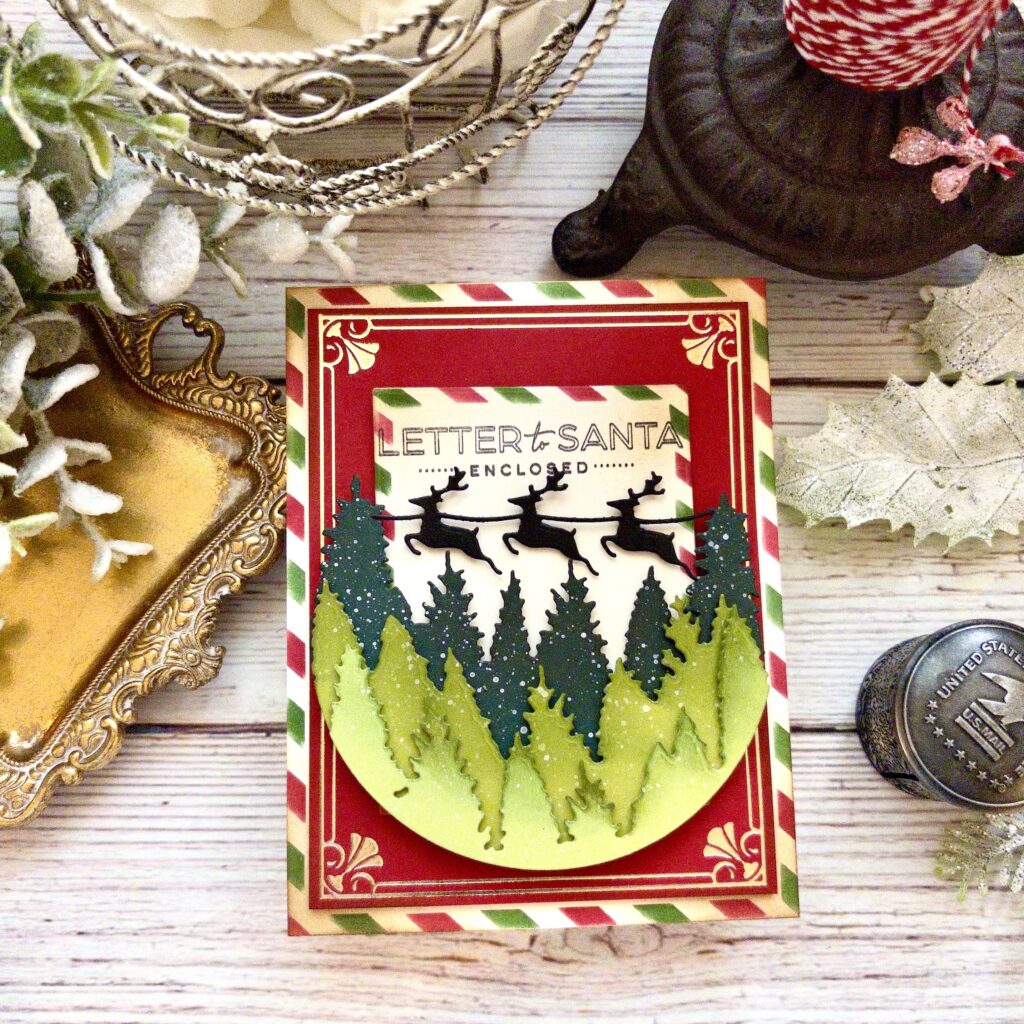
STEP 5: Cut Santa and his reindeer from black card stock and attach them over the trees using small pieces of foam squares. I like using black foam when I’m using black cardstock.
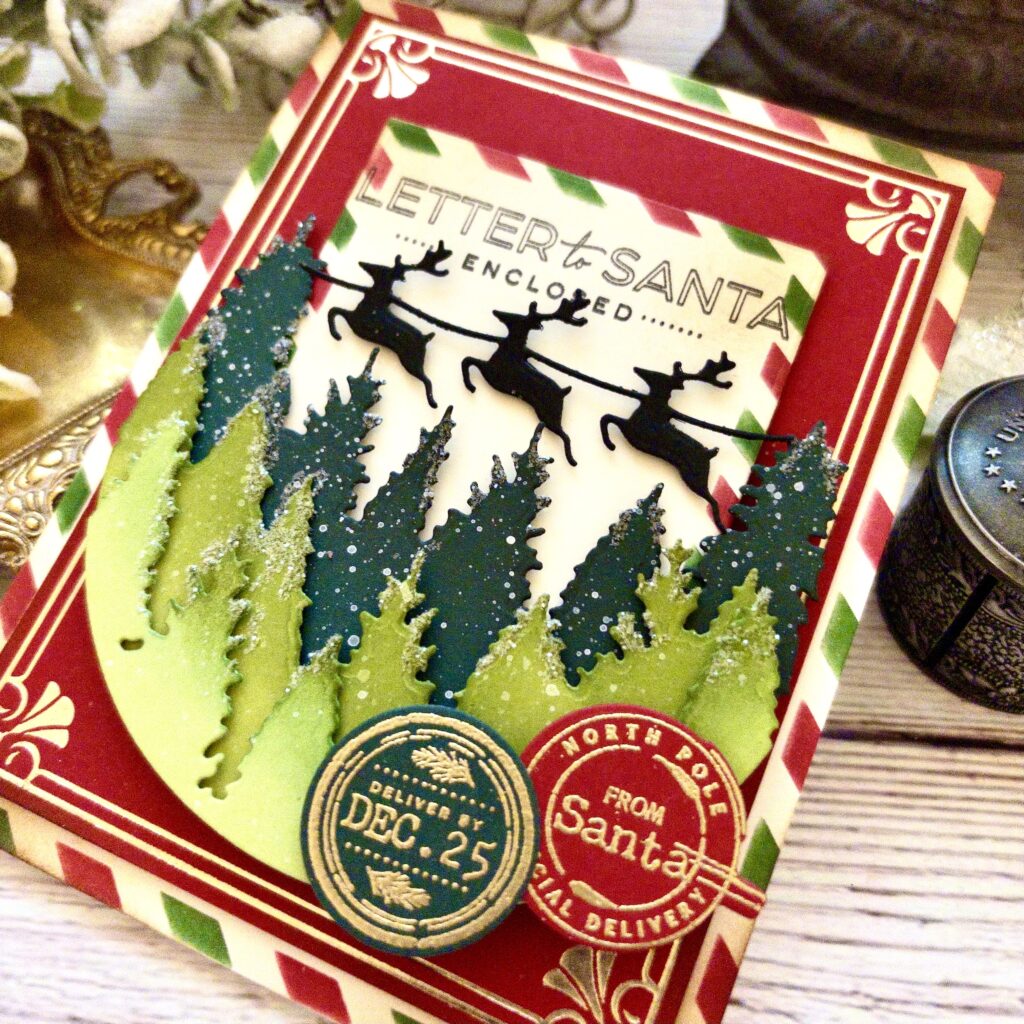
STEP 6: Heat emboss the two postage images and attach them to the card. Add glitter for sparkle and shine.
This project is a wonderful reminder that a few thoughtful changes can transform everyday products into a magical holiday design. ✨ From the festive mail-inspired background and elegant foiled frame to the layered forest scene and nostalgic North Pole details, Kelly’s card is filled with timeless Christmas charm.
Whether you’re creating cards for family, friends, or fellow paper crafters, let this project inspire your own festive creations this holiday season. Be sure to tag Papertrey Ink on Instagram when you share your version—we’d love to see how you make it uniquely yours! 🎅🎄
Reader Interactions
Comments
Mary S Rowekampsays
Oh my goodness, I absolutely LOVE this card and how creative it is to have integrated so many aspects of other stamp sets and dies to turn this set into a Christmas card. I already have the Through the Forest on the top of my wish list and now that I see how versatile it is I’m even more convinced that I need this one (and the coordinating sets Kelly used here)!!!!!
Carmen Nancesays
Such a beautiful holiday card! I love how you incorporated several card elements- new and not so new- to create a picture perfect scene! You are such a talented and gifted card maker!!

Mary S Rowekamp says
Oh my goodness, I absolutely LOVE this card and how creative it is to have integrated so many aspects of other stamp sets and dies to turn this set into a Christmas card. I already have the Through the Forest on the top of my wish list and now that I see how versatile it is I’m even more convinced that I need this one (and the coordinating sets Kelly used here)!!!!!
Carmen Nance says
Such a beautiful holiday card! I love how you incorporated several card elements- new and not so new- to create a picture perfect scene! You are such a talented and gifted card maker!!