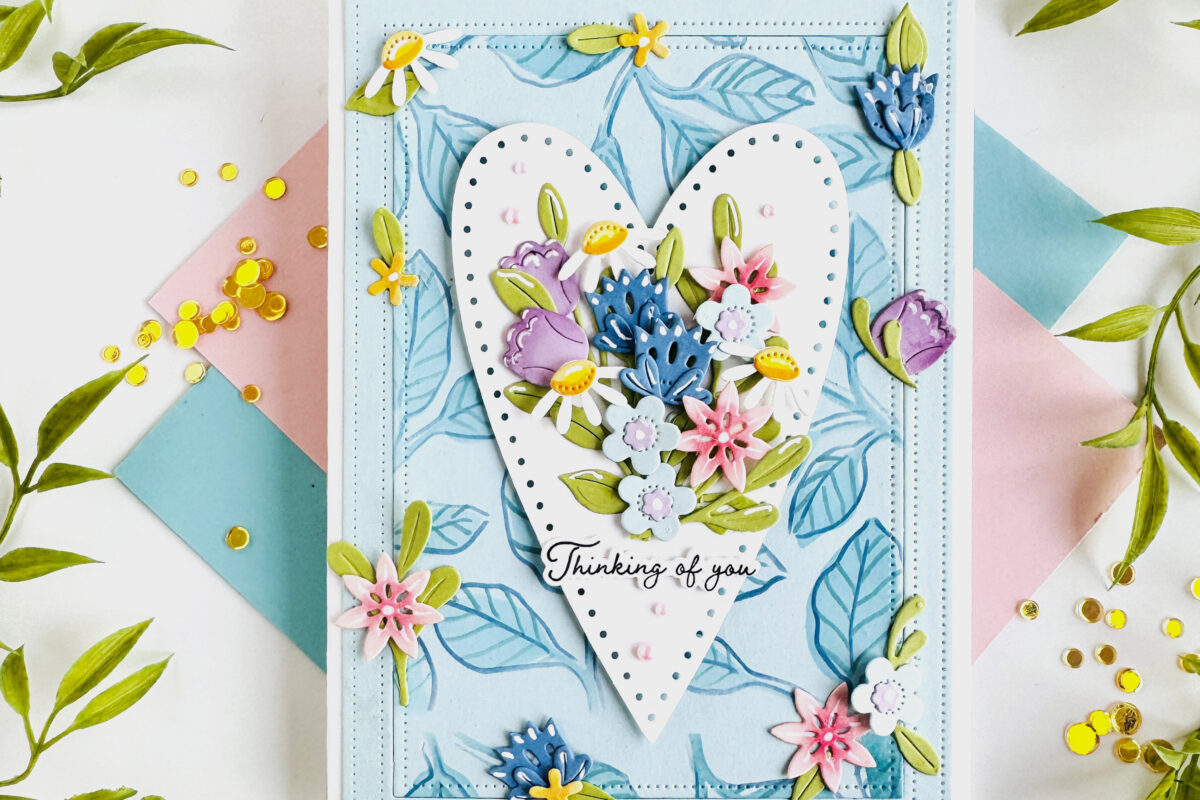


Hello, crafters and cardmakers!! Brenda back with a Project Inspiration project to share with you today!! I hope your weekend is going well!! I planted my annual flowers in my baskets in my yard last week, so I’m all about the flowers!! Who am I kidding? I’m always all about the flowers…ha!! The Into the Blooms: Pressed Flowers Die Set is one of my favorite products from the latest release and I couldn’t wait to pull it out again!! It will definitely be a staple in my craft room!!
Supplies
Stamps: Mother’s Day Sentiments
Dies: Into the Blooms: Pressed Flowers, Build-A-Bumblebee, Mother’s Day Sentiments, Love to Layer: Top Notch, Rounded Rectangles: Pierced, Border Bling: Lattice
Ink: Aqua Mist, Hawaiian Shores, Summer Sunrise, Berry Sorbet, Winter Wisteria, Royal Velvet, New Leaf, Ripe Avocado
Cardstock: Hawaiian Shores, Sweet Blush, Lilac Grace, Lemon Tart, Green Parakeet, Simply Chartreuse, True Black, Stamper’s Select: White
Other supplies: Star Dust Stickles, foam tape, Abandoned Coral Distress Ink, liquid glue, Versamark ink, white detail embossing powder
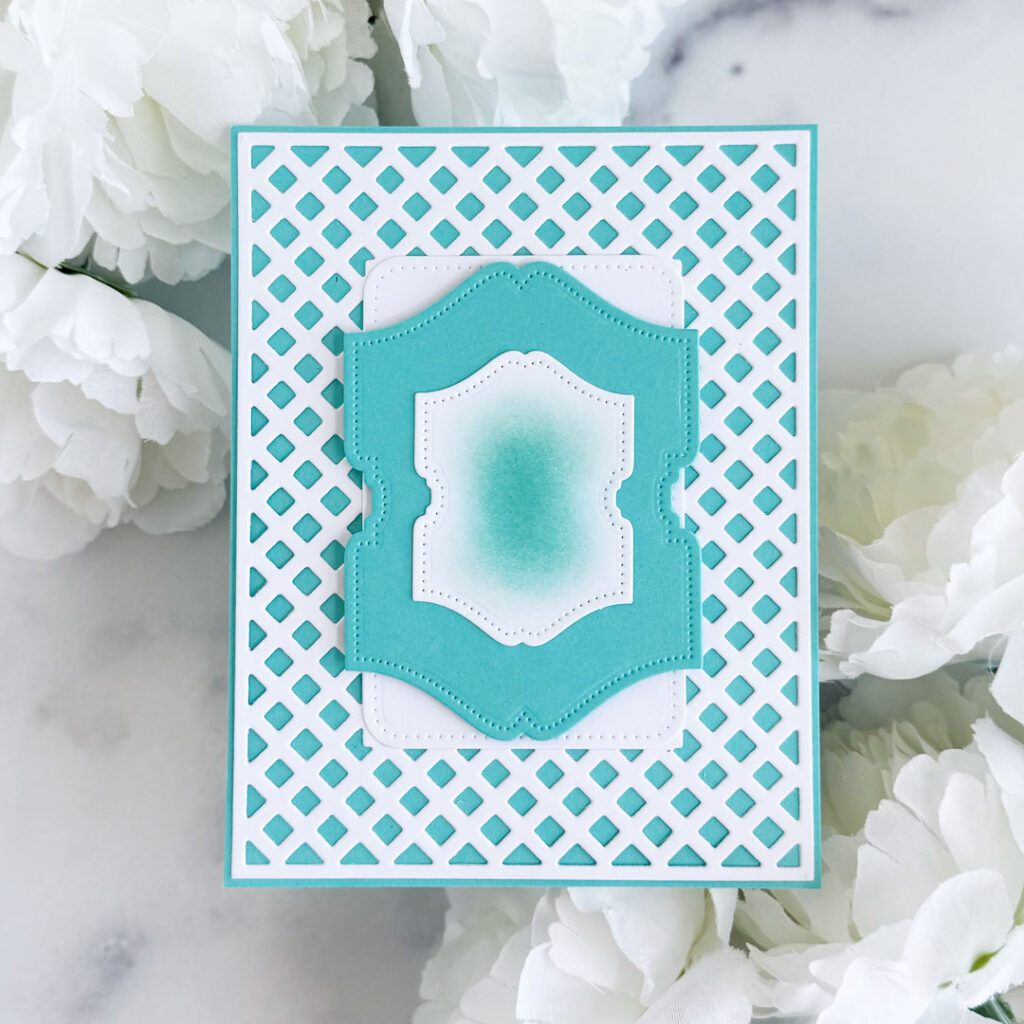
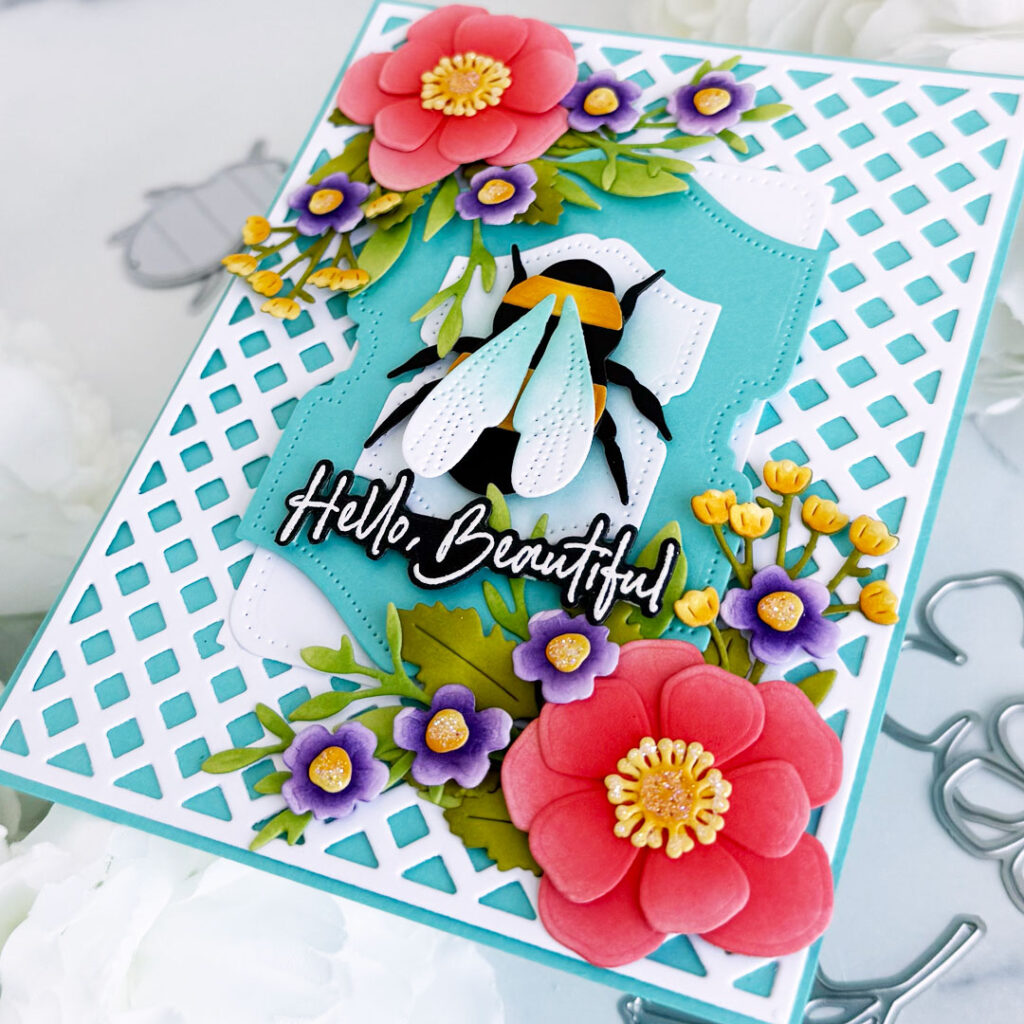
Step 1: Die-cut the Border Bling: Lattice Die and the middle die from the Rounded Rectangles: Pierced Die Set from Stamper’s Select White cardstock and adhere them to an A2 panel of Hawaiian Shores cardstock with liquid glue. Die-cut the smallest and middle size dies in the Love to Layer: Top Notch Die Set from Stamper’s Select White and Hawaiian Shores cardstock and adhere together. Blend Aqua Mist and Hawaiian Shores ink into the center of the white panel, then pop up onto the background with foam tape.
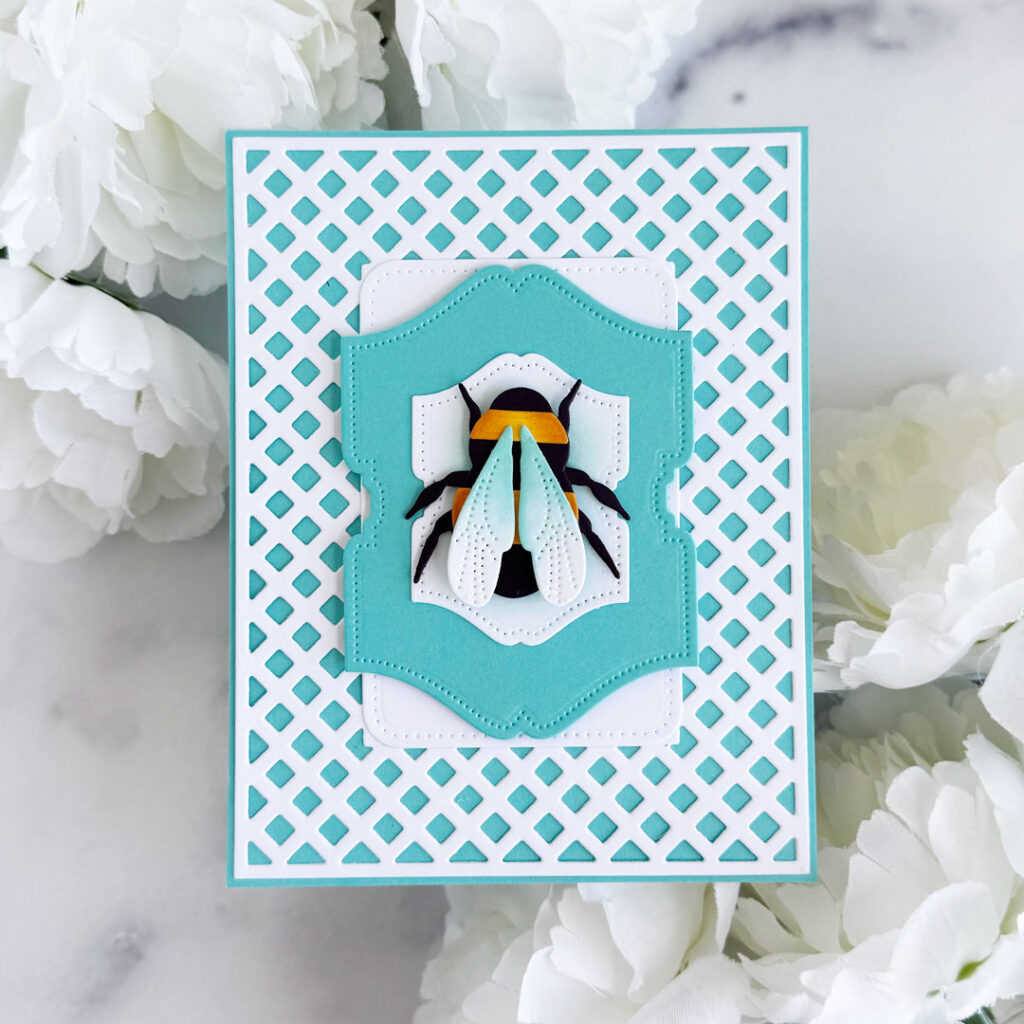
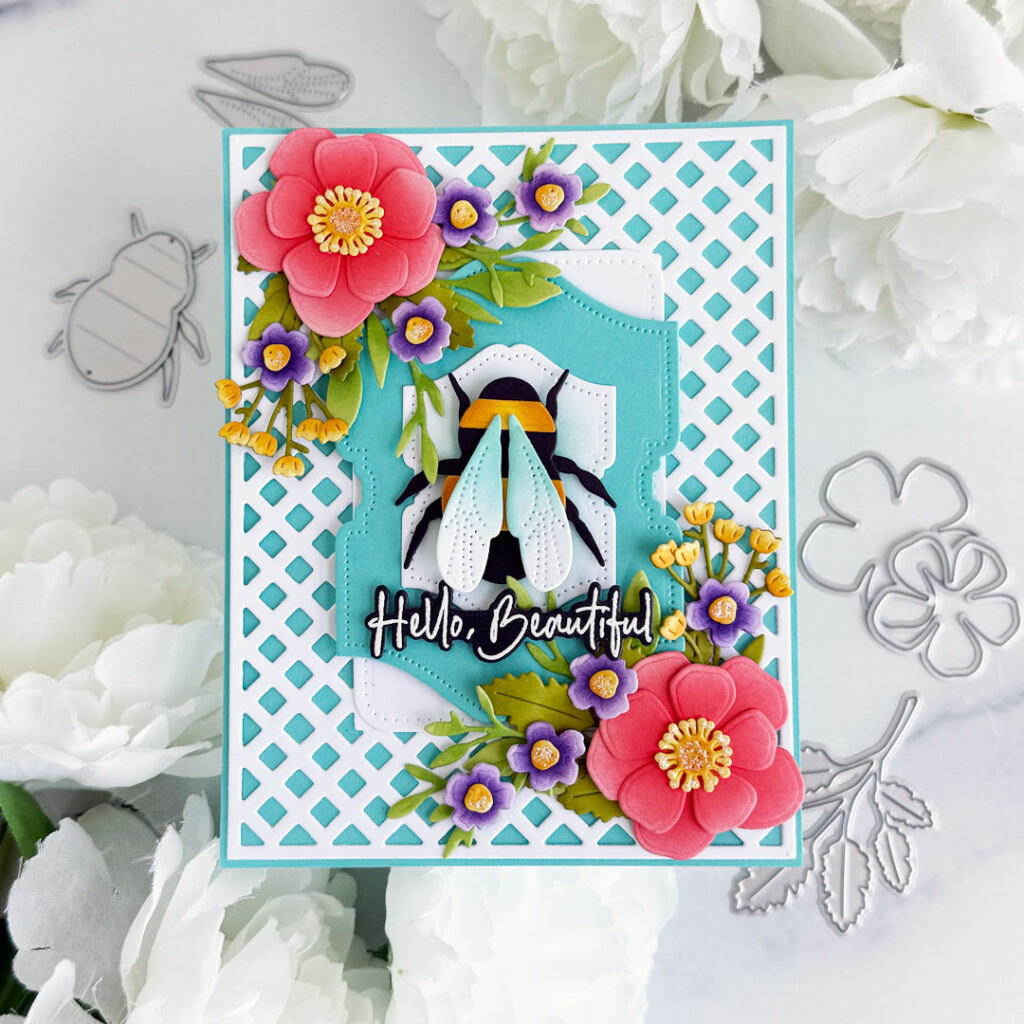
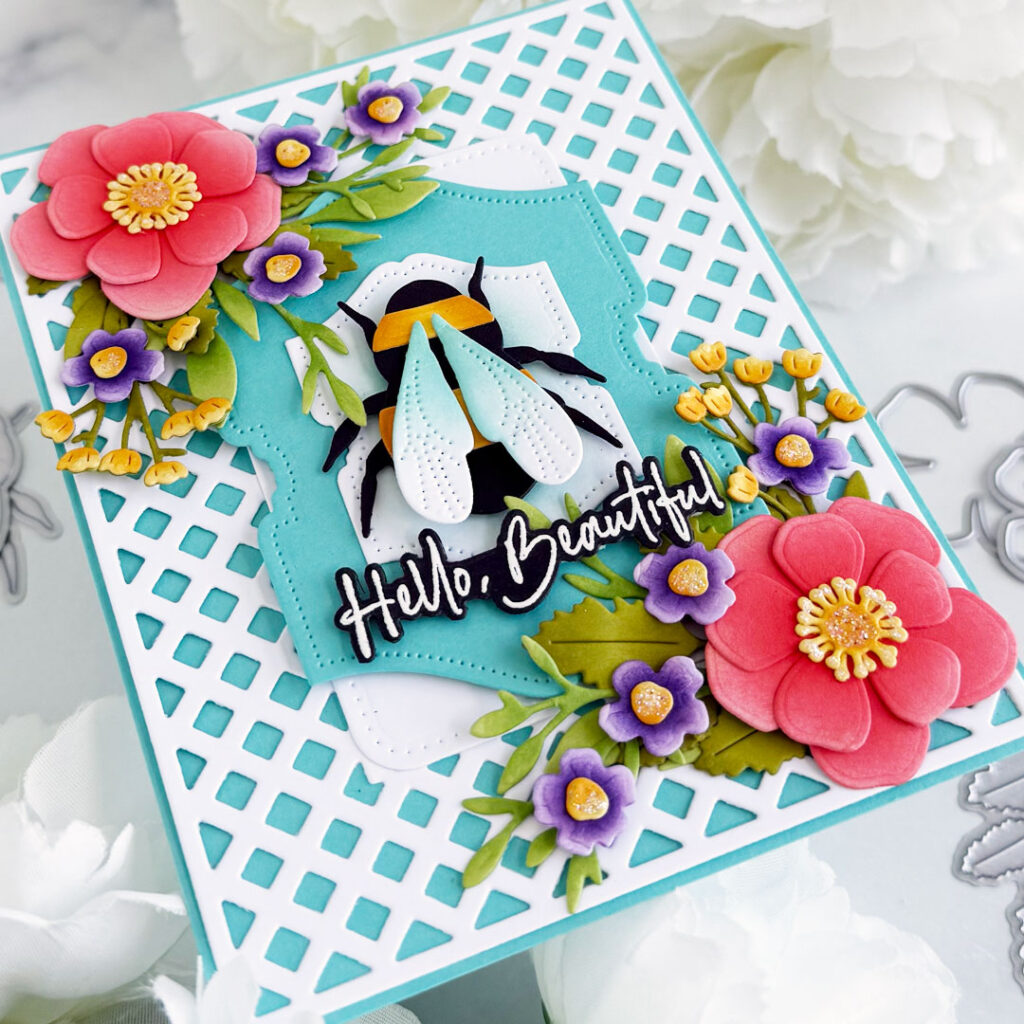
Step 2: Die-cut the medium size bee from the Build-A-Bumblebee Die Set from Lemon Tart, True Black and Stamper’s Select White cardstock. Blend Summer Sunrise ink onto the yellow pieces and Aqua Mist and Hawaiian Shores ink onto the wings using blending brushes. Adhere together with liquid glue. Adhere the wings with a combination of liquid glue and foam tape, then add to the center of the background with more foam tape.
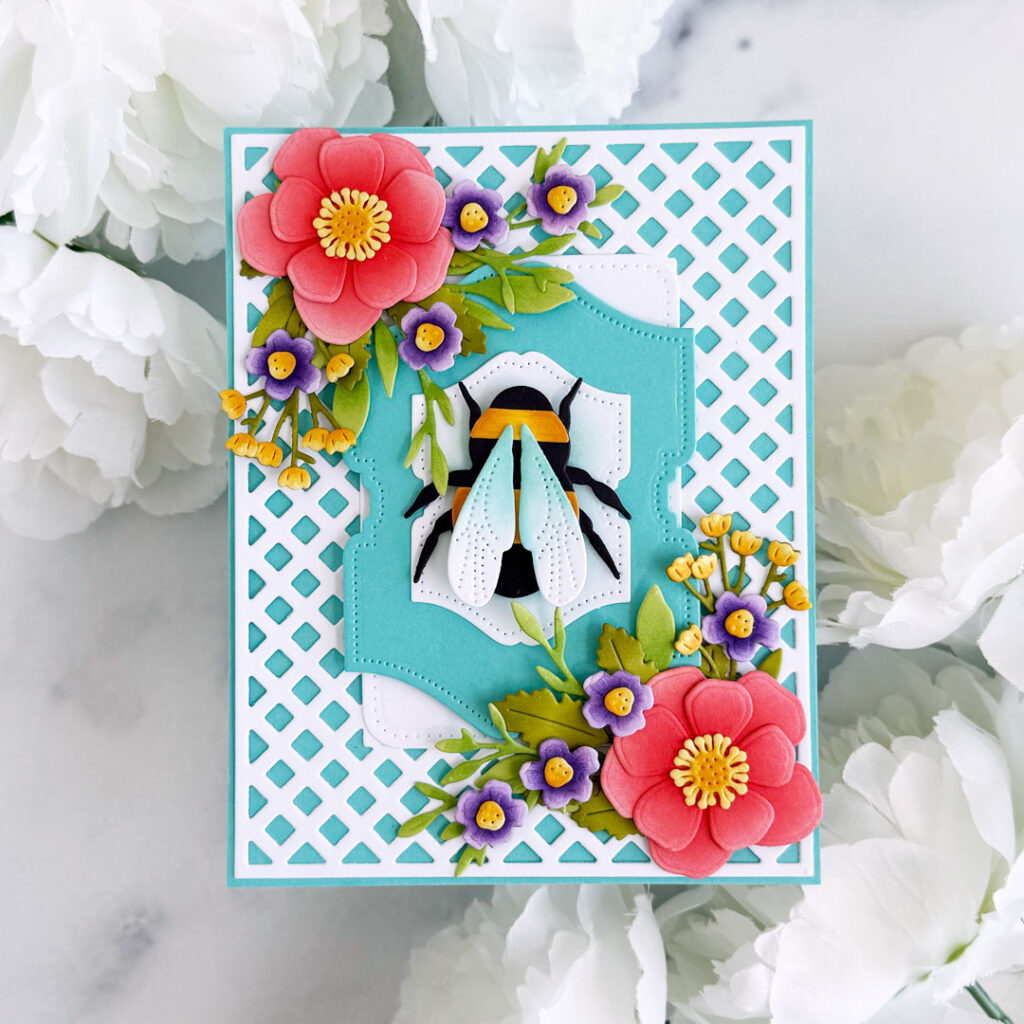
Step 3: Die-cut the flowers and foliage from the Into the Blooms: Pressed Flowers Die Set from Sweet Blush, Lilac Grace, Lemon Tart, Green Parakeet and Simply Chartreuse cardstock. Use blending brushes to add color and shading using Berry Sorbet, Summer Sunrise, Winter Wisteria, Royal Velvet, New Leaf and Ripe Avocado ink and Abandoned Coral Distress Ink. Arrange and adhere the foliage and smaller flowers with liquid glue and pop up the largest flowers with foam tape.
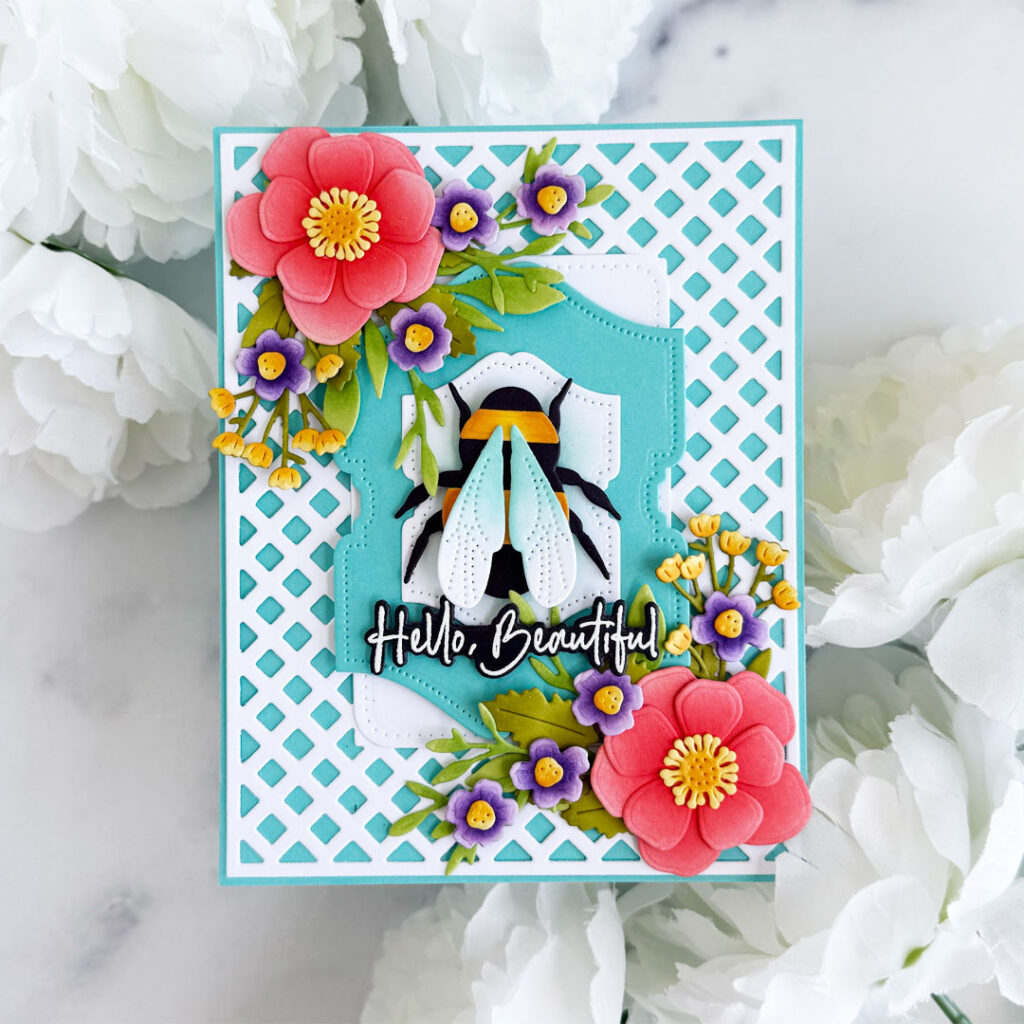
Step: 4: Stamp the sentiment from the Mother’s Day Sentiment Stamp Set onto True Black cardstock with Versamark ink, sprinkle with detail white embossing powder and melt with a heat tool. Cut out with the Coordinating Die and adhere with foam tape.
Step 5: Add Star Dust Stickles to the centers of the flowers for a little sparkle.
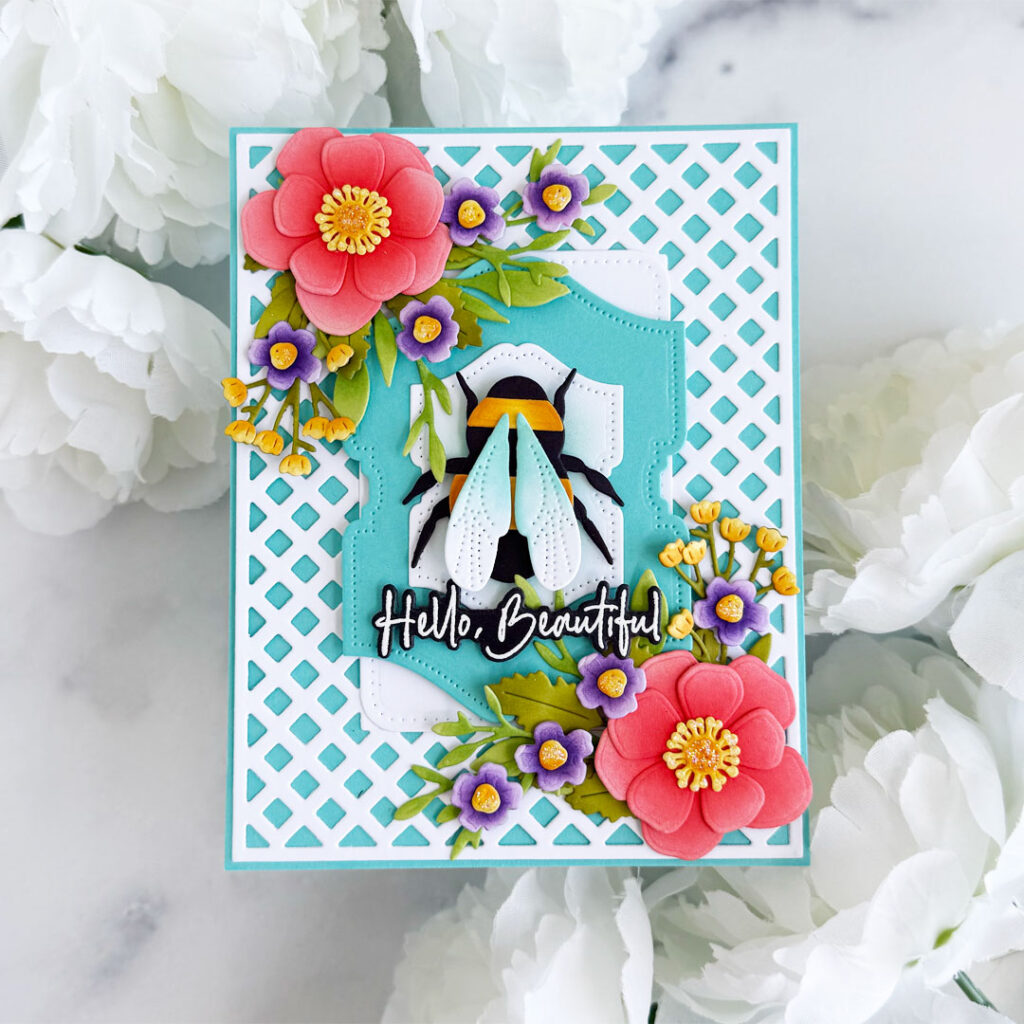
I hope you love how this turned out as much as I do!!
Thank you so much for stopping by today!! Have a wonderful Sunday!!
Carmen Nance says
Gorgeous card! Love your beautiful color palette. The bee is very striking. Thank you for the fabulous inspiration!
Elizabeth chenery says
Beautifully created complex card. I dont think I can accurately guess the number of layers, Well constructed and executed, This card conveys not only beauty but true feelings for the receiver.
M Carmen Rodriguez says
Such beautiful card, I love the colors, and the bee just took it to another level.