


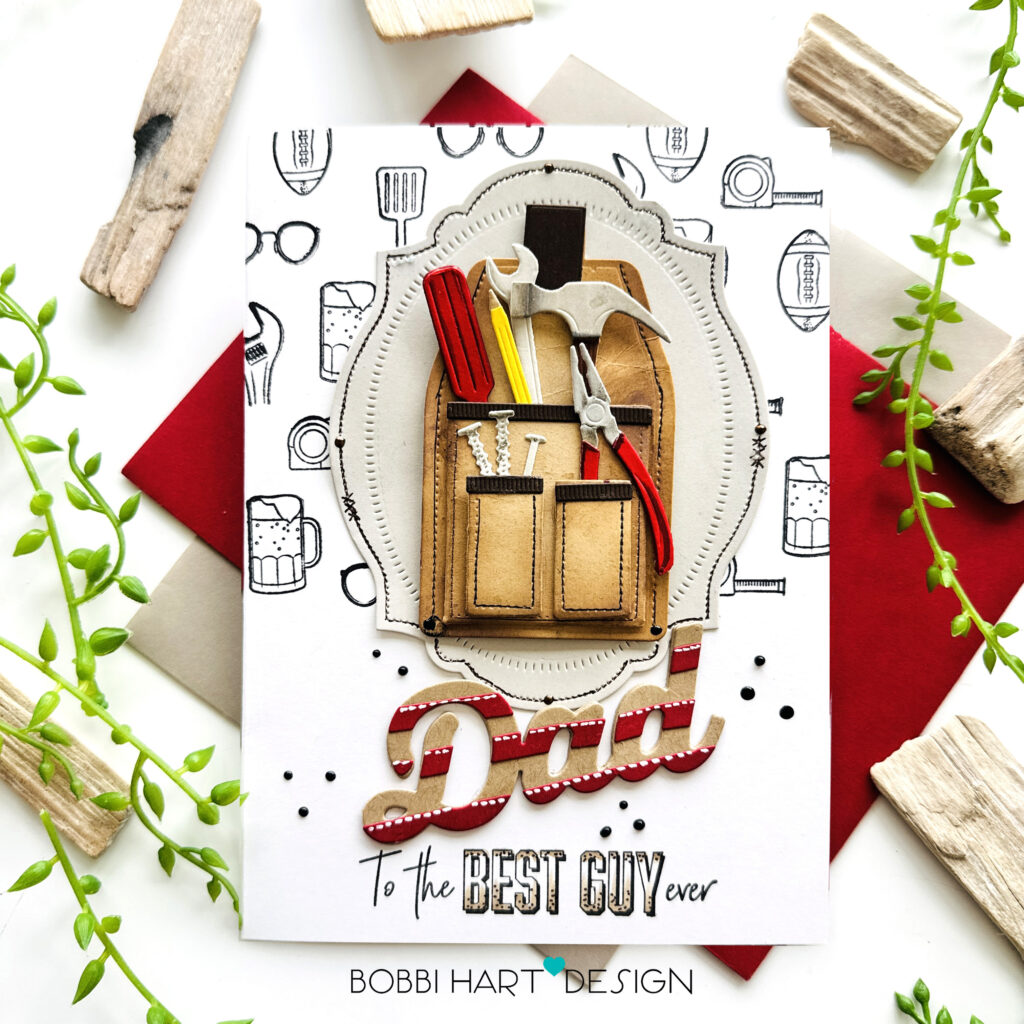
Celebrate the handy hero in your life with a Father’s card made just for the “Best Dad Ever!” Featuring a classic tool pouch filled with tools and thoughtful details, this handmade design is perfect for the dad who can fix just about anything. From building and repairing to always lending a helping hand, this card is a heartfelt way to thank Dad for all the strength, support, and love he brings to the family every day. I’m using the following Papertrey Ink products:
This card measures 5″ wide X 7″ tall and fits inside an A7 envelope. It uses a white card base made from Stamper’s Select White cardstock. True Black Ink was used for all the black ink stamping. Here are the step-by-step details for creating this card for dad. Check out a reel I made for this card here!
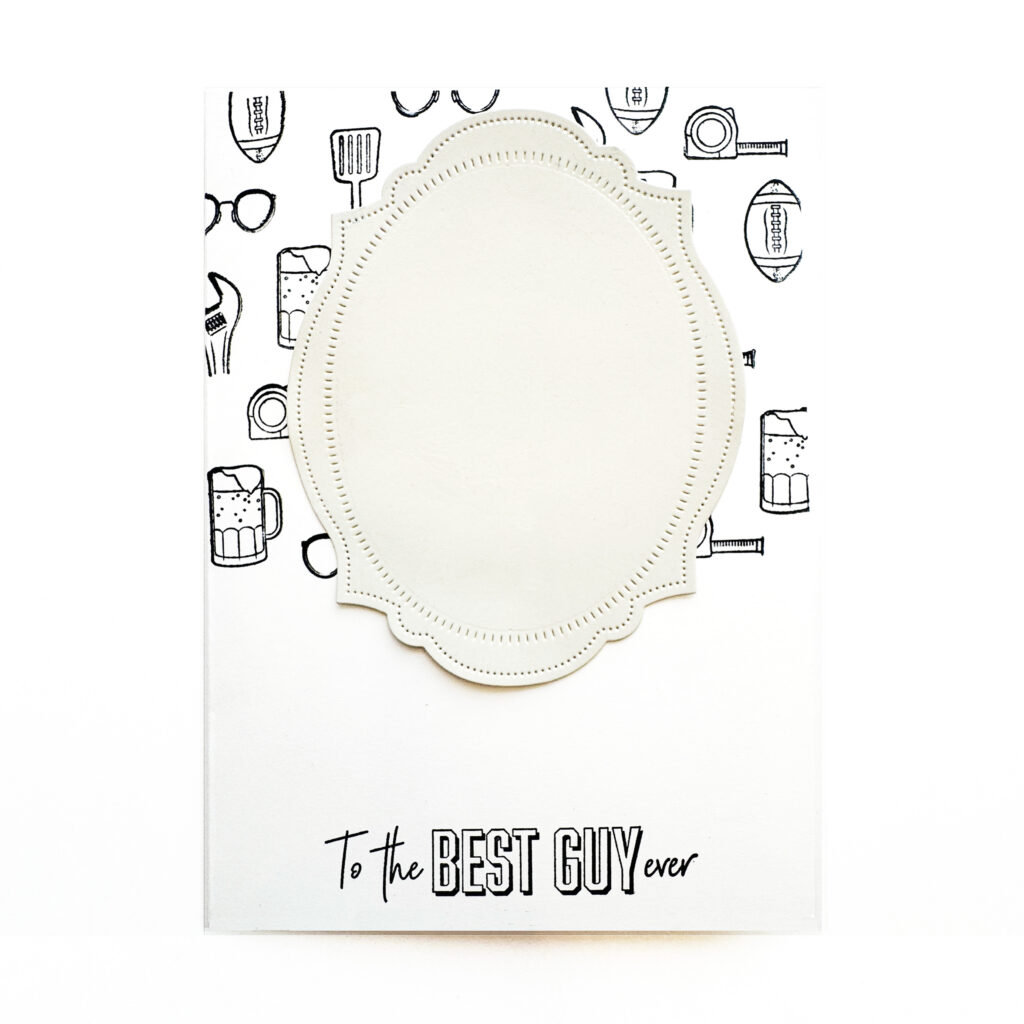
STEP 1: Cut a piece of Stamper’s Select White cardstock to 10″ wide 7″ tall and score down the center for an A7 card base. Stamp the Dad icons in True Black Ink on the top front of the card base using images from the Best Dad Stamp Set, Stamp the bottom of the card front with the “To the Best Guy Ever” sentiment from the same set.
Die cut the background frame from Soft Stone cardstock using the largest die from the Reflections: Exodus 14 Die. Attach the frame over the stamped icons.
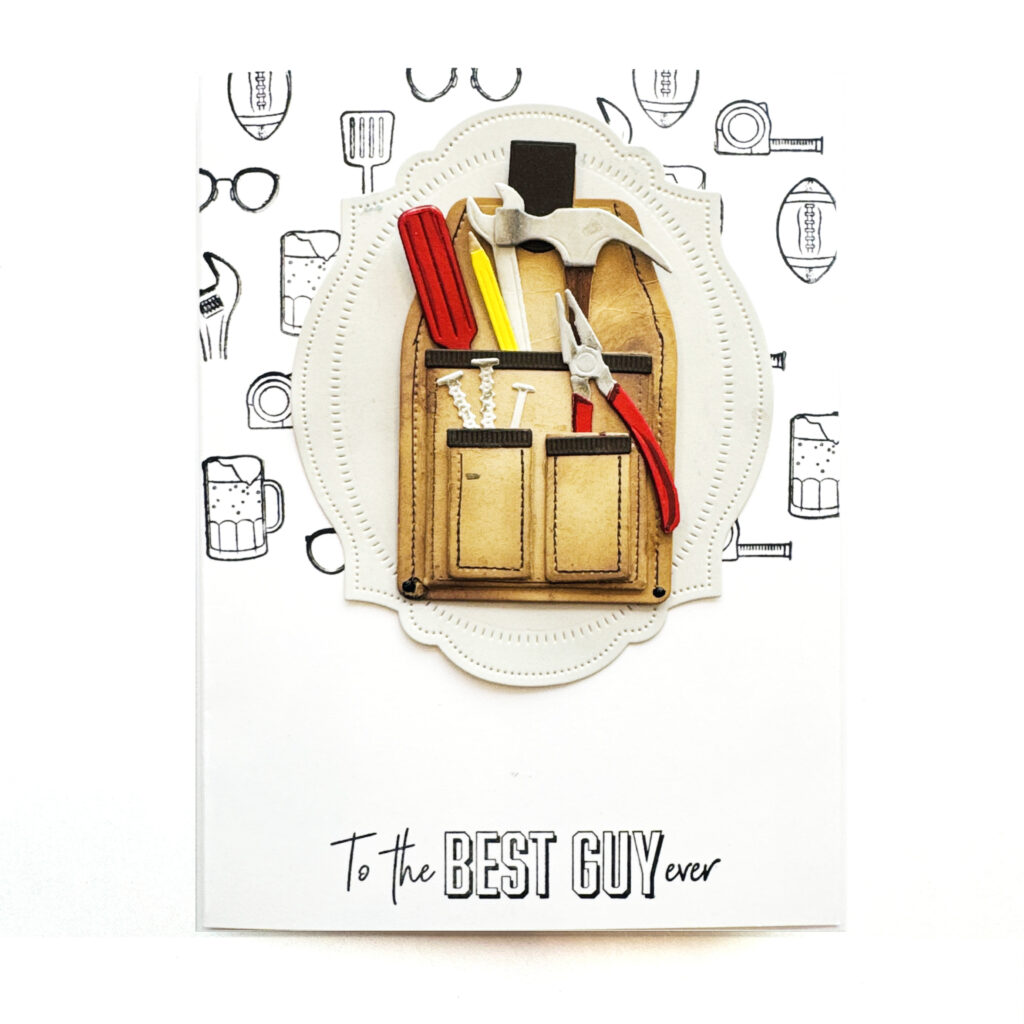
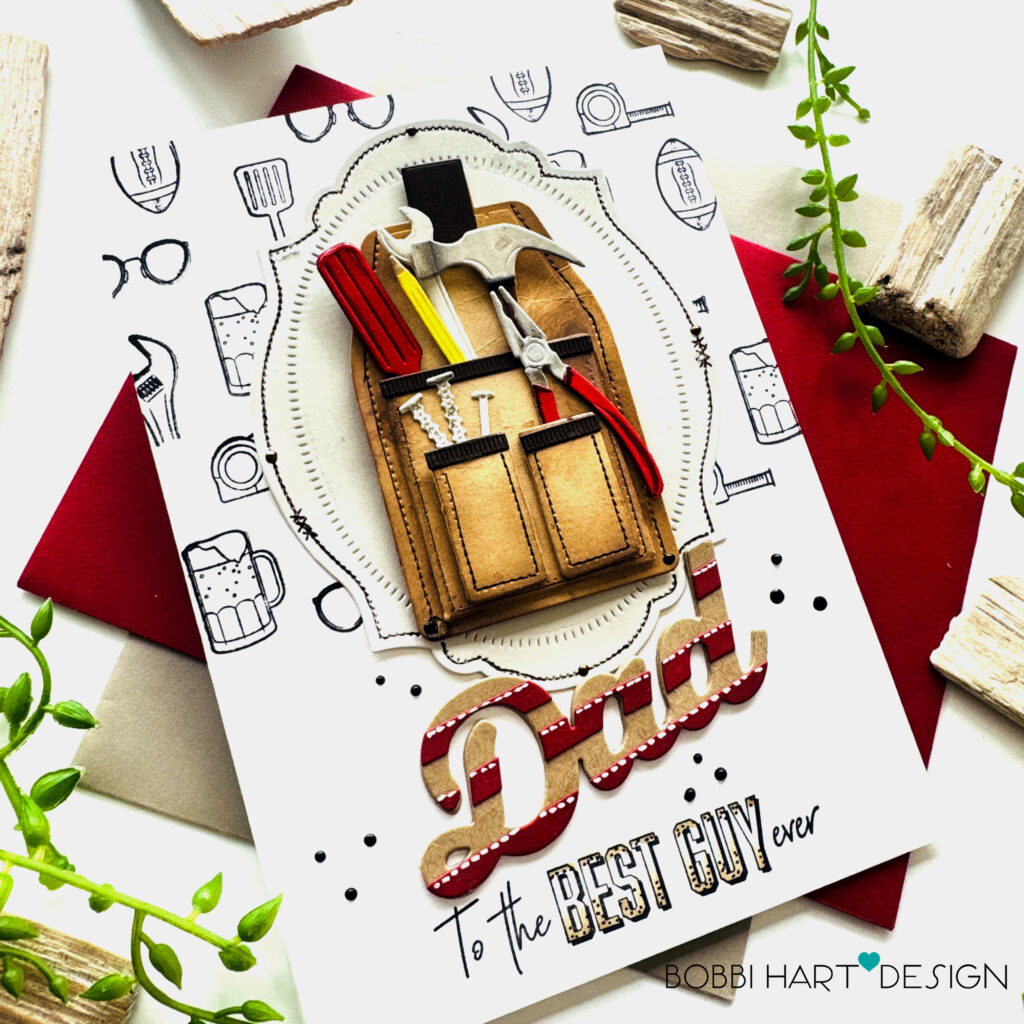
STEP 2: Die cut and assemble the Tool Pouch Die from Pure Poppy, Classic Kraft, Dark Chocolate, Soft Stone, and Bright Buttercup cardstock as shown. Use Walnut Stain Distress Oxide Ink to add dimension to the leather tool pouch pieces before assembling them. Use a brown marker to highlight the pouch seaming and Pearl Pen in black for the corner rivets. Attach the pouch to the card front, centering on the frame.
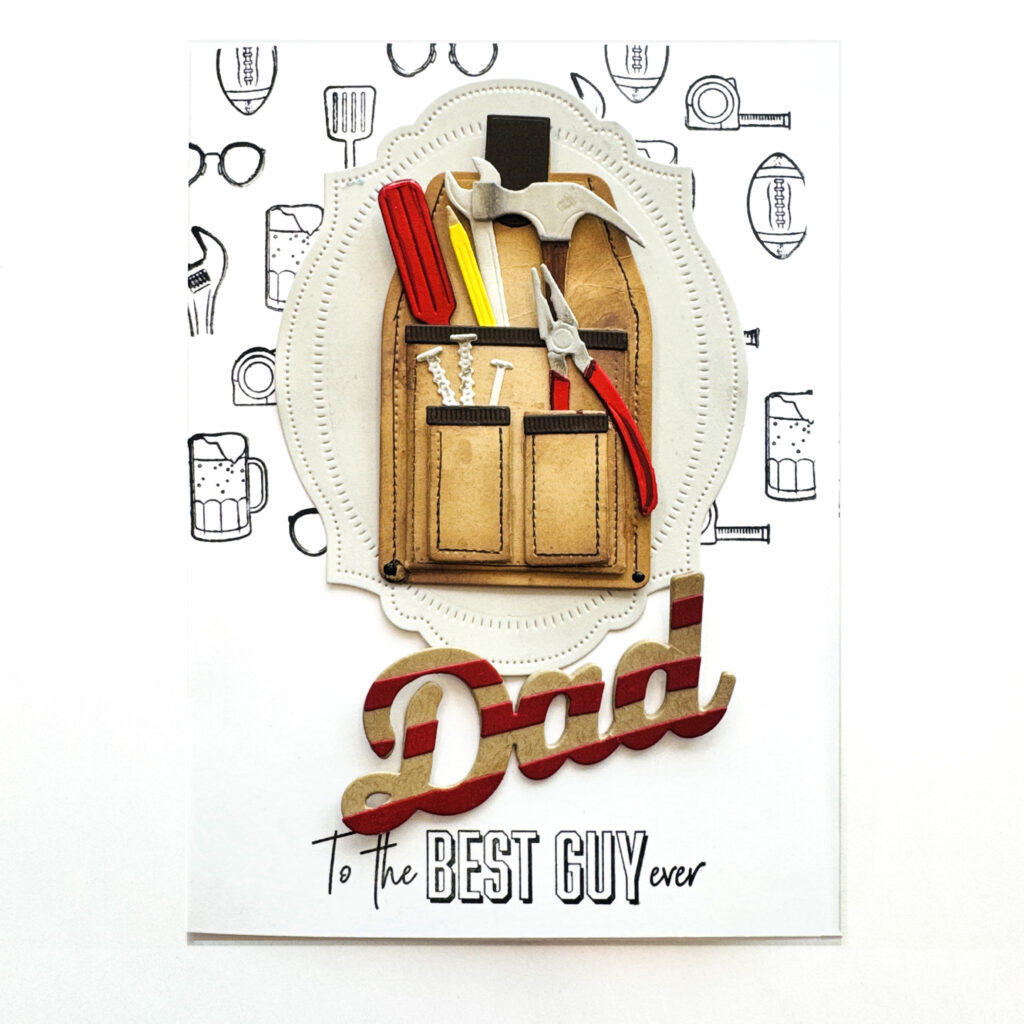
STEP 3: Die cut the Dad Die layers from Pure Poppy and Classic Kraft cardstock and assemble with glue. Attach an additional two layers of the kraft bottom layer to make the word extra thick. Attach the word slightly below the frame, but touching the frame with the two “d” letters.
STEP 4: Add details the design including:
(1) White faux hand stitching to the “dad” sentiment’s red stripes.
(2) Lightly color in the “BEST GUY” words using a Copic E43 or similar tan marker to add color at the tops and bottoms of the outline letters. Hand draw in black confetti inside the colored letters with a black marker.
(3) Use Pearl Pen or Stickles to add black 3D dots around the “Dad” die cut.
(4) Use a fine-tip dark brown marker to highlight the frame’s outer stitching.
(5) Add four bronze dots to the frame to mimic screws/fasteners.
CHECK OUT THE CARD REEL HERE!
You can shop the entire collection here at Papertrey Ink! If you decide to place an order, please use the links in this post so that Papertrey Ink team knows what inspired you. I appreciate it very much. It helps me to continue to bring more ideas to you!
Thanks for stopping by today. If you want to see more ideas and inspiration from me, subscribe to my blog, BobbiHartDesign.com. I’ll send you updates on new posts! You can also find me on Instagram as @BobbiHartDesign and on Facebook as BobbiHartDesign. Bobbi Hartmann Lemanski, Bobbi Hart♥ Design, Adding h♥art into every design
Margy Davey says
I absolutely love this card! Always a fan of tiny tools, since card puts them to such great use – I feel like I could fix a tiny thing with them!