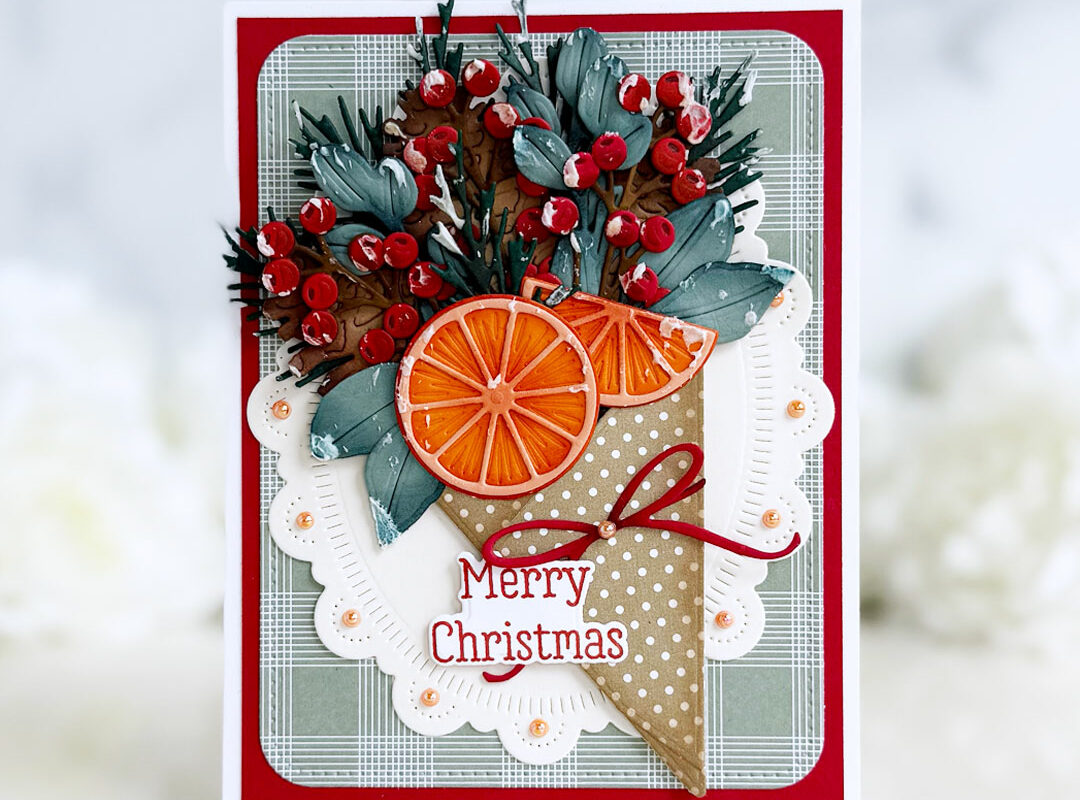
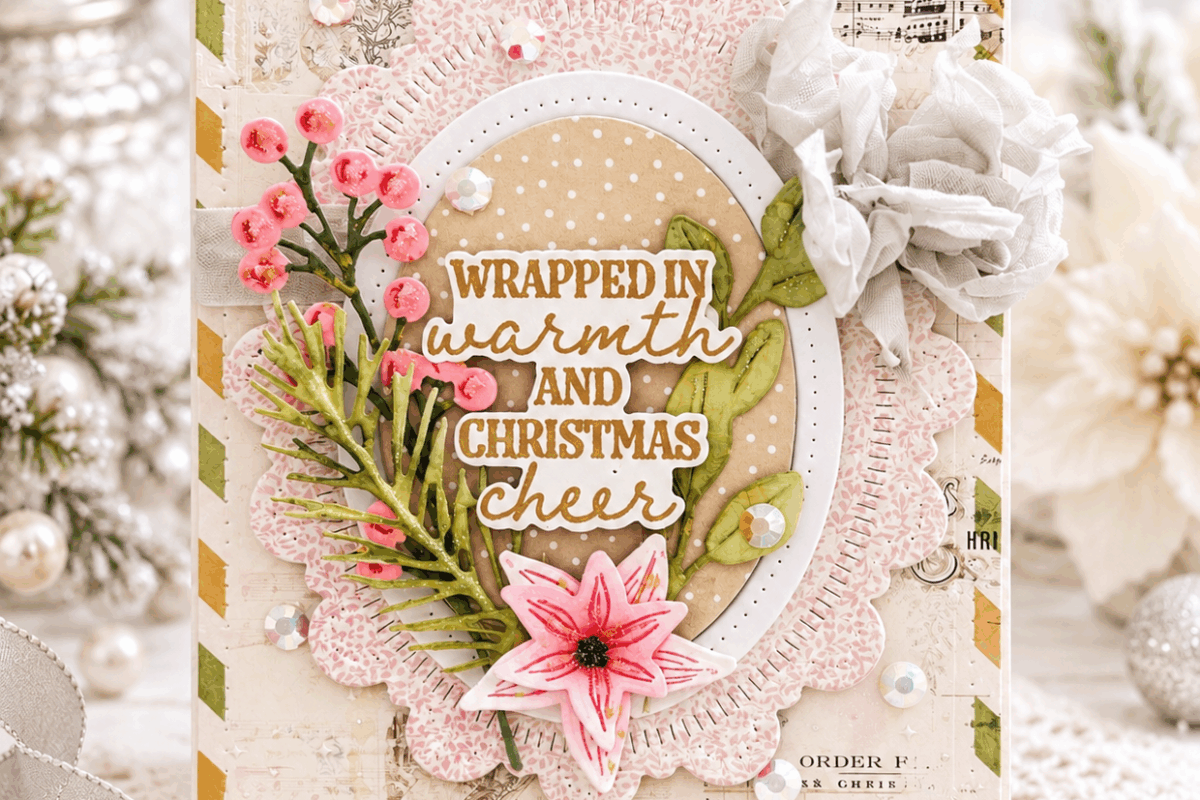
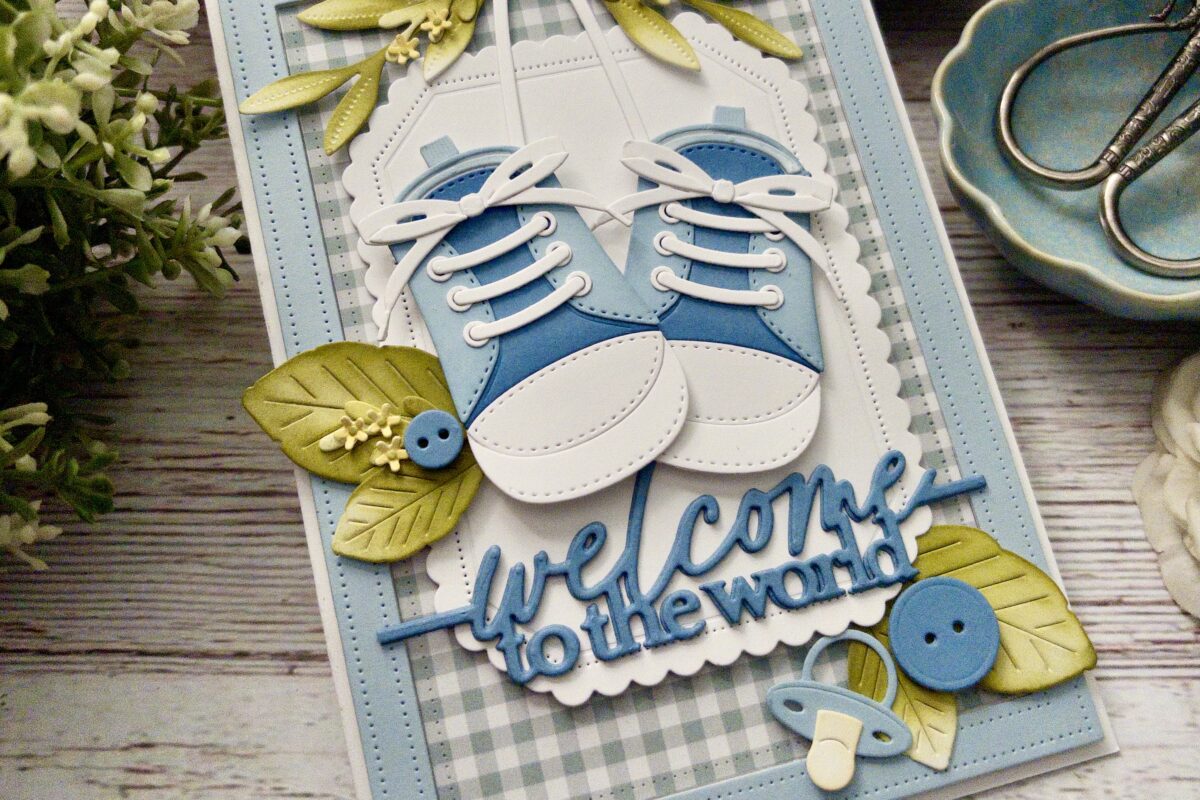
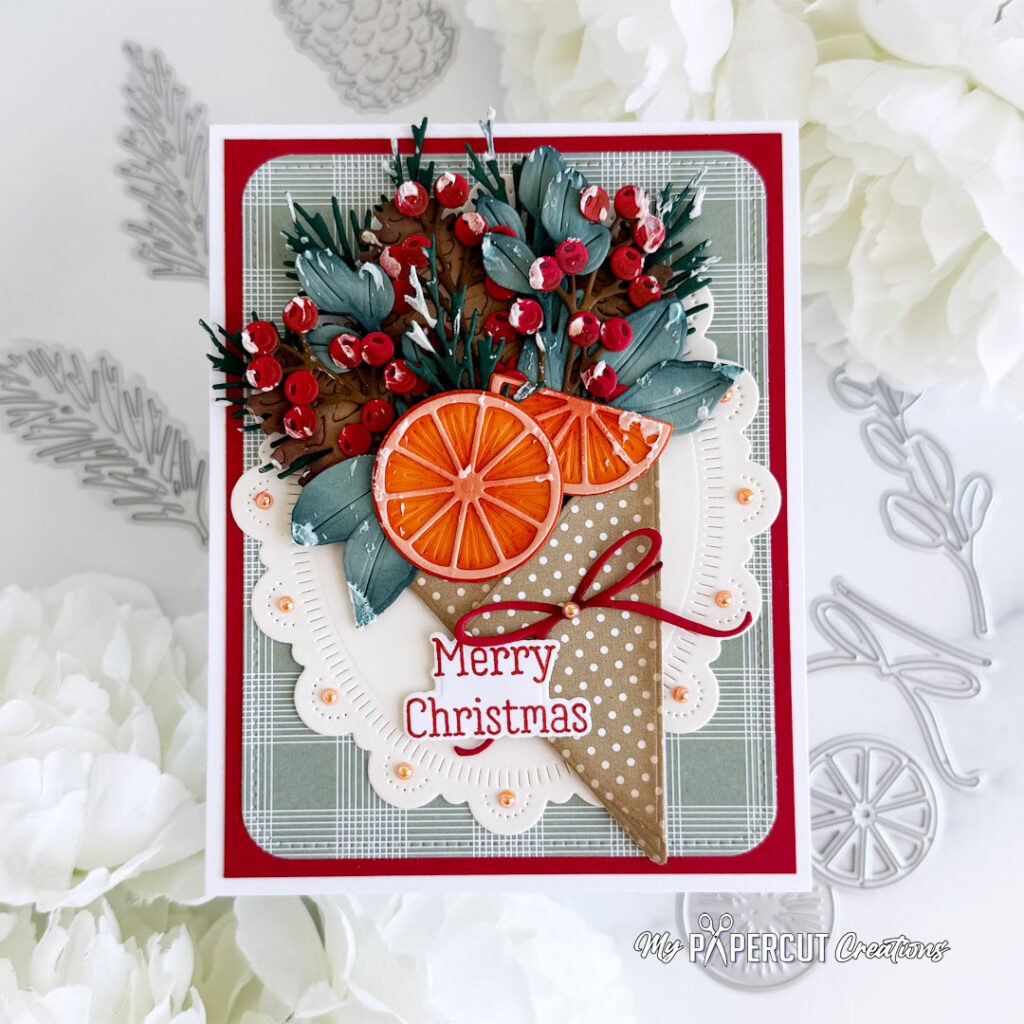
Hello, crafty friends!! Brenda here sharing another Project Inspiration project with you!! I love the combination of fresh citrus, festive berries and beautiful greenery in the Into the Blooms: Holiday Bouquet Die Set!! I layered lots of die-cuts for tons of dimension to create this festive Christmas card!!
Supplies
Stamps: Holiday Wreath
Dies: Into the Blooms: Holiday Bouquet, Holiday Wreath, Reflections: John 1:14, Rounded Rectangles: Pierced
Ink: Terracotta Tile, Scarlet Jewel, Pinefeather, Classic Kraft, Dark Chocolate
Cardstock: Pure Poppy, Orange Zest, Melon Berry, Ocean Tides, Pinefeather, Classic Kraft, Cocoa Bean, Vintage Cream, Stamper’s Select White, Bitty Big: Ocean Tides, Bitty Big: Classic Kraft
Other supplies: TCW Light & Fluffy Modeling Paste, orange iridescent pearl stickers, brown Sharpie, liquid glue, foam tape, glue dot
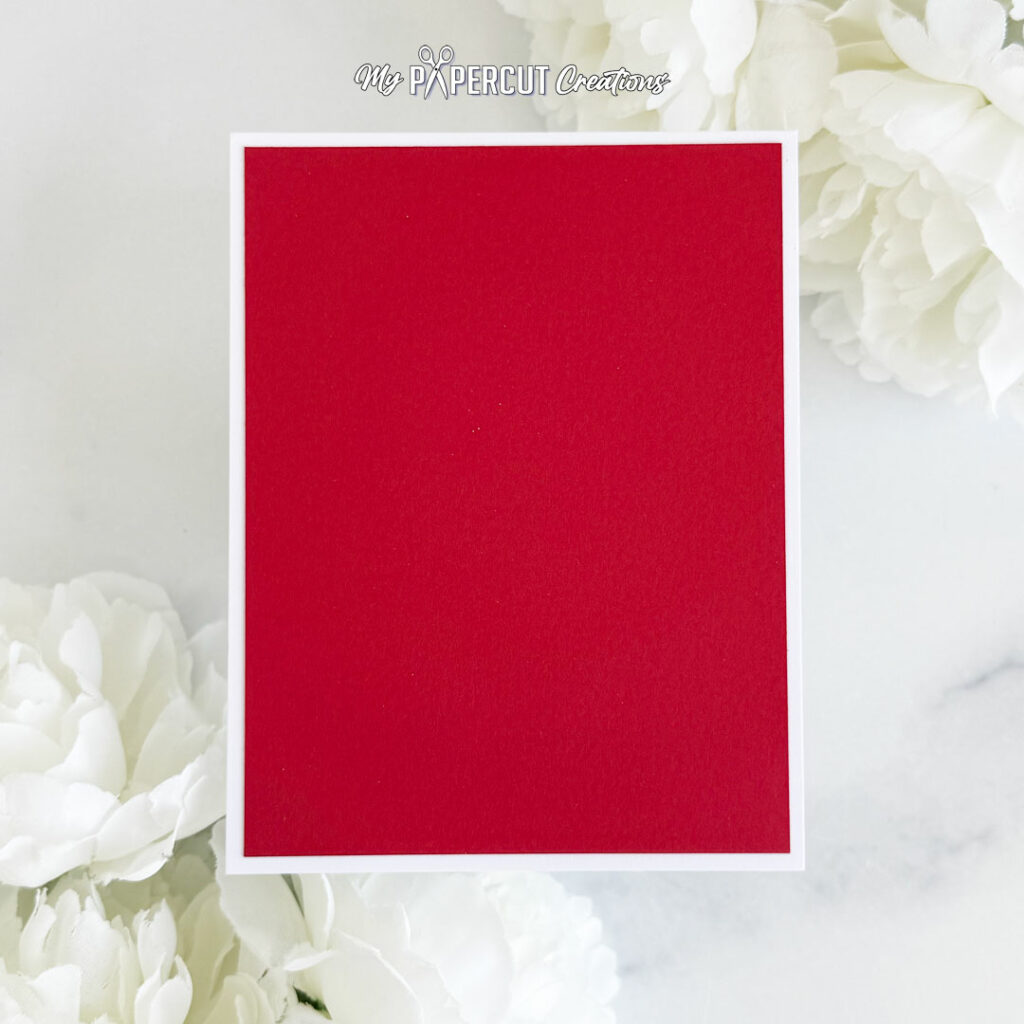
Step 1: Trim panel of Pure Poppy cardstock slightly smaller than A2 and adhere to a white A2 card base.
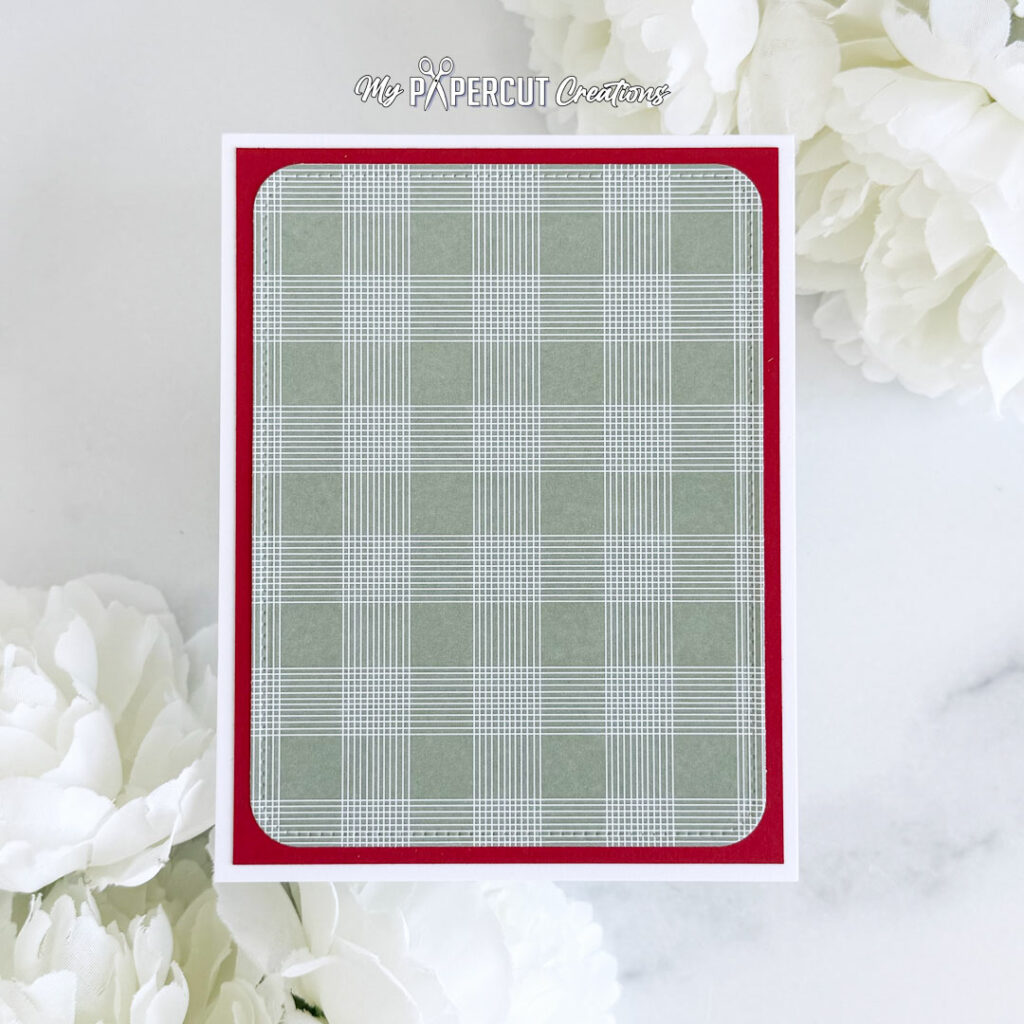
Step 2: Die-cut Bitty Big: Ocean Tides paper with the largest die in the Rounded Rectangles: Pierced Die Set and adhere with liquid glue.
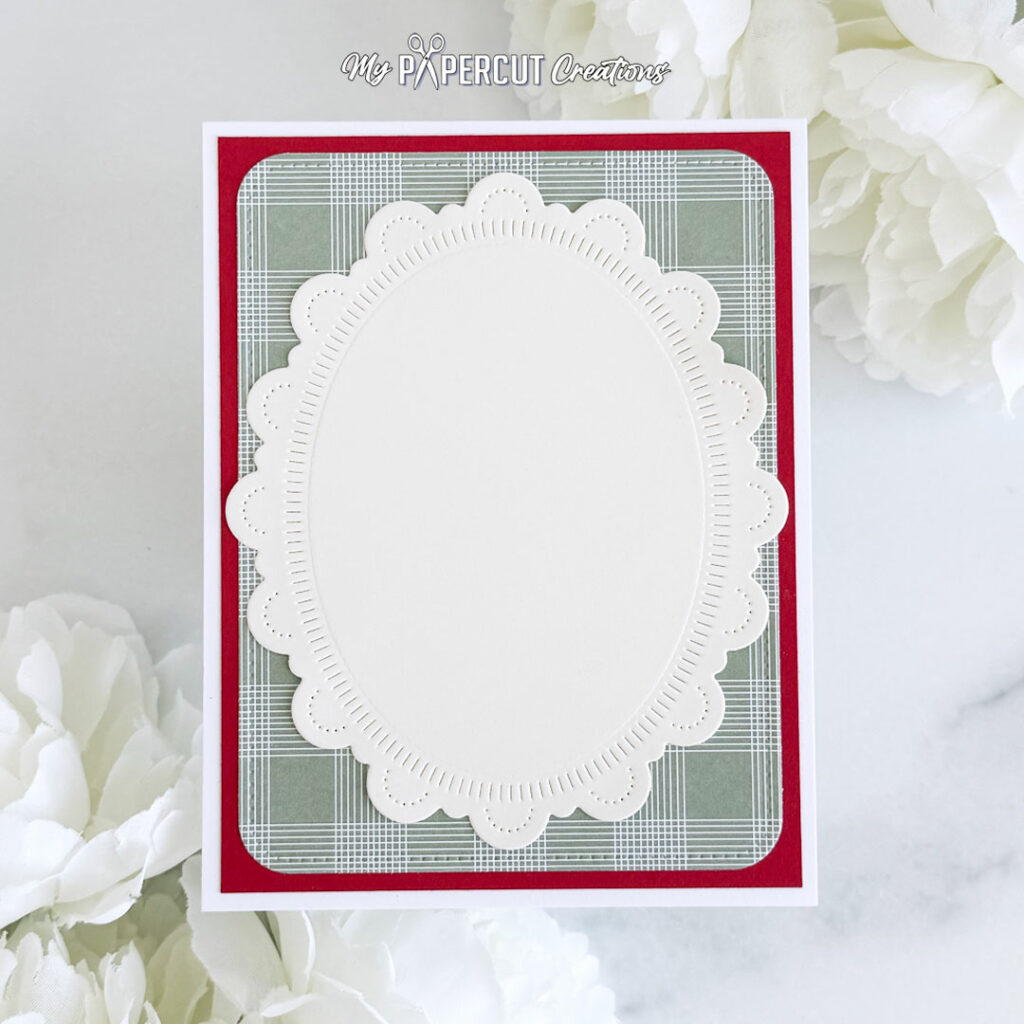
Step 3: Die-cut the largest die in the Reflections: John 1:14 Die Set from Vintage Cream cardstock and adhere with liquid glue.
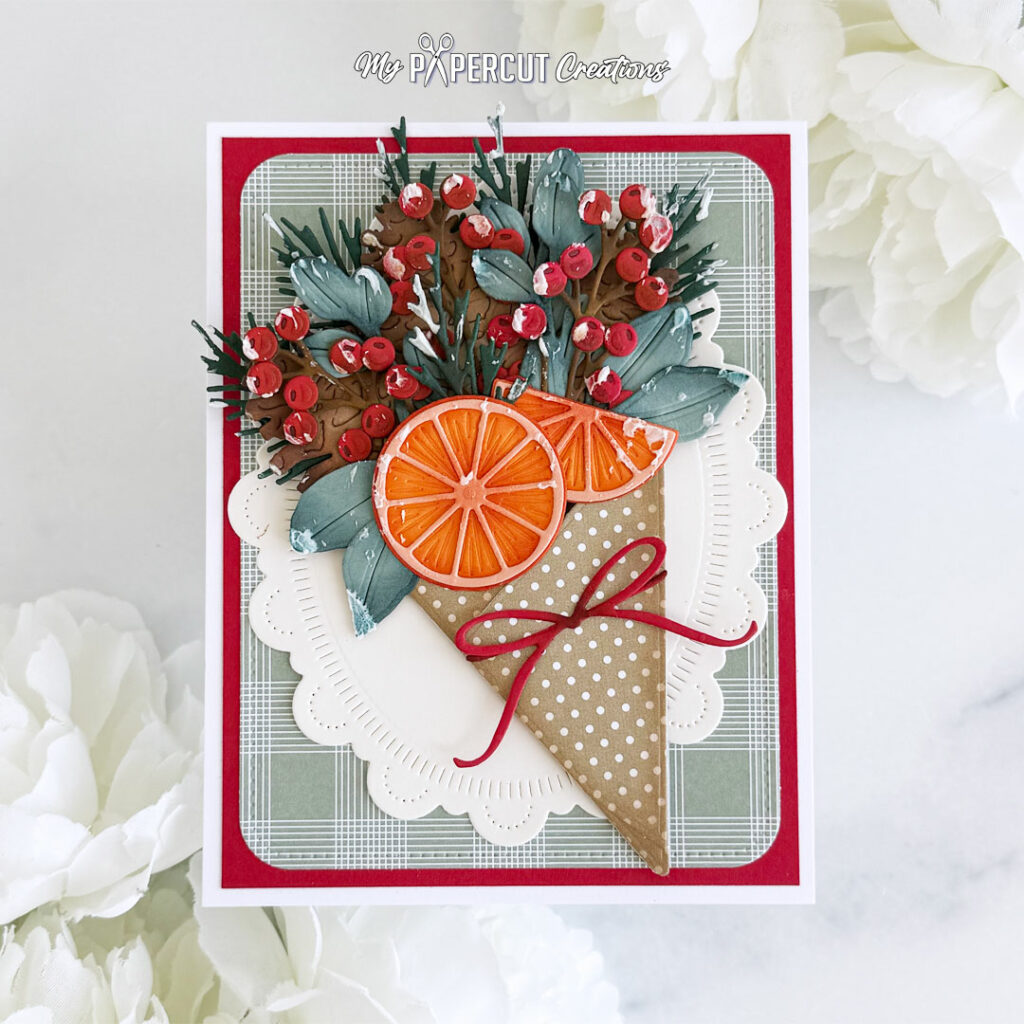
Step 4: DIe-cut all of the elements in the Into the Blooms: Holiday Bouquet Die Set from Pure Poppy, Orange Zest, Melon Berry, Ocean Tides, Pinefeather, Classic Kraft, Cocoa Bean and Bitty Big: Classic Kraft cardstock. Add shading with Scarlet Jewel, Terracotta Tile, Pinefeather, Classic Kraft and Dark Chocolate inks. Adhere the top layer of the wrap with foam tape, then adhere the foliage, berries and citrus pieces with liquid glue. Adhere to the background with liquid glue. Add modeling paste to edges of some of the die-cuts with a palette knife.
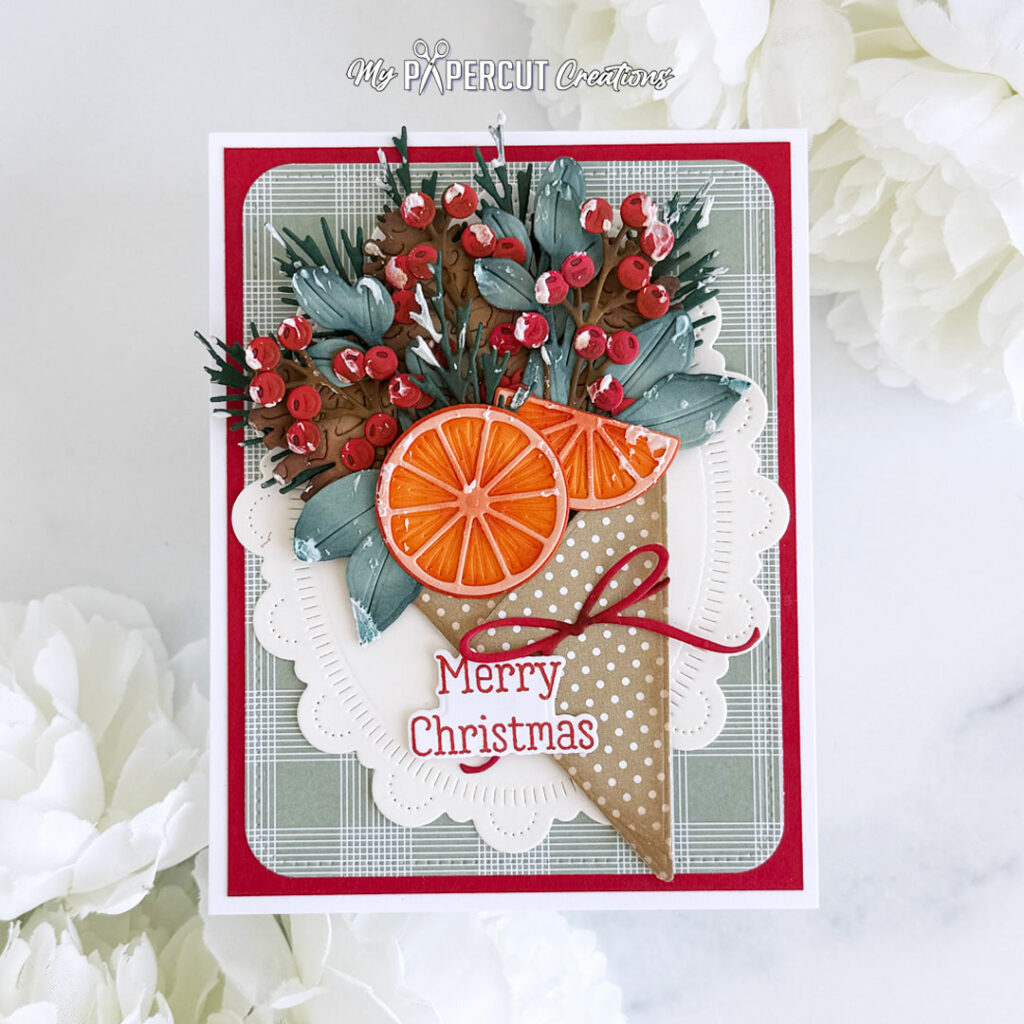
Step 5: Stamp the sentiment from the Holiday Wreath Stamp Set onto Stamper’s Select White cardstock with Terracotta Tile ink. Die-cut with Coordinating Die and pop up with foam tape.
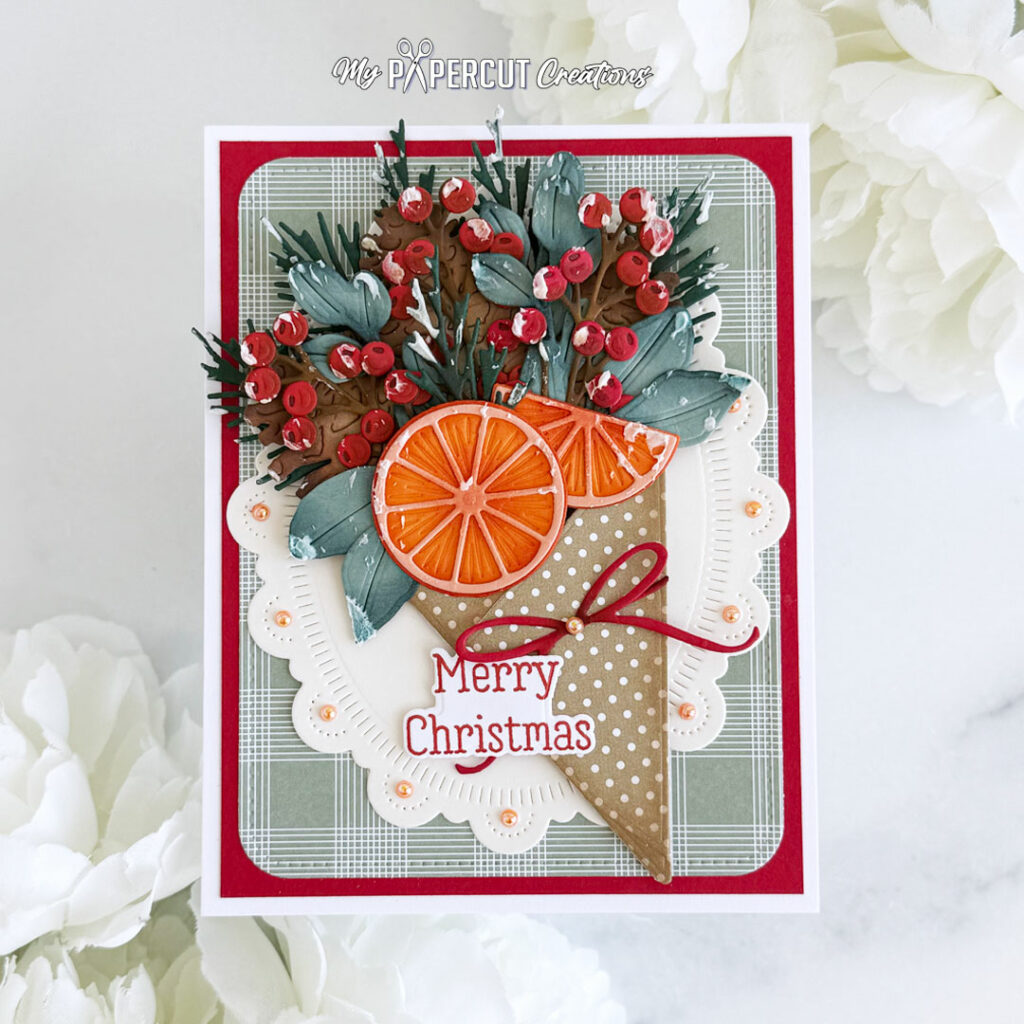
Step 6: Add orange iridescent pearl stickers to the scalloped edges of the oval die-cut.
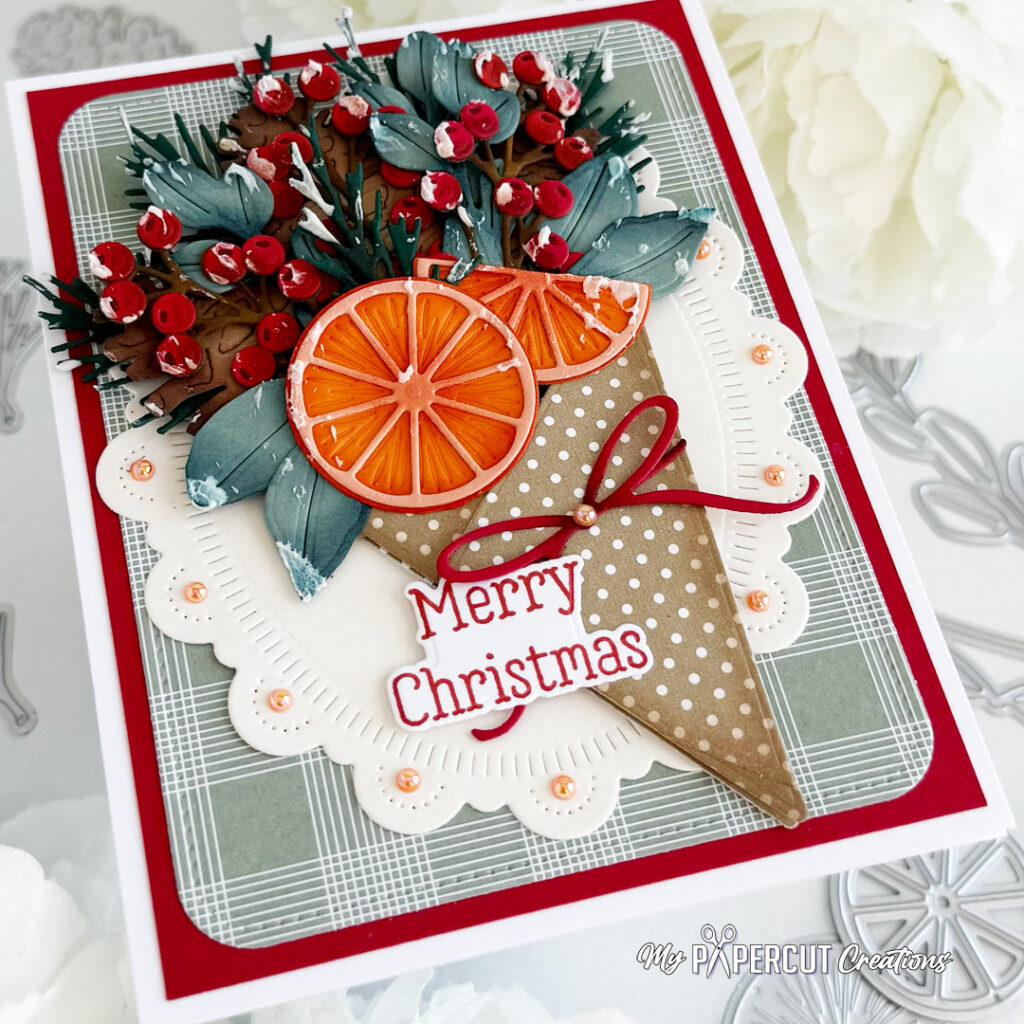
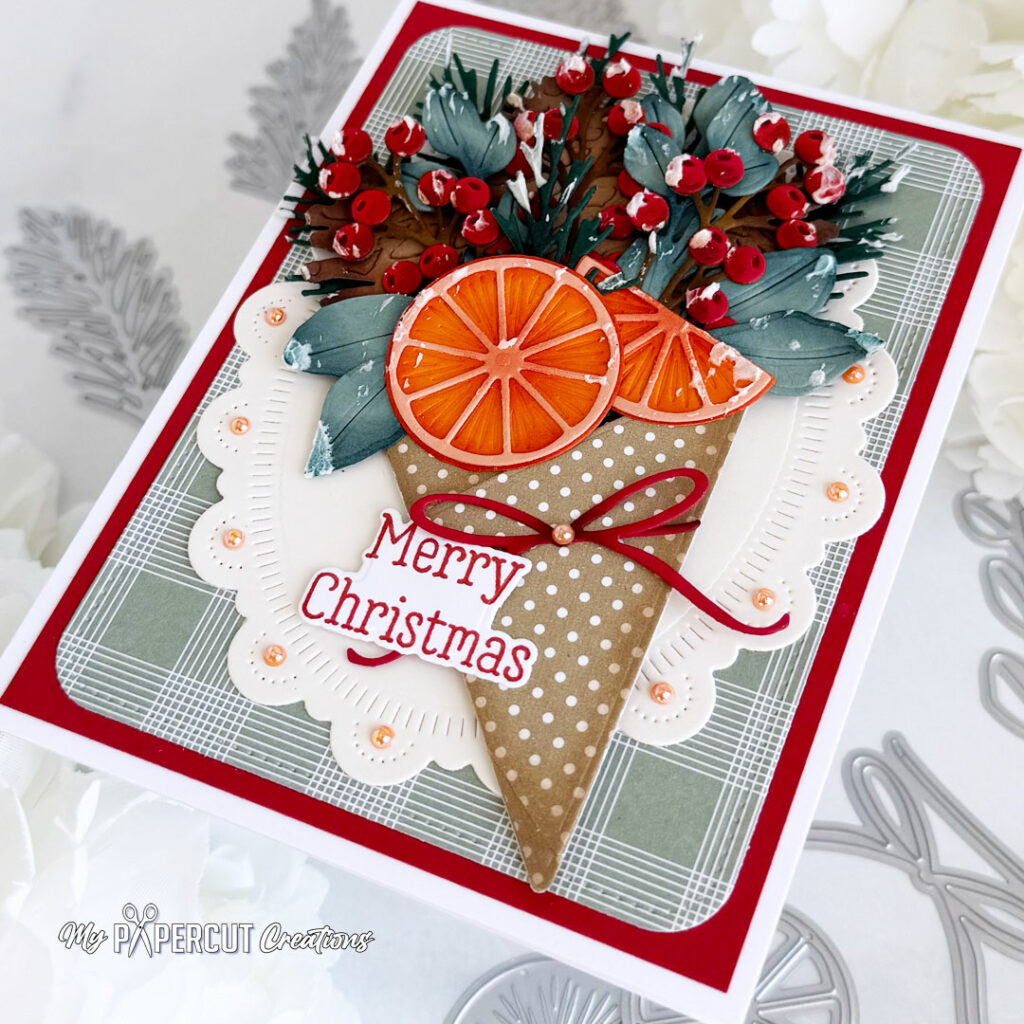
Thank you so much for stopping by and spending a little creative time with me!! I hope you enjoyed seeing how this festive card came together and that it inspires you to pull out your favorite Papertrey Ink goodies and get started on your holiday cards!!
Thank you so much for stopping by!! Have a wonderful week!!
Leave a Reply