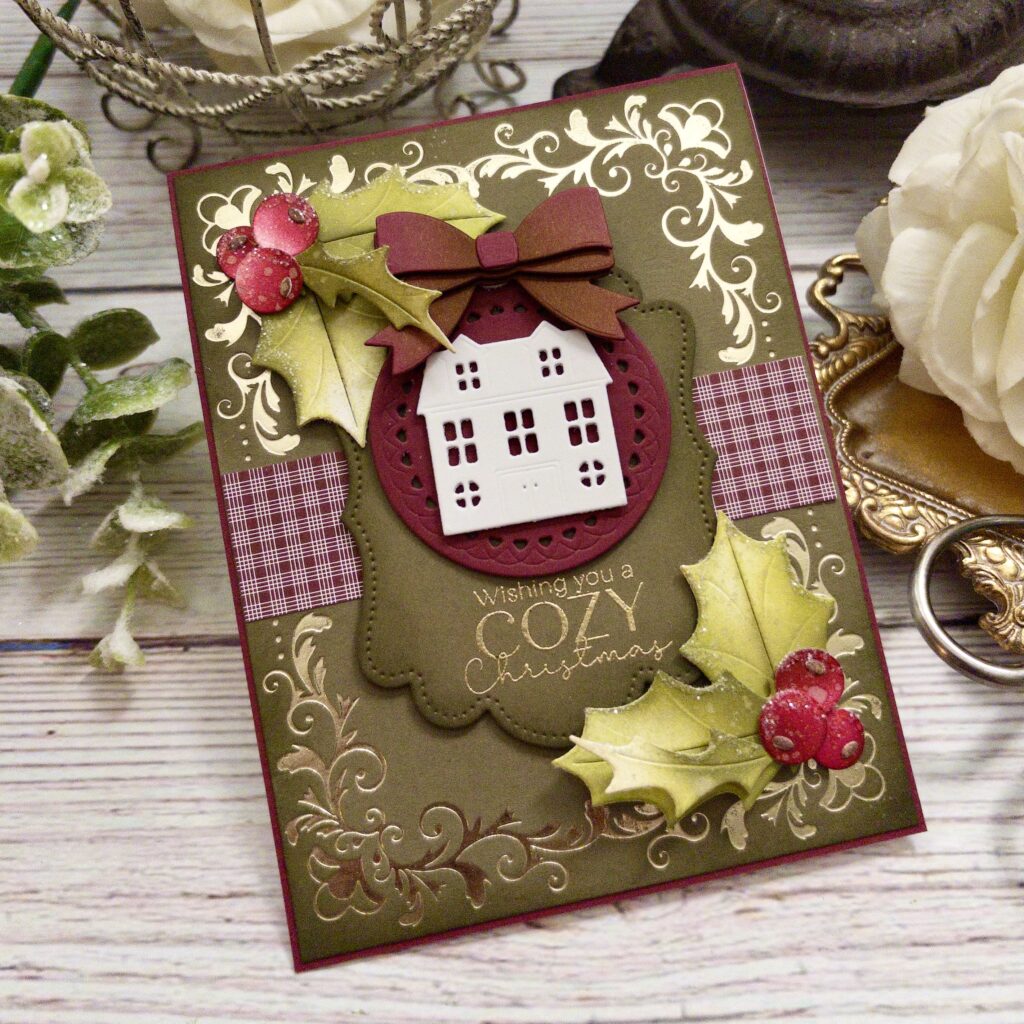
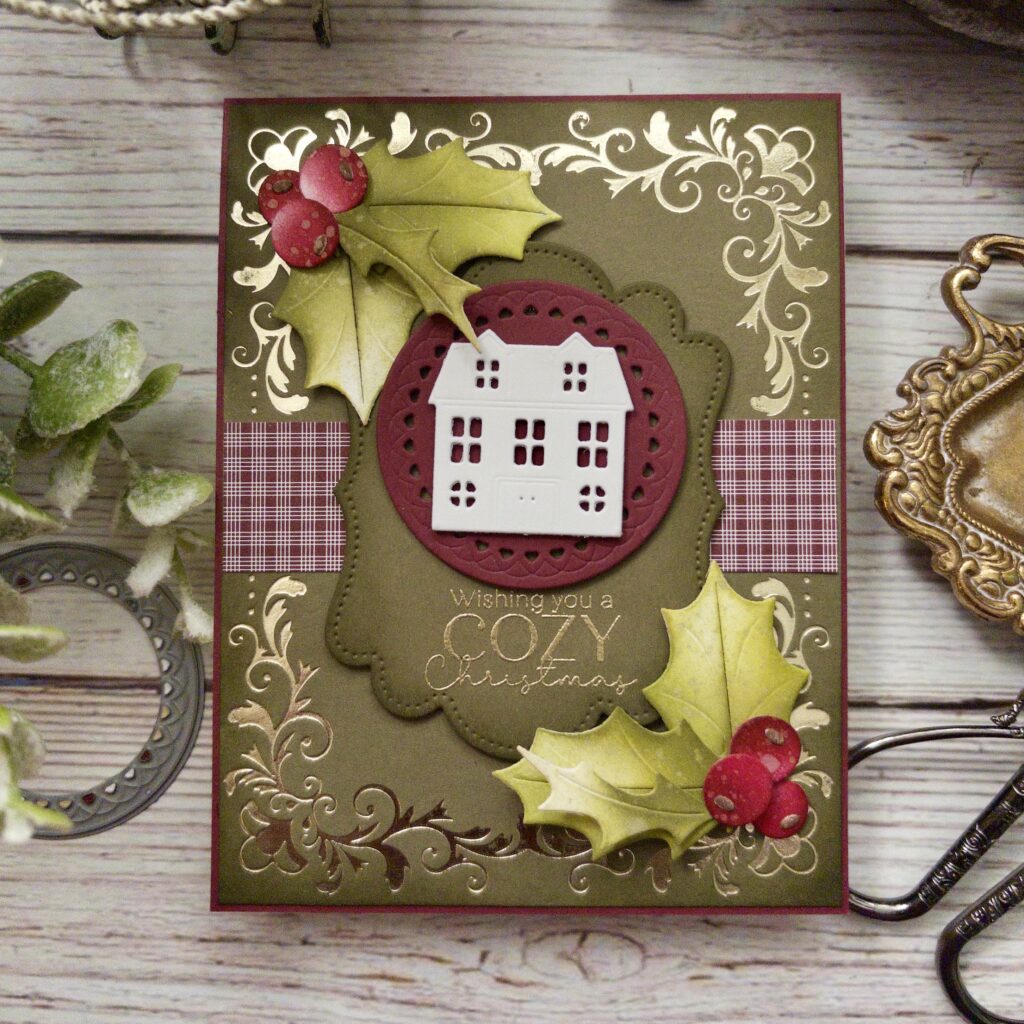
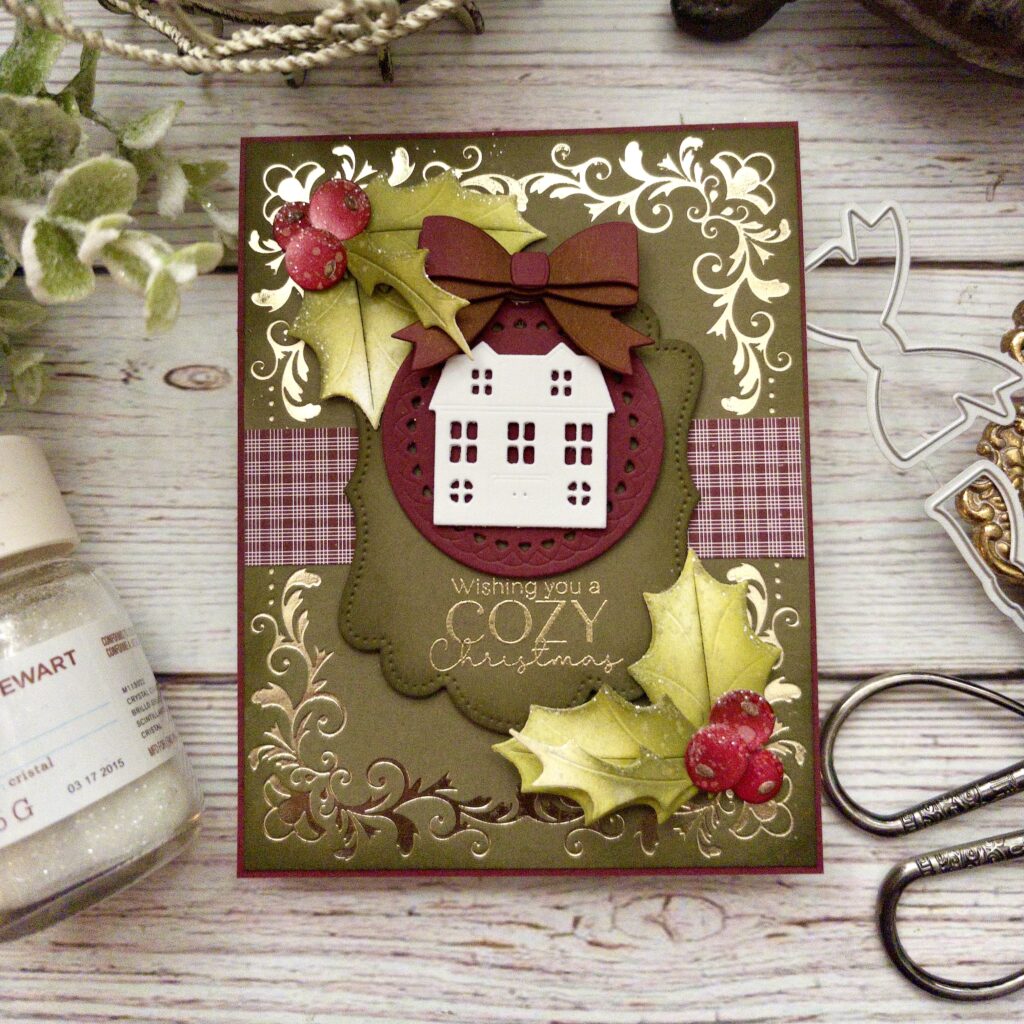
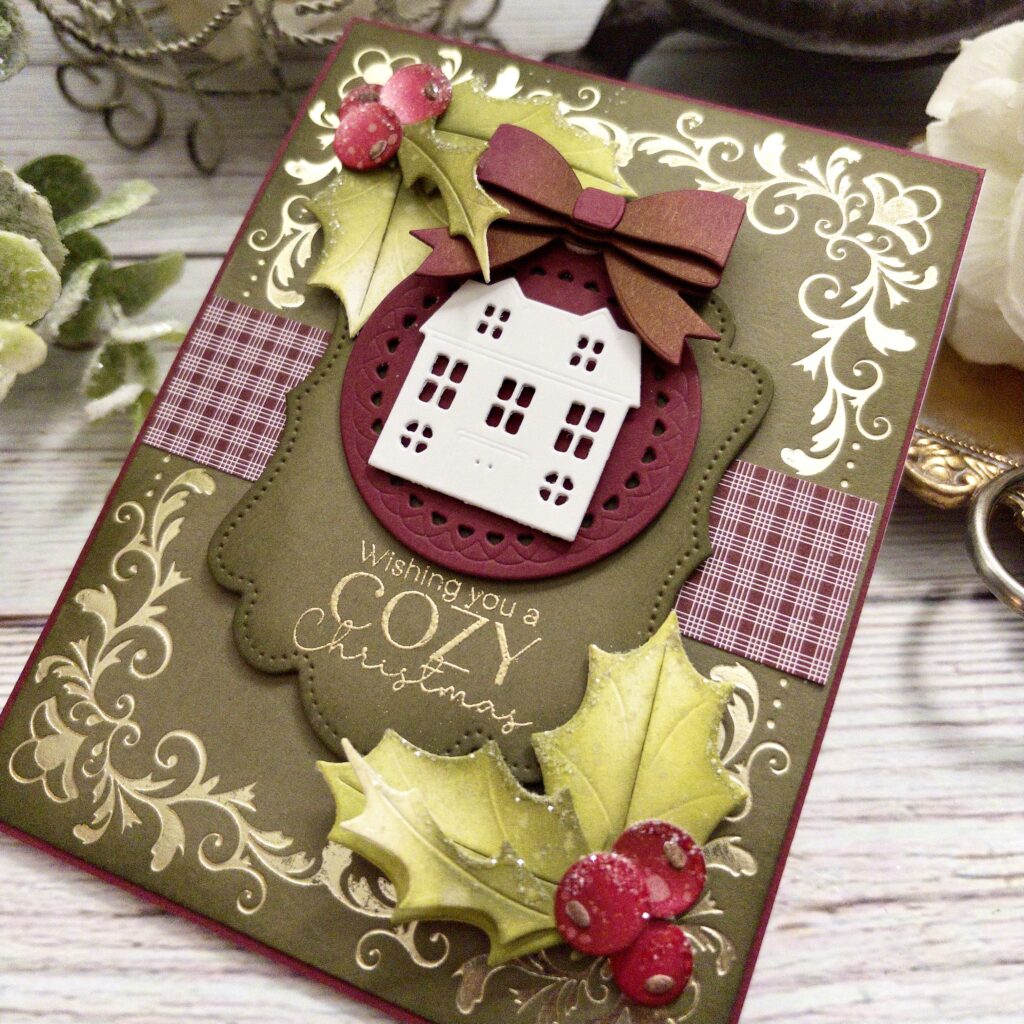
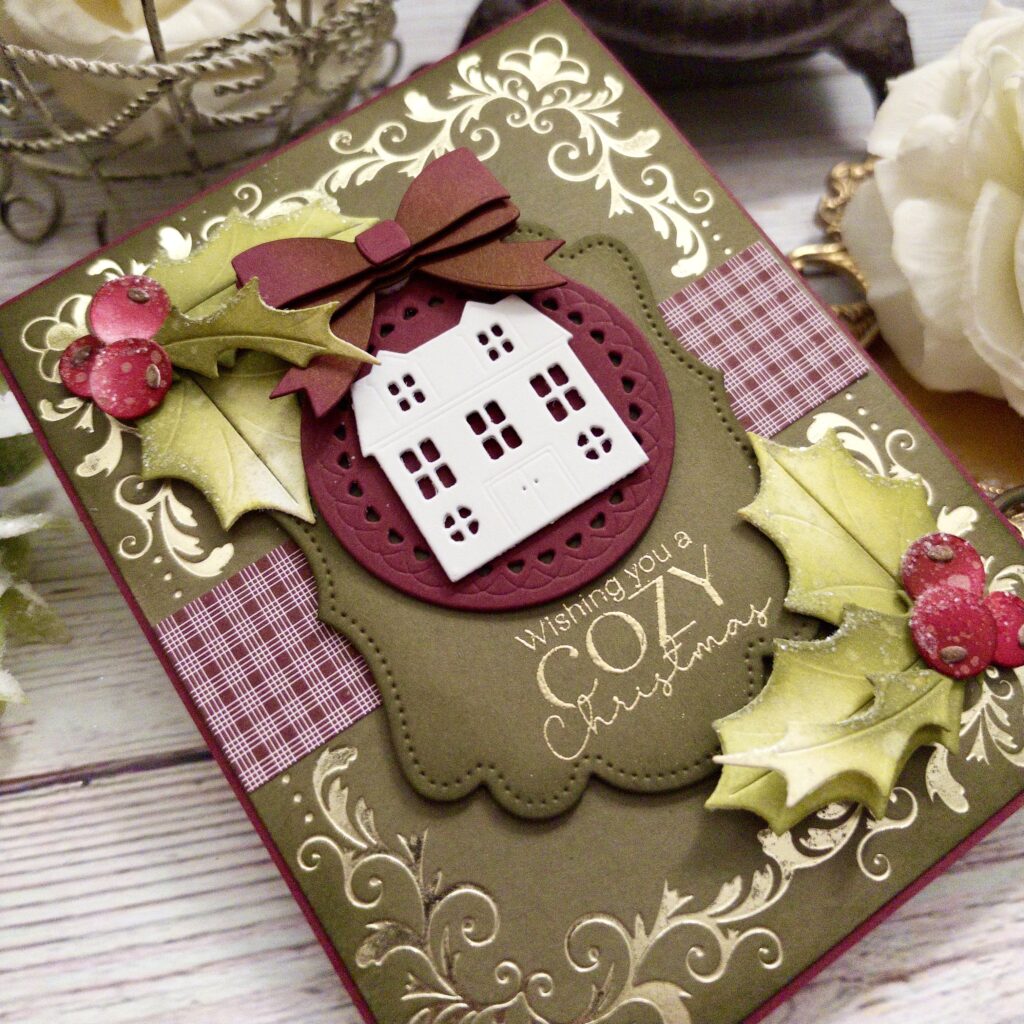
Kelly Lunceford brings classic Christmas style to life with this elegant Wishing You a Cozy Christmas Card. 🎄✨ Rich Olive Twist and Scarlet Jewel create a beautiful twist on traditional holiday colors, while the champagne foiled background adds a touch of festive shine. Layered holly, berries, a dimensional bow, and a sweet little house come together to create a warm, cozy design filled with texture and seasonal charm.
Kelly shares, “Pattern, layers, texture, and shine…all the hallmarks of a classically designed Christmas card! Olive and Scarlet are always a fun twist on the traditional red and green color combination! Follow along with me step-by-step as this card comes together in seven easy steps!”
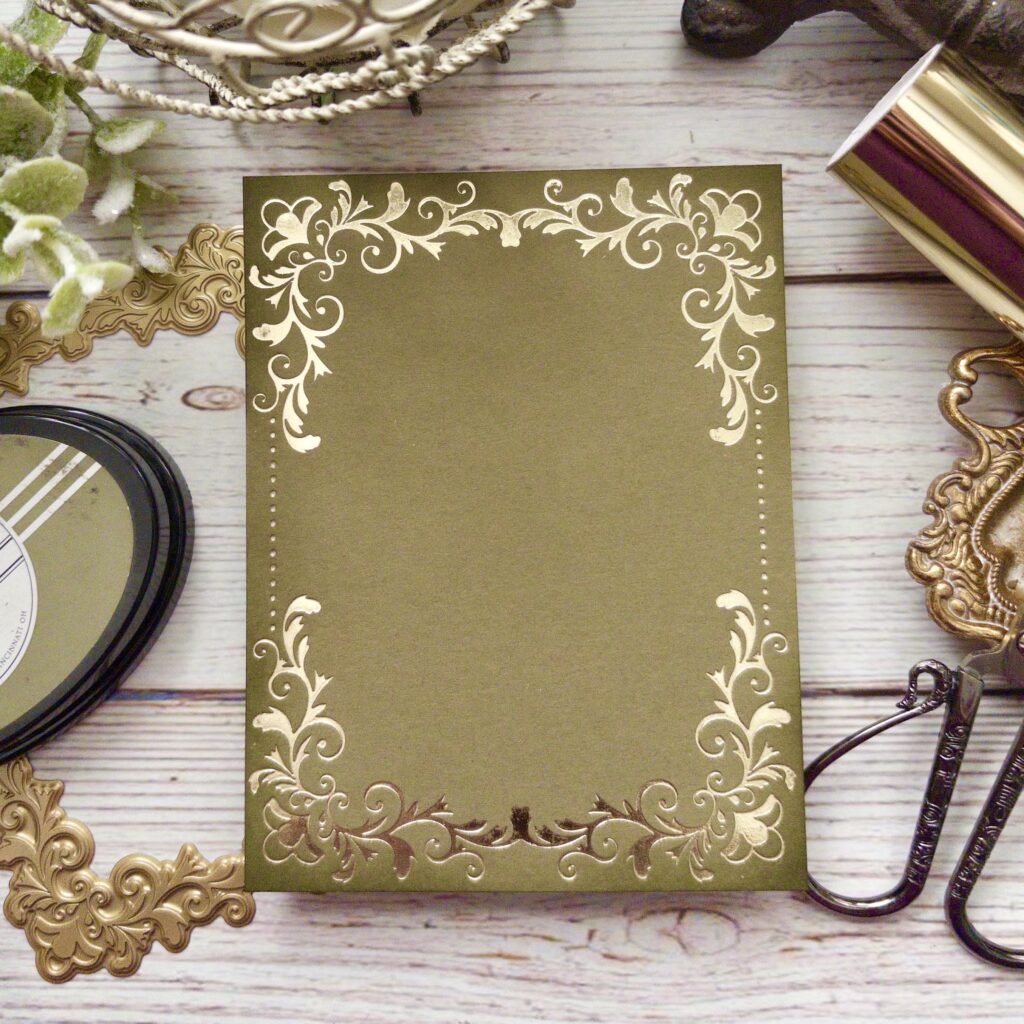
Step 1: Foil a panel of Olive Twist cardstock with champagne foil. Trim it down close to the foiled design. Blend Olive Twist ink around the 4 corners.
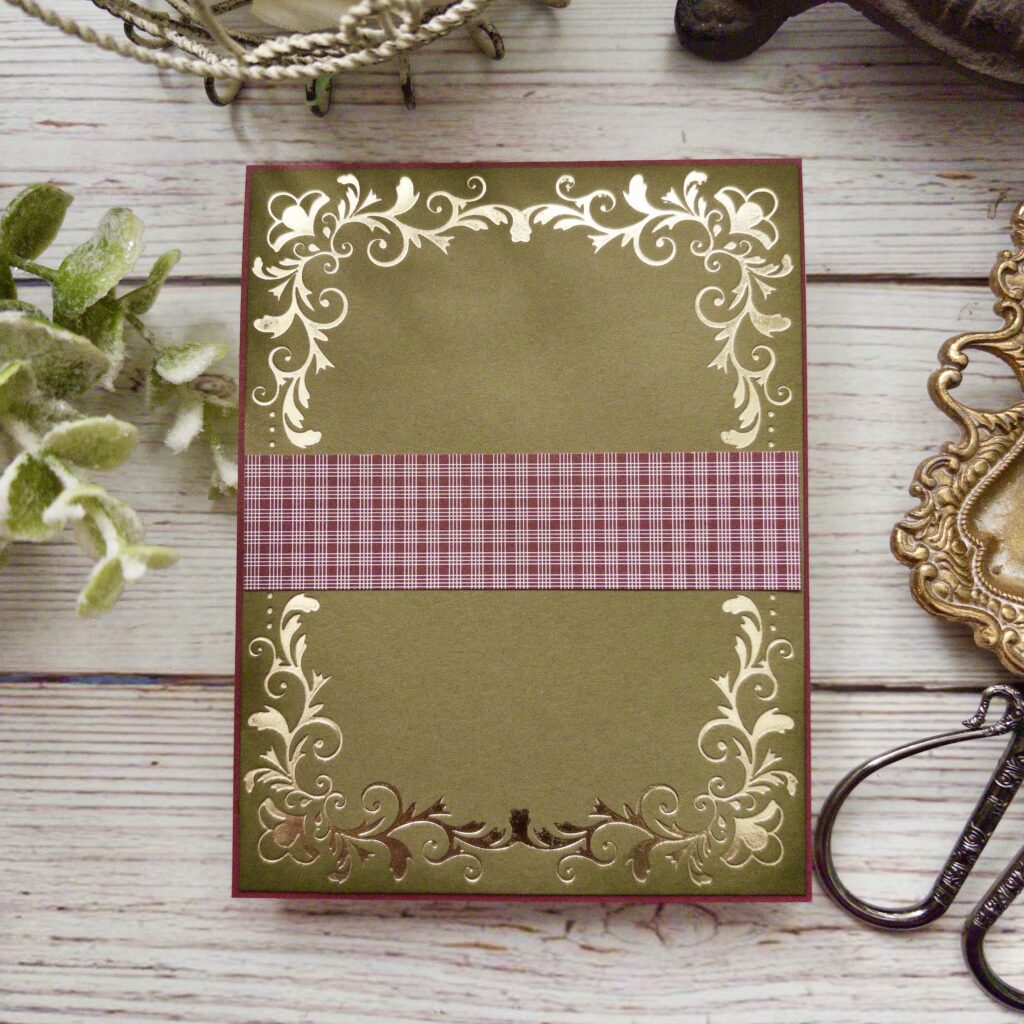
Step 2: Add a 1 inch strip of plaid pattern paper to the center and attach the background panel to an A2-sized piece of Scarlet Jewel cardstock. Glue it to an A2 card base.
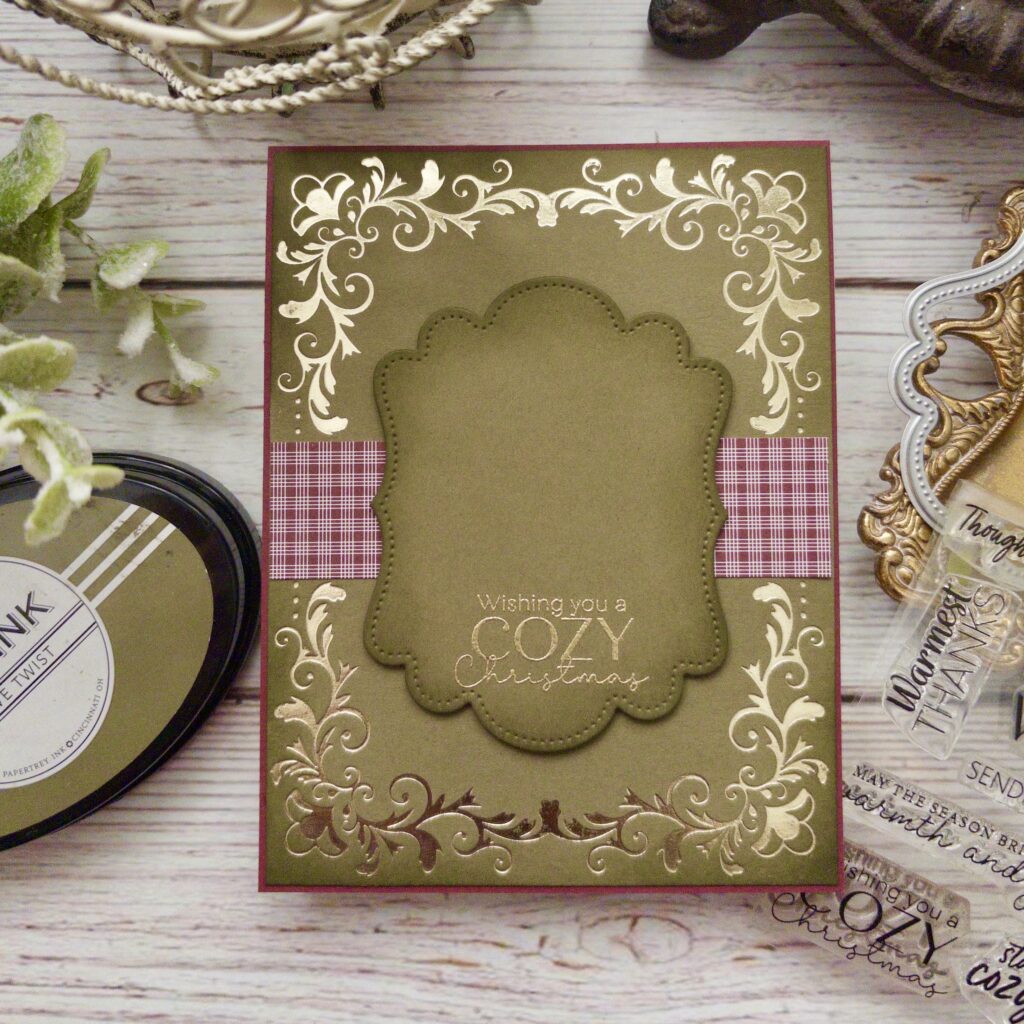
Step 3: Cut the mat from Olive Twist cardstock and blend the same color ink around the edges. Heat emboss the sentiment and adhere it to the background panel using foam squares.
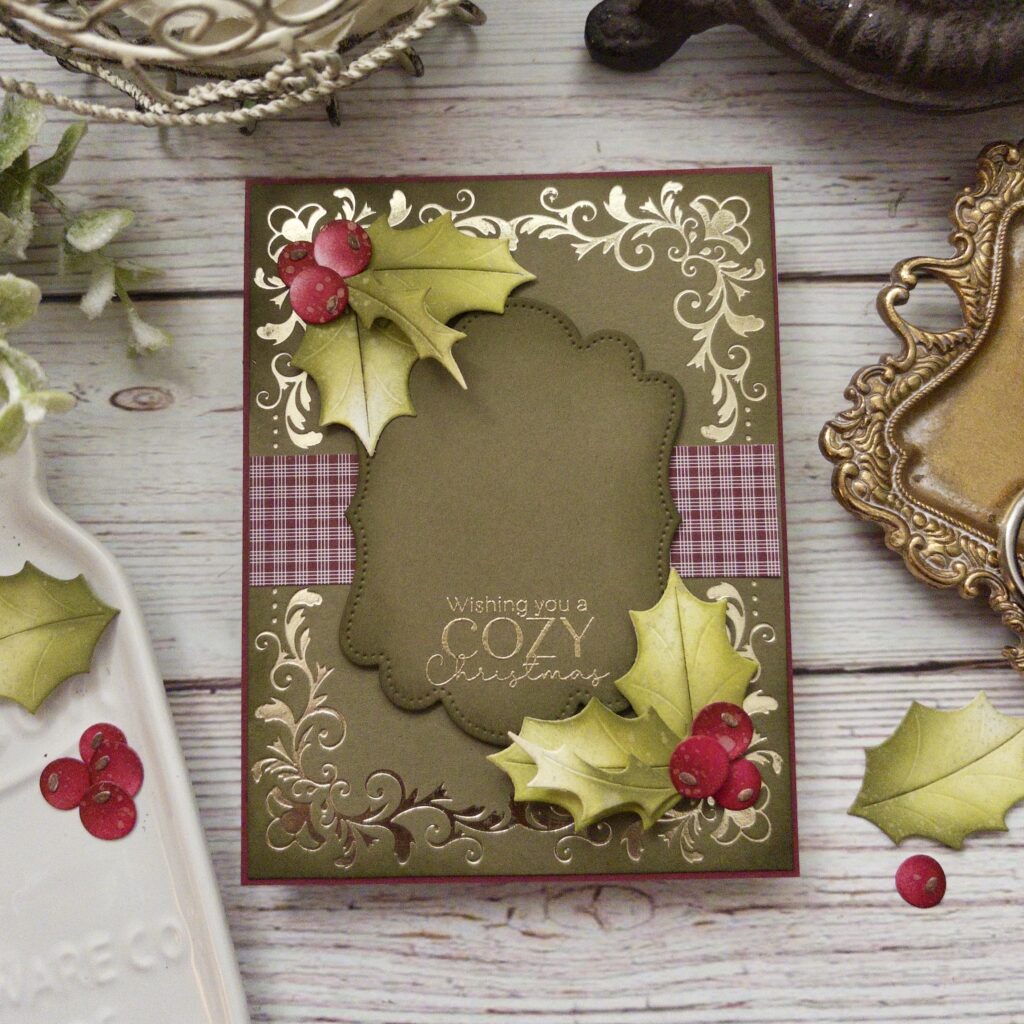
Step 4: Cut and color all of the pieces for the Holly and berries. Spritz them with distress spray and arrange around the edges.
Step 5: Cut a circle and the house. Assemble them together and place it above the sentiment using foam squares.
Step 6: Cut and assemble the bow and adhere it to the card. Apply glitter to the berries and leaves.
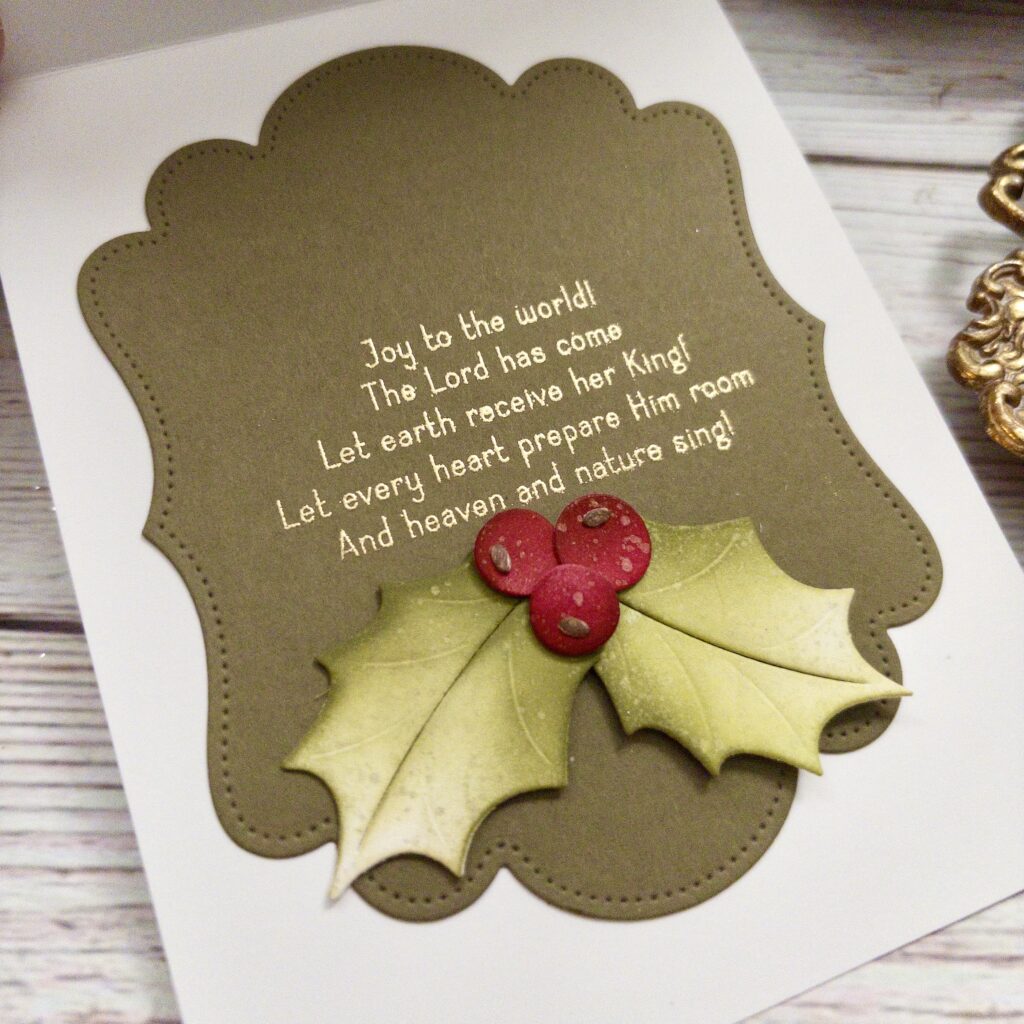
Step 7: Decorate the inside with leftover foliage and berries along with an inside greeting.
This Wishing You a Cozy Christmas Card is a beautiful example of how classic holiday elements can be combined with unexpected colors for a fresh seasonal design. ❤️ The champagne foil, plaid accent, layered holly and berries, dimensional bow, and little house create plenty of texture and interest while keeping the sentiment at the heart of the card. Take inspiration from Kelly’s design and experiment with your own color combinations, layers, and holiday details for a Christmas card that feels warm and personal.
Reader Interactions
Comments
Janesays
Love the cozy Christmas card!
Kathy Mcsays
Brilliant design and striking color scheme exudes coziness!
Leslie Longoriasays
Such a beautiful card and layout. I also like the color scheme.
Bo Gilmoresays
This is such a beautiful card. I love the color choice. The holly and berries look so real.
Paula J Fullersays
What a beautiful “inside” addition to this card. I just love it!
Carmela Hublersays
Beautiful card, Kelly!! I love the colors and the embellishments!!
Diana Lolasays
This card is simply elegant in every way possible. Each detail Kelly added is just breathtakingly beautiful! I have yet to try foiling & this is a perfect example of why I need to give it a try, wow! From the distress spray to the layering, the added foiling & every elegant touch in between this is absolutely a gorgeous card!
Diana Craigsays
Cute and elegant wrapped up in the same fabulous card! Wow, I want to make and gift this card!
Gayle I.says
Gorgeous card; Kelly’s creations are always so elegant!
Cindy Thompsonsays
I love the Cozy Christmas so much
Sadie Hiebertsays
This card is absolutely gorgeous!! So elegant and warm.
Jane says
Love the cozy Christmas card!
Kathy Mc says
Brilliant design and striking color scheme exudes coziness!
Leslie Longoria says
Such a beautiful card and layout. I also like the color scheme.
Bo Gilmore says
This is such a beautiful card. I love the color choice. The holly and berries look so real.
Paula J Fuller says
What a beautiful “inside” addition to this card. I just love it!
Carmela Hubler says
Beautiful card, Kelly!! I love the colors and the embellishments!!
Diana Lola says
This card is simply elegant in every way possible. Each detail Kelly added is just breathtakingly beautiful! I have yet to try foiling & this is a perfect example of why I need to give it a try, wow! From the distress spray to the layering, the added foiling & every elegant touch in between this is absolutely a gorgeous card!
Diana Craig says
Cute and elegant wrapped up in the same fabulous card! Wow, I want to make and gift this card!
Gayle I. says
Gorgeous card; Kelly’s creations are always so elegant!
Cindy Thompson says
I love the Cozy Christmas so much
Sadie Hiebert says
This card is absolutely gorgeous!! So elegant and warm.