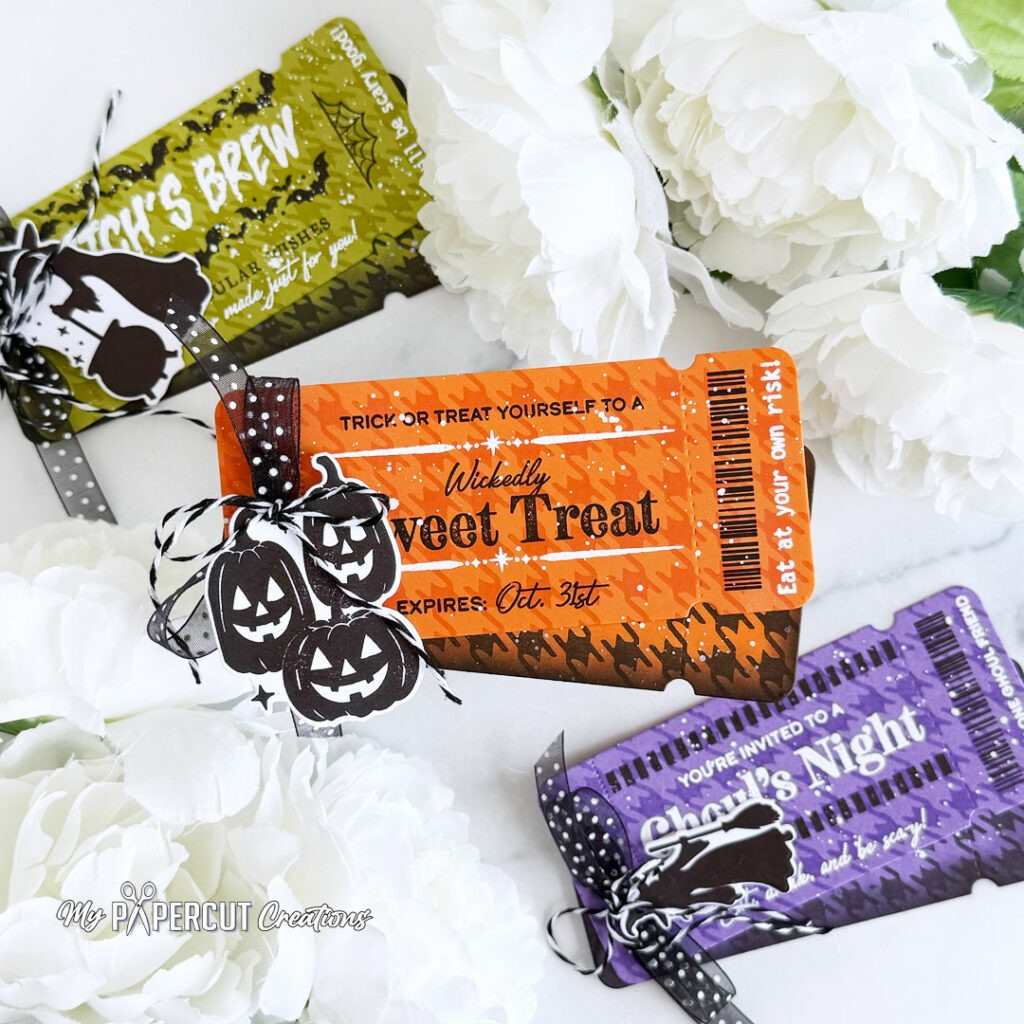
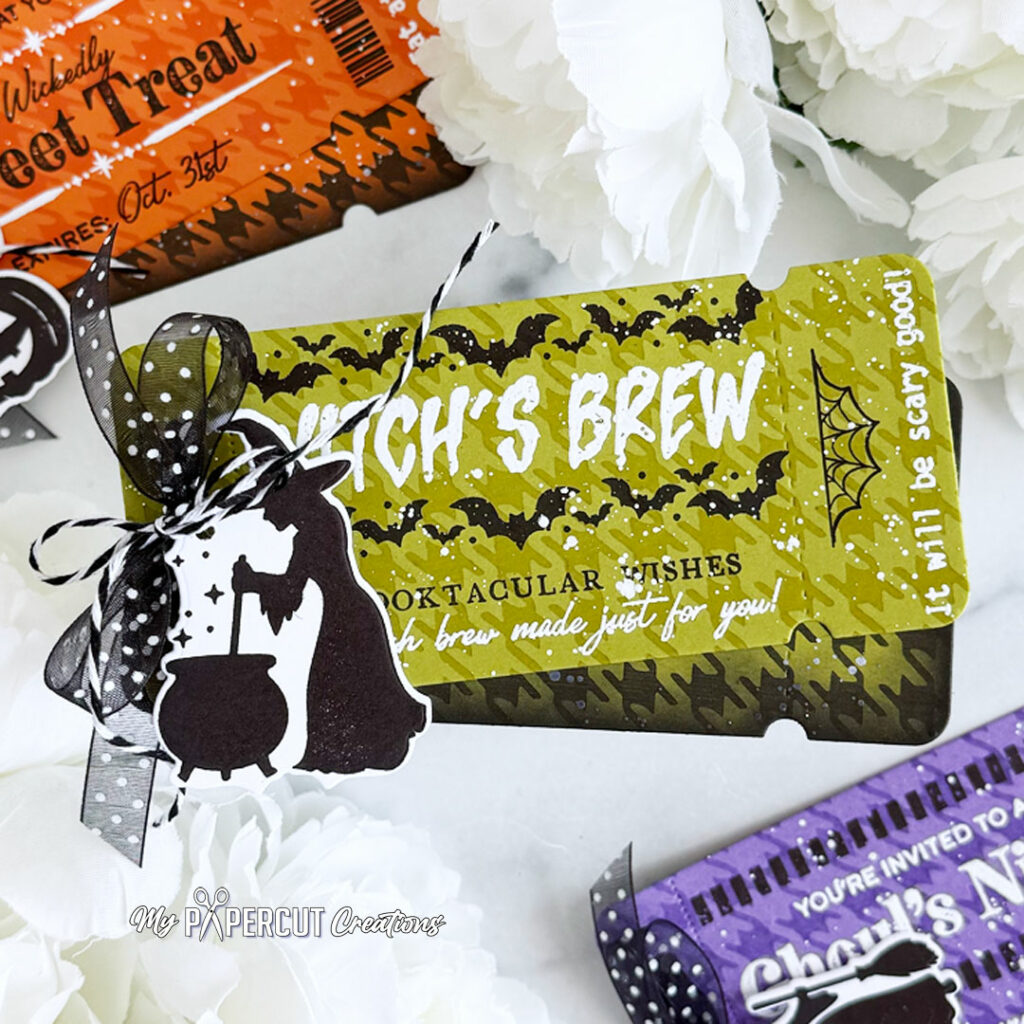
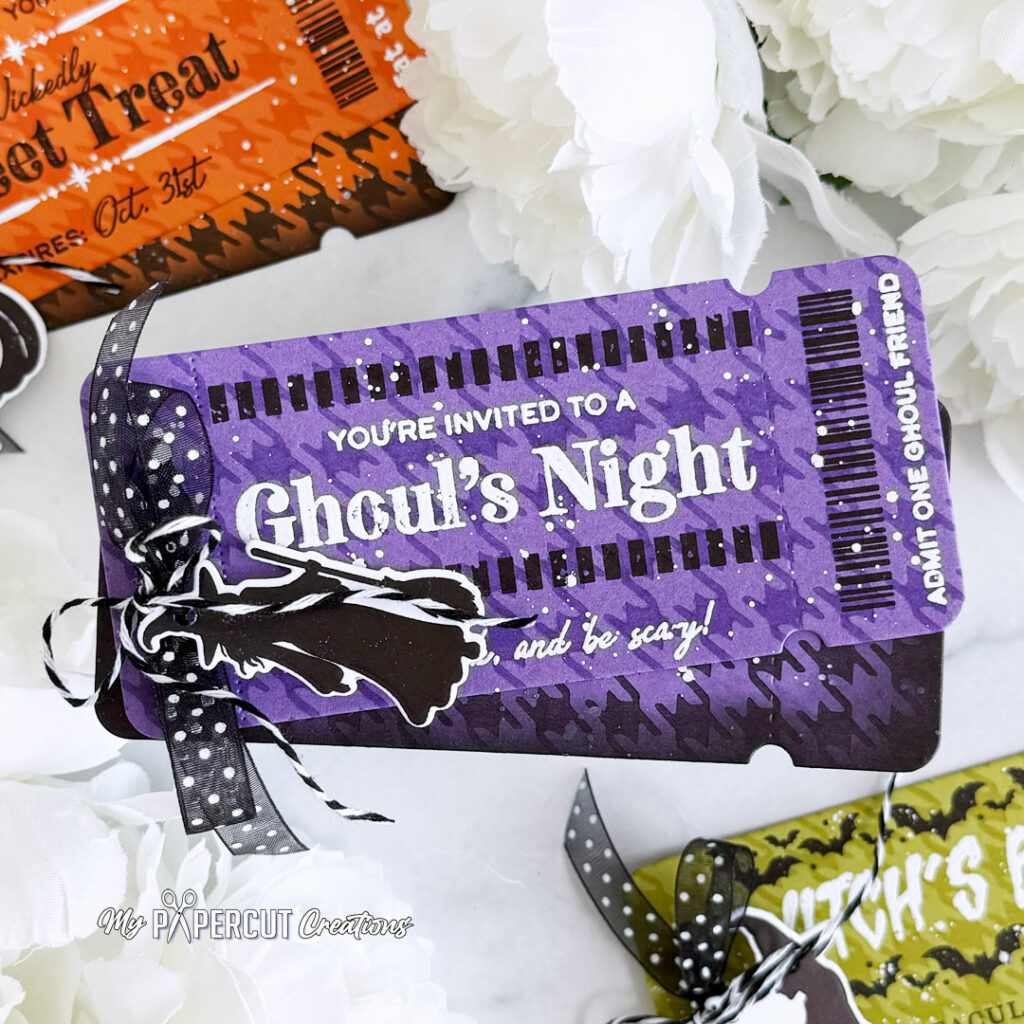
Halloween fun is always better when it’s shared with friends and neighbors!! 🎃👻 Brenda here with you today and I’m excited to share these spooky Halloween tickets that are perfect to “BOO” your neighbors or invite your favorite ghouls to a frightfully fun night!! These tickets are sure to deliver plenty of tricks, treats, and spooky fun!
Supplies
Stamps: VIP Ticket Collection: Halloween, Halloween Silhouettes
Dies: Dies: Halloween Silhouettes, VIP Ticket Collection
Press Plate: Houndstooth
Ink: Orange Zest, Simply Chartreuse, True Black
Cardstock: Orange Zest, Simply Chartreuse, Amethyst Allure, Stamper’s Select White
Other supplies: Versamark Ink, white embossing powder, purple dye ink, black & white sheer polka dot ribbon, black & white baker’s twine, white bleed-proof ink
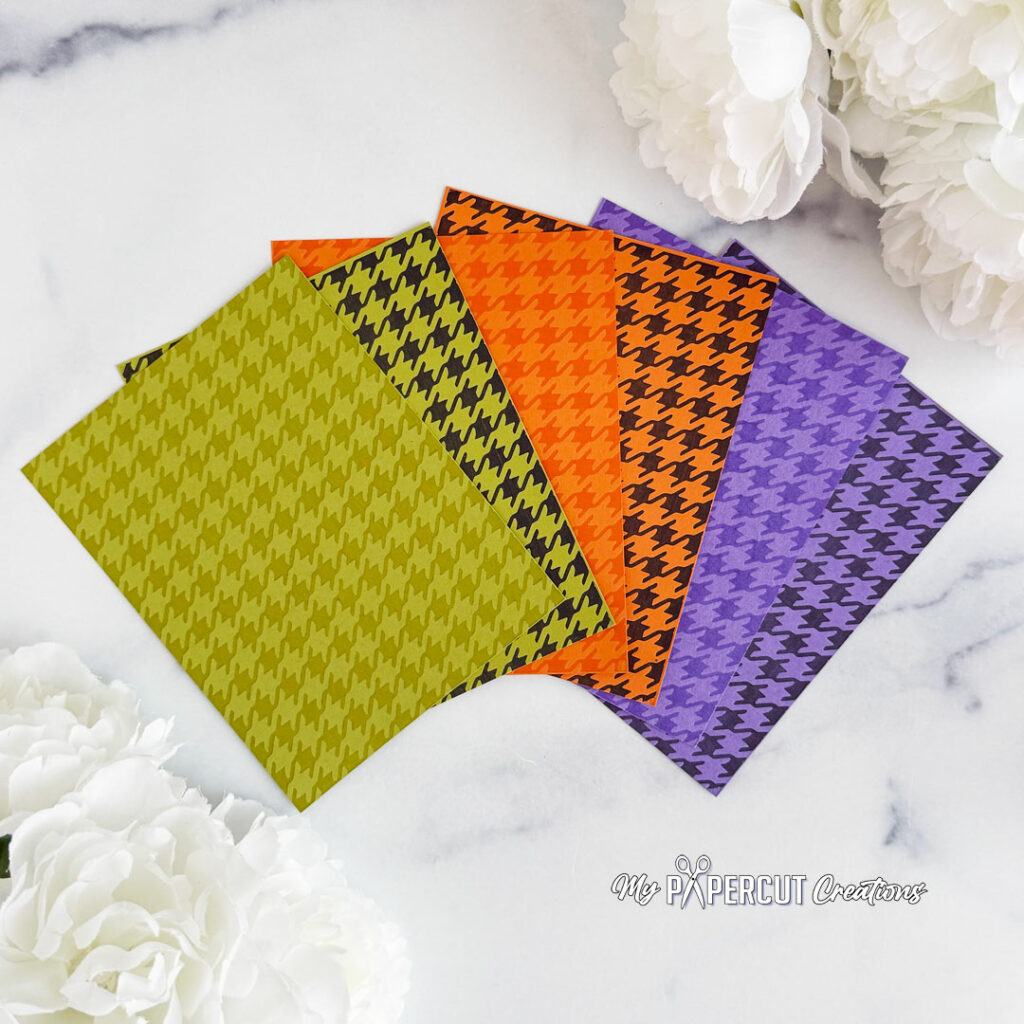
Step 1: Press the Houndstooth Press Plate onto A2 panels of Orange Zest, Simply Chartreuse and Amethyst Allure cardstock with Orange Zest, Simply Chartreuse, purple dye and True Black ink.
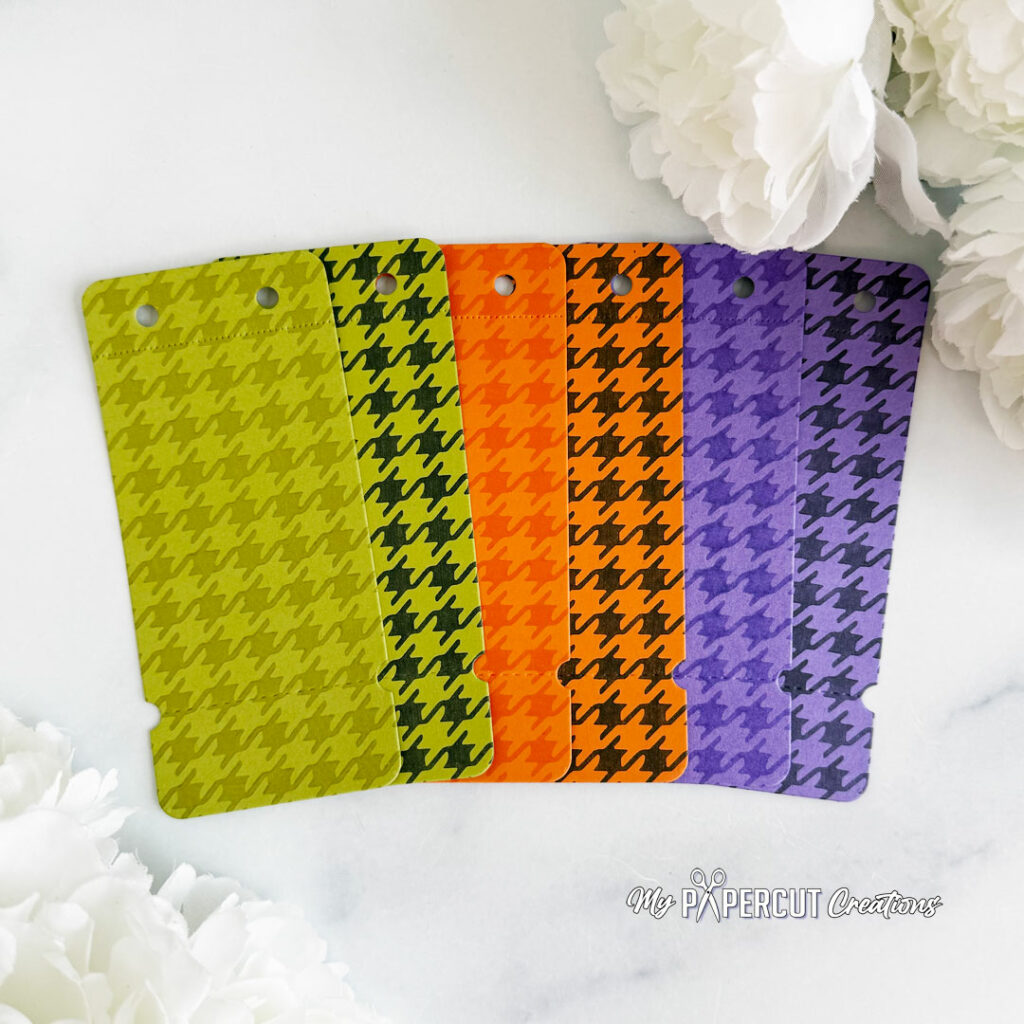
Step 2: Die-cut the panels with the VIP Ticket Collection Die.
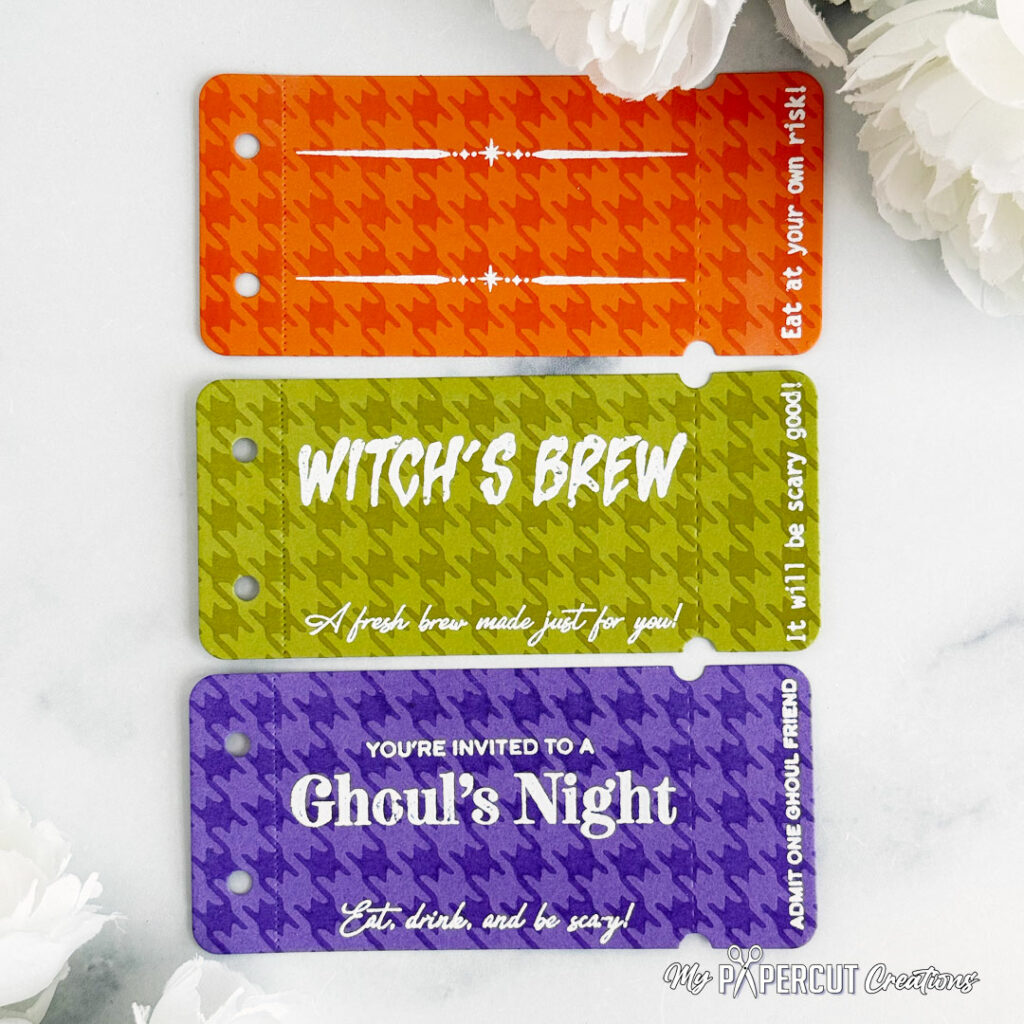
Step 3: Stamp the images and sentiments from the VIP Ticket Collection: Halloween Stamp Set onto the tone-on-tone tickets with Versamark ink, sprinkle with white embossing powder and heat with a heat tool until melted.
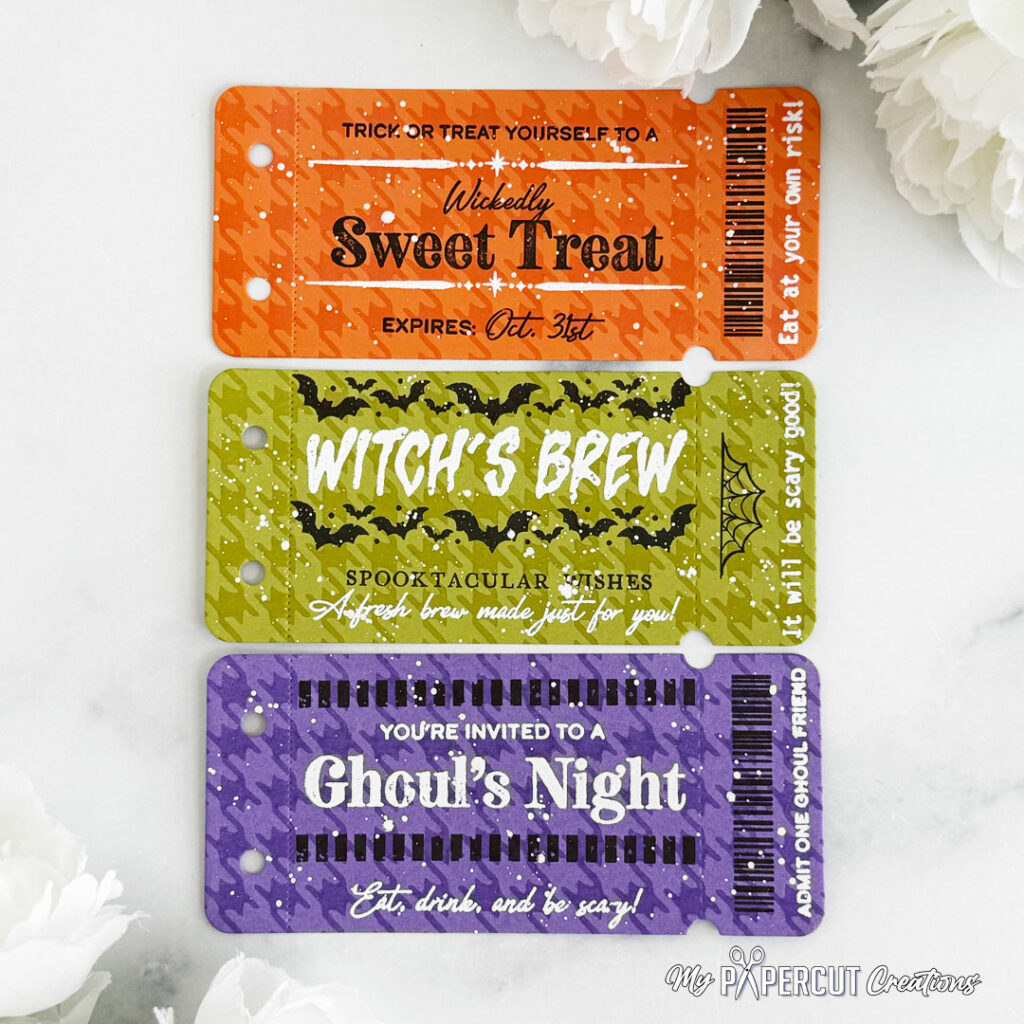
Step 4: Stamp more images and sentiments from the VIP Ticket Collection: Halloween and the Halloween Silhouettes Stamp Sets with True Black ink.
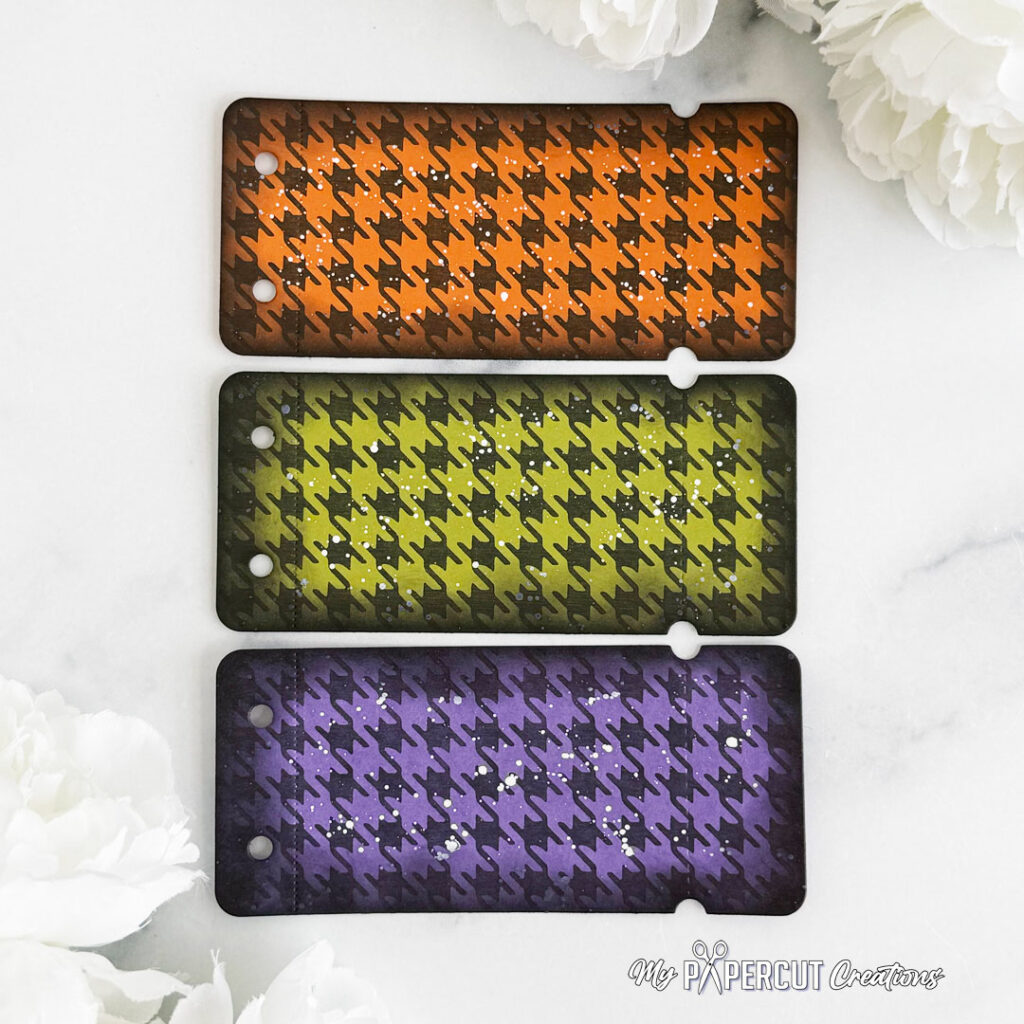
Step: 5: Splatter the tickets with the black houndstooth with white bleed-proof ink. Blend True Black ink around the outside of the tickets with a blending brush. I also splattered the white ink onto the tone-on-tone tickets, as well.
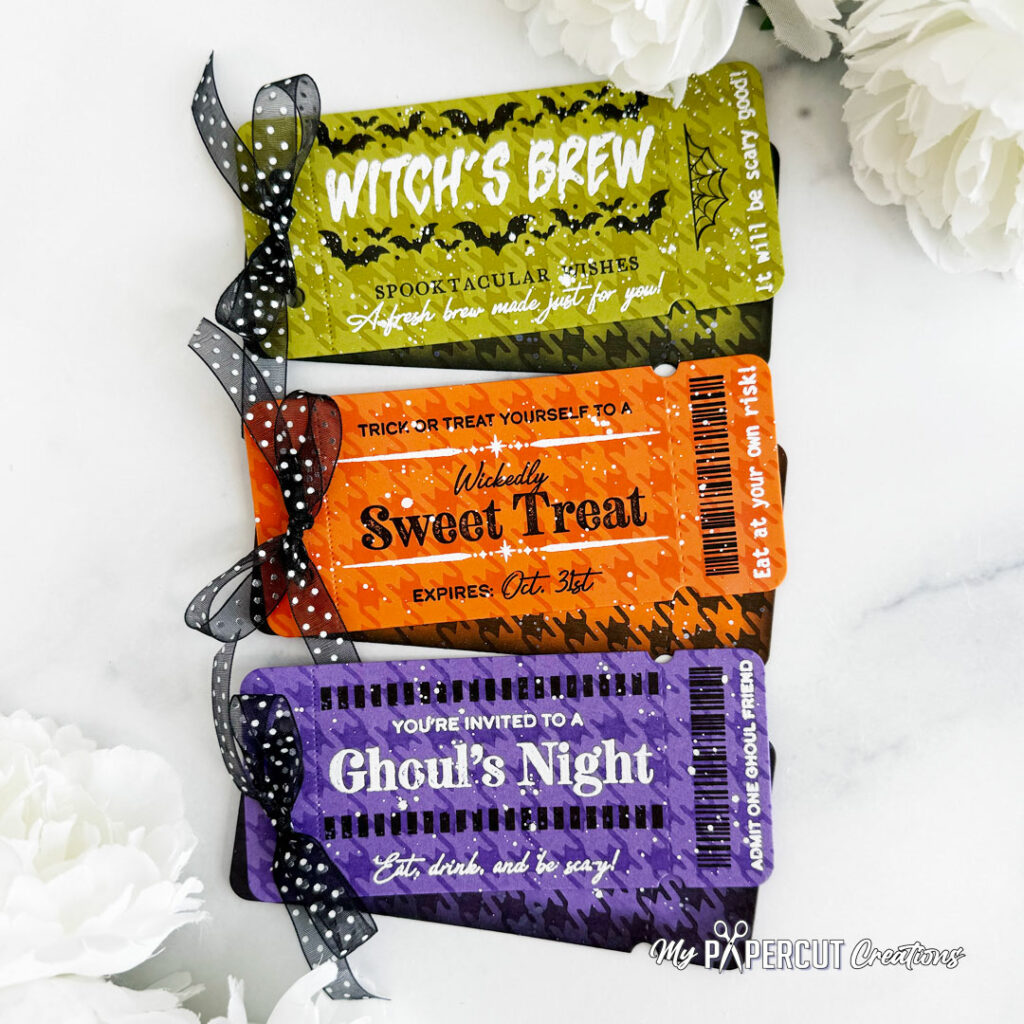
Step 6: Thread black & white sheer polka dot ribbon through the holes in the tickets and tie into a bow.
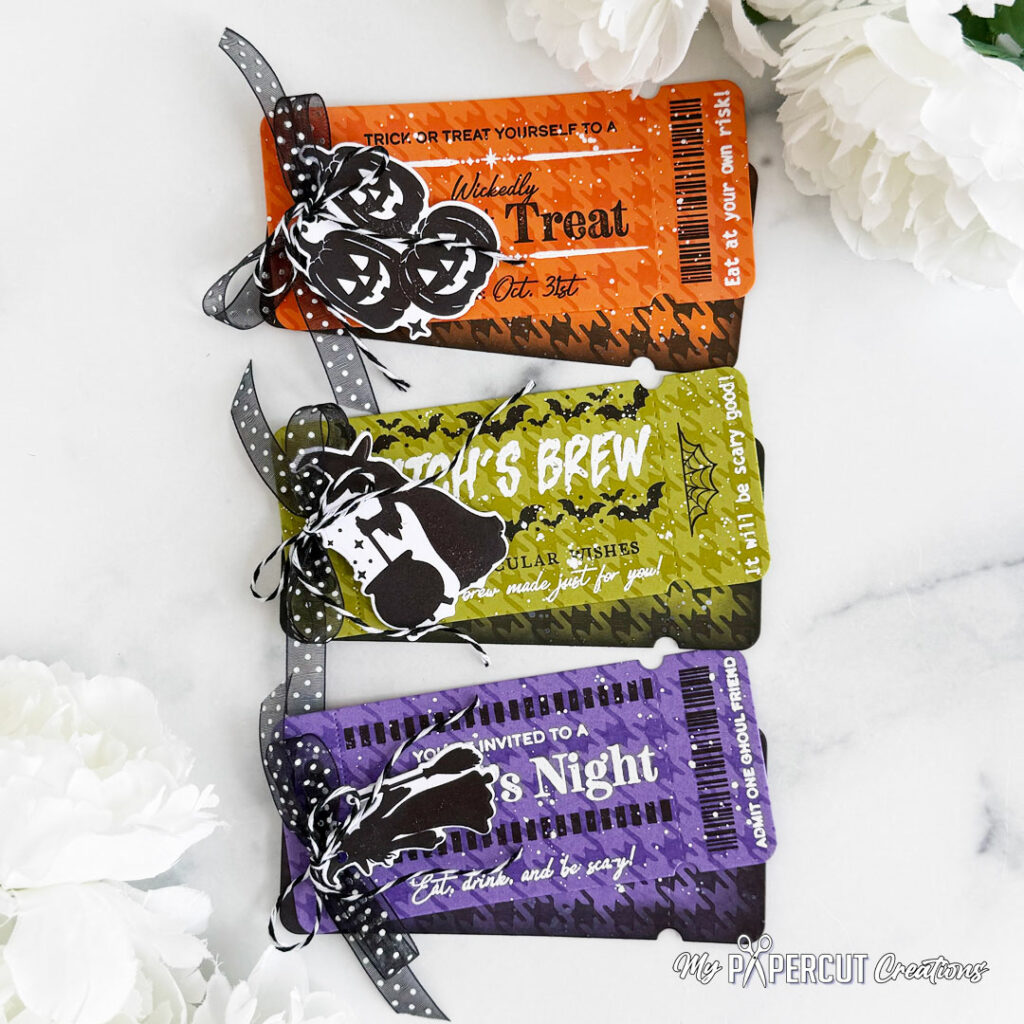
Step 7: Stamp the images from the Halloween Silhouettes Stamp Set onto Stamper’s Select White cardstock with True Black ink. Cut out with the Coordinating Dies and punch a hole in the top of the images. Thread black & white baker’s twine through the hole and attach to the ribbon by tying it into a bow.
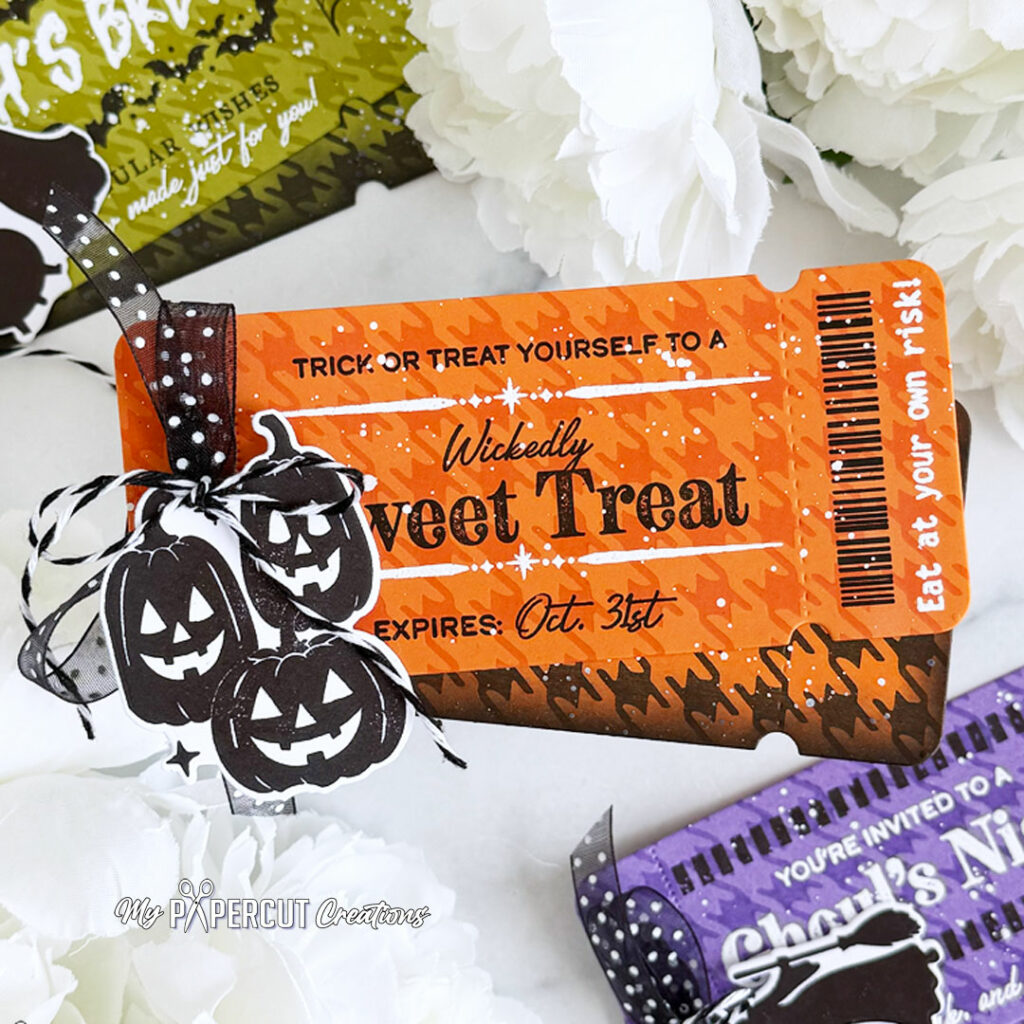
I hope these spooky little tickets inspire you to spread some Halloween fun! Whether you use them to BOO your neighbors with a surprise treat or invite your favorite ghouls over for a frightfully fun night, they’re sure to deliver plenty of wickedly good Halloween cheer. 🎃👻🖤
Enjoy the rest of your weekend (a long weekend for some of us)!!
Leave a Reply