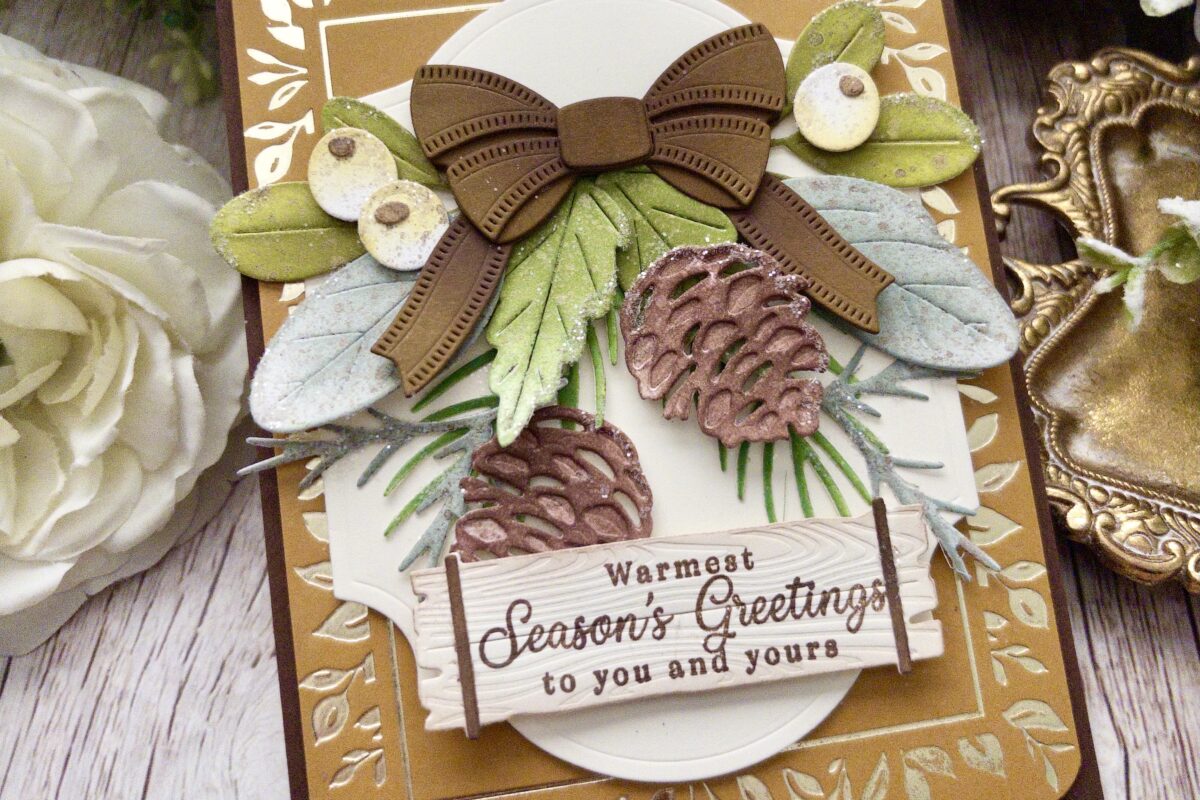
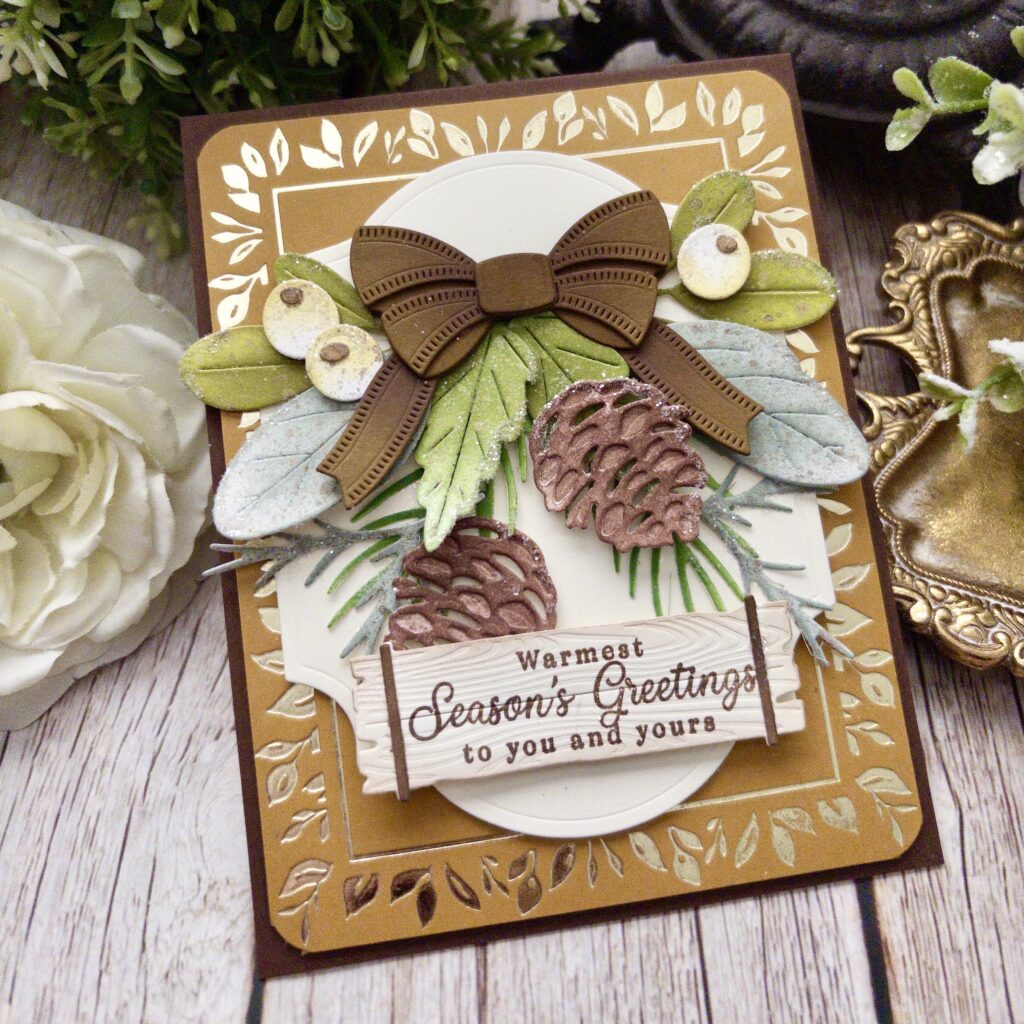
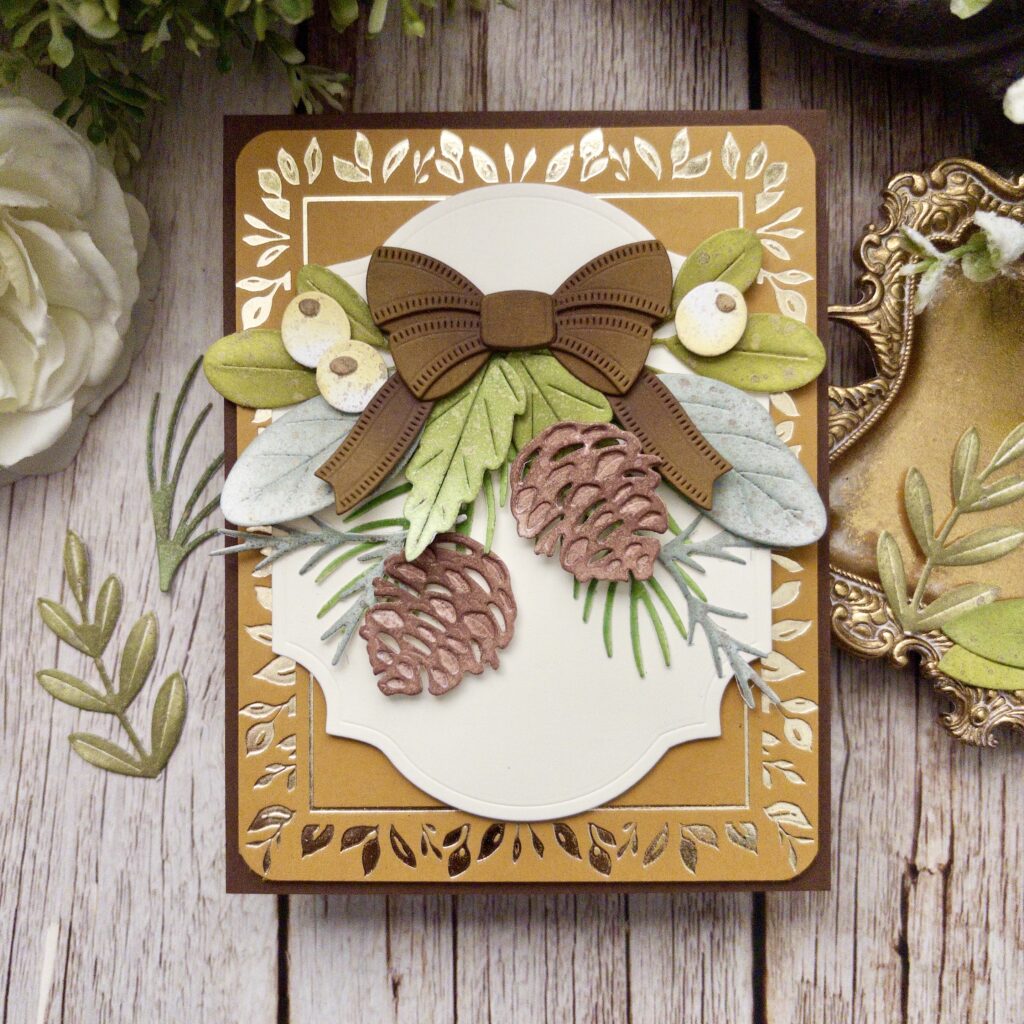
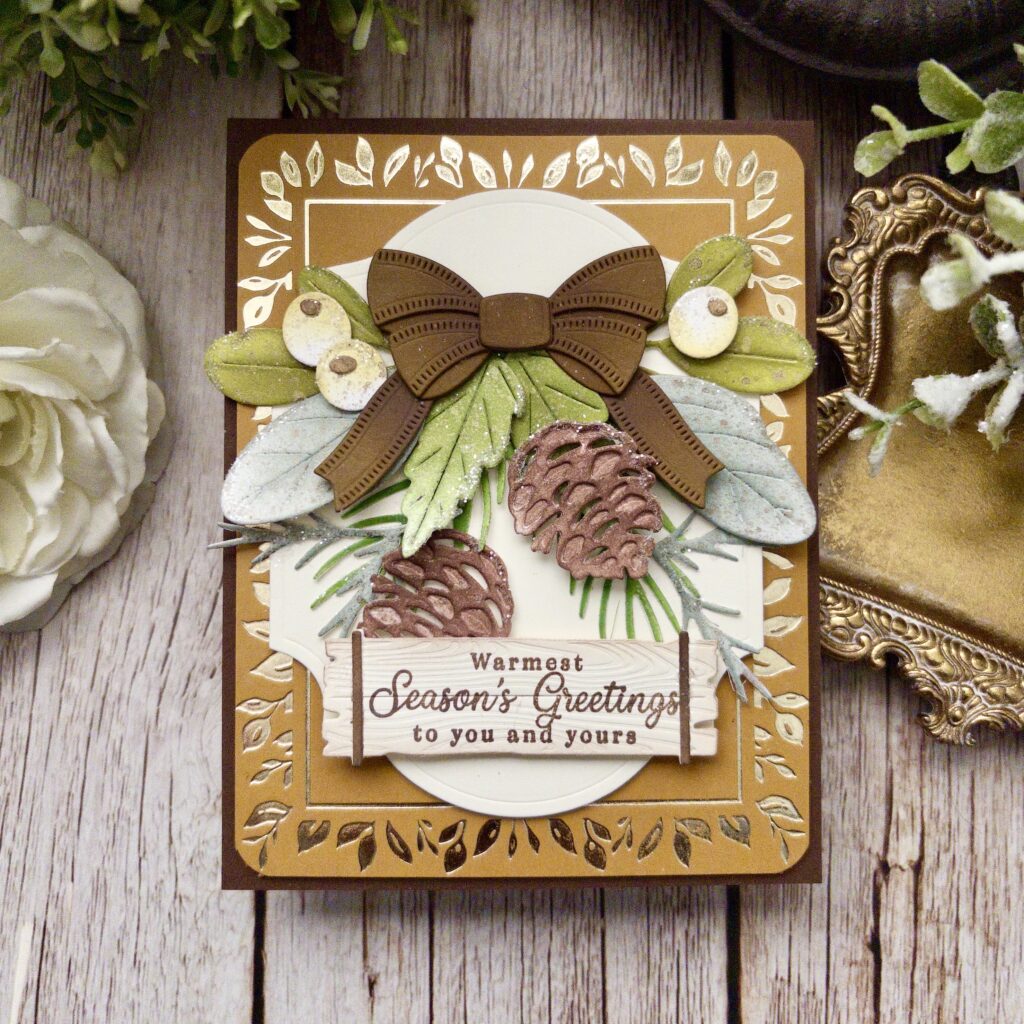
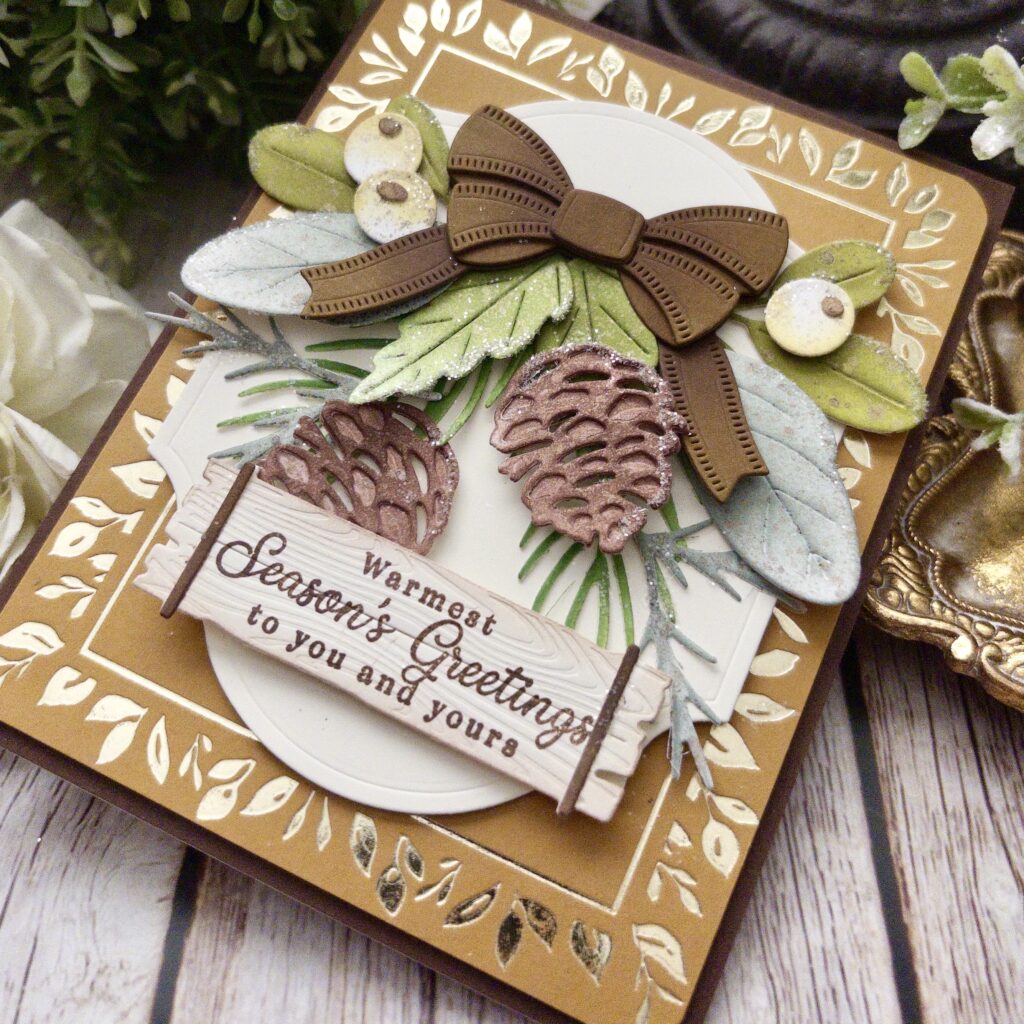
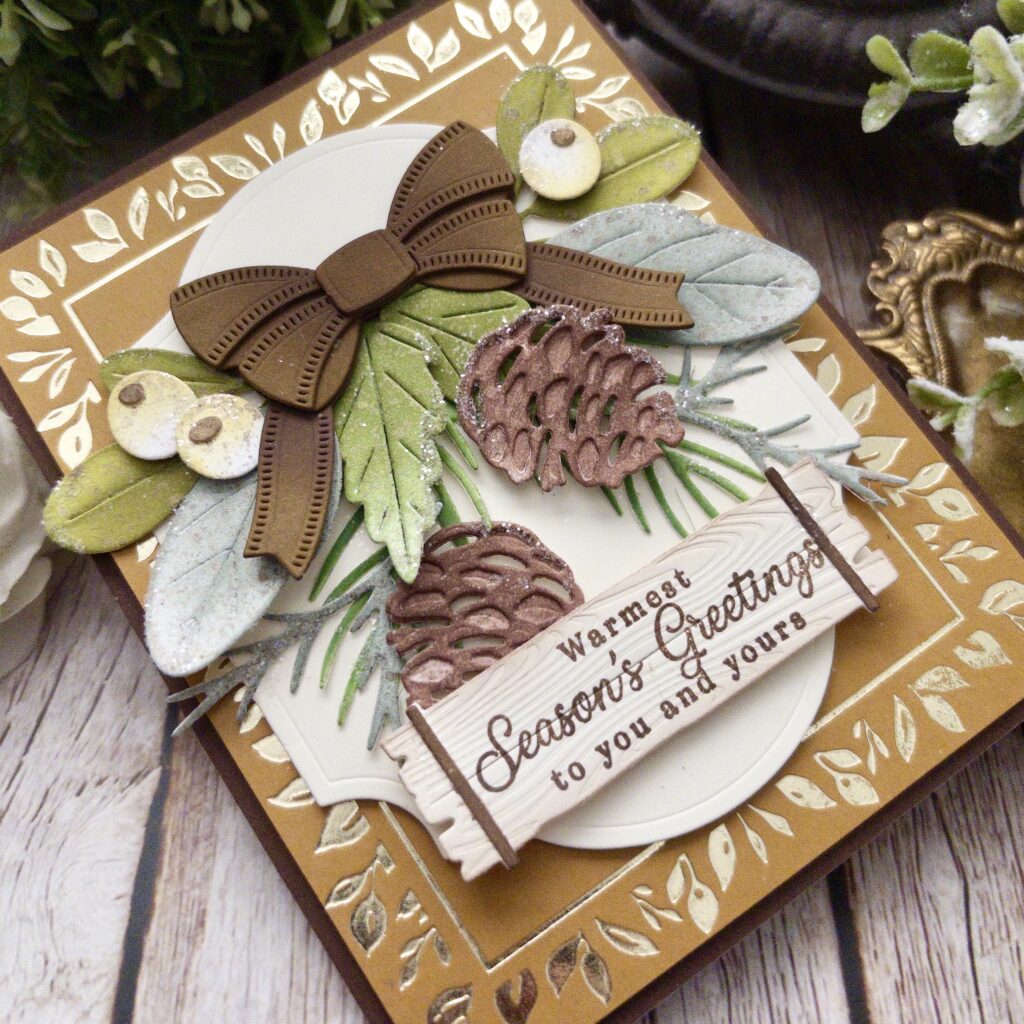
Kelly Lunceford brings a warm, rustic feel to holiday cardmaking with this beautiful Warmest Season’s Greetings Card. 🤎✨ Rich chocolate and honey tones create a cozy backdrop for the delicate champagne foil details, while layered pinecones, evergreen foliage, and a beautifully detailed bow add natural texture and dimension. The combination of warm neutrals and cool green accents gives this design a timeless, elegant look that’s perfect for sharing heartfelt holiday wishes.
Kelly shares, “I always enjoy creating holiday cards in nontraditional colors! I used warm tones with a touch of cool foliage for contrast. This would also make a beautiful winter card once the holidays are over; simply switch out the sentiment for something warm and cozy.”
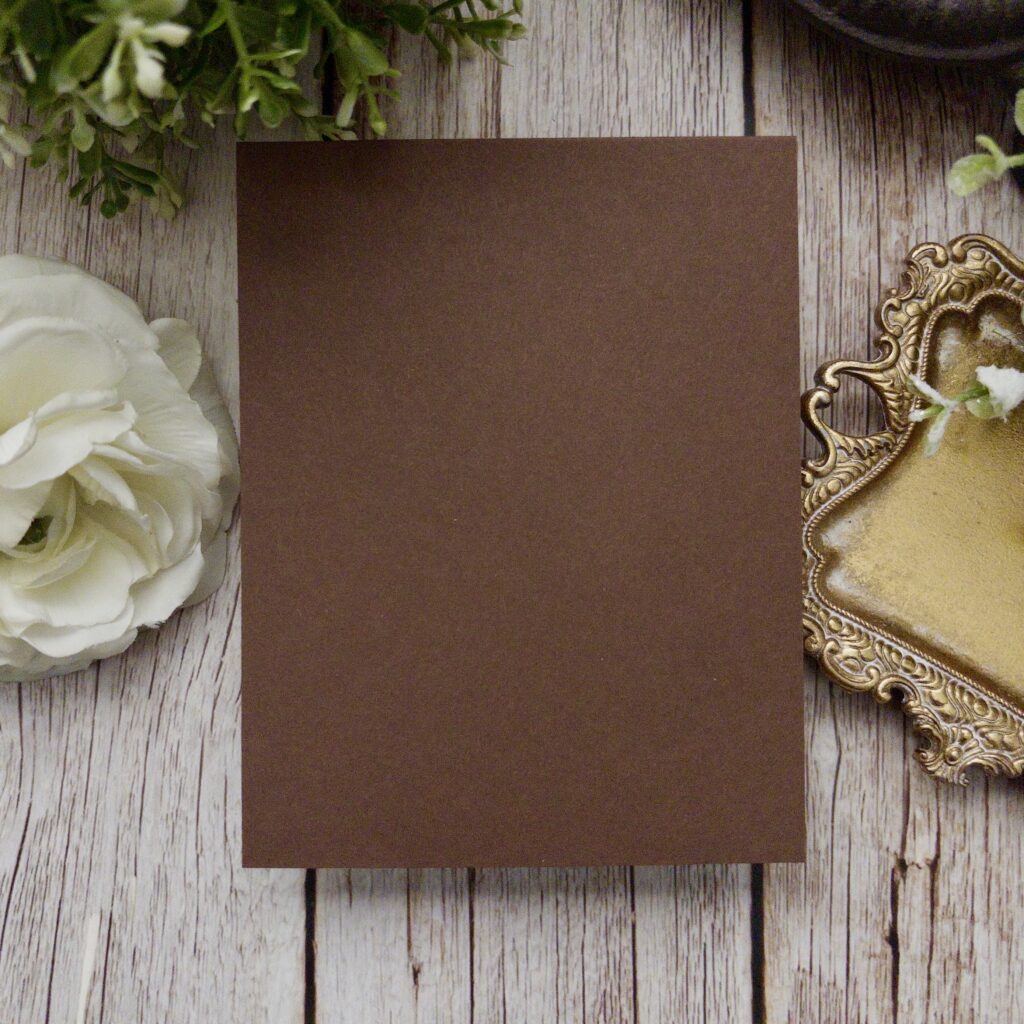
Step 1: Attach an A2 panel of Dark Chocolate cardstock to an A2 card base using liquid glue.
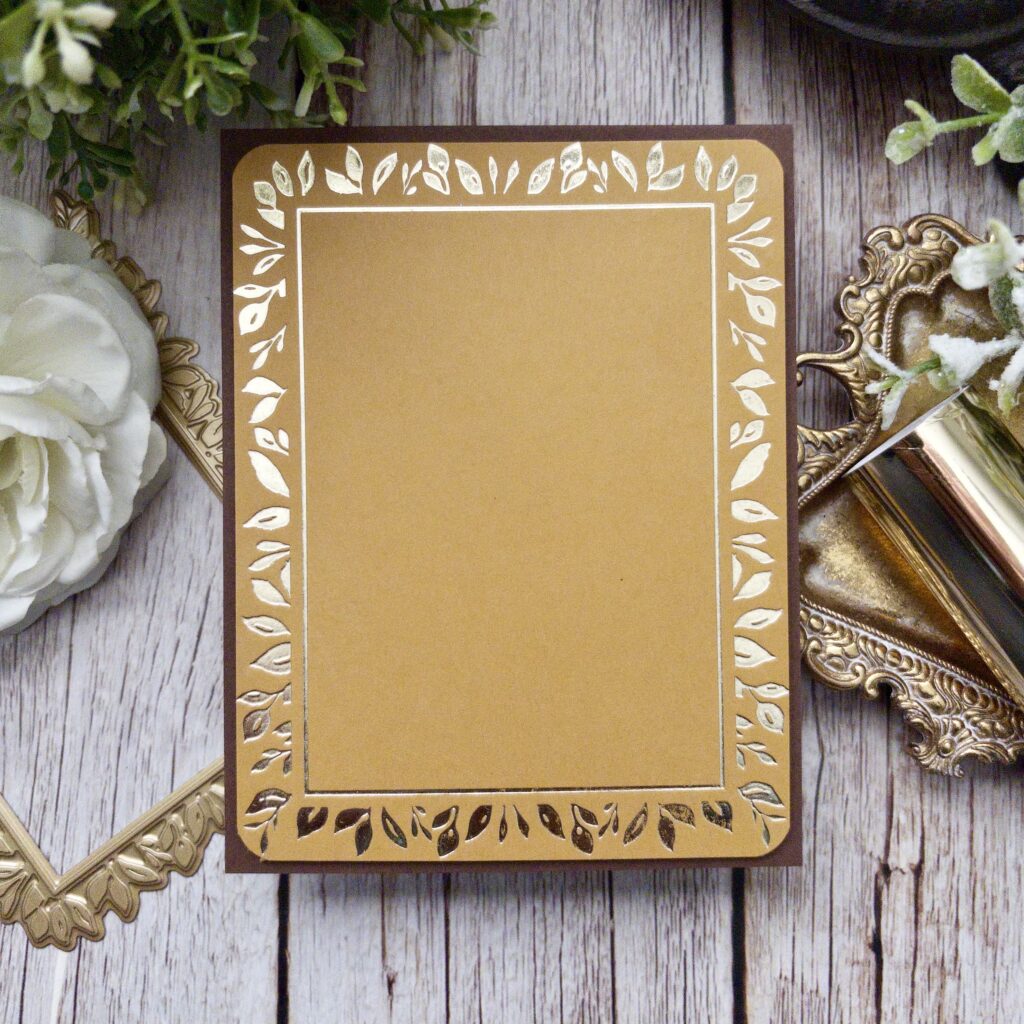
Step 2: Foil an A2 panel of Honey Nut cardstock using the Fresh Greens Hot Foil Plate with champagne foil. Trim down the sides, close to the foil design, and then round the corners with a corner rounder punch. Attach it to the background using foam squares.
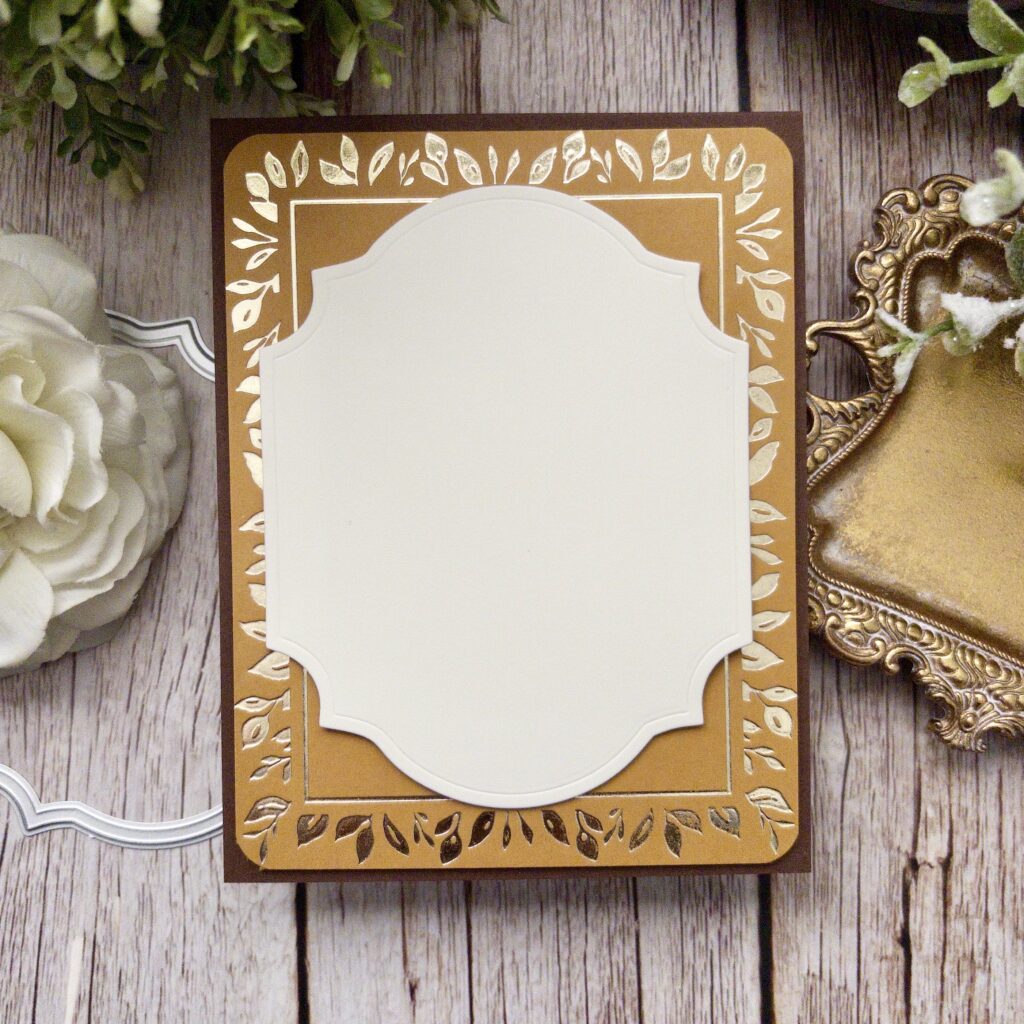
Step 3: Cut a mat from Vintage Cream cardstock using the Love to Layer: Fancy That die. Attach it to the center of the foiled panel using foam squares.
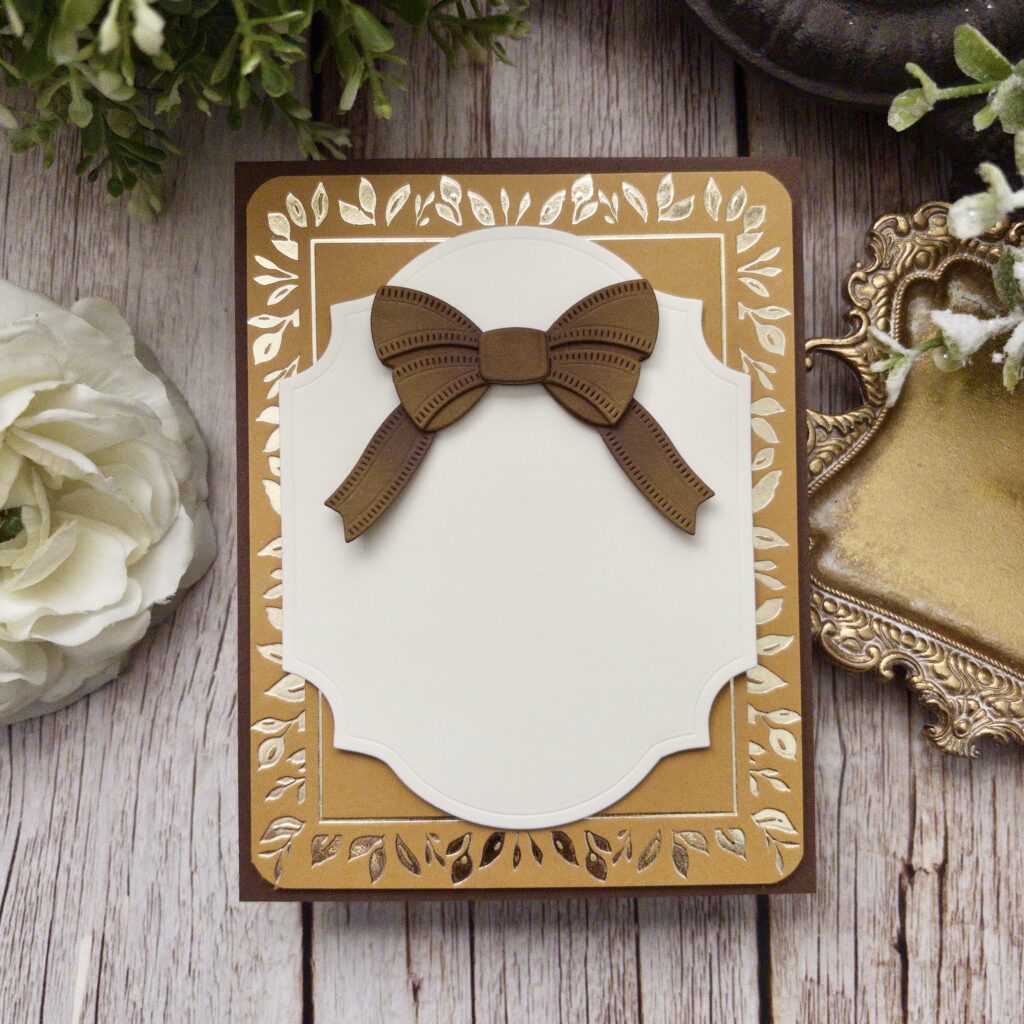
Step 4: Cut the bow using the Build-a-Bell die from Cocoa Bean cardstock. Blend some Dark Chocolate ink over the top of selected areas for dimension. Glue the bow together and attach it to the mat using foam squares.
Step 5: Cut the foliage and berries using the Into the Blooms: Christmas Sprigs Die. Cut the pinecones using the Into the Blooms: Pine Die. Color everything with dye ink and blender brushes. Give everything a good spray of depress spritz. Allow them to dry and then arrange them around the bow using liquid glue and foam squares.
Step 6: add the sentiment. Add glitter to the foliage for sparkle and shine.
This lovely design is a wonderful reminder that holiday cards don’t always need traditional Christmas colors to feel festive. The champagne foil, layered greenery, textured pinecones, and rich brown bow come together to create a warm and inviting seasonal design. 🌲 Whether you’re preparing your Christmas cards or sending heartfelt Season’s Greetings to loved ones, Kelly’s beautiful combination of colors and details is sure to inspire. Try experimenting with your own favorite shades and embellishments to make this design uniquely yours!
Leave a Reply