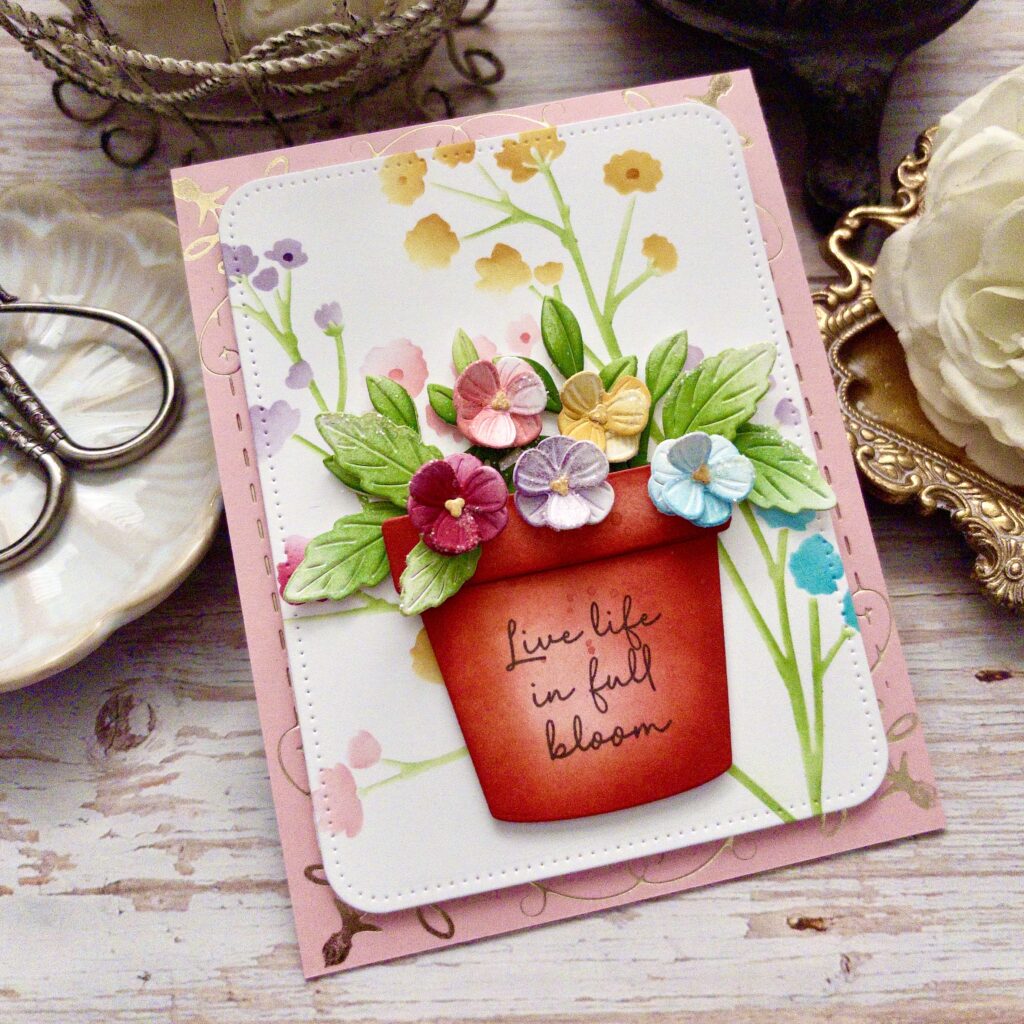
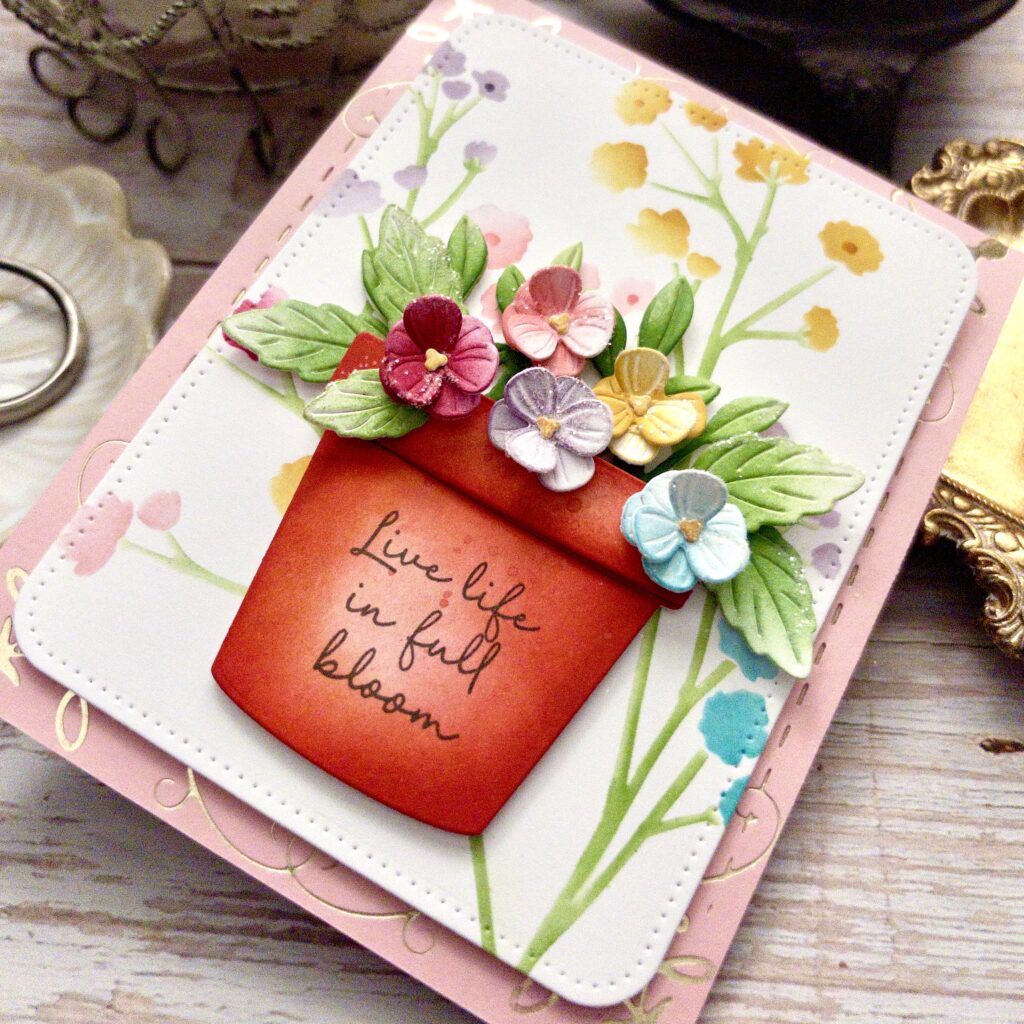
Kelly Lunceford combines vibrant color, delicate details, and uplifting sentiments in this beautiful Live Life in Full Bloom Card. 🌸✨ Featuring the Perfectly Potted dies filled with cheerful blooms and lush greenery, this design pairs layered die cuts with a softly stenciled floral background for a fresh garden-inspired look. A foiled Pale Peony card base adds an elegant touch of shine, while the bright florals create a striking focal point around the encouraging sentiment. The result is a card that feels both joyful and heartfelt—perfect for celebrating growth, friendship, and everyday encouragement.
Kelly shares, “Not every card needs a lot of layers to create visual depth; a beautiful stencil with bright colored ink can create just as much visual interest without all the bulk! Follow along with me as I build this card from start to finish using bright pops of color and a few special details to make this card unique.”
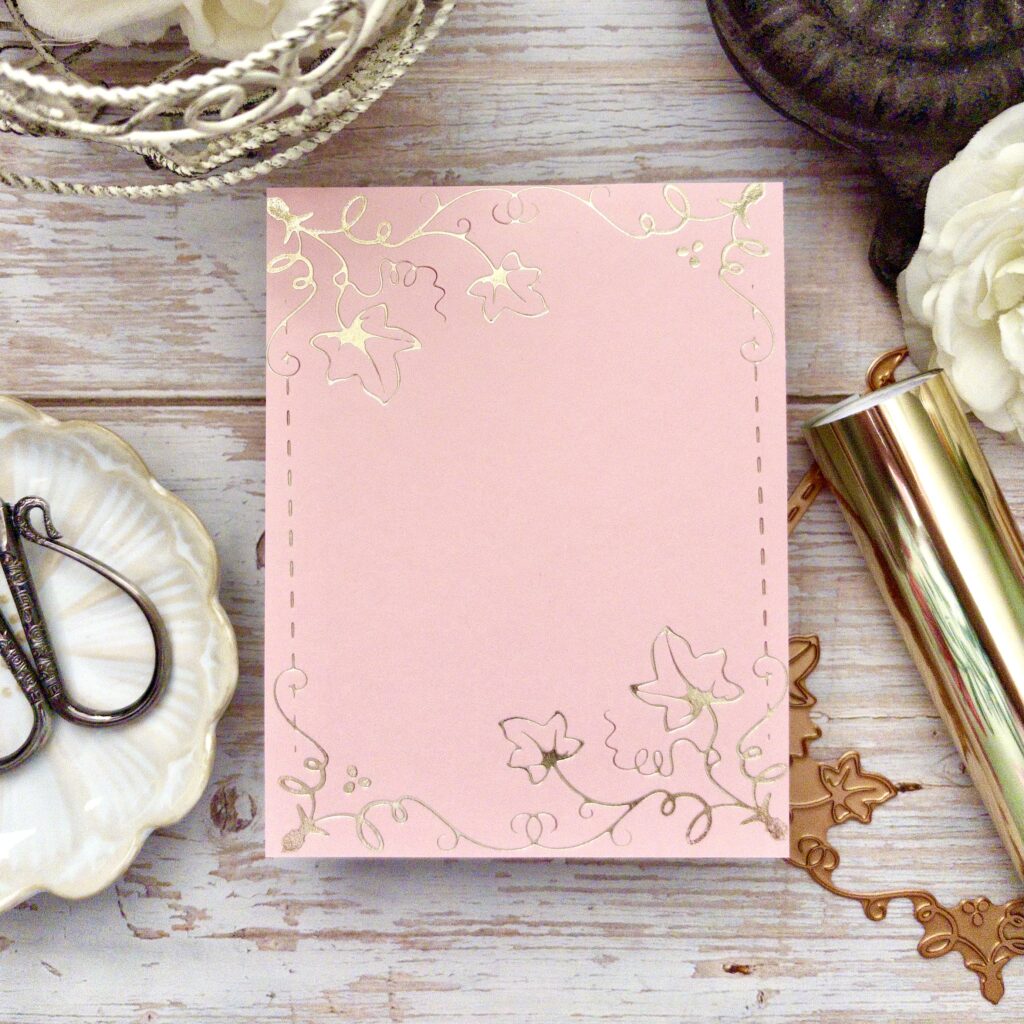
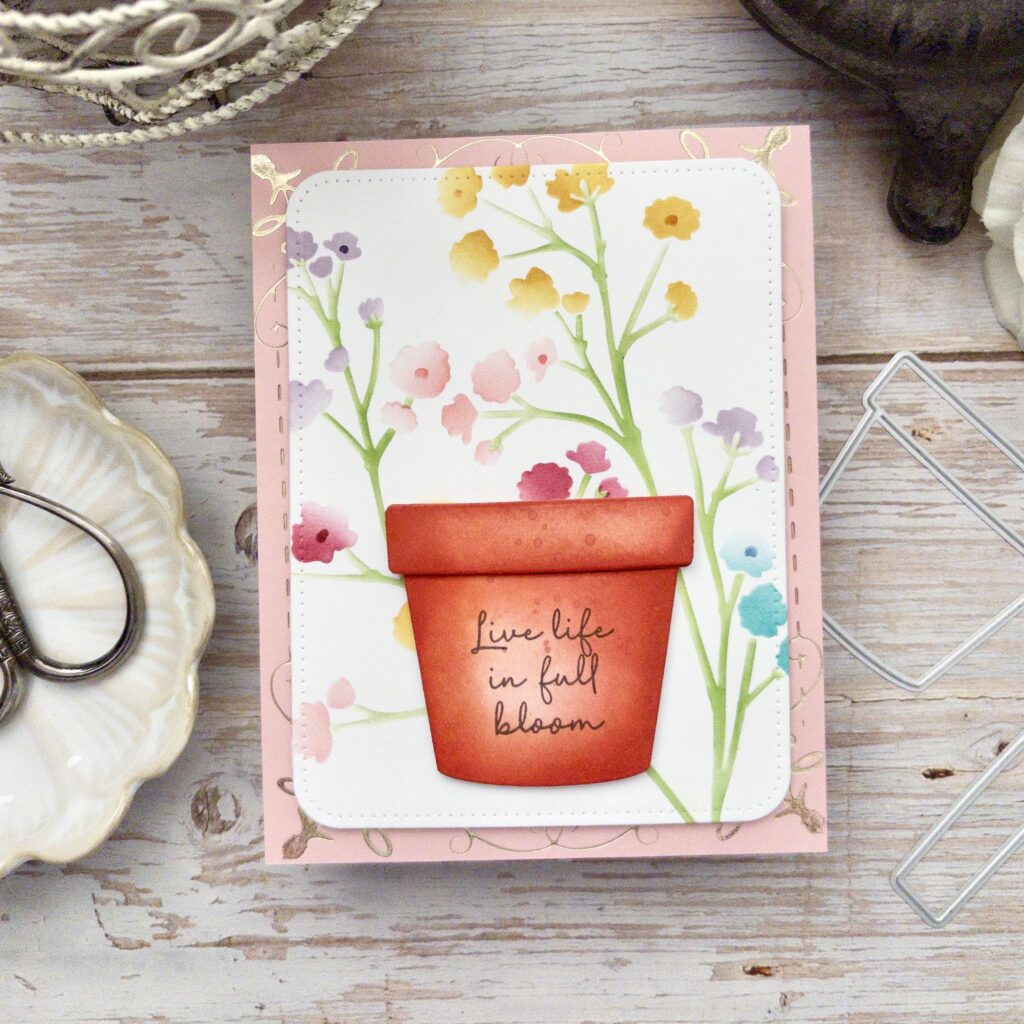
STEP 1: Foil a an A2 panel of Pale Peony cardstock using champagne foil and the Fall Harvest Hot Foil Plate. Attach it to a white card base.
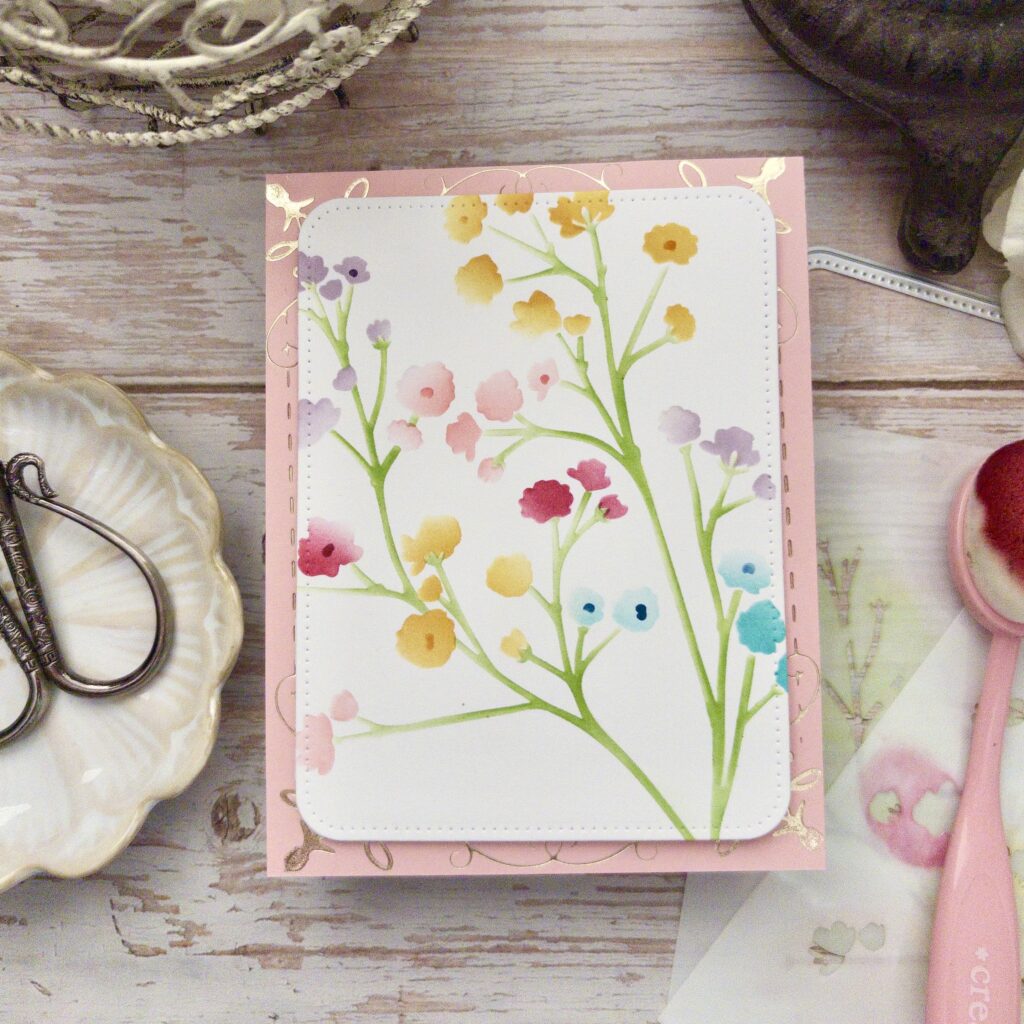
STEP 2: Stencil the flowers and foliage on an A2 panel of white cardstock. Cut it using the Rounded Rectangles: Pierced Die. Attach the stenciled panel to the card base using foam squares.
STEP 3: Cut the pot from white cardstock and color it using dye ink and blender brushes. Stamp the sentiment using black ink and attach it to the background panel using foam squares.
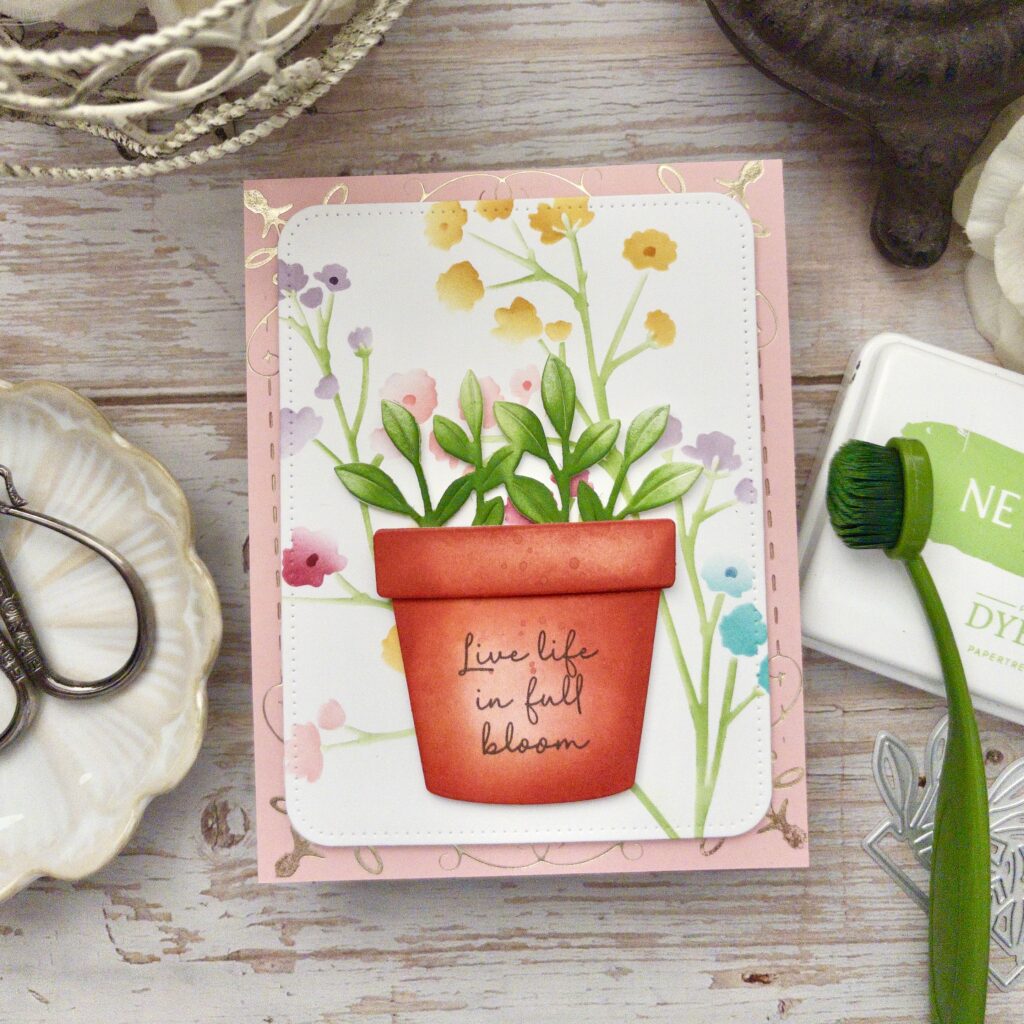
STEP 4: Cut the background foliage and color it with dye ink and blender brushes. Tuck it behind the top of the pot and secure with foam squares.
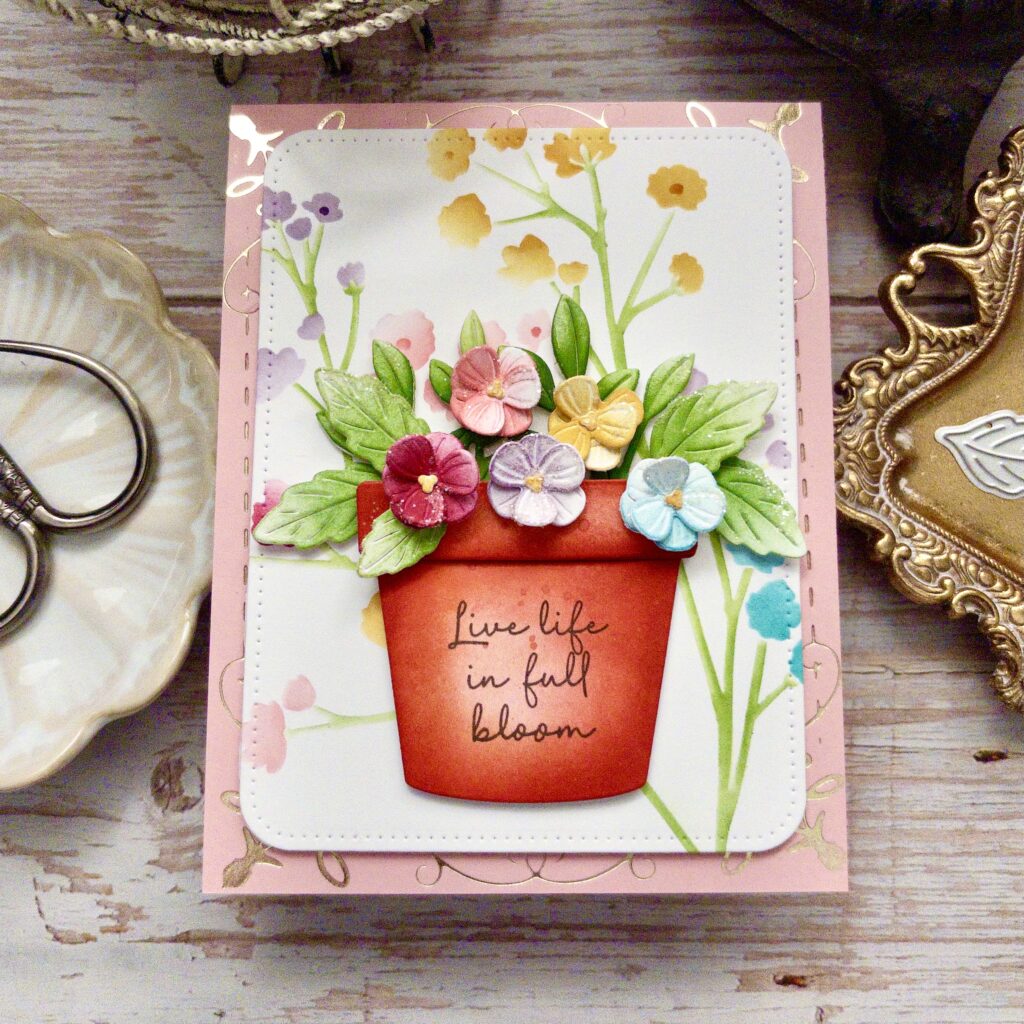
STEP 5: Cut and color the flowers and additional leaves. Arrange them around the foliage and secure them with liquid glue and foam squares.
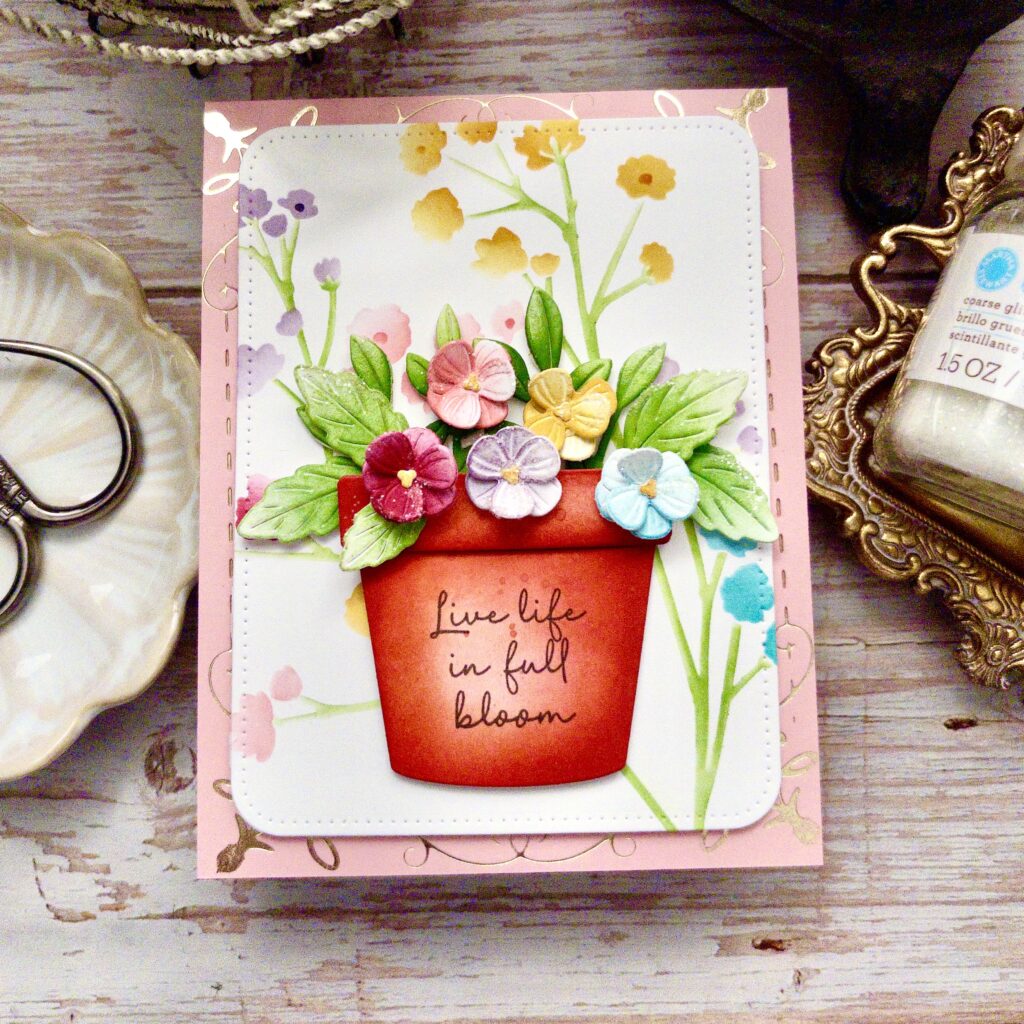
STEP 6: Add glitter.
This project is a wonderful reminder that eye-catching cards can be created with a thoughtful balance of color, texture, and simple layering. ✨ From the softly stenciled background and elegant foiled details to the vibrant potted flowers and encouraging sentiment, Kelly’s design showcases how a few well-chosen elements can make a big impact.
Whether you’re creating a card to brighten someone’s day, celebrate a special occasion, or send a note of encouragement, let this project inspire your own blooming creations. Be sure to tag Papertrey Ink on Instagram when you share your version—we’d love to see how you make it uniquely yours! 🌸💕
Reader Interactions
Comments
Beth Ann Johnsonsays
Kelly, you continue to inspire me! Thank you so much for sharing this lovely card design!
MaryannDsays
Love your inspiring card! It put a smile on my face; the colors are so impactful.


Beth Ann Johnson says
Kelly, you continue to inspire me! Thank you so much for sharing this lovely card design!
MaryannD says
Love your inspiring card! It put a smile on my face; the colors are so impactful.