

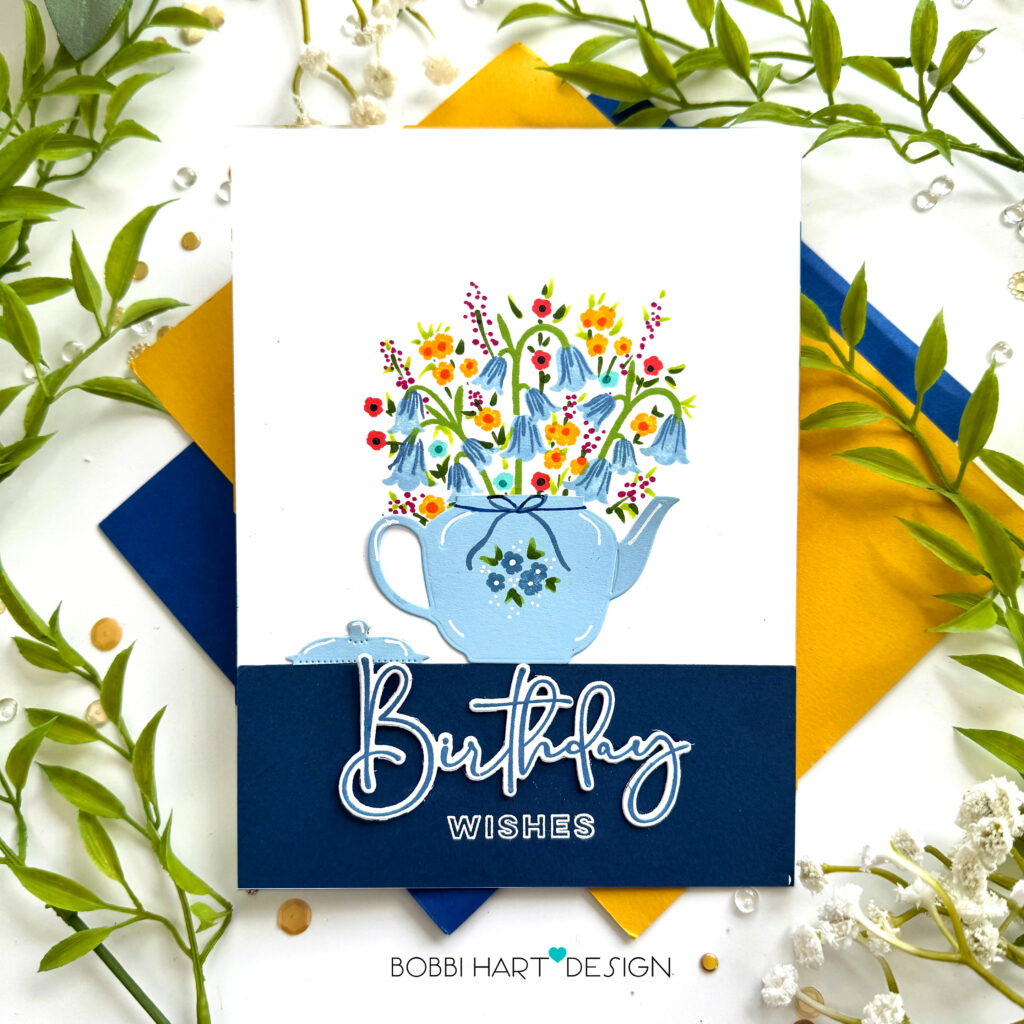
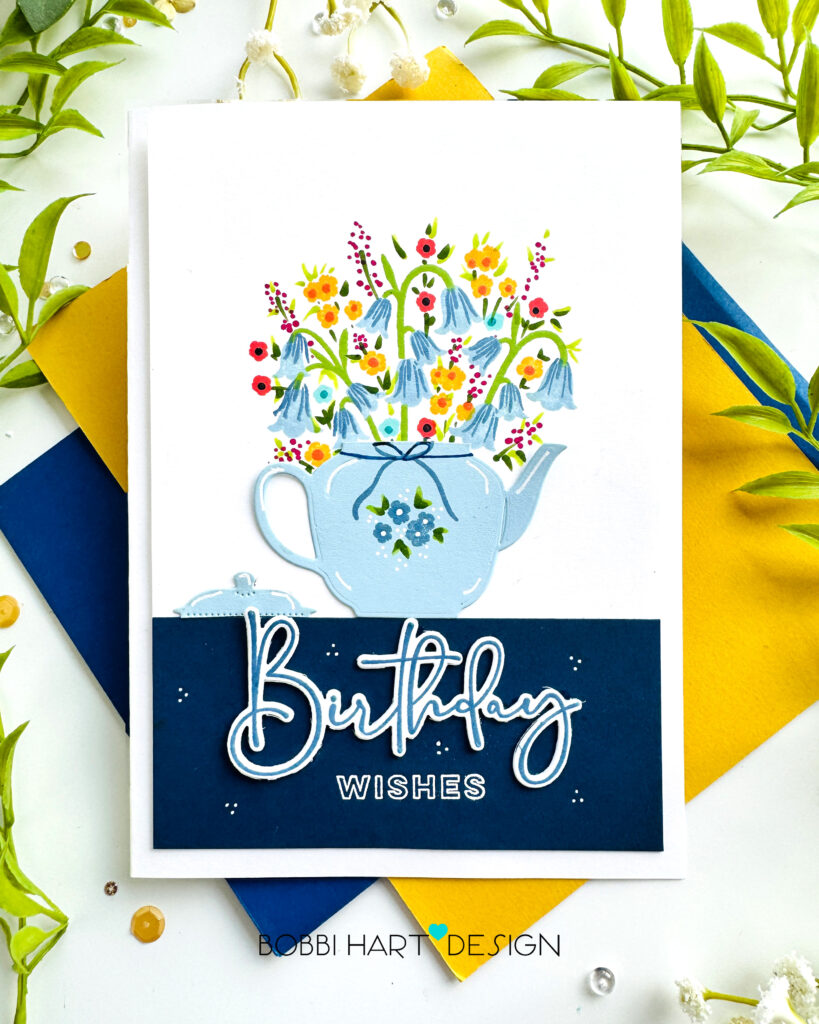
Hello friends! I have friends all over the United States so I need cards that are easy to mail and get through the United States Postal Service with ease. This card is perfect for that. It lays flat for mailing with no extra postage needed. All the design is in the colorful blossoms in this teapot. Get your ink pads ready because this card uses lots of gorgeous colored inks by Papertrey Ink!
I made this 5″ X 7″ teapot garden using the following Papertrey Ink products:
This is Big Sentiments: Birthday Wishes stamps and coordinating This is Big Sentiments: Birthday Wishes dies
My card measures 5″ X 7″ and made from Stamper’s Select White Here are the details…

STEP ONE: Gather your inks including the following colors: Spring Rain, Blueberry Sky, Tropical Teal, Hawaiian Shores, Berry Sorbet, Summer Sunrise, New Leaf and True Black ink.
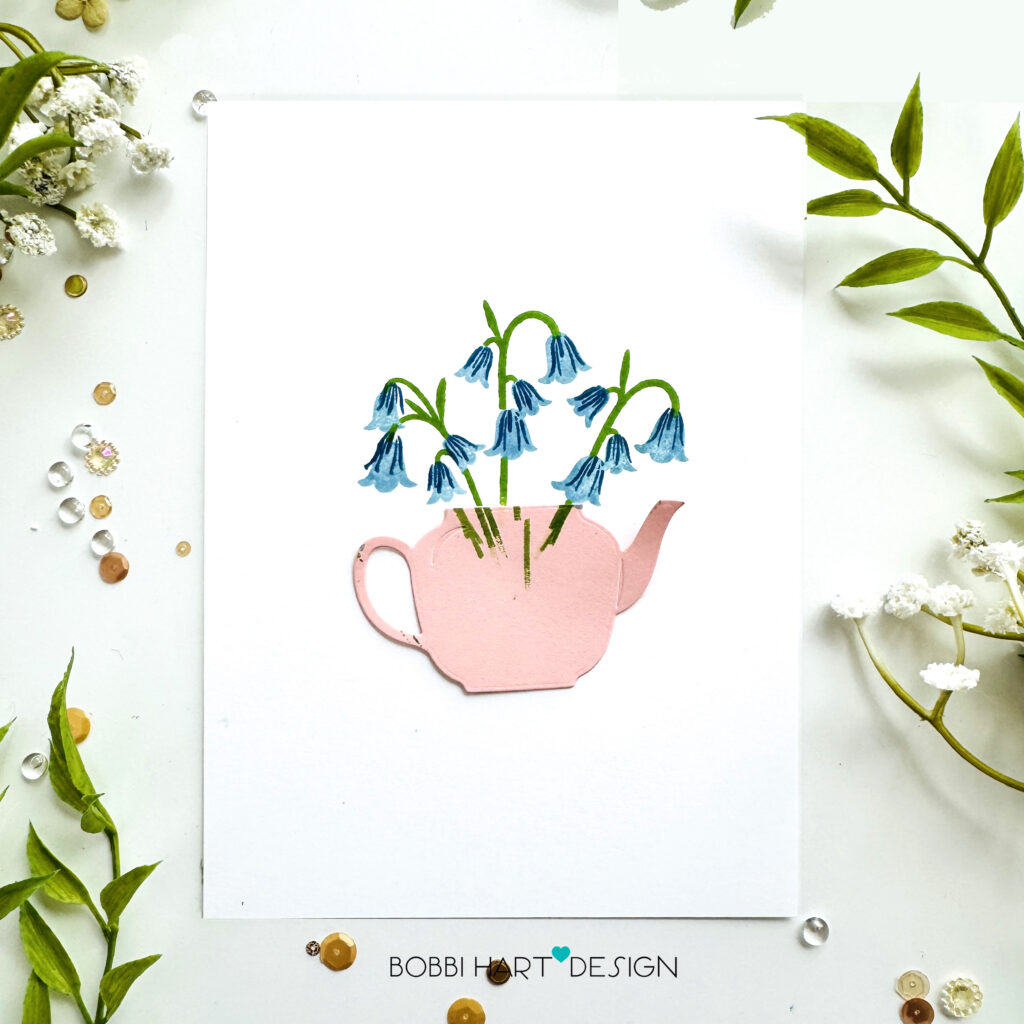
STEP TWO: Die cut a teapot from the Build-A-Teapot Dies from a piece of scrap cardstock. This will be used as a mask for the stems. Attach the temporary teapot 3″ from the bottom the card front. Stamp leaves and bell flowers using the Basket of Blooms stamps and New Leaf ink for the leaves and stems, Spring Rain ink for the base layer of the flowers and Blueberry Sky ink for the top layer stamp.
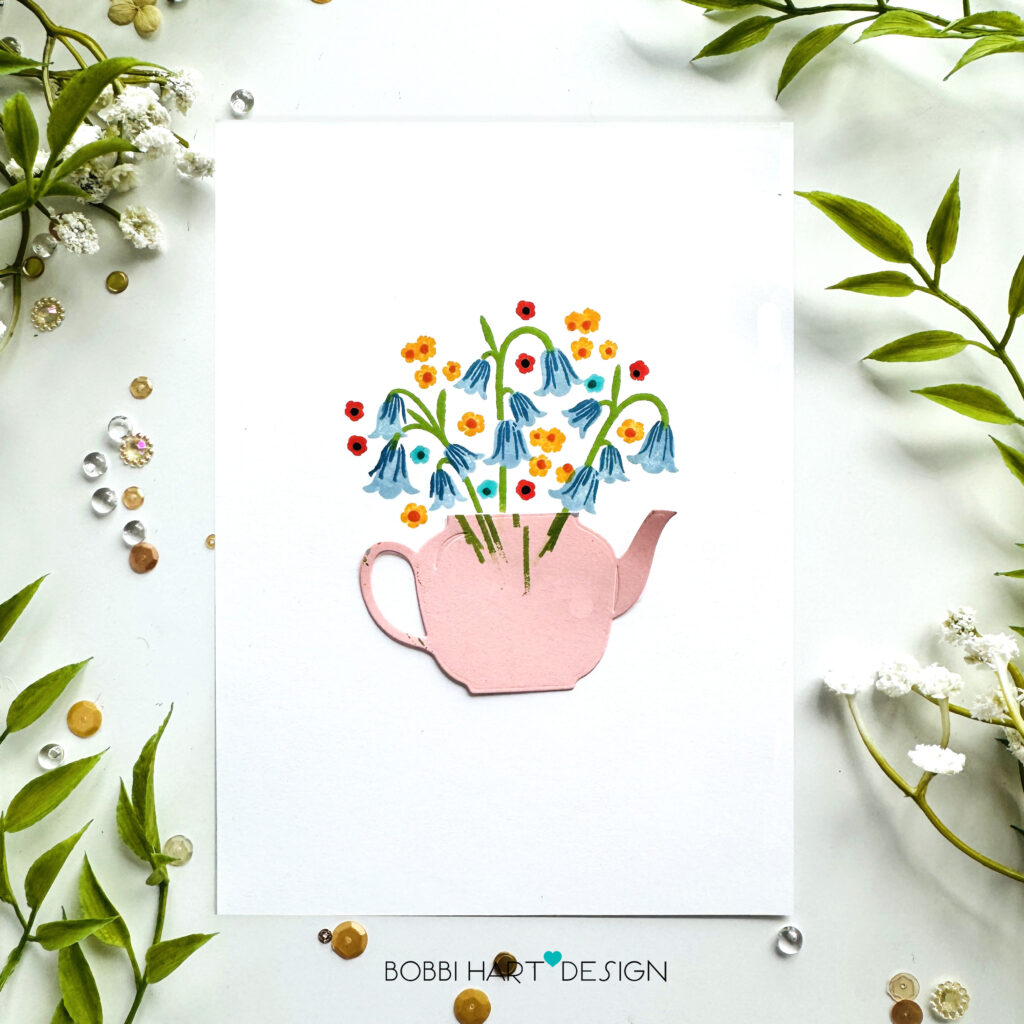
STEP THREE: Stamp additional flowers from the Basket of Blooms stamps using Berry Sorbet, Summer Sunrise, and Hawaiian Shores for the base layer. Use True Black, Berry Sorbet and Tropical Teal for the floral centers, respectively.
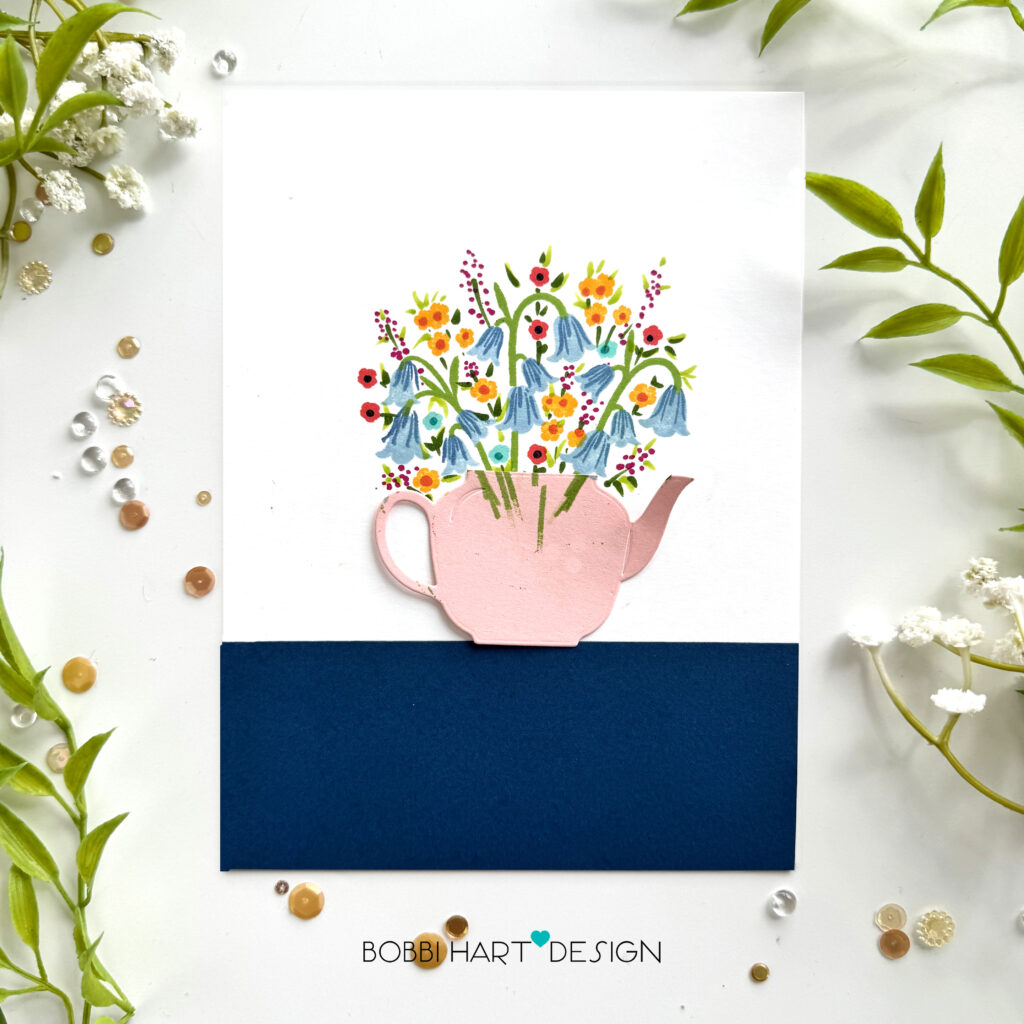
STEP FOUR: Be creative! You can add additional florals by simply adding easy dots of color and green stems. Add leaves as needed using Copic markers YG03 and YG67 or similar green markers. Fill out the bouquet.
Add a 3″ strip of Enchanted Evening cardstock to the bottom of the card front. The teapot will “sit” on this line.
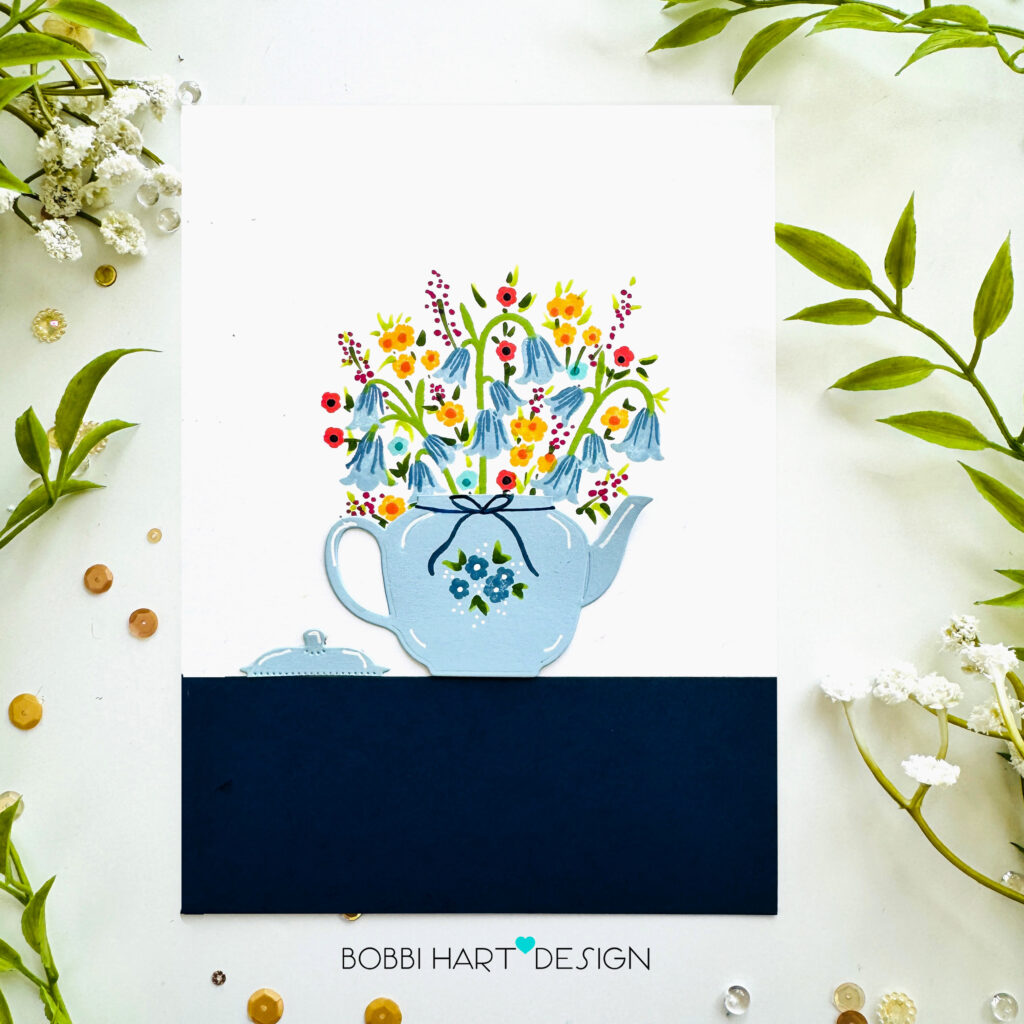
STEP FIVE: Die cut the same teapot from Spring Rain cardstock. Cut off the teapot cover. Stamp flowers in Blueberry Sky on the teapot. Hand draw in some leaves to make a bouquet. Add white dots for babies breath to fill in the design. Stamp the bow in Blueberry Sky ink and hand draw in strings on both the sides. Add white highlights to the teapot. Attach the teapot under the stems to rest on the strip of cardstock. Attach the teapot cover to the left side of the teapot.
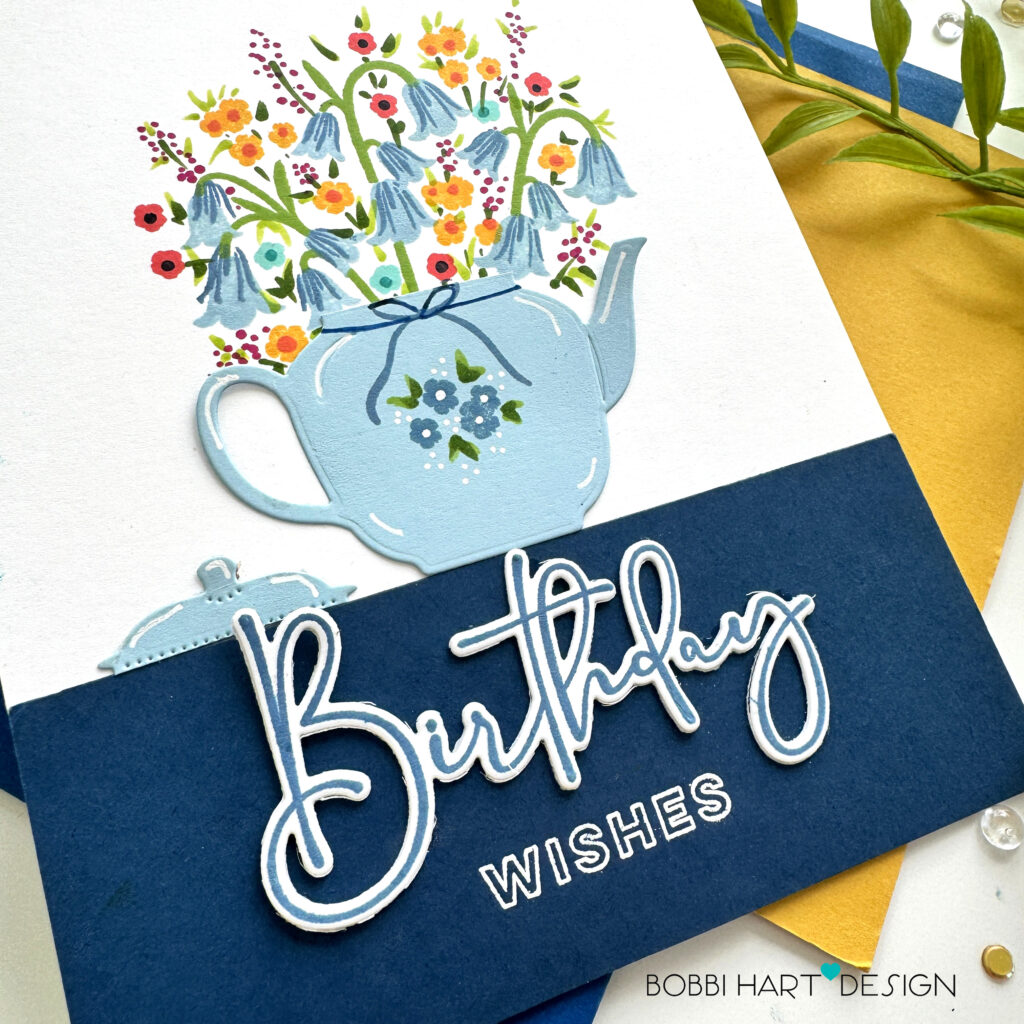
STEP SIX: Stamp the “Birthday” in Blueberry Sky ink on white cardstock and cut it out using the coordinating die. Layer two additional die cuts under the stamped one for a little thickness and dimension. Glue the word to the blue strip, under the teapot. Using Versamark stamp “wishes” and emboss in white using white embossing powder.
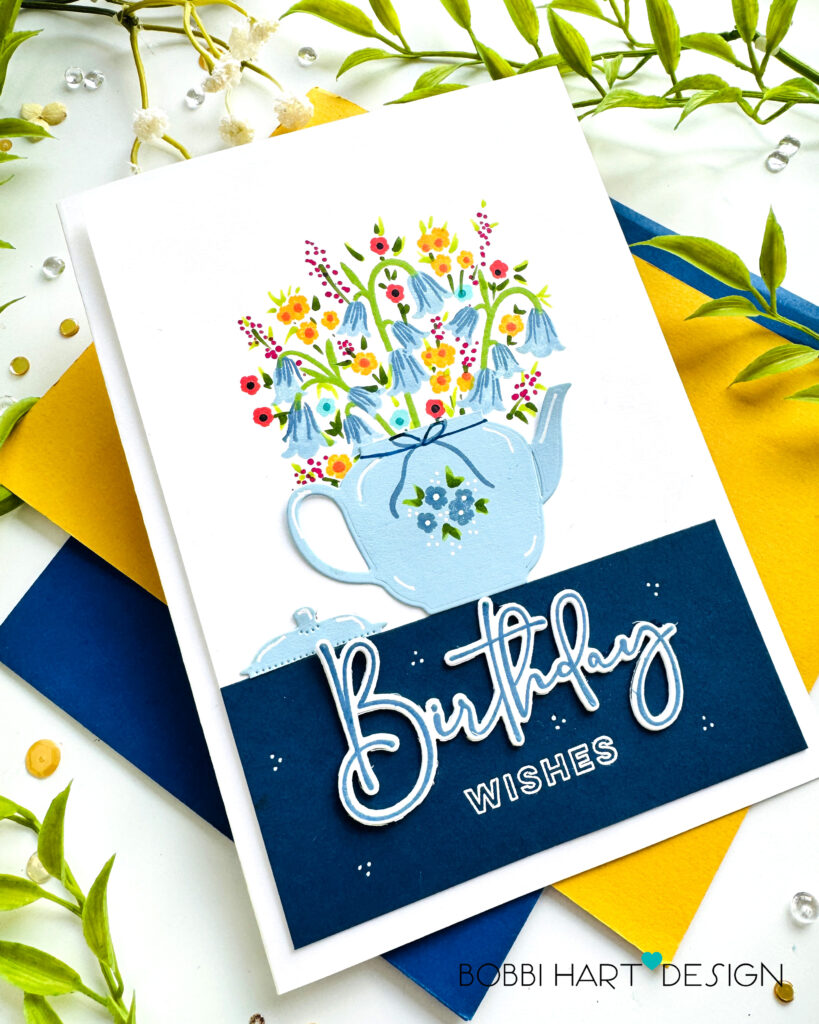
Attach the card front to the white card base to complete the card.
You can shop the entire collection here at Papertrey Ink! If you decide to place an order, please use the links in this post so that Papertrey Ink team knows what inspired you. I appreciate it very much. It helps me to continue to bring more ideas to you!
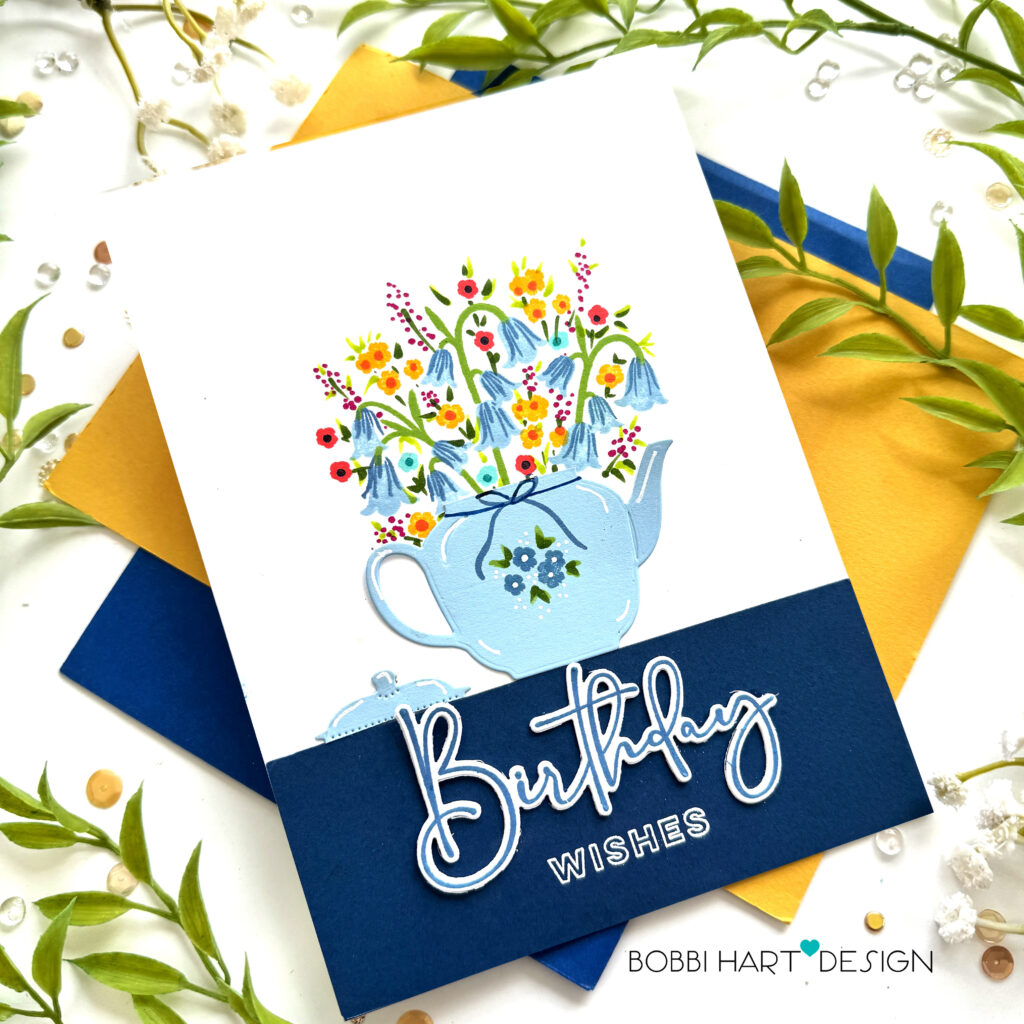
Do you like a little more dimension? This design can be easily layered by cutting the card front to allow a 1/4″ of the white card base to show all around. Right at the end of making this card, I got an ink smudge on the card front from my finger. I cut it down a bit and then added it to my card base.
This is how it looks. I do like the added border. Both look great – one simple and clean and one with just a little more dimension with the added white border showing.
Thanks for stopping by today. If you want to see more ideas and inspiration from me, subscribe to my blog, BobbiHartDesign.com. I’ll send you updates on new posts! You can also find me on Instagram as @BobbiHartDesign and on Facebook as BobbiHartDesign. Bobbi Hartmann Lemanski, Bobbi Hart♥ Design, Adding h♥art into every design
Cathy Howson says
I L😍VE this tea pot card by Bobbi Hart. I am a sucker for anything tea related and this Build-a-Tea-Pot dies and Bloosom Stamp set is AD😍RABLE!!!