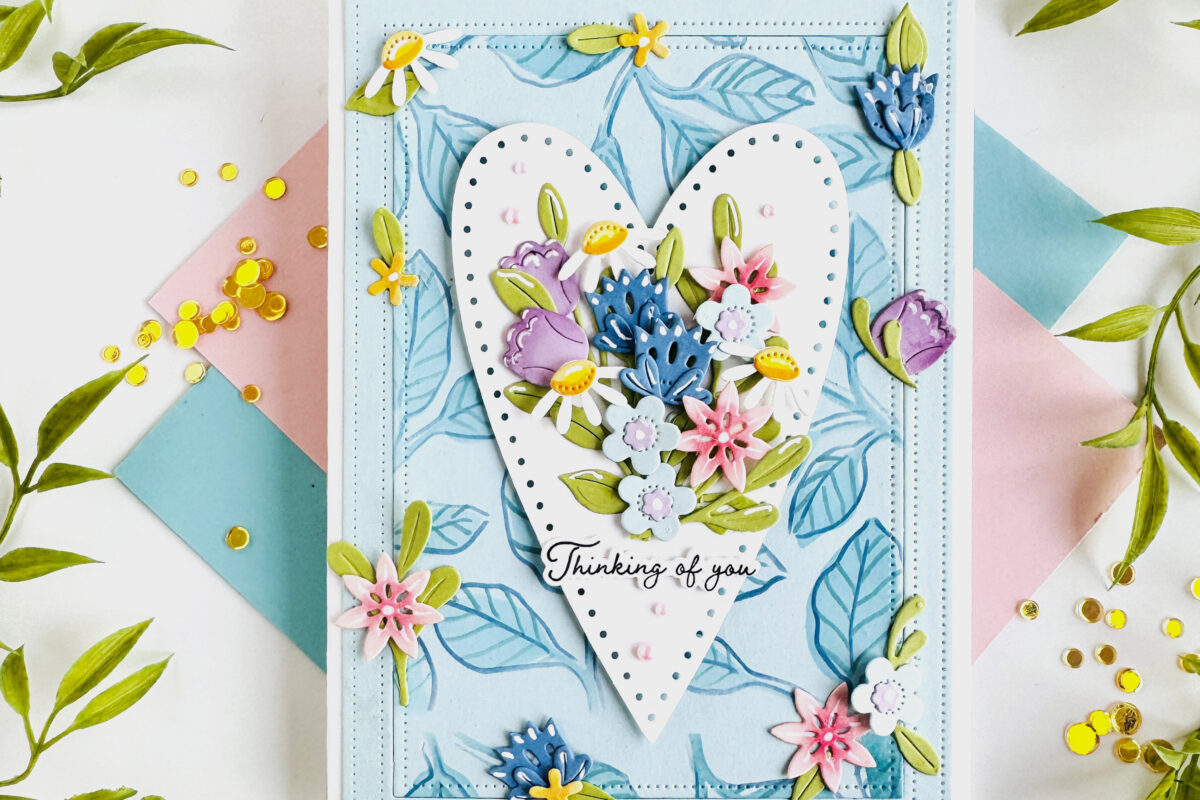


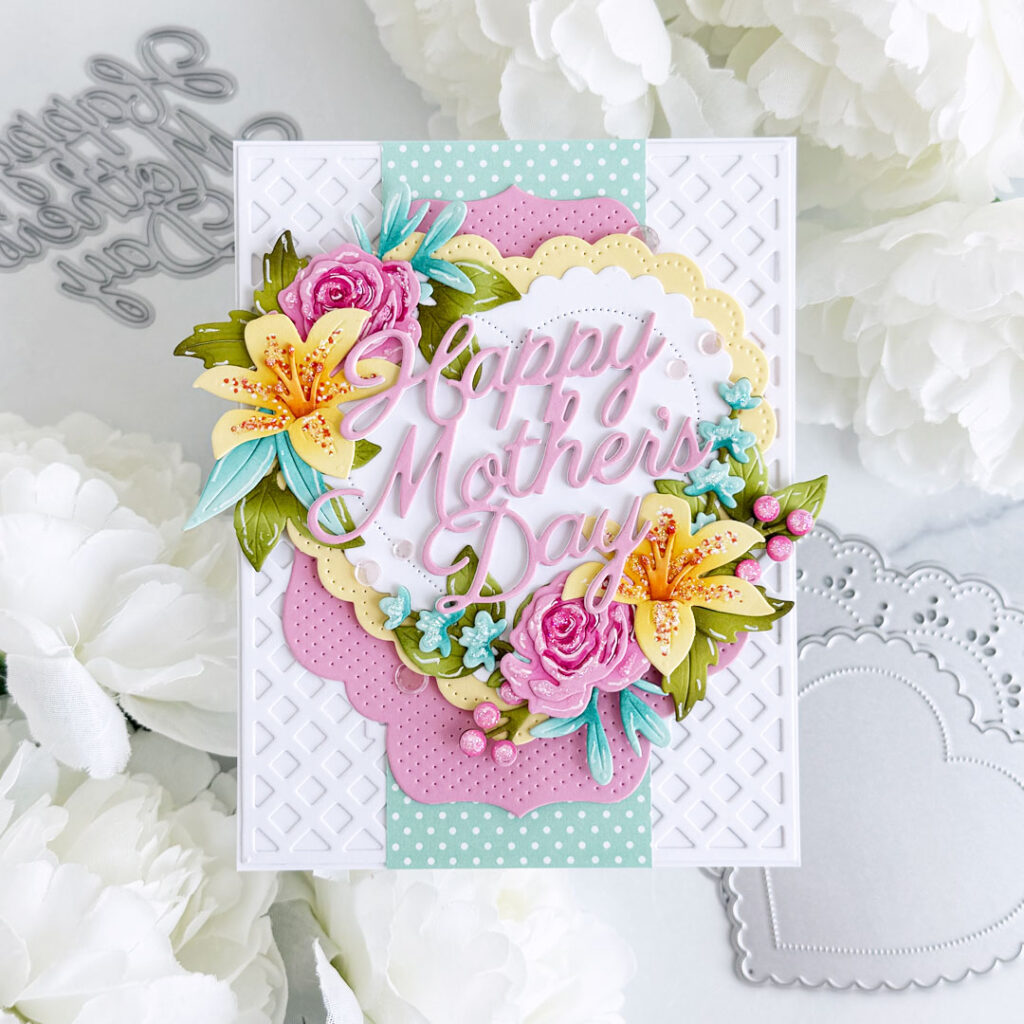
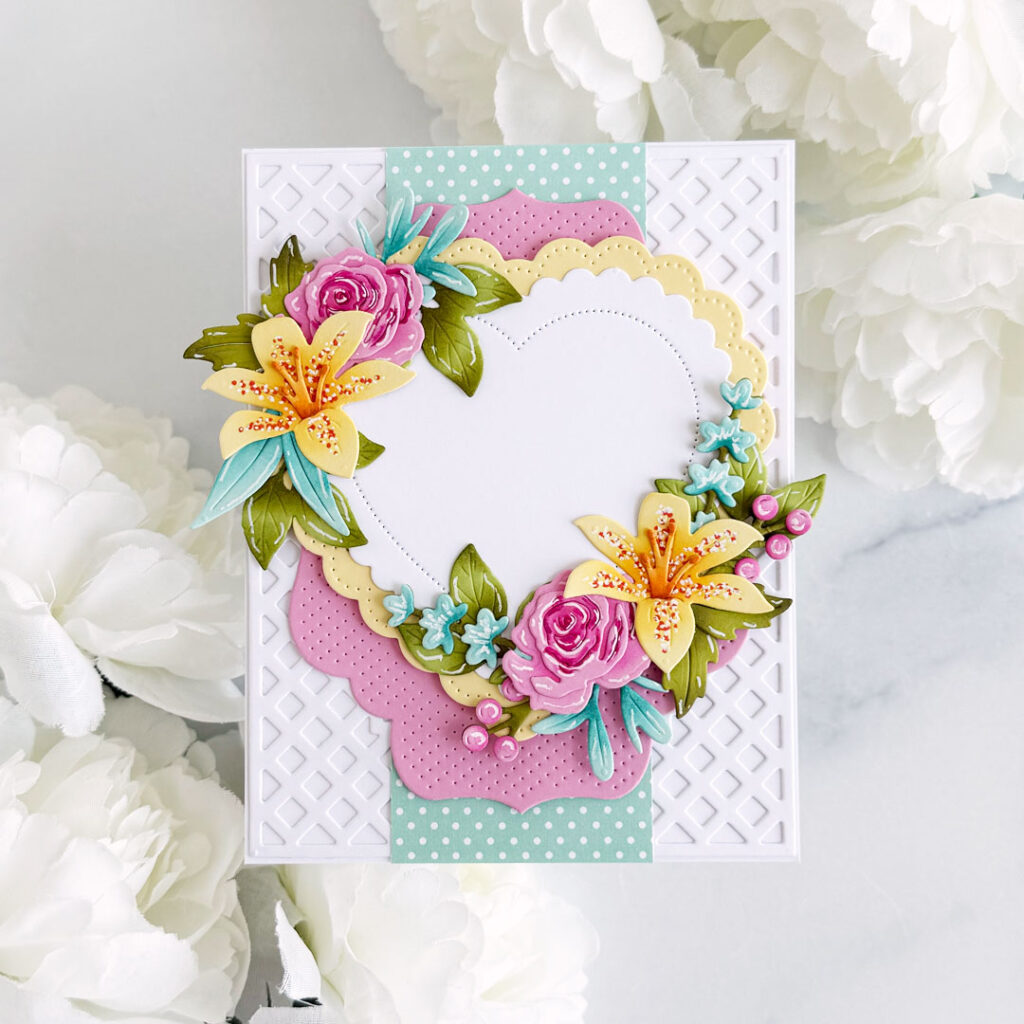
Hello, fellow crafters!! Brenda back on the blog with you today!! I hope you’re having a wonderful weekend!! I have a Mother’s Day card to share with you today!! The delicate blooms of the Into the Blooms: Spring Basket Die Set, combined with the layered hearts of the Heirloom Hearts Dies, make this handmade Mother’s Day card a sweet way to celebrate the heart of the home!!
Supplies
Dies: Into the Blooms: Spring Basket, Happy Mother’s Day, Heirloom Hearts, Border Bling: Lattice, Love to Layer: Delightful Brackets
Ink: Harvest Gold, Summer Sunrise, Raspberry Fizz, Hibiscus Burst, Tropical Teal, Ripe Avocado, Olive Twist
Cardstock: Lovely Lady, Lemon Tart, Aqua Mist, Green Parakeet, Simply Chartreuse, Summer Sunrise, Orange Zest, Stamper’s Select: White, Bitty Big: Aqua Mist
Other supplies: Hibiscus Burst Moonshine Sequins, Star Dust Stickles, foam squares, alcohol markers, white gel pen, liquid glue
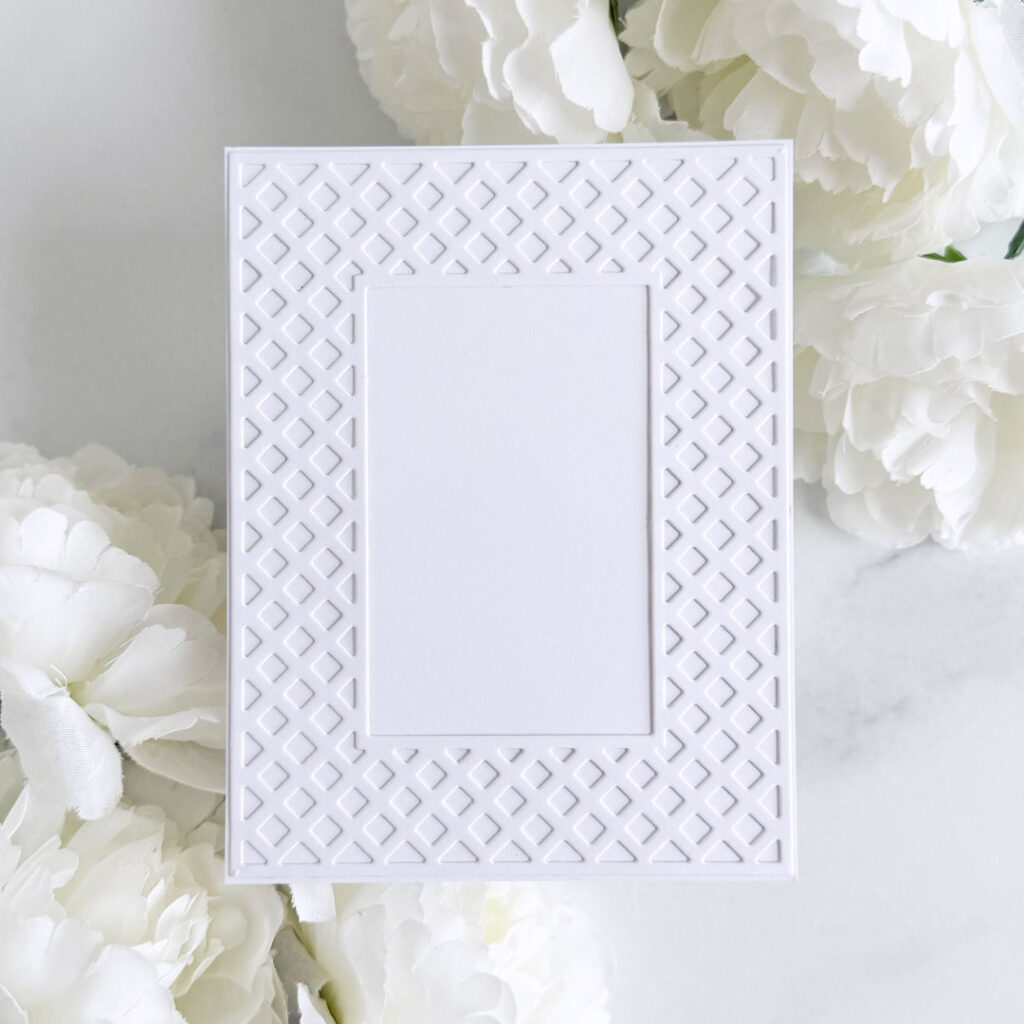
Step 1: Die-cut the Border Bling: Lattice Die from Stamper’s Select White cardstock and adhere it to an A2 white card base with liquid glue.
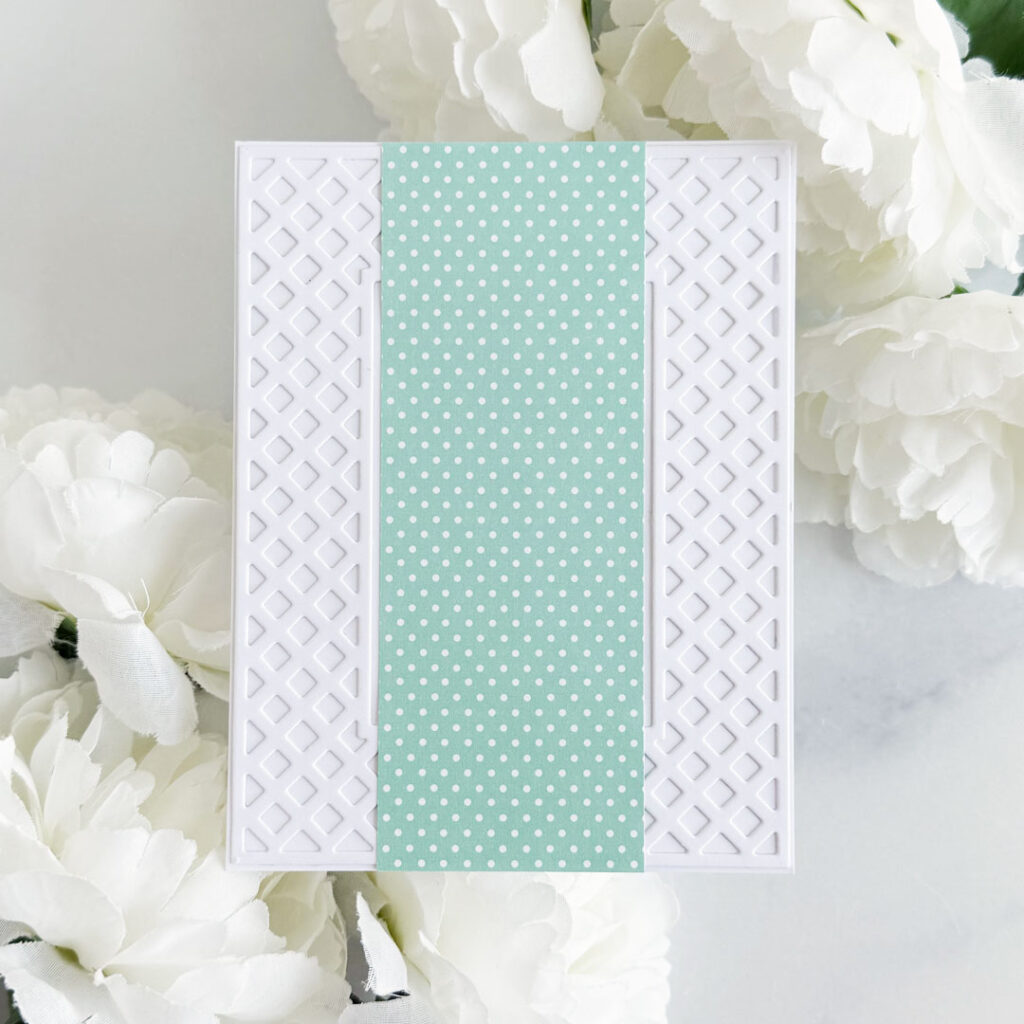
Step 2: Trim a 2″ strip of Bitty Big: Aqua Mist cardstock and adhere down the center of the card.
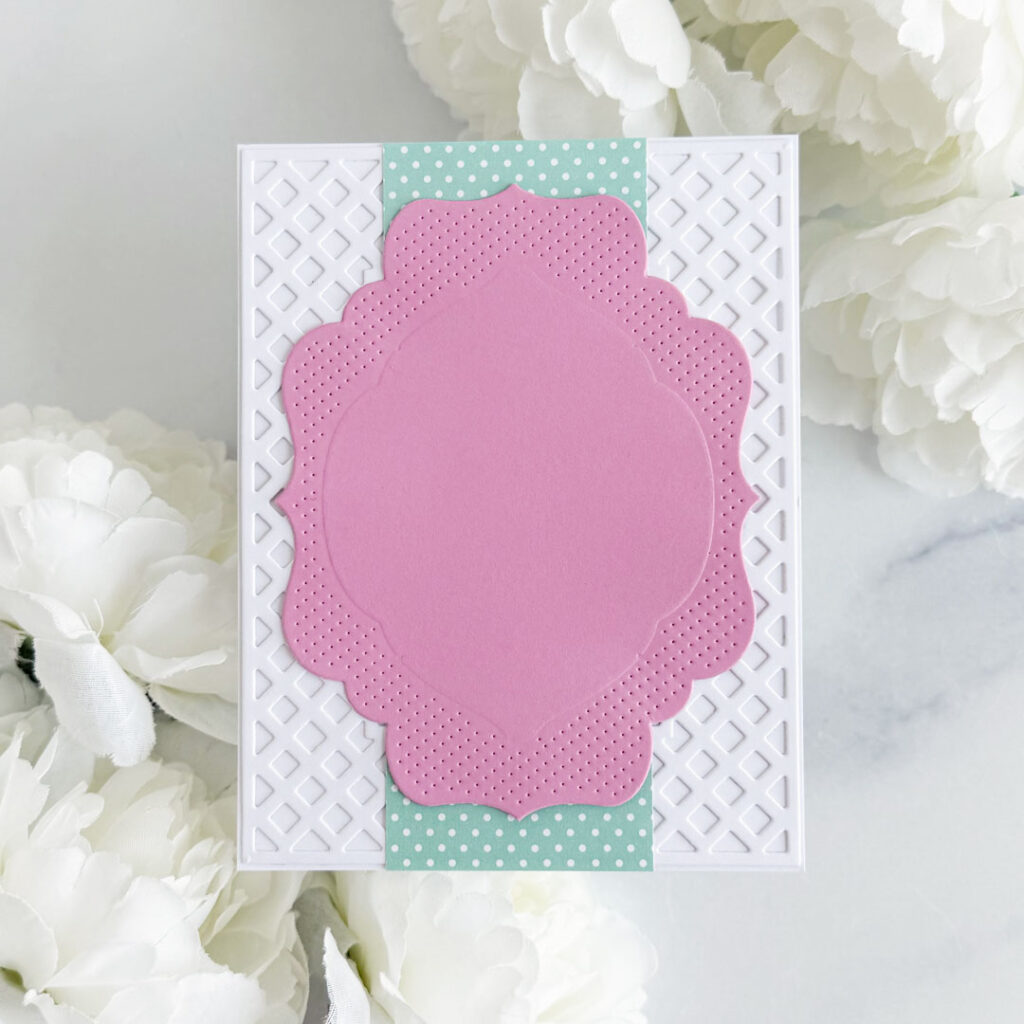
Step 3: Die-cut the largest die in the Love to Layer: Delightful Brackets Die Set from Lovely Lady cardstock and adhere with liquid glue.
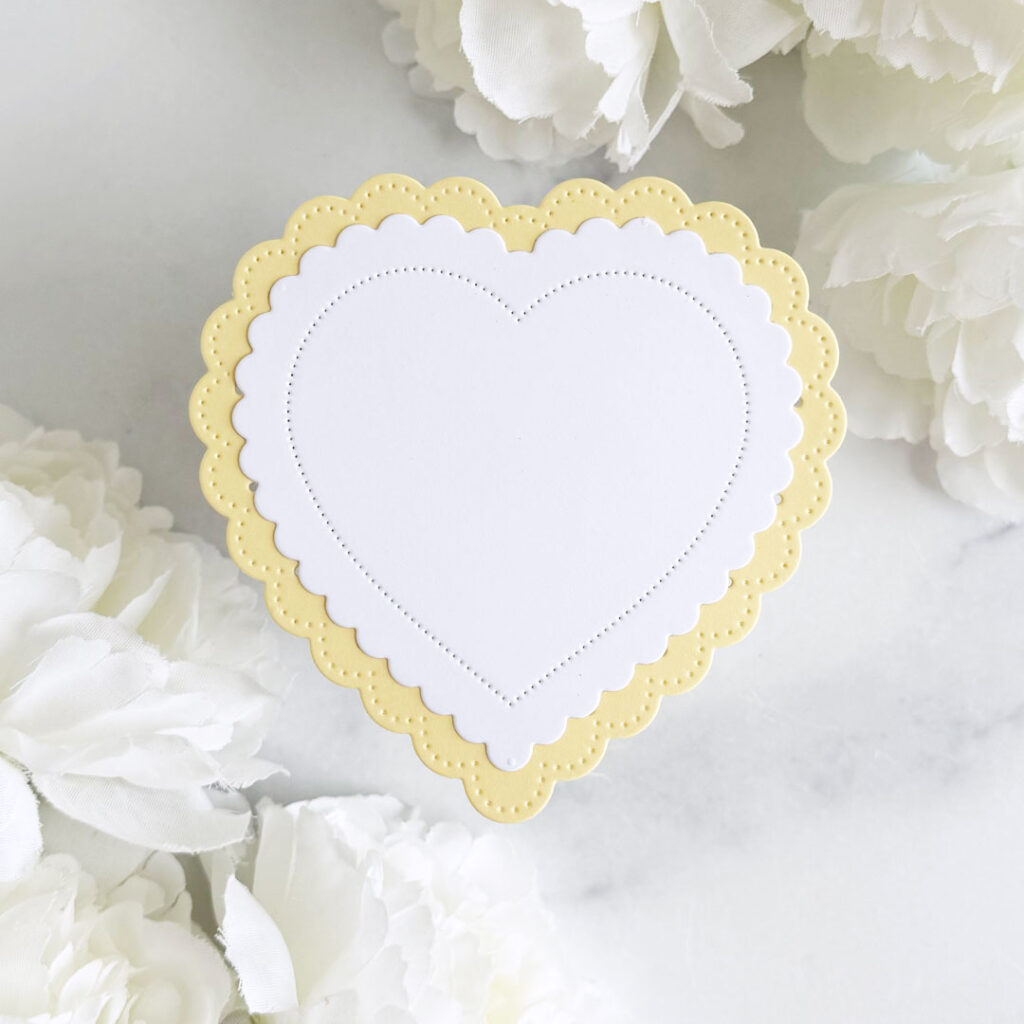
Step: 4: Die-cut the hearts in the Heirloom Hearts Die Set from Lemon Tart and Stamper’s Select White cardstock.
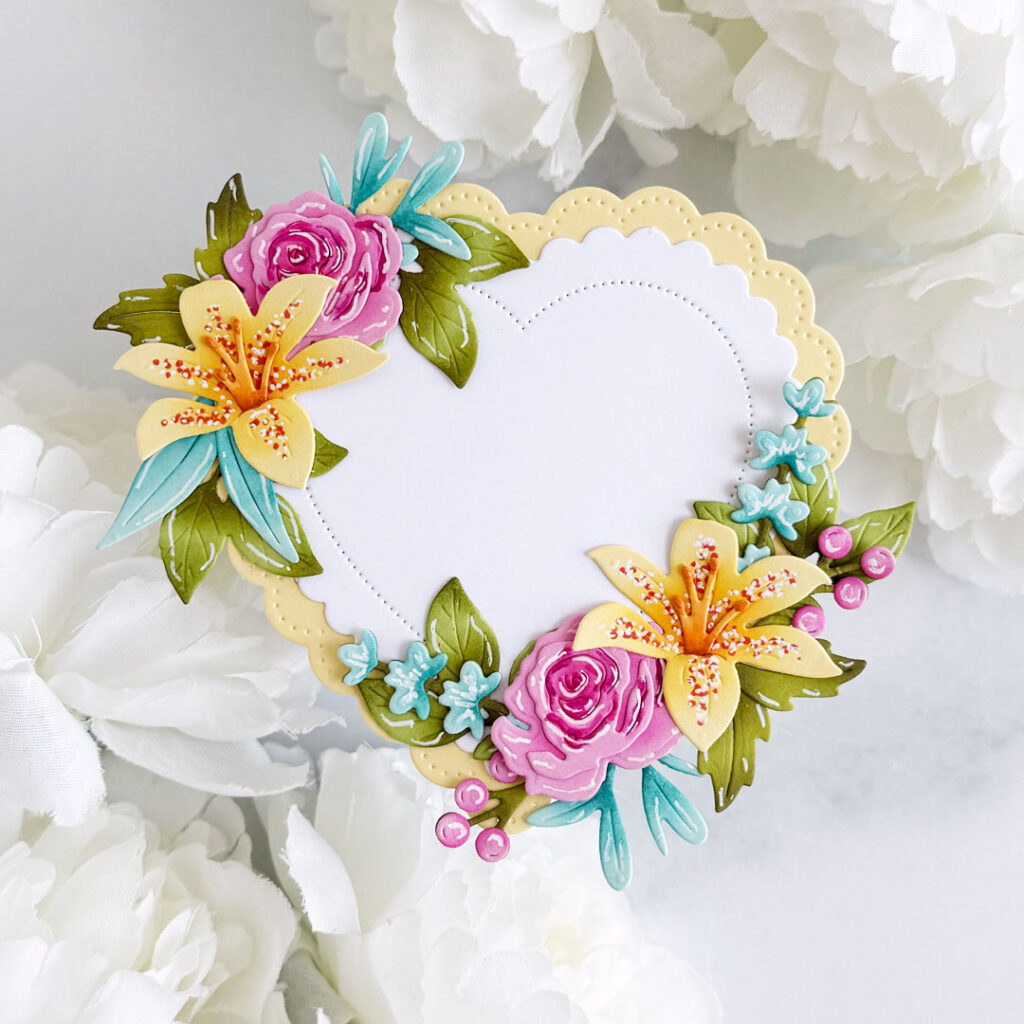
Step 5: Die-cut the flowers and foliage from the Into the Blooms: Spring Basket Die Set from Lovely Lady, Lemon Tart, Aqua Mist, Simply Chartreuse, Green Parakeet, Summer Sunrise and Orange Zest cardstock. Add shading to the die-cuts with Hibiscus Burst, Raspberry Fizz, Summer Sunrise, Harvest Gold, Tropical Teal, Ripe Avocado and Olive Twist inks. Add additional shading and highlights with alcohol markers and a white gel pen. Arrange and adhere onto the heart with liquid glue.
Step 6: Add foam squares behind the heart and die-cuts and pop up onto the front of the card.
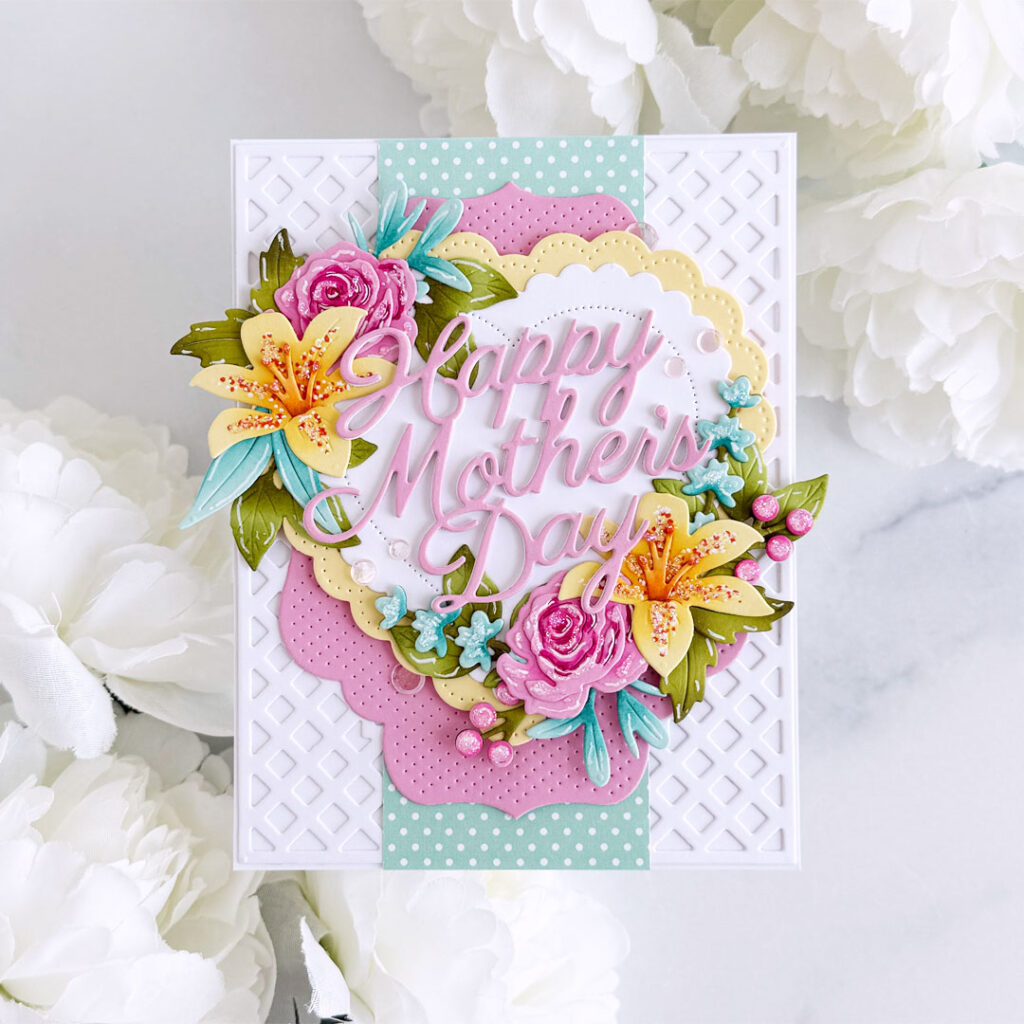
Step 7: Die-cut the sentiment from the Happy Mother’s Day Die once from Lovely Lady and three times from Stamper’s Select White cardstock. Stack and adhere them together, then adhere to the front of the card. Apply Star Dust Stickles to the flowers for a bit of sparkle and sprinkle on a few Hibiscus Burst Moonshine Sequins to finish off the card.
I absolutely love how this turned out and hope you do, as well!!
Thank you so much for stopping by today!! Enjoy the rest of your weekend!!
Deb says
Absolutely beautiful card. I love all the colours you used
LizD says
Beautiful Mother’s Day card. Thank you for sharing
Leslie Longoria says
OMG this is absolutely stunning! Beautiful color combos and the layout is so eye catching. Saving for inspiration!!!
Patti Hojnacki says
This card’s composition is just beautiful! The varied textures and colors make this card so appealing and eye catching