There’s something magical about a window card. That little sneak peek into the design invites curiosity and excitement, giving recipients a reason to open and see what’s inside.
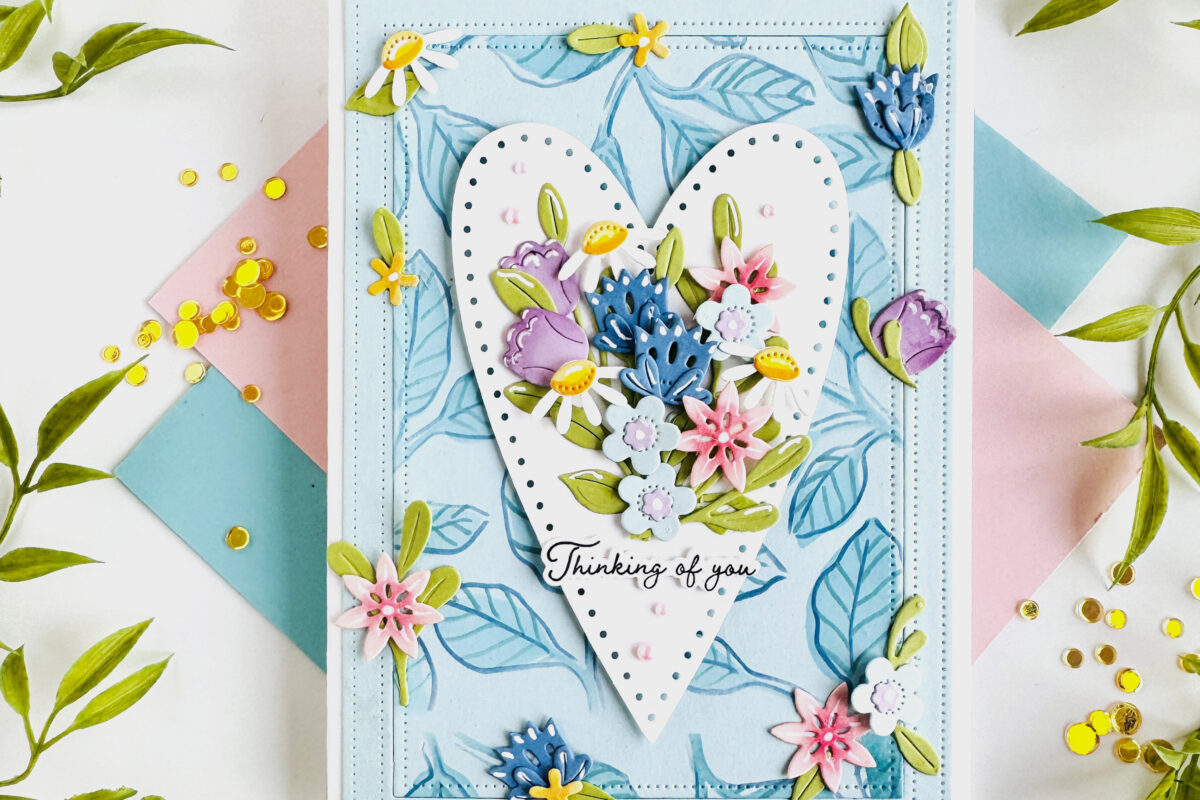
Today’s project, “Love All Around,” by Bobbi Lemansky, is a beautiful A7 card featuring a heart-shaped window that reveals a heartfelt sentiment nestled in soft, elegant layers. Let’s dive into the details and see how this card came to life! Let’s dive into how it came together!
STEP 1:
Start by creating the card base. Cut the front panel to 5” x 7” and the back panel to 5” x 7-1/2”. Score the back panel 1/2” from the top and set it aside. Die cut the middle-sized heart from the Love to Layer: Rounded Hearts die set in the front panel. Using You Are Loved Stamps, stamp a wreath around the heart cutout with Pinefeather ink. Stamp the largest flower in Melon Berry ink, layering Canyon Clay for petals and Americana for centers.
STEP 2:
Add blossoms to the wreath with Lilac Grace and Limeade Ice ink, layering Simply Chartreuse for detail. Splatter dark brown watercolor paint using a fan brush for texture and depth.
STEP 3:
Stamp stems from the set using Prairie Grass ink. Mask with Post-It notes as needed to layer airy greenery beneath the blooms for a lush and dimensional effect.
STEP 4:
On separate Stamper’s Select White cardstock, stamp berry clusters in Scarlet Jewel and leafy branches in Ripe Avocado. Die cut the images using the You Are Loved Dies. Attach the berries to the branches with glue and set aside.
STEP 5:
Enhance the details with a white Gelly Roll pen and a fine-tipped black marker. Highlight berries and add calyx-like details for a more realistic finish.
STEP 6:
Glue the berry branches and additional layered flowers to the wreath, creating dimension with Scrapbook Adhesives Foam Squares. Finish this layer by stamping “Best Wishes” in True Black ink below the wreath.
STEP 7:
Stamp the “love” word from the Forever and Always Stamp Set in Scarlet Jewel and die cut it using the coordinating Forever and Always Dies. Blend Melon Berry ink lightly on the heart cutout from Step 1 and adhere the word. Use the front panel as a guide to align and attach the heart to the inside back panel. Add a verse from the stamp set below the heart
STEP 8:
Secure the front and back panels by adhering the 1/2” folded flap to the front panel with double-sided tape.
STEP 9:
Add extra blossoms using Copic Sketch Marker V09 for depth and visual balance. These details fill in gaps and enhance the design’s color story.
This card is all about love and heartfelt creativity! Its intricate details and thoughtful design make it a keepsake to treasure.


Leave a Reply