• Skip to primary navigation
  • Skip to main content
  • Skip to primary sidebar
  • HOME
  • SHOP
  • BLOG
  • TEAM

Papertrey Ink Blog

Clear Stamps, Dies, Paper, Ink, Kits

  • HOME
  • SHOP
  • BLOG
  • TEAM

All About Dad Stamp Set & Dies + Build-A-Briefcase Die + Dad Die + Birch Grove Stencil Collection

Wildflower Wreath Stamp Set & Die + Build-A-Bumblebee Die + Build-A-Ladybug Die + This is Big Sentiments: Strength Stamp Set & Die + Regal Flourish Frame Hot Foil Plate + Love to Layer: Top Notch + Brushstrokes Stencil Collection

Teapot Floral Card Perfect for Mailing by Bobbi Lemanski

Spook-tacular

September 14, 2022      Papertrey Ink      Leave a Comment

Today was the first day that made me feel like fall might actually be on its way; the perfect day to get cozy and craft up some Halloween fun! I used the Spooktacular Halloween kit to create this card and treat sack ensemble. I absolutely adore the mason jar dies that are included in the kit. They are so versatile because they come in three sizes: small, medium, and large! I decided to use the smallest Jar to create the smiley pumpkin and the medium size to give a nod to a witch. I didn’t want both jars to have faces, so I opted to give the jack-o’-lantern a smiley face and for the witch inspired jar, I simply used a few accessories from the kit to give the witchy feel!
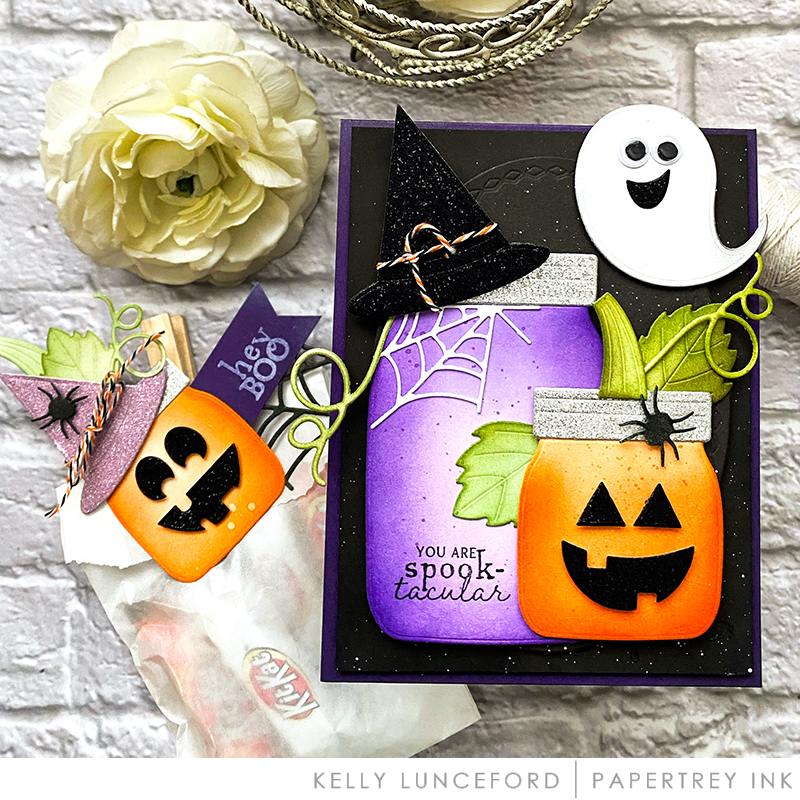
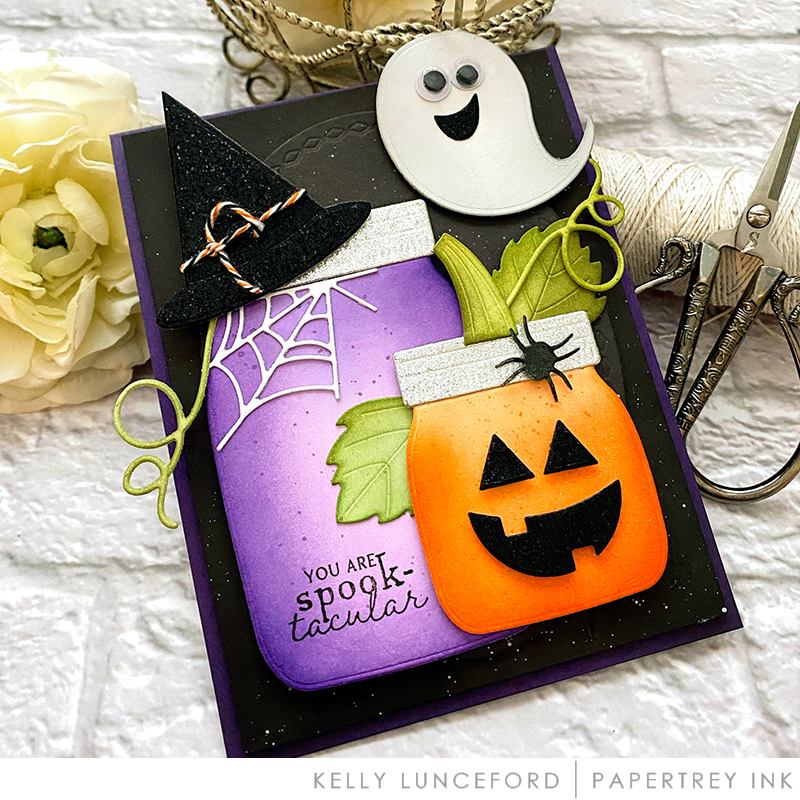
I die cut the witch’s hat and the face pieces for the pumpkin out of glitter card stock for some added sparkly interest. Once I have the two jars put together, I decided to add a spooky ghost up in the right hand corner. The kit comes with some googly eyes which were the perfect size for this cute ghost. I simply added them using liquid glue and then gave him a smile with one of the day cuts from glitter card stock.

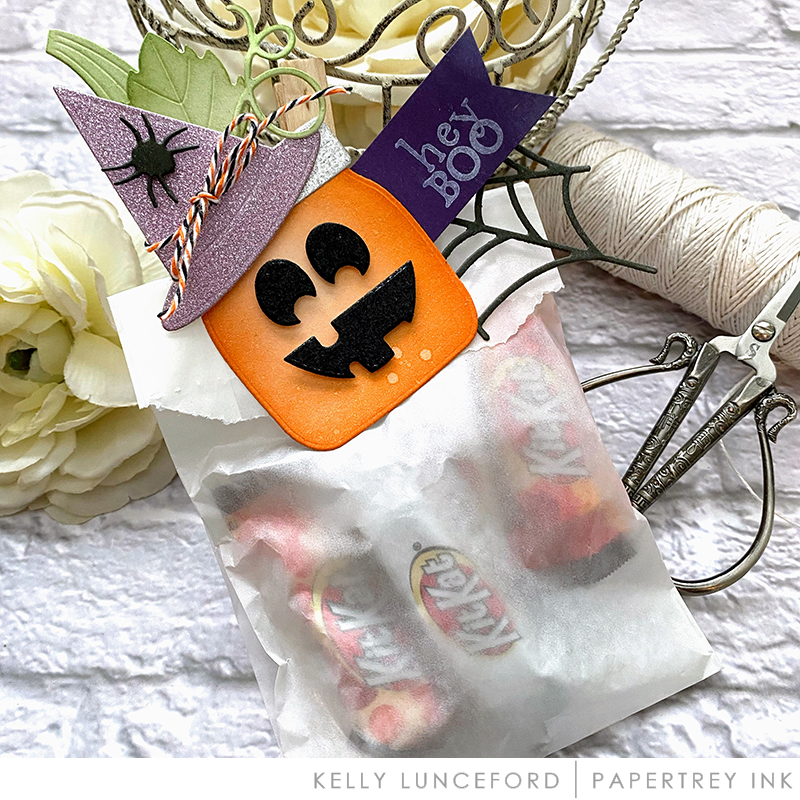
Since Halloween is one of the holidays with the most amount of treats, I decided to put together a coordinating candy sack. I created another small pumpkin and gave him a little bit different face than the other one. I also did a cut another witches hat out of purple glitter card stock and then out of the stem and leaves poking out of the hat for a whimsical feel. I simply added it to a clothespin using glue dots for security. I may have snuck a candy or two before filling up the small glassine sack and putting it all together! Ha ha! I hope you get a chance to sit down and create something for the upcoming fall season! Thanks for joining me today!


STAMPS: Spooktacular Halloween kit
INK: Ripe Avocado, Olive Twist, Orange Zest, Canyon Clay, Amethyst Allure, Royal Velvet, True Black, Fresh Snow
PAPER: Royal Velvet, Smokey Shadow, Stamper’s Select white cardstock
DIES: Spooktacular mason jars, Spooktacular tag dies, Spooktacular dies, Love to Layer: Ovals
OTHER: glitter cardstock, Spooktacular Kit embellishments, small glassine bag, clothespin

Reader Interactions

Leave a Reply

Your email address will not be published. Required fields are marked *


Primary Sidebar

FACEBOOK

Papertrey Ink

Categories

Archives

Categories

Recent Posts

  • All About Dad Stamp Set & Dies + Build-A-Briefcase Die + Dad Die + Birch Grove Stencil Collection
  • Wildflower Wreath Stamp Set & Die + Build-A-Bumblebee Die + Build-A-Ladybug Die + This is Big Sentiments: Strength Stamp Set & Die + Regal Flourish Frame Hot Foil Plate + Love to Layer: Top Notch + Brushstrokes Stencil Collection
  • Teapot Floral Card Perfect for Mailing by Bobbi Lemanski
  • Project Inspiration: Blooming with Love – A Sweet Mother’s Day Card by Brenda Noelke
  • Project Inspiration: Where Flowers Bloom Card by Melissa Phillips

Copyright © 2026 · Papertrey Ink.