


Hi everybody, welcome to our new feature What do I do with this? For this challenge our designers will get to try out some of these new tools and share the projects they created using them. We’ve got some fun, new things coming to the Papertrey Ink store and our designers will show you how to use them so you’ll be comfortable incorporating them into your card-making and gift-giving. Stay tuned for exciting and creative things coming your way! We want to share what our designers love with you, and this gives you a first-hand look into their crafty-faves!
Let’s get started!

I love sunshine cards! They are perfect for any occasion, but especially for encouragement cards. Today, I’ll show you how I made a sparkly pastel sunshine with clouds, using the “Sunburst Stencil Collection,” cloud dies from “Scene Everywhere: At the Lake,” and masking paper. Masking paper is thin paper with an adhesive backing that you can use to cover a stamped or stenciled image. Then you can layer another inked image over the top. It will give your card great dimension with no extra layers!
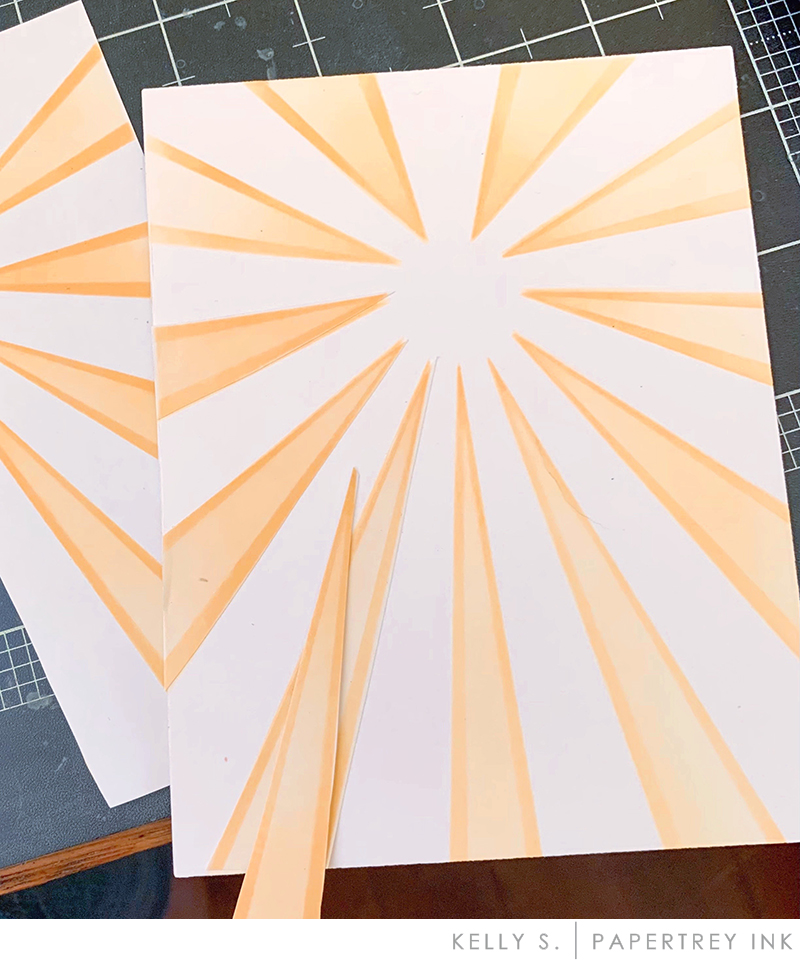
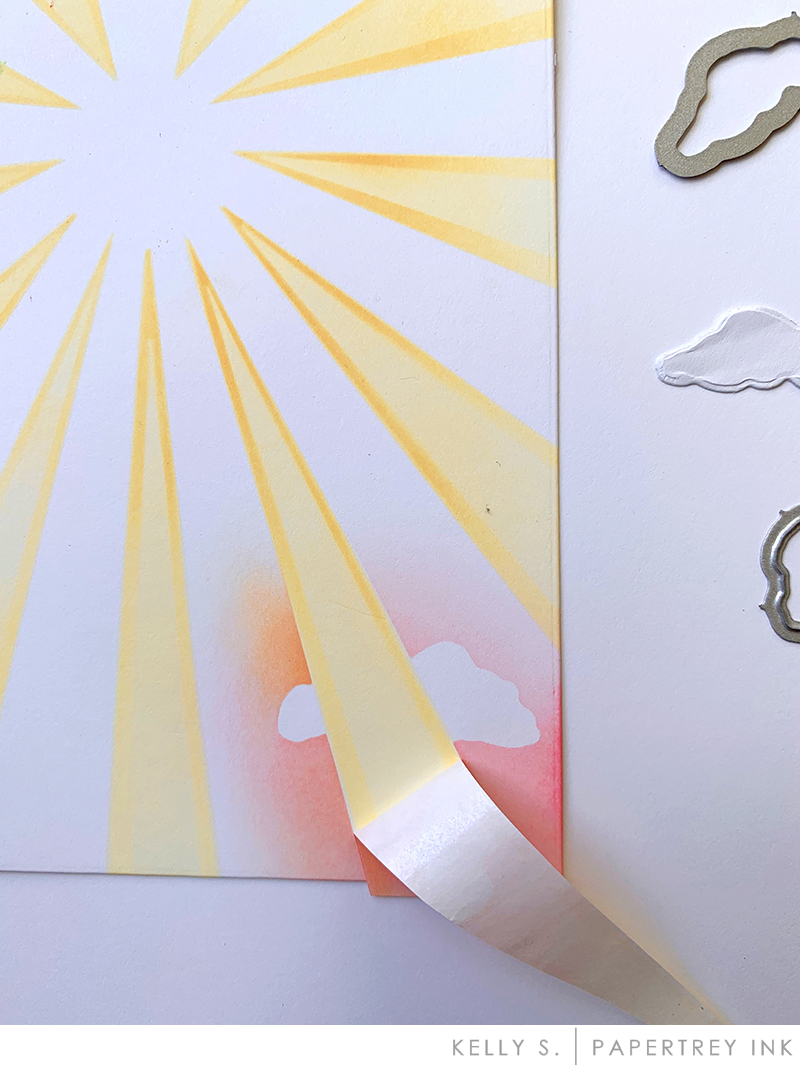
I stenciled the sunshine using the two stencils in the set onto my white cardstock base (right). I also stenciled the two sunbursts onto a piece of white masking paper (left). I cut out each ray from the masking paper, peeled the backing off, then adhered them over the coordinating rays on my card base.
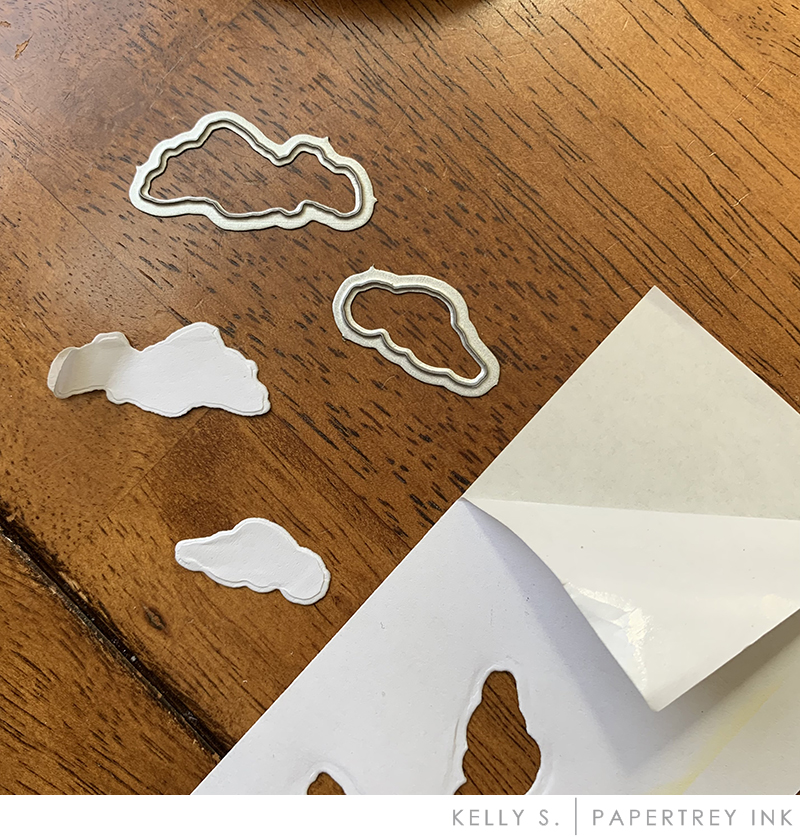
I used my die cutting machine and cut out the two cloud dies from another piece of masking paper.
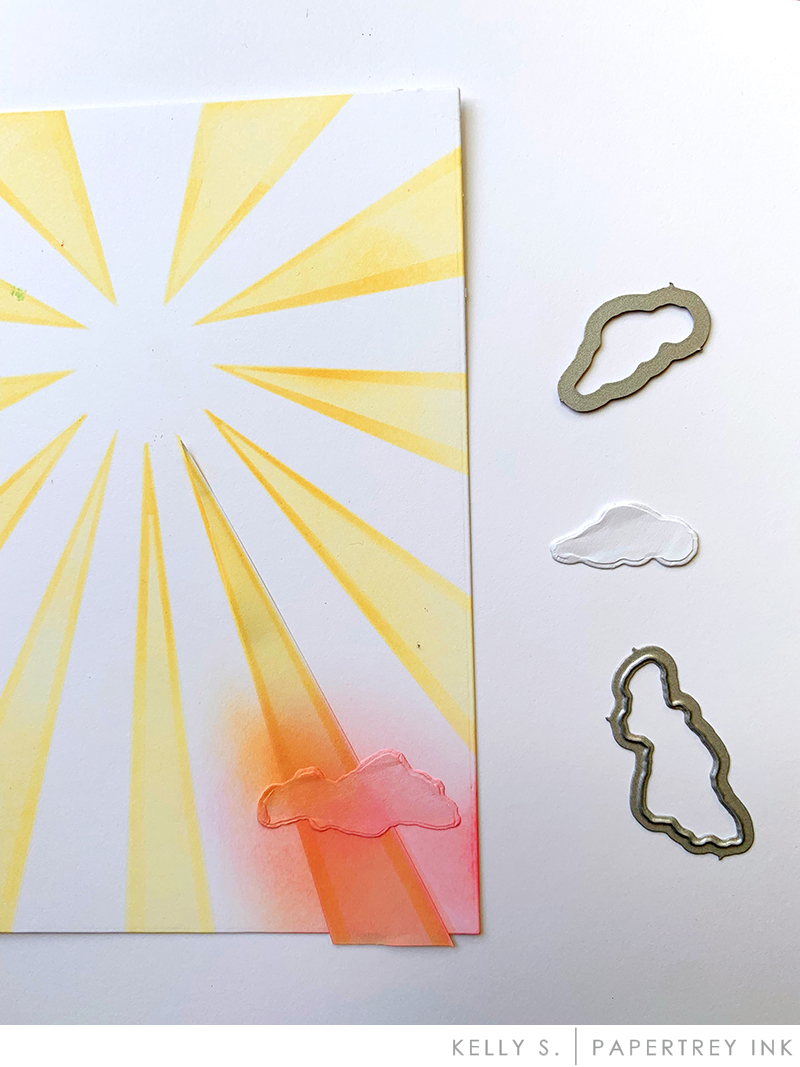
I peeled the backing off the cloud mask and adhered it over a masked sun ray. Then I used a blending brush and inked around the cloud, and right over the top, with pink and orange inks.

I carefully peeled the cloud from the project. Now I can move it to another area on the card, and use it again multiple times!
When you are all finished moving your clouds around, and inking them up over the sun rays, peel off all of the sun ray masks last. (You can save these masks for another card!)
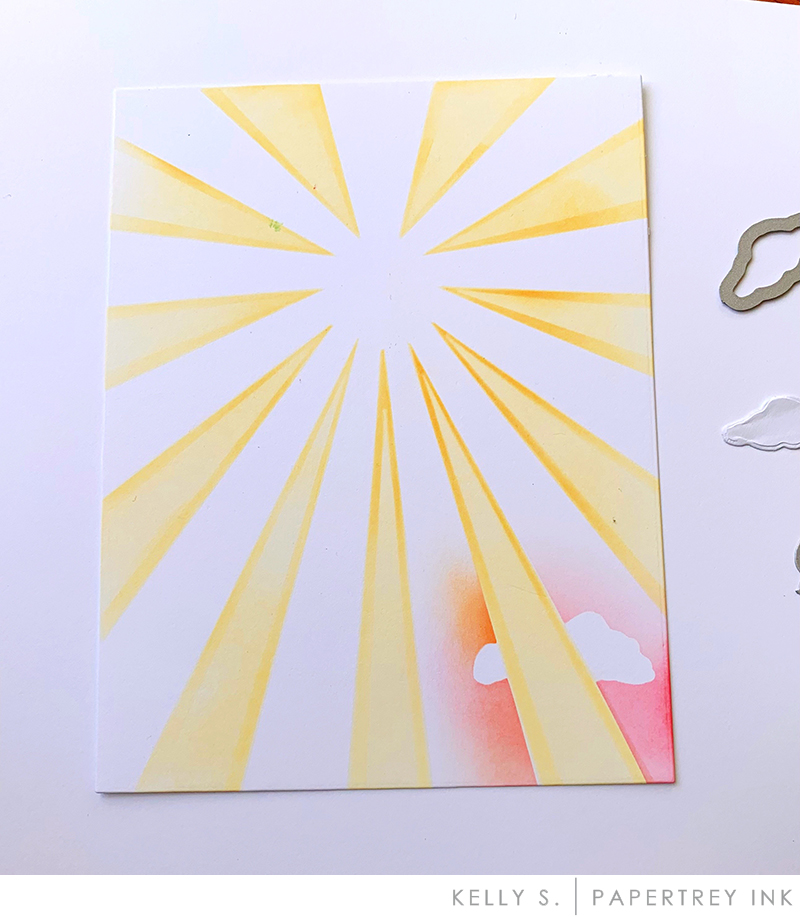
Now you will have the look of clouds behind the sun rays!
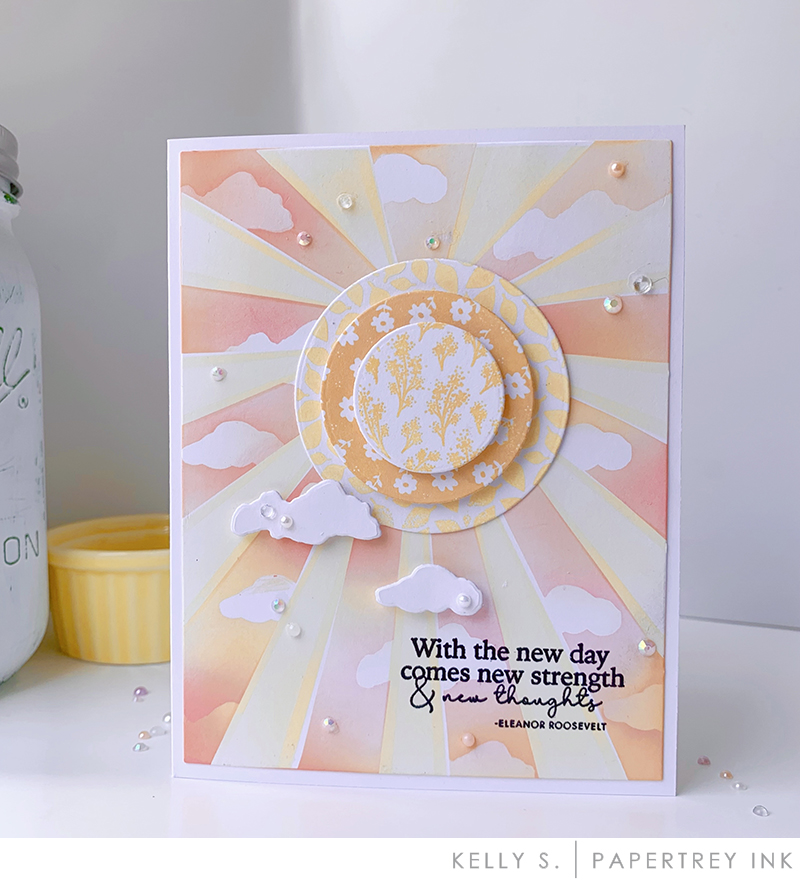
To finish my card, I stamped and die cut three sizes of circles from “Pattern Play” in shades of yellow, then layered then with dimensional squares to the center of my stenciled sun. I added a sentiment from “Just Sentiments: Quotes” in black ink. I die cut two more clouds from regular white cardstock, and popped them up over my sun with more dimensionals. I couldn’t resist adding lots of sequins and pearls to make my sunshine card….shine!!

STAMPS: Just Sentiments: Quotes, Pattern Play
DIES: Pattern Play, Scene Everywhere: At The Lake (small and large clouds)
PAPER: Stamper’s Select White
OTHER: masking paper, Tim Holtz Distress Inks, sequins and pearls, blending brushes, Sunburst Stencil Collection
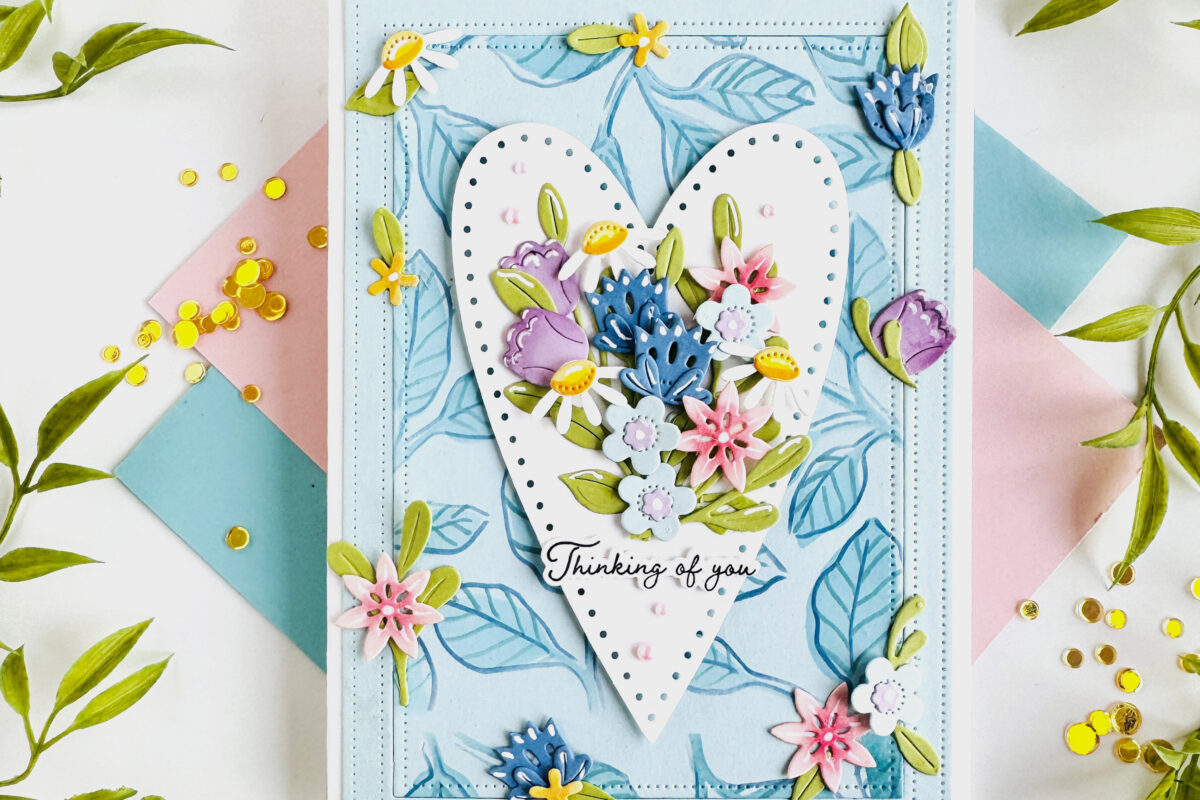
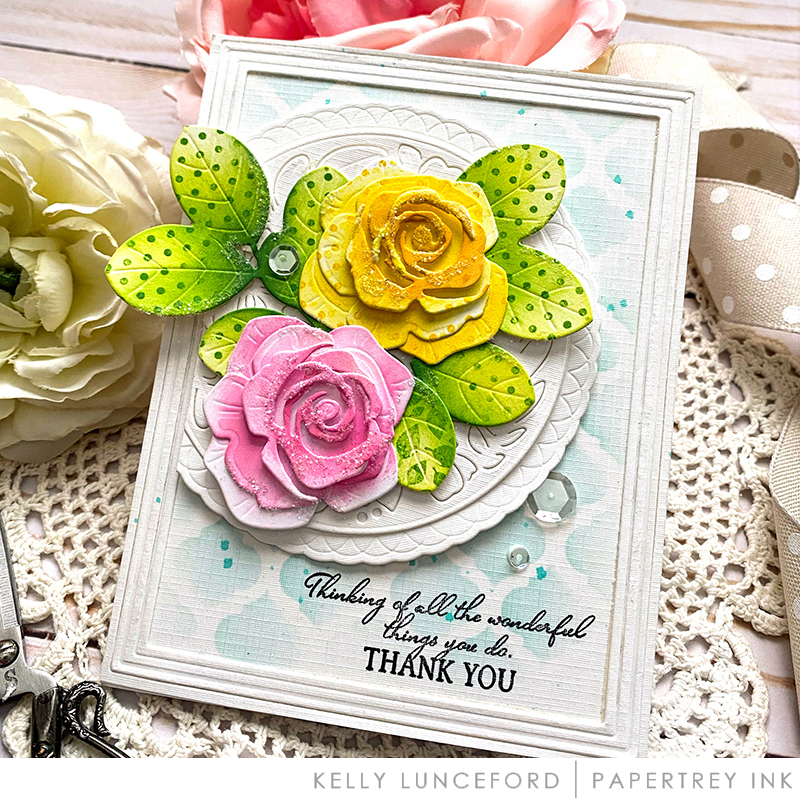
I’m thrilled to be here with Kelly S. today where we’re sharing some new designs using some amazing products in new ways! I love how Kelly used the Pattern Party stamp set for her whimsical sun; that got me thinking of a few other ways to use these cute patterned stamps! I wanted to explore the possibility of adding pattern to solid images like I did on my leaves and roses for today’s card!
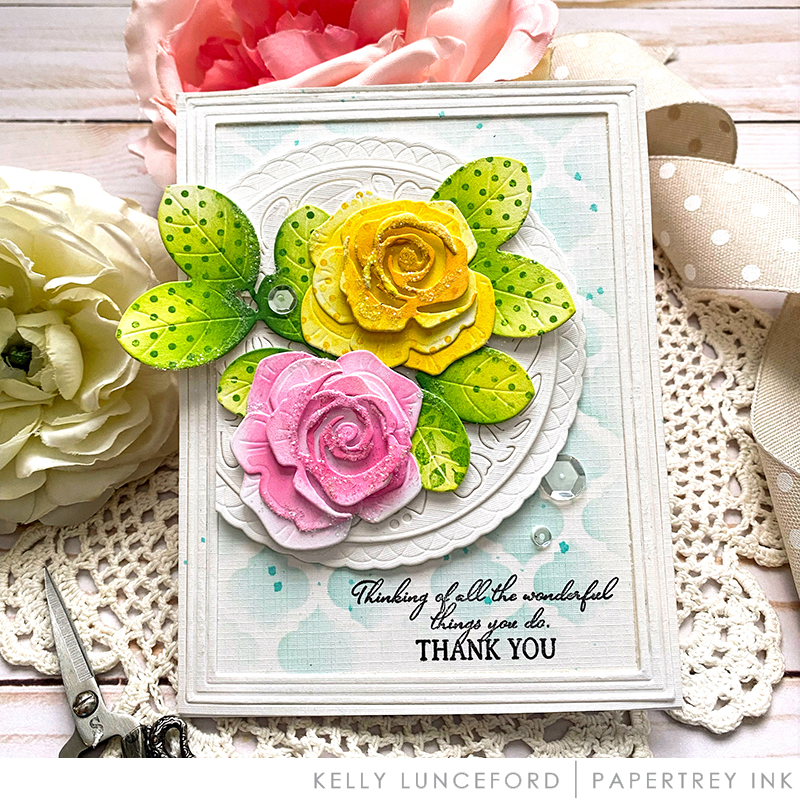
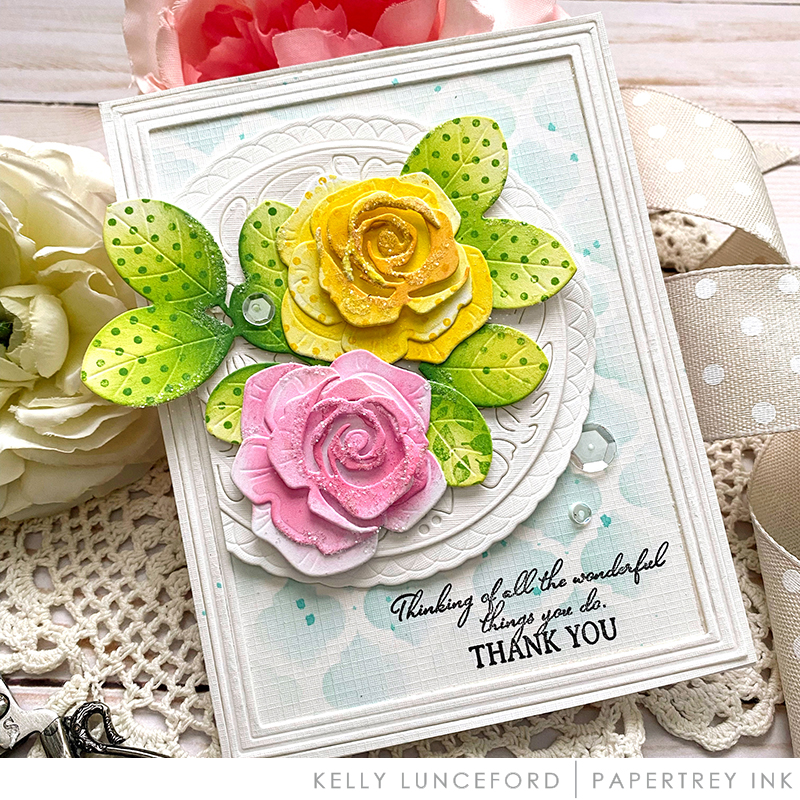
To begin, I die cut all of the leaves and flower pieces I would need to complete my card using the Into the Blooms: Roses dies (I actually die cut a bunch more that I’ll use on another card). I colored them using Distress Oxide inks and a finger dauber until I was happy with the look. I used a lighter hand than I normally do because I knew I would be adding the patterns over the top. Once each piece was colored with ink, I used my Mini MISTI to stamp the polka dots and leaf pattern onto the leaf clusters as well as the stand-alone leaf.
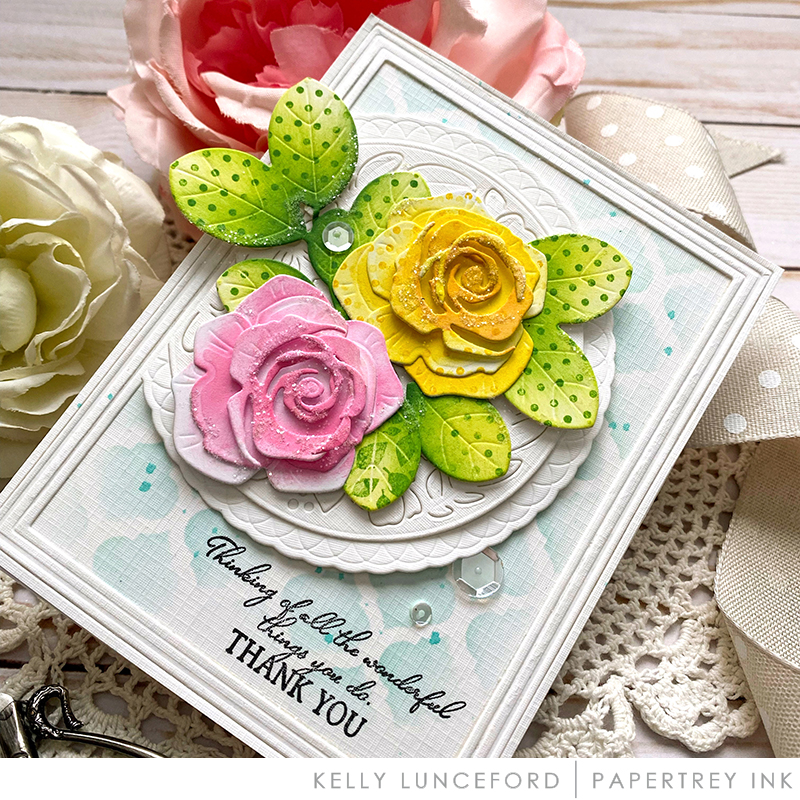
I did the same thing with the yellow rose and the polka dot stamp, but opted to keep the pink rose plain so it wouldn’t be too busy. I really like how these patterned leaves and flowers turned out! You could experiment with a few of the other patterns included in the Pattern Play stamp set for even more possibilities.
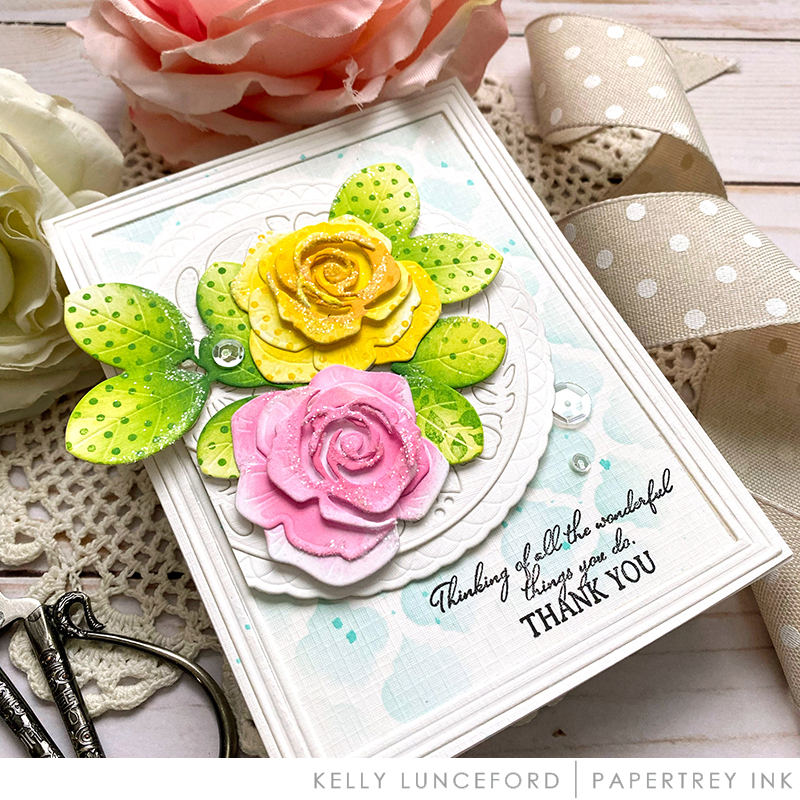
Once the leaves and flowers were assembled and ready to go, I got to work on the background. I wanted to incorporate a stencil like Kelly S. did, so I took an A2 panel of Fresh Snow Linen cardstock and added the Aqua Mist ink using the Quatrefoil stencil. I used a heavier hand in the middle of the panel and then let if fade toward the edges. I added the Border Bling: Skinny Embossed Frame using ScorTape and then splattered some Hawaiian Shores ink in the middle as well. The sentiment is stamped in black toward the bottom right corner.
INK: Aqua Mist, Hawaiian Shores, True Black
PAPER: White, Fresh Snow Linen Cardstock
DIES: Love to Layer: Floral Fusion, Love to Layer: Scalloped Circles, Border Bling: Skinny Embossed Frames, Into the Blooms: Roses
OTHER: Quatrefoil stencil, glitter, Distress Oxide Inks, sequins

PRIZE
One winner will be chosen at random to receive a $25 gift certificate.
RULES
To enter, participants are required to create a card using a pattern stamp using PTI/Ink to Paper supplies and Kelly’s technique or your very own. Share your finished project via the link below. We can’t wait to see what you make!
Only one entry per person and the deadline is May 23rd at 7AM. This post will be updated with the randomly selected winner.
CHALLENGE
EDITED TO ADD THE RANDOMLY SELECTED WINNER
Congratulations, Maura R! Please send an email to customer service and provide them with your full name and the email address you would like your gift certificate sent to. Thanks so much to everyone for playing along!
Leave a Reply