Papertrey Ink has so many wonderful word dies appropriate for the holidays and for today’s Make it Monday, I’m focusing on fun ways to deck them out and dress them up! Cut them from glitter, corrugated cardstock, patterned paper, embellish them with felt holly leaves, flowers, gems, stack stamped and die cut images on top of the die or hang them beneath, the possibilities are endless. Visit my blog for more ideas and examples!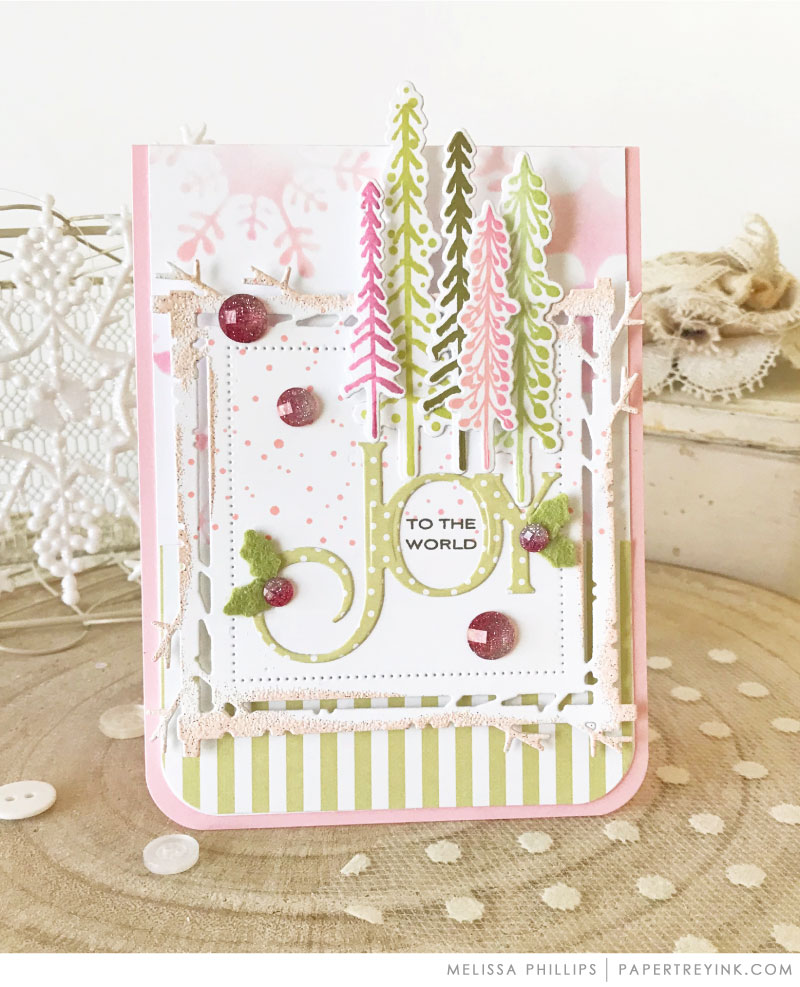
Let’s walk through a few steps to help you get started creating my project.
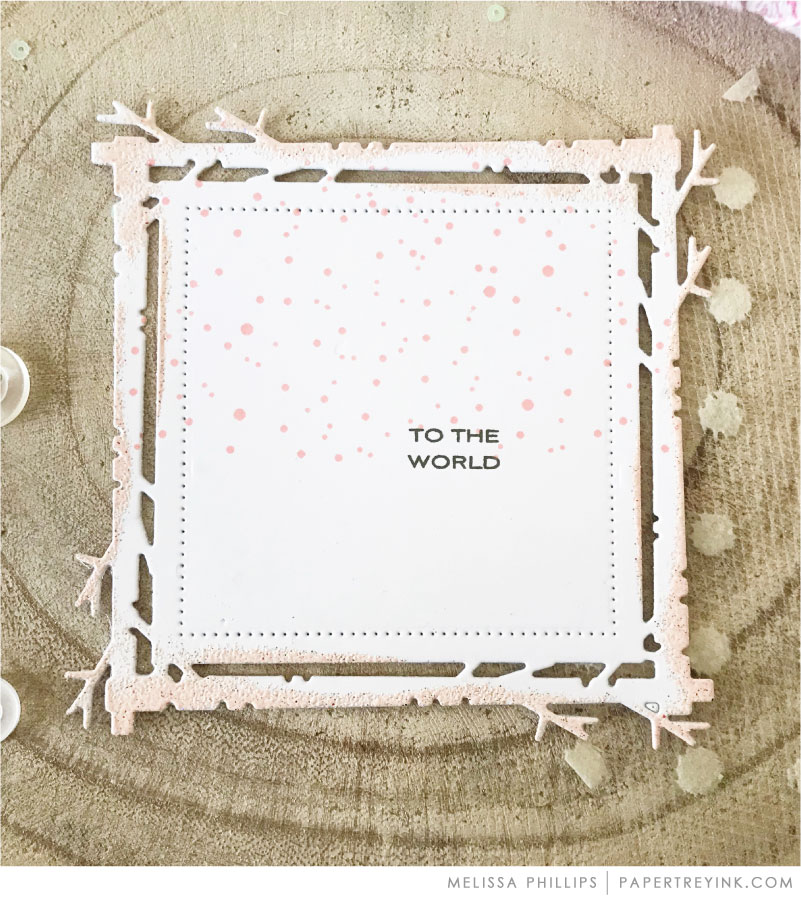 Step #1: Coat the edges of the Shape Shifters: Square 3 die with watermark ink. Shake on pink embossing powder, remove the excess, and heat using your heat tool. Stamp Sentiment where the opening of the “O” in Joy die will be. Stamp falling snow using Background Basics: Celestial Sky Stamp Set.
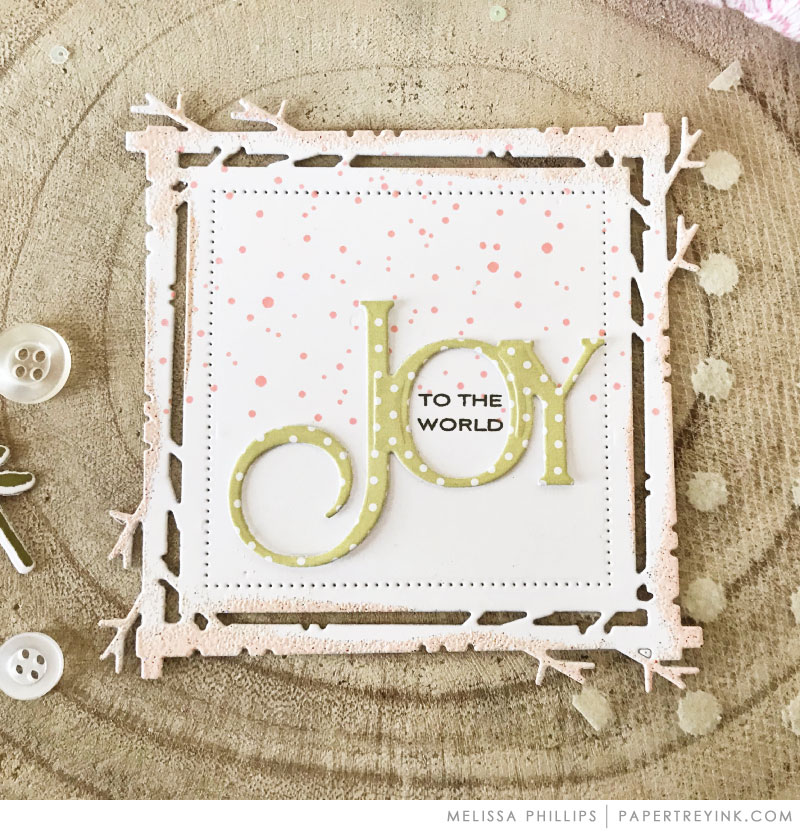 Step #2: Cut Joy using the Bold Borders: Flurries die from Bitty Big Spring Moss Paper. Adhere in place.
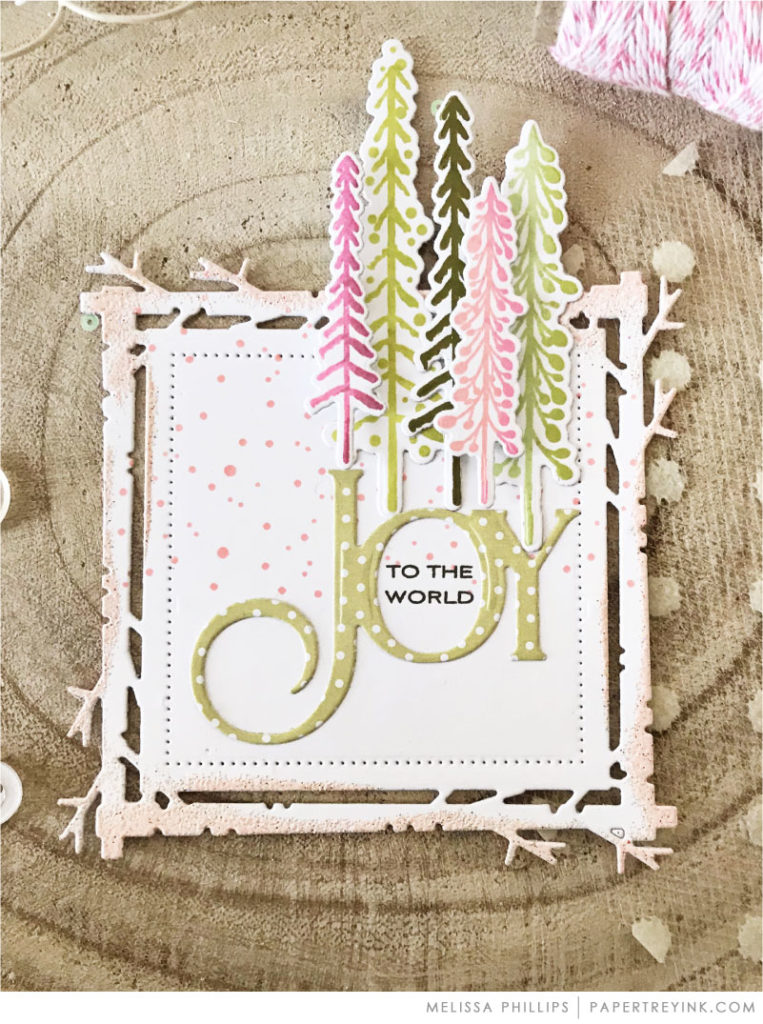 Step #3: Stamp and die cut several trees from the Enchanted Forest stamp set. Adhere across the top edge of the Joy word die.
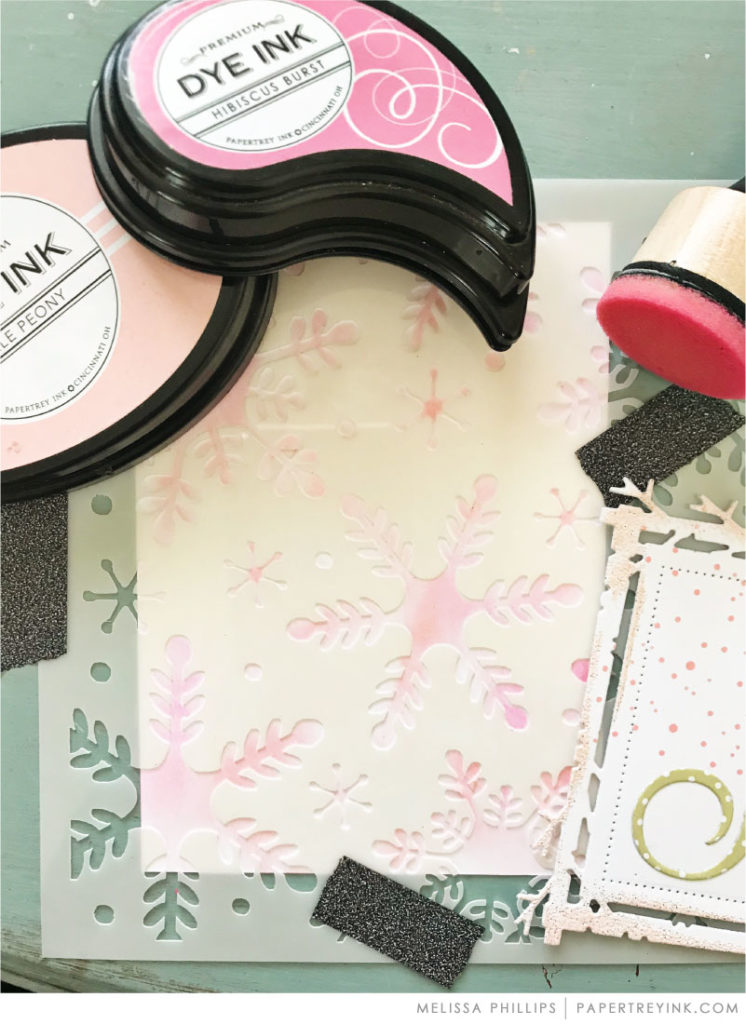 Step #4: Cut a block of cardstock from Stamper’s Select White cardstock. Stencil snowflakes across the front using Hibiscus Burst and Pale Peony Ink and the Snowfall Style stencil. Round the bottom corners.
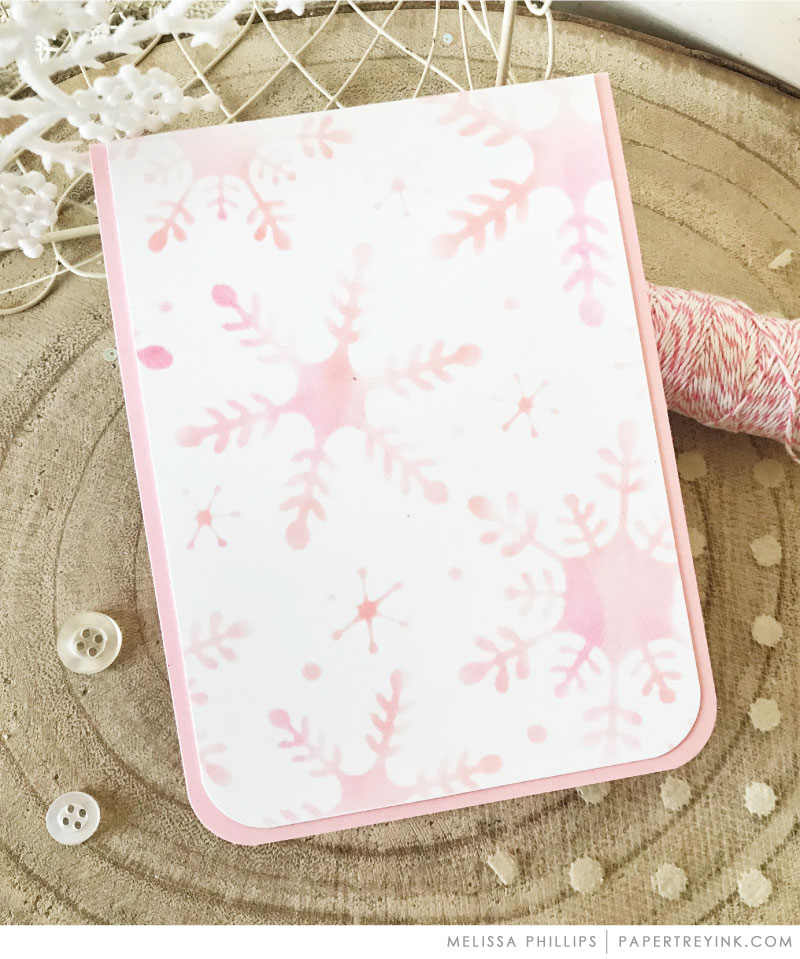
Step #5: Create card base from Sweet Blush cardstock and round bottom corners. Adhere stenciled white cardstock to base.
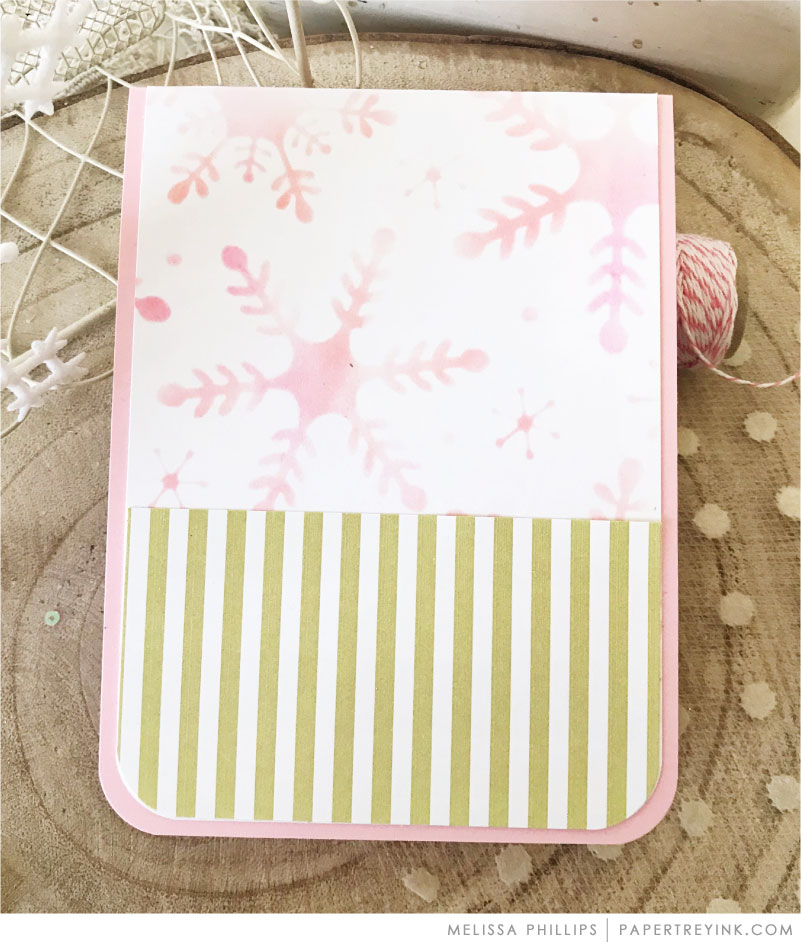 Step #6: Cut Bitty Big: Spring Moss paper to fit across bottom portion of card. Round bottom corners and adhere in place.
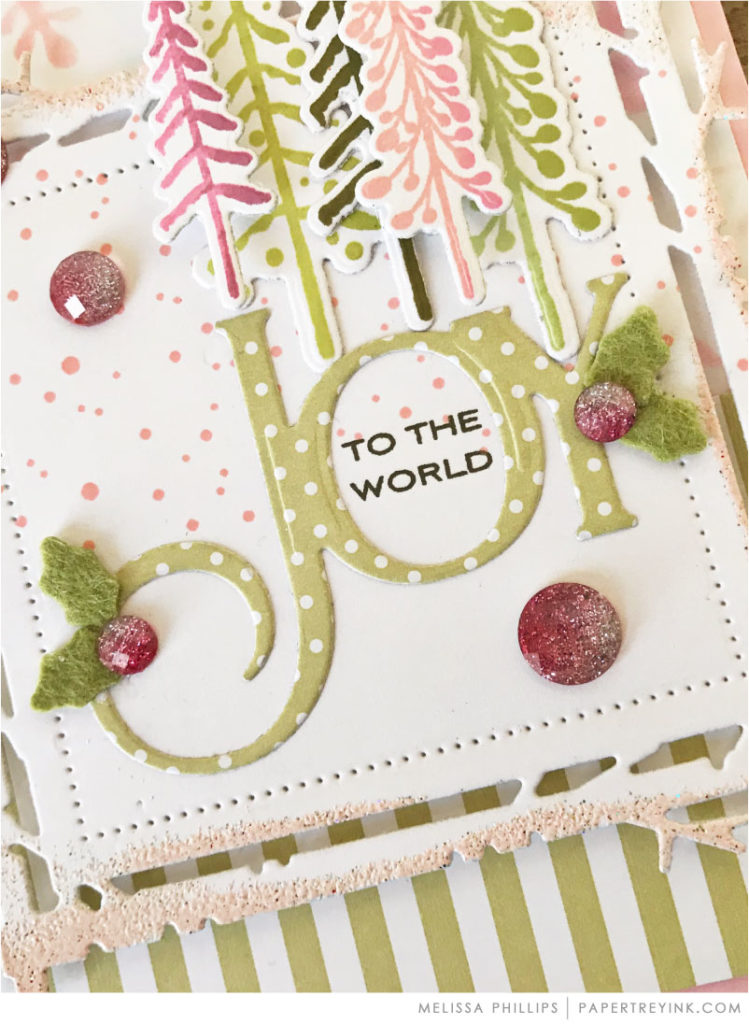
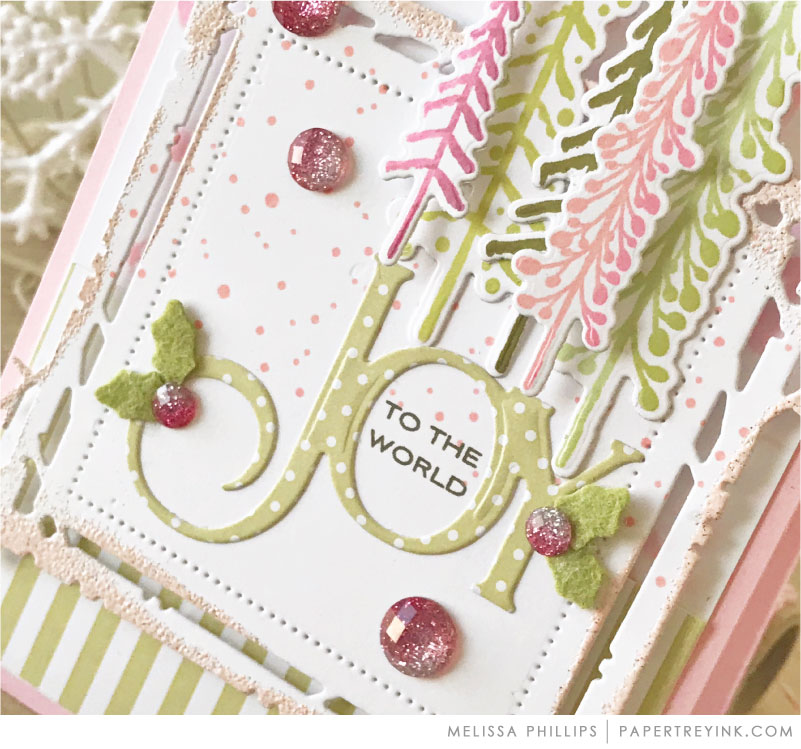
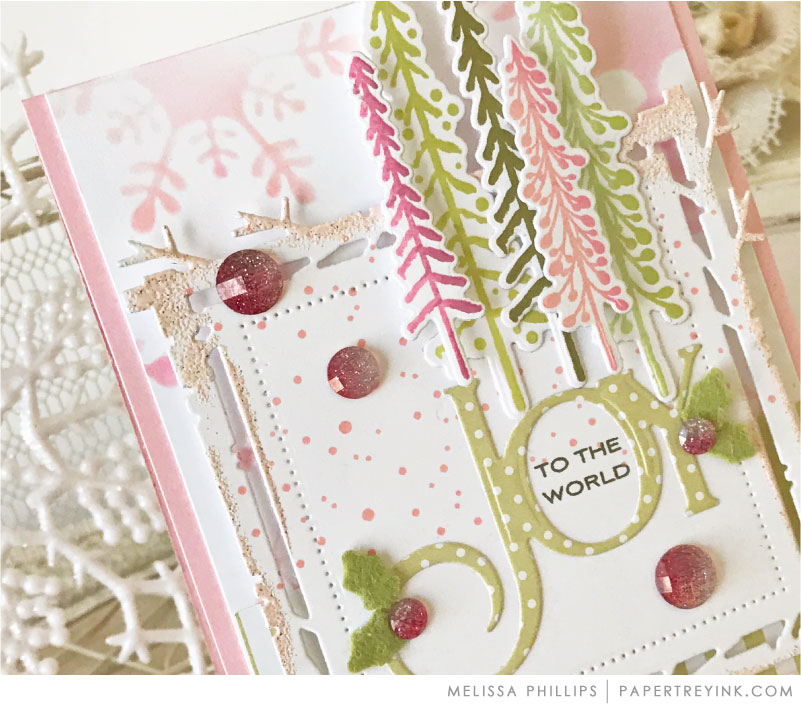
Step #7: Adhere focal point to card front. Embellish word die with leaves cut from felt and gems to finish.
Supplies:
- STAMPS: Enchanted Forest, Background Basics: Celestial Sky: Enclosed: Bell
- INK: Autumn Rose, Spring Moss, Ripe Avocado, Simply Chartreuse, Pale Peony, Hibiscus Burst, Olive Twist
- PAPER: Stamper’s Select White, Sweet Blush, Bitty Big: Spring Moss
- DIES: Shape Shifters: Square 2, Bold Borders: Flurries: Enchanted Forest, Floral Fantasy: Christmas
- OTHER: Snowfall Style stencils, Say it With Crystals, Simply Chartreuse Felt, corner rounder
CLICK HERE to visit Melissa’s blog to see more!
If you are joining along this week, here are the details concerning the Make It Monday Challenge.
- A new Make It Monday Challenge will go up on Monday mornings at 9am ET.
- Create a project utilizing your take on the challenge. Your project must use at least one Papertrey product and include a die cut focal point like Melissa shared in her tutorial.
- Please enter NEW projects only.
- Post your project on your blog, in your gallery or on any other photo-hosting site (such as photobucket or flickr).
- Add your project to our InLinkz list below. ONLY ONE ENTRY PER PERSON PLEASE.
- You will have until 6am ET, Monday, December 10th, to add your link to the list to be eligible to win.
- One randomly selected winner will be chosen from ALL the entries on Monday, December 10th, after 6am. The winner will be posted here on this blog post, on Twitter and Facebook. The randomly selected winner will get a $25 PTI gift certificate to spend however they like!
EDITED TO ADD THE RANDOMLY SELECTED WINNER:



I absolutely love this! So beautiful! Love the colors!
Love the project! And love that it’s a word tutorial and not a video! I know I’m in the minority for that, but it’s like I got a Christmas gift this morning.
I love word dies. I am so excited for this weeks challenge. I hope I can play along. I absolutely love your card. And how you stamped your saying in the middle of the O.
Great ideas Melissa
Wow what a gorgeous card. I love seeing your process layer by layer. It’s often hard to see the subtle little details in your cards in a photo so this was great. I usually love videos but your pictures make it so easy to follow. Thanks for the lovely inspiration.
Oh my, this card took my breath away! Your cards often have so many elements it’s a joy to see your design process. I just love everything about this card, says she who is adding to her wish list as she writes this! Thanks Melissa!
Beautiful card. I like this step-by-step photo tutorial better than a video, at least for this type of card.
Wow–I can’t stop staring at this card! Have to agree, for this card having the steps written out & close up pictures is better than a video. Pink & green is one of my favorite color combos & you’ve made it work perfectly for Christmas! Love the pink embossed edges & the sentiment inside the O–just brilliant! Happy Holidays, Melissa–thank you for the wonderful inspiration!