

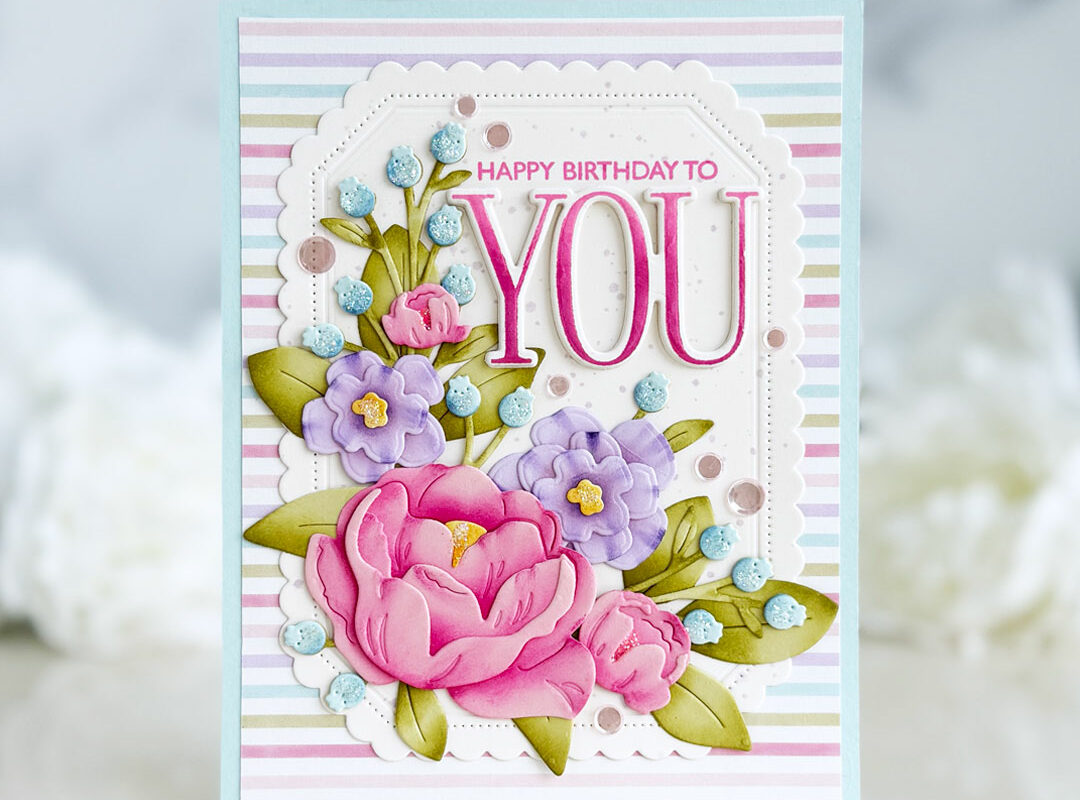
Today, Lexi has some great tips and tips to share on maximizing your stamp positioning tool to help you create more efficiently.![]()
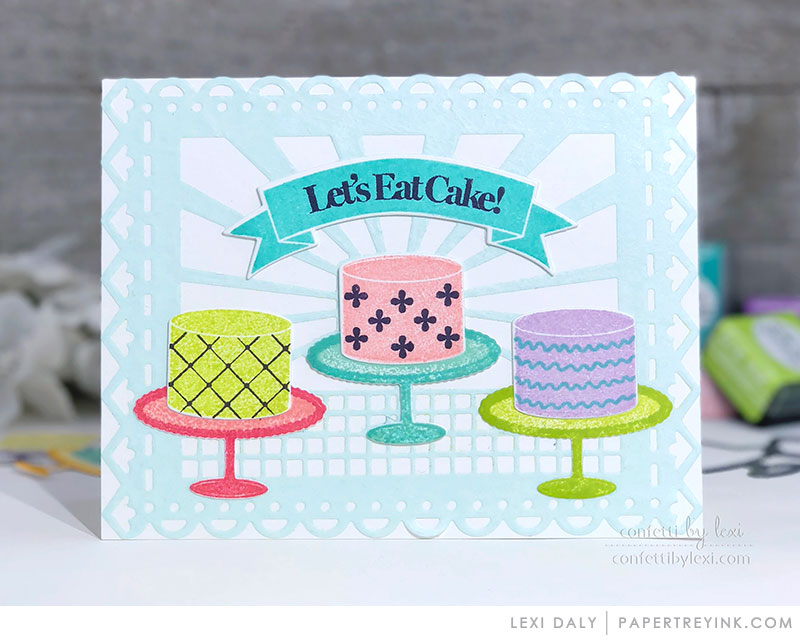
“One of the things we talked about during the roundtable last week for the Release Party Live was how we get started on our release projects. Sometimes I have a specific design in mind and set to work on getting that one on paper first, but more often I just start stamping die cuts to get the the ball rolling and creative juices flowing. I thought I’d elaborate on how I maximize my stamp positioner for doing that efficiently in order to save time and be more productive. Basically, I like to set up my stamps in such a way that I can keep stamping die cuts as needed once I settle on a design or move on to the next idea using the same stamp set and dies. This way of setting things up is particularly helpful for multi-step stamping and even allows me to have more consistent stamp placement on my die cuts. Come on over and see what I mean!”
 Supplies:
- STAMPS: Fiesta Flag: Birthday
- INK: Pale Peony, Hibiscus Burst, Limeade Ice, Green Parakeet, Lilac Grace, Plum Pudding, Aqua Mist, Hawaiian Shores
- PAPER: Stamper’s Select White
- DIES: Fiesta Flag: Birthday Flag, Fiesta Flag: Birthday
- OTHER: Light Blue Tissue Paper, Freezer Paper, Iron, Spray Adhesive, MISTI or similar stamp positioner
Leave a Reply