
It's always fun to just "play" with your supplies an experiment with really artsy techniques. Exercises like that can really get the creativity moving at full throttle! Today I have prepared a really cool collection of three techniques that you can use to incorporate tie-dye effects into your backgrounds.

Your challenge is to create a tie-dye background using one of the techniques showcased in the video below.
I have created a set of three tutorials to help show you step-by-step how to create these fun & amazing backgrounds! I think you will have a lot of fun with them AND love the results!
My first project uses just some basic supplies that you most likely already have on hand.
DYE INK TIE-DYE SUPPLIES NEEDED:
- 3 dye ink pads (I am using Aqua Mist, Blueberry Sky & Winter Wisteria, however you can use alternate colors as long as you have a light, medium & dark)
- small paintbrush
- water
Without further ado, here is the video showcasing the Dye Ink Tie-Dye technique.
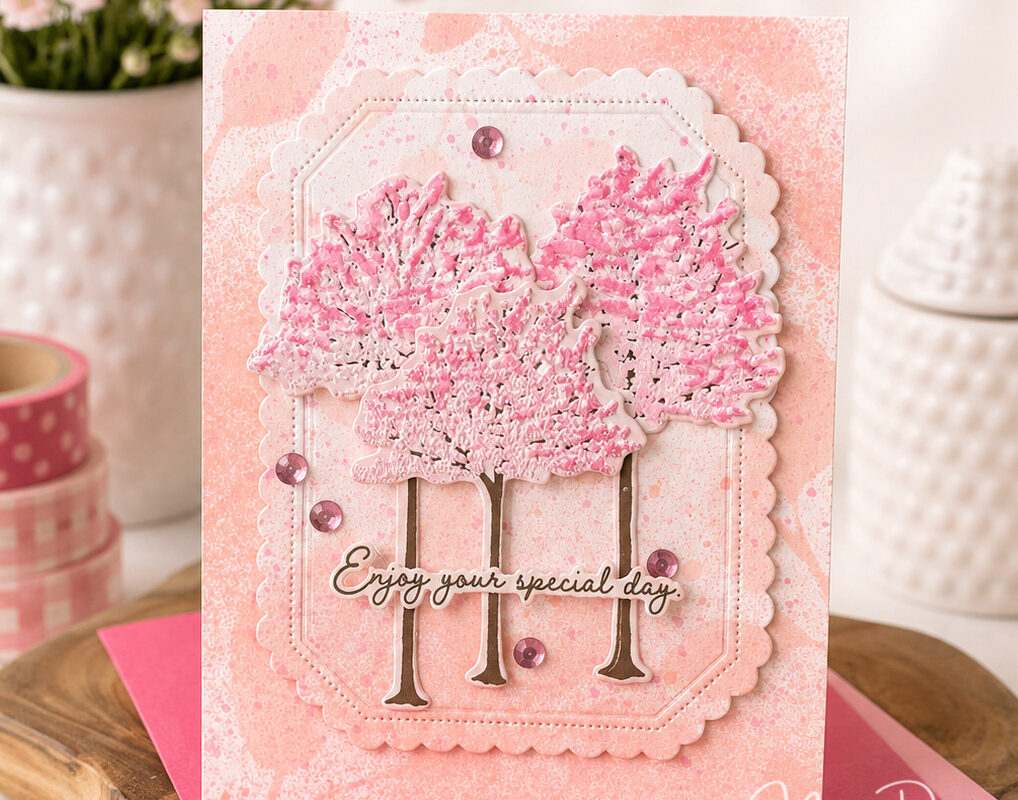
Here are some still shots of my first tie dye project…


Next I have a technique that results in a much more saturated look using Copic Markers (or any alcohol-base markers) along with rubbing alcohol.
COPICS TIE-DYE SUPPLIES NEEDED:
- 3 Copic Markers or any alcohol-based markers (I used YR12, RV19, YR18)
- rubbing alcohol
- small paintbrush
Here is the video showcasing this Copic Tie-Dye technique.
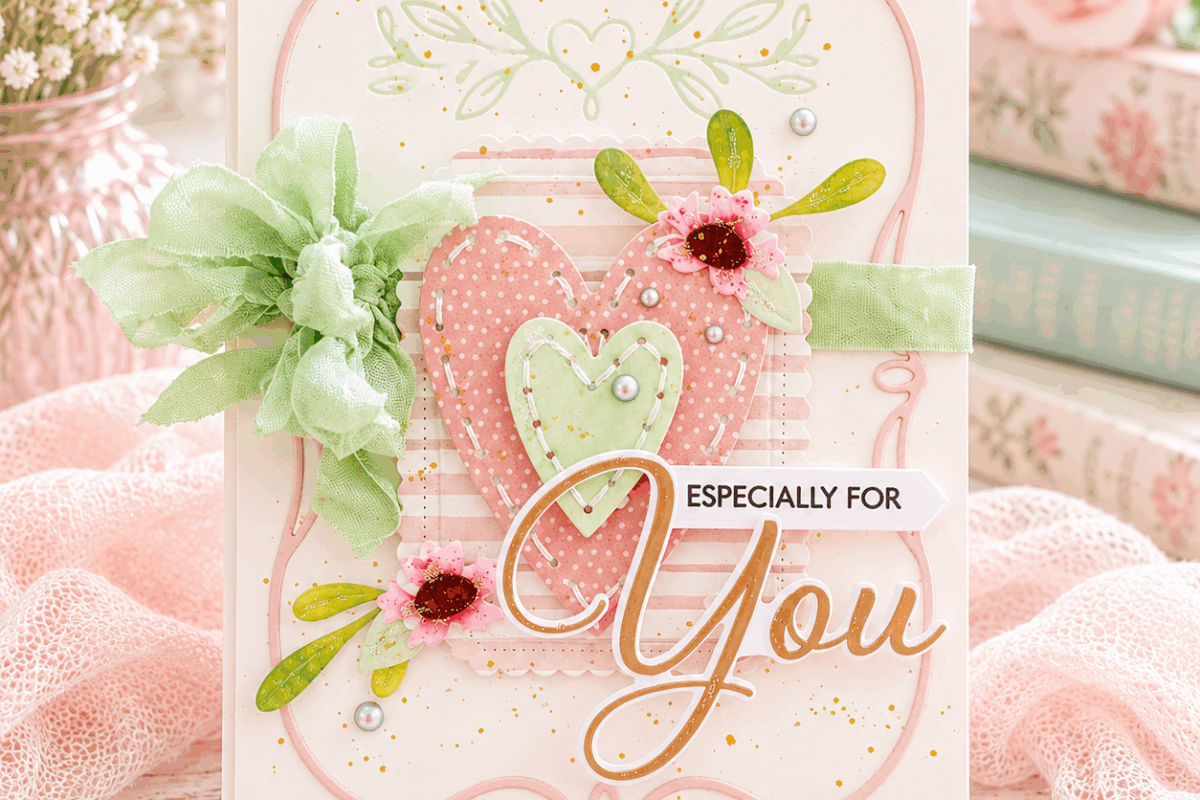
Here are some still shots of this fun tie-dye project…


For my last technique, I adapted a marbleized-type craft I learned years ago in Girl Scouts. Using ordinary shaving cream as a stabilizer, drops of ink "float" on the surface and can be swirled to create unique tie-dye backgrounds.
MARBLEIZED TIE-DYE SUPPLIES NEEDED:
- shaving cream (be sure you use regular shaving cream, not shave gel)
- 2 re-inkers or food coloring (I specifically used Hawaiian Shores & New Leaf)
- a small paintbrush or stick
And here is the video showcasing this the Marbleized Tie-Dye technique.
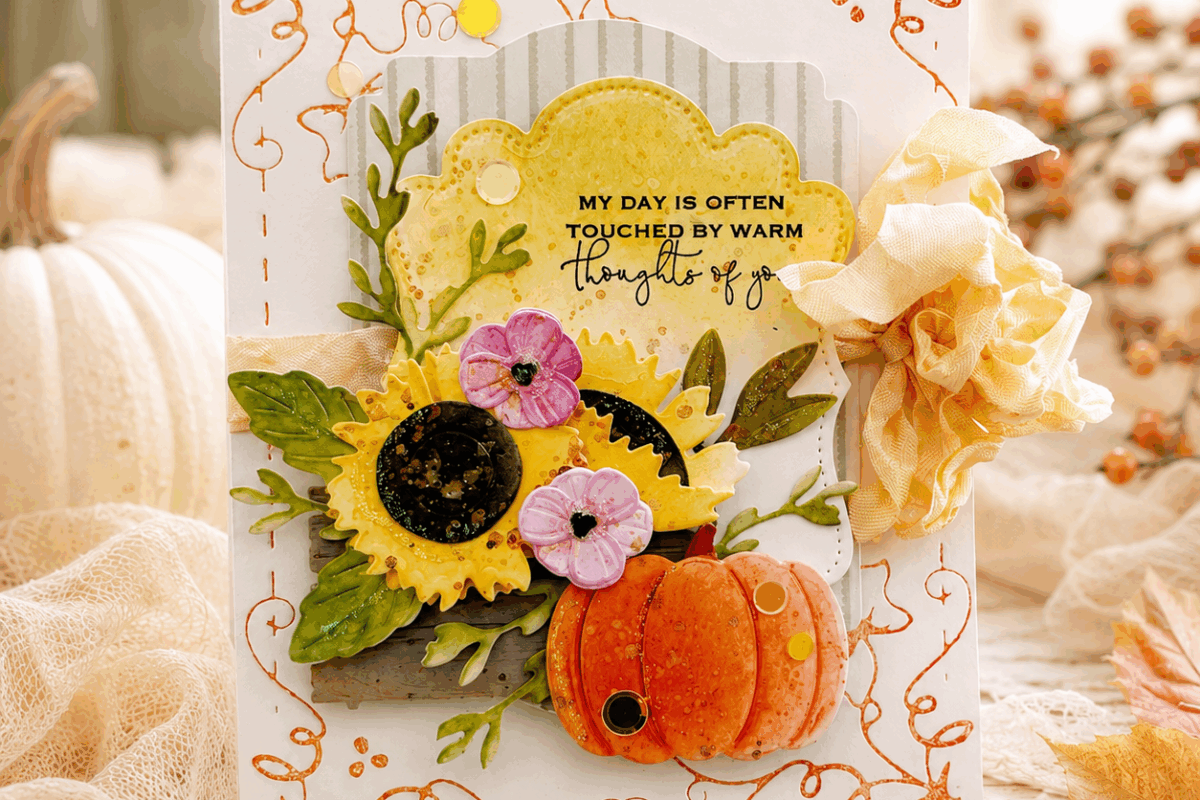
Here are some still shots of my last tie-dye project…


We hope you enjoyed this little "artsy" presentation and learned a thing or two that you are anxious to try! A few of the Design Team members decided to play along with this challenge as well! Here are their results!

CLICK HERE to see more from Ashley Cannon Newell.

CLICK HERE to see more from Heather Nichols.

CLICK HERE to see more from Melissa Phillips.
Now it's time for YOU to get inky and give one of these techniques a shot so we can see your results!

–Create your own tie-dye background using one of the tutorials showcased above. Your project must incorporate at least one Papertrey product and the tie-dye background you create.
–Post your project on your blog, in your gallery or on any other photo-hosting site (such as photobucket or flickr).
–-Add your project to the InLinkz list below.
–You will have until noon EST, Monday, July 23rd, to add your link to the list to be eligible to win. And you can enter as many times as you like.
–One randomly selected winner will be chosen from ALL the entries on Monday, July 23rd, after noon EST. The winner will be posted on our Monday night Stamp-a-faire winners page at 10pm EST. The randomly selected winner will get a $25 PTI gift certificate to spend however they like!
Good luck to everyone and we look forward to seeing your projects!
Leave a Reply