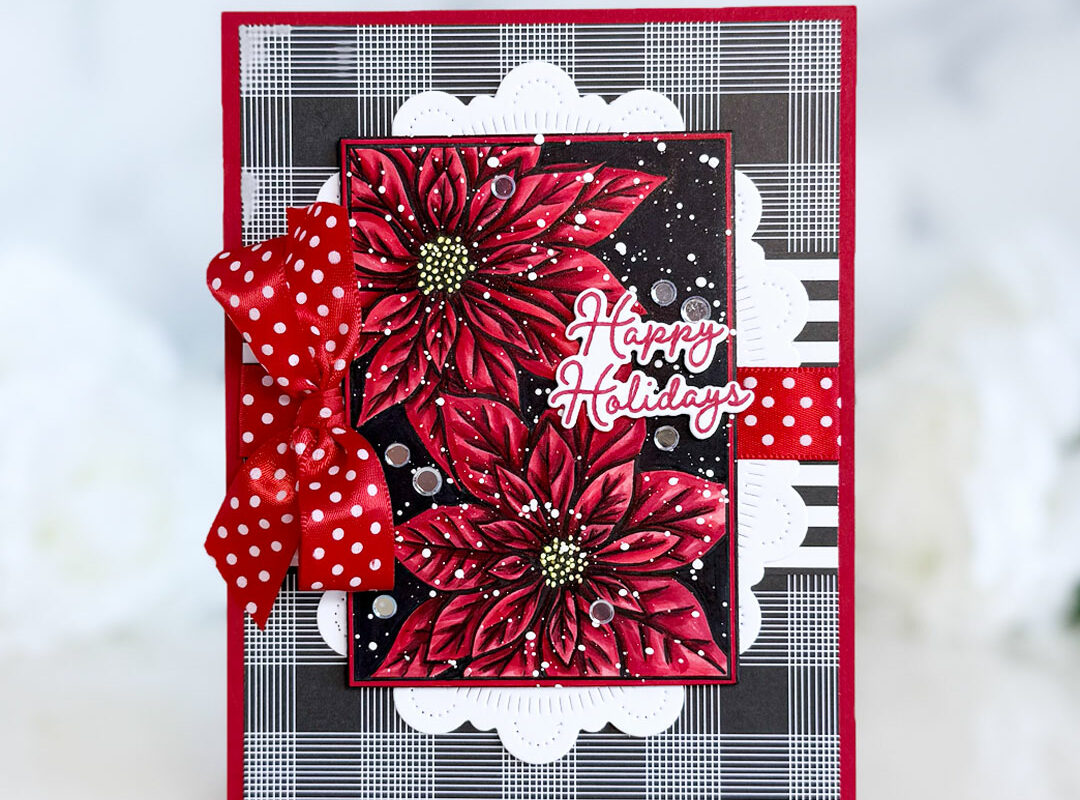
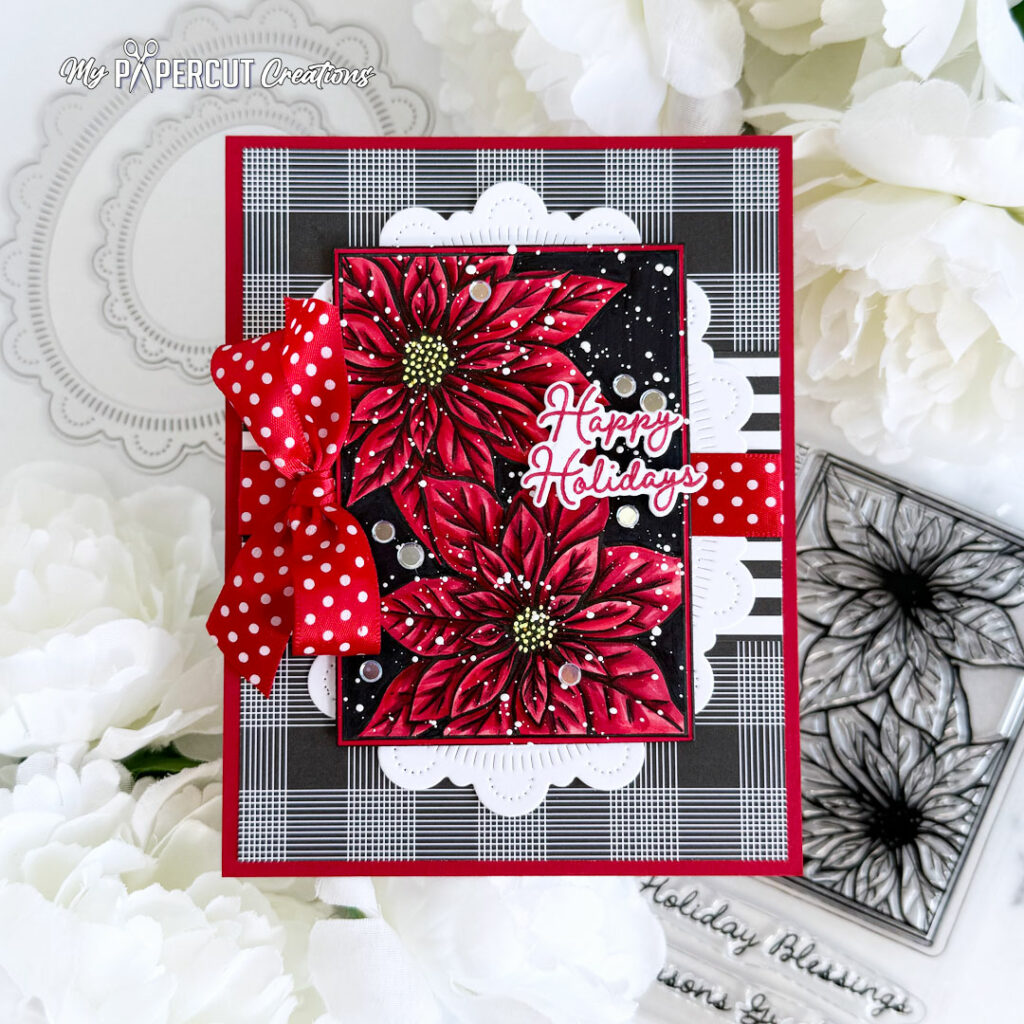
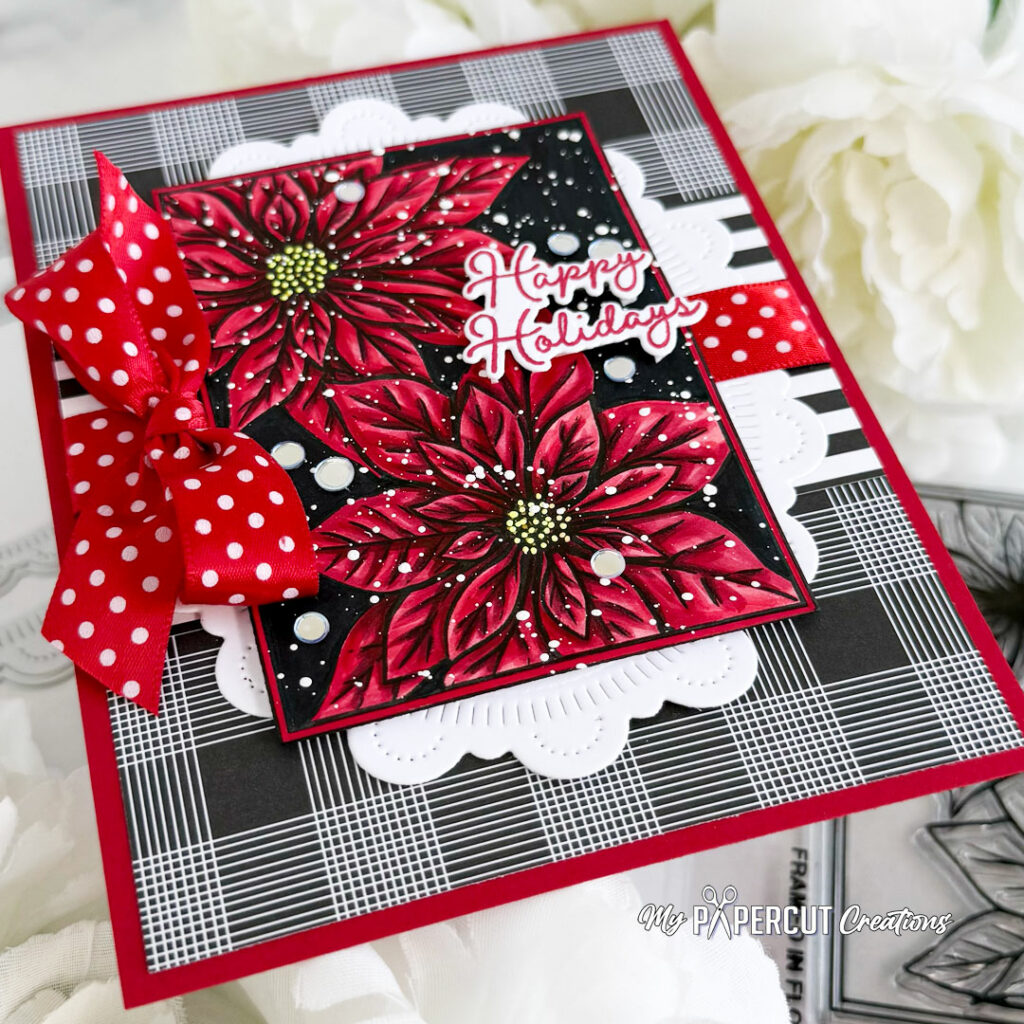
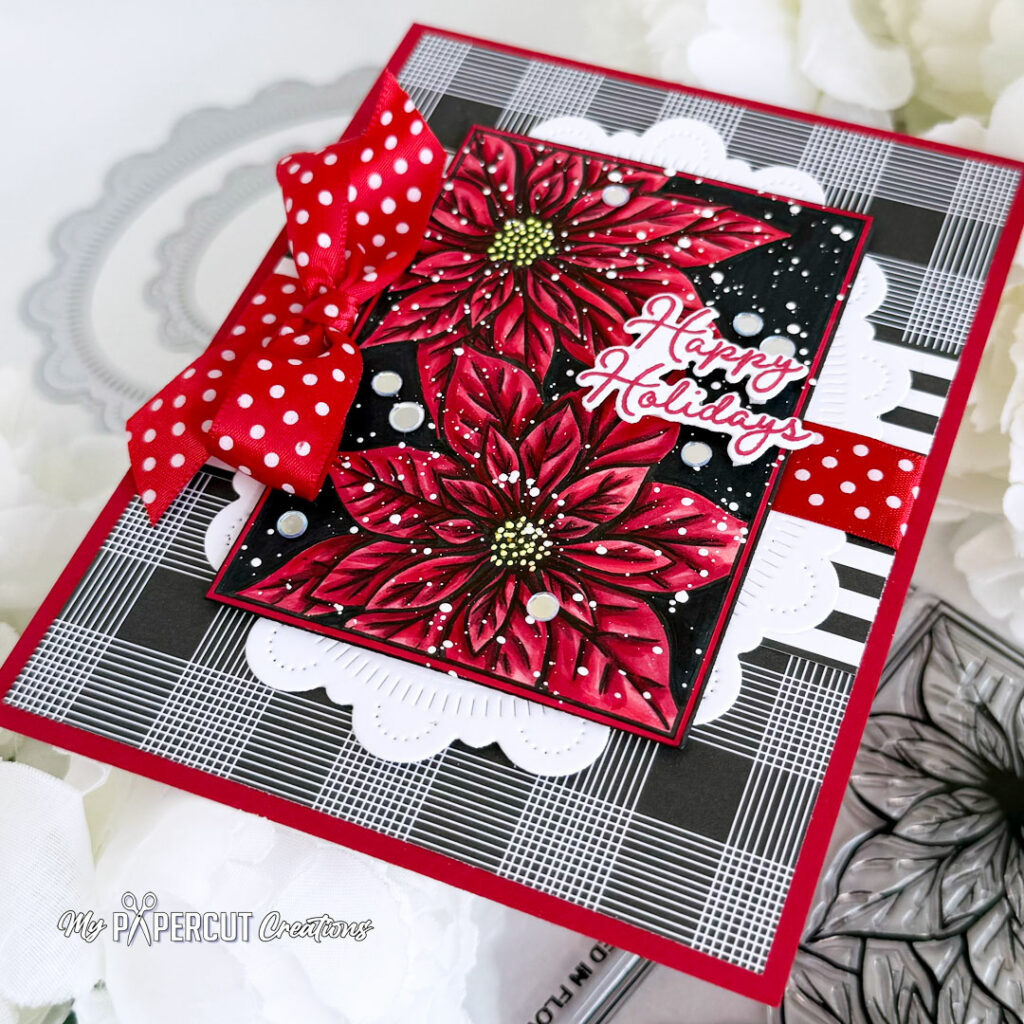
Hello, crafty friends!! Brenda here sharing a Project Inspiration project with you today!! There’s nothing quite like the classic elegance of red, black, and white for the holidays!! I LOVE to color, so when there is a new stamp set that includes two images that I can color, such as the Framed In Flowers Collection, you better believe that I’m gonna color them both!!
Supplies
Stamps: Framed In Flowers: Christmas, Holiday Wreath
Dies: Framed In Flowers: Christmas, Holiday Wreath, Reflections: John 1:14
Ink: Pure Poppy
Cardstock: Pure Poppy, Stamper’s Select White, Bitty Big: True Black
Other supplies: Pure Poppy Swiss Dot 5/8″ Satin Ribbon, Moonshine Sequins, black Copic-friendly ink, Copic markers, black colored pencil, white bleed-proof ink, yellow gel pen, liquid glue, foam tape, glue dot
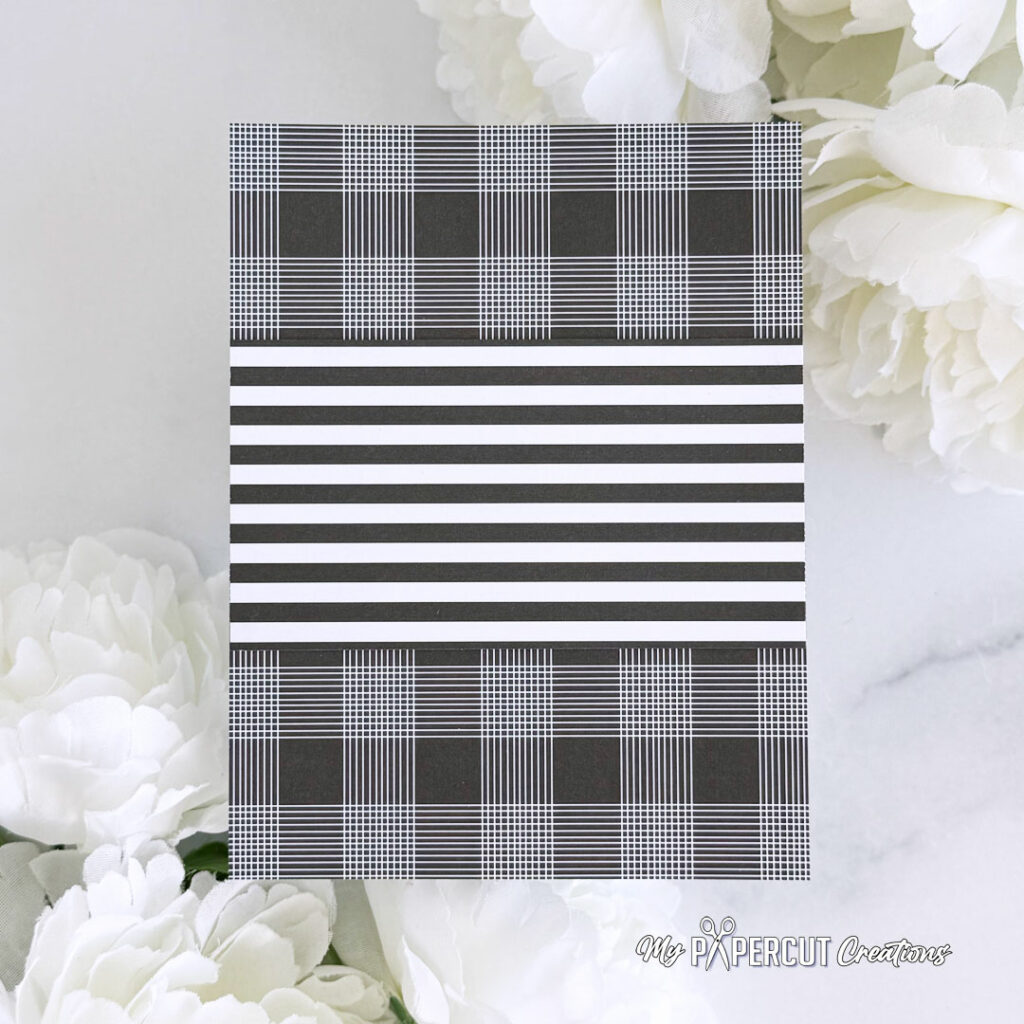
Step 1: Step 1: Trim plaid panel of Bitty Big: True Black paper slightly smaller than A2. Trim a strip of striped Bitty Big: True Black paper and adhere horizontally across the center with liquid glue.
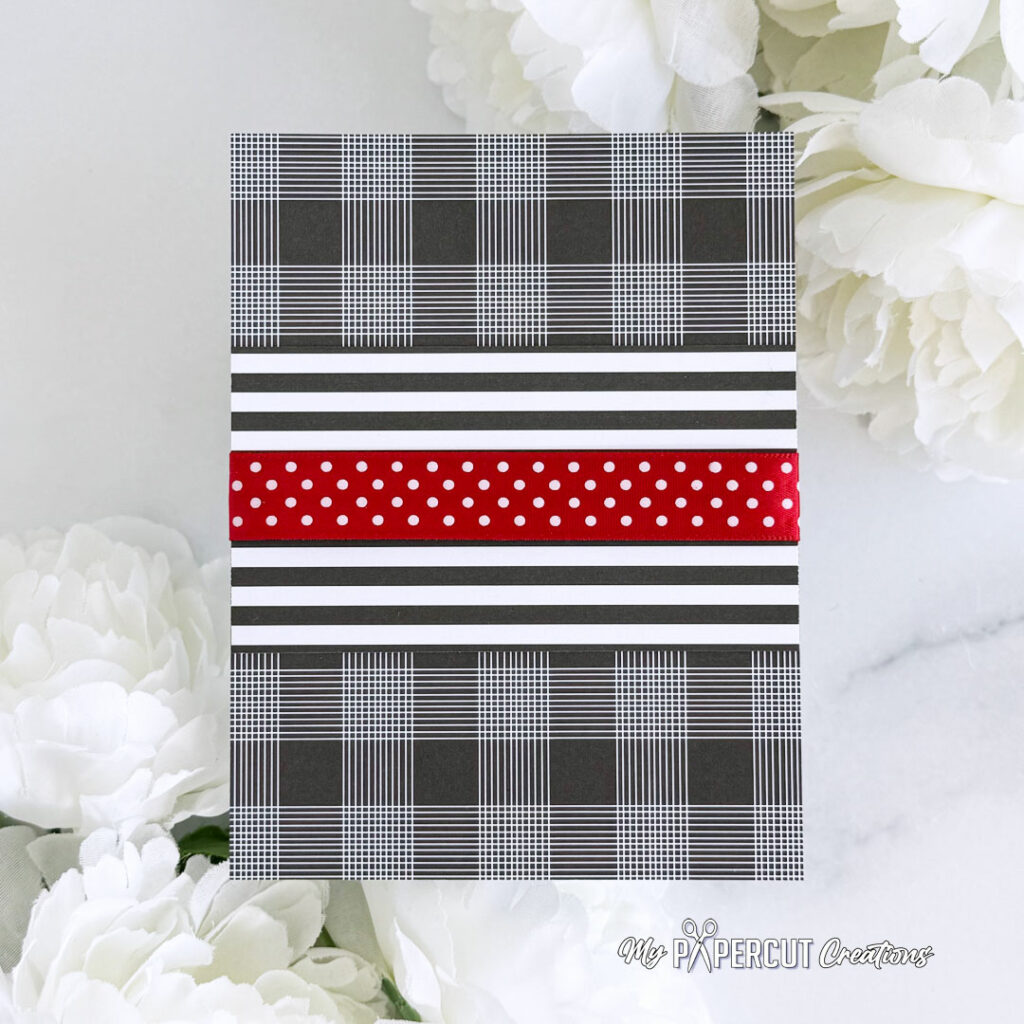
Step 2: Wrap Pure Poppy Swiss Dot 5/8″ Satin Ribbon around the panel and secure to the back with tape.
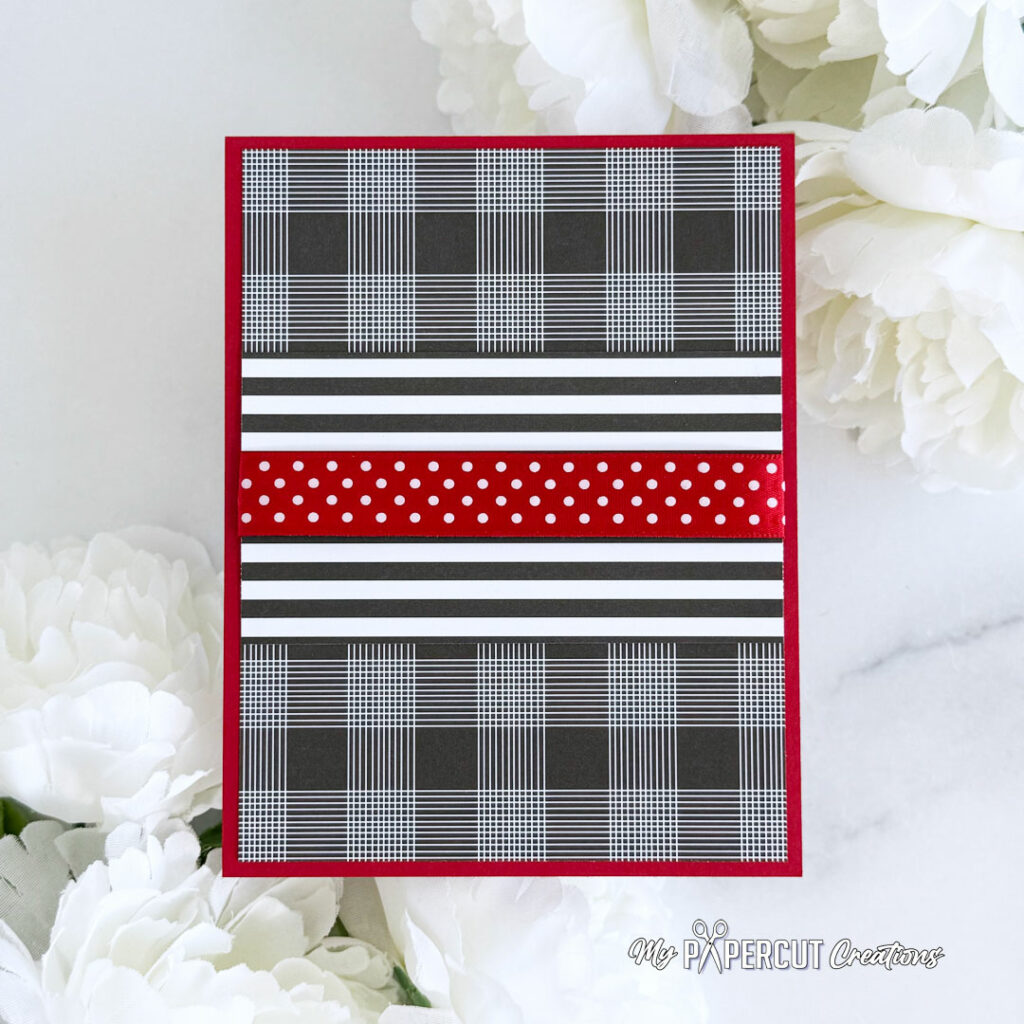
Step 3: Adhere panel to an A2 panel of Pure Poppy cardstock with liquid glue.
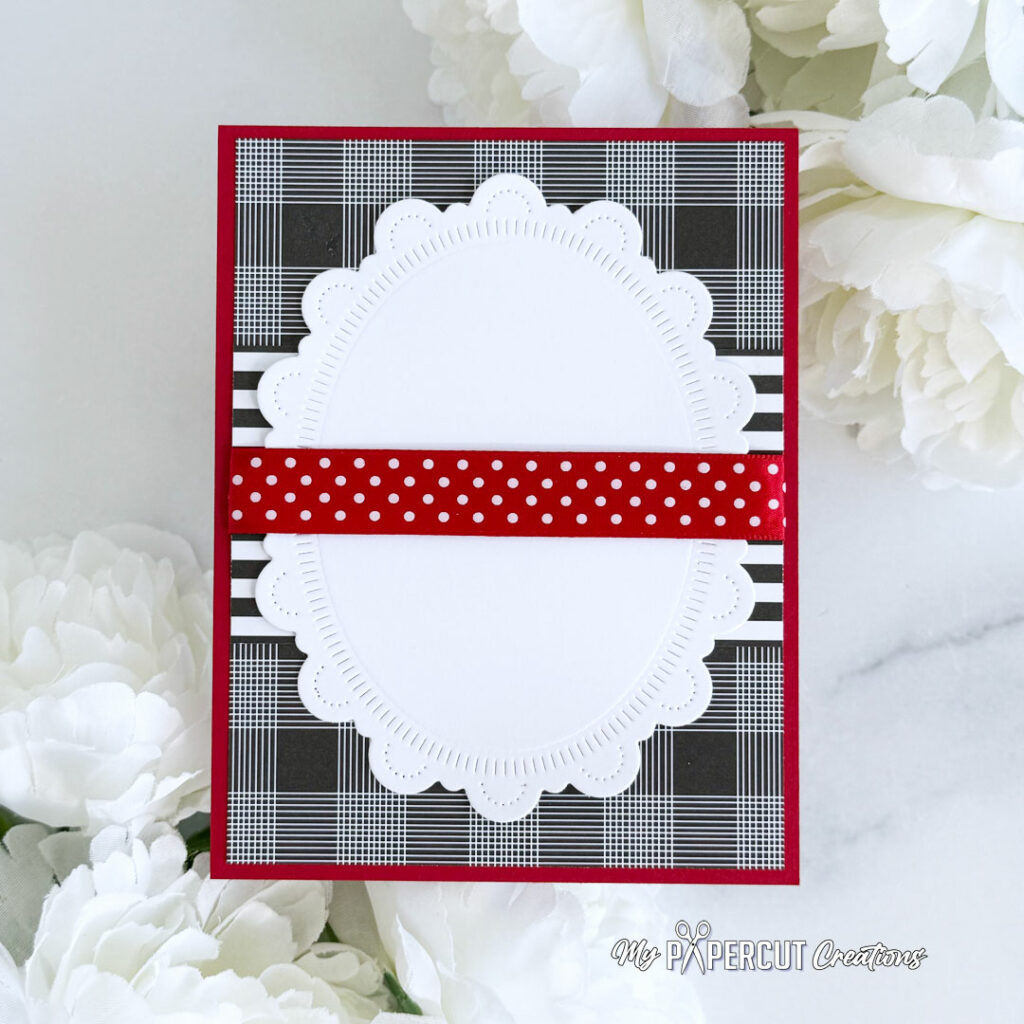
Step 4: (This should have been step 3, but I got ahead of myself. Luckily, the ribbon wasn’t adhered to the front of the panel, so I could slip it underneath.) Die-cut the largest die in the Reflections: John 1:14 Die Set from Stamper’s Select White cardstock and adhere with liquid glue.
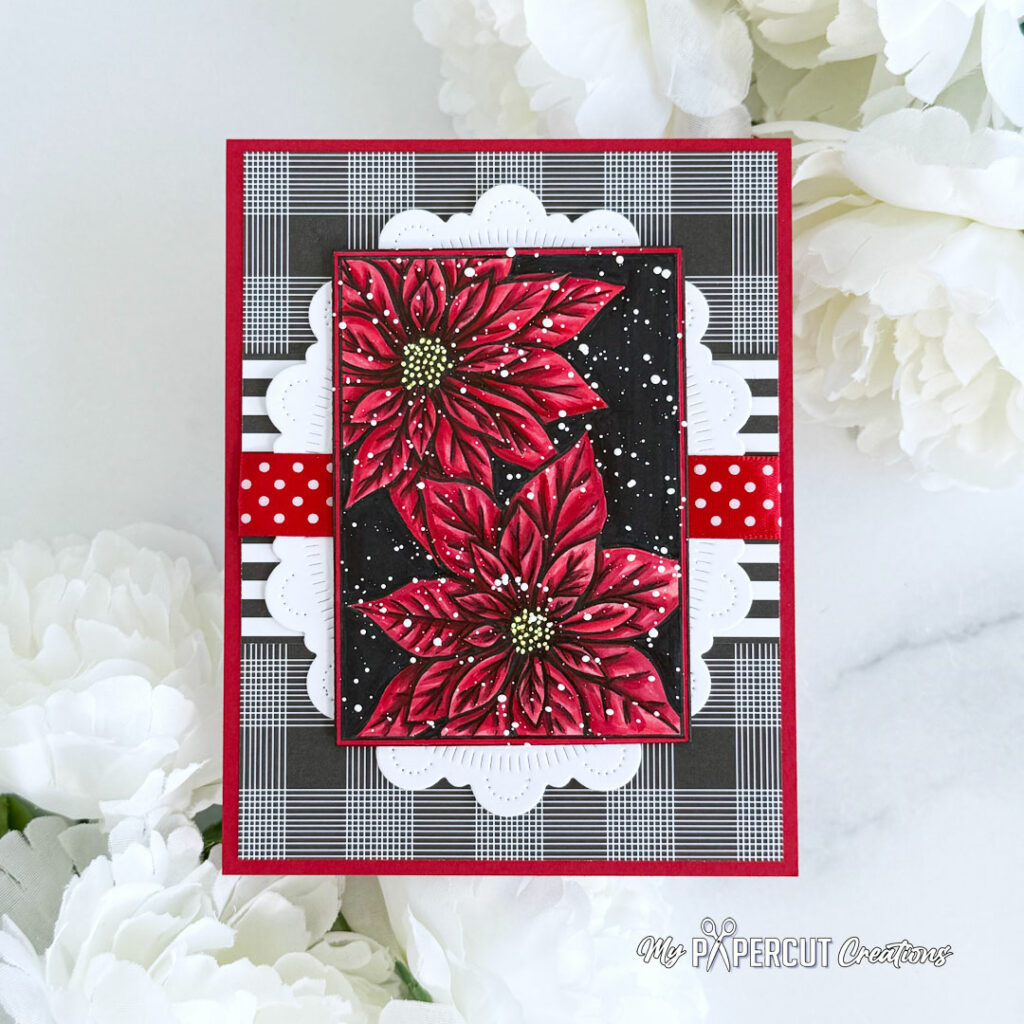
Step: 5: Stamp the image from the Framed In Flowers: Christmas Stamp Set onto Stamper’s Select White cardstock with Copic-friendly black ink. Color with Copic markers: R59, R37, R29, R35, R32, YR24, Y08 & 100. Darken the shadows with a black colored pencil and die-cut with the Coordinating Die. Add dots to the centers of the poinsettia with a yellow gel pen, then splatter with diluted white bleed-proof ink and set aside to dry. Once dry, adhere to the background with foam tape.
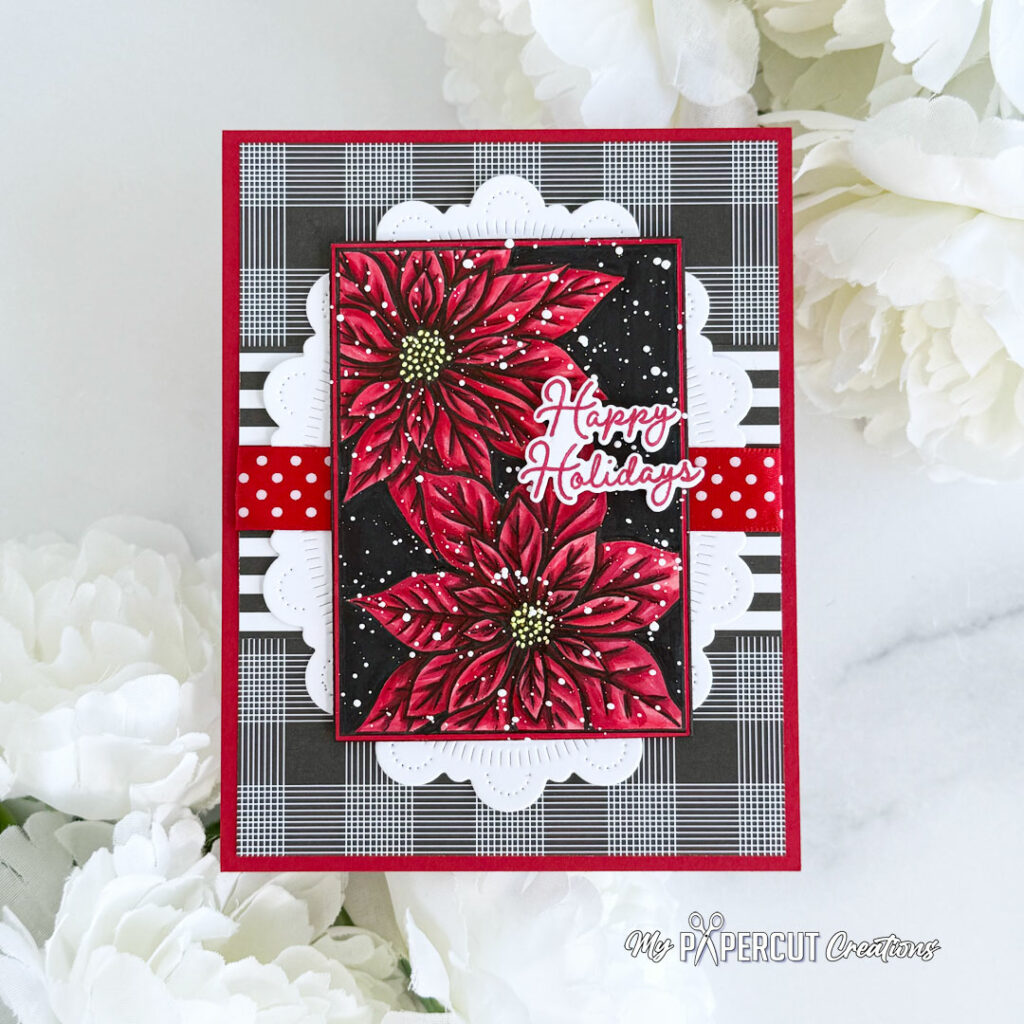
Step 6: Stamp the sentiment from the Holiday Wreath Stamp Set onto Stamper’s Select White cardstock with Pure Poppy ink. Cut out with the Coordinating Die and pop up with foam tape.
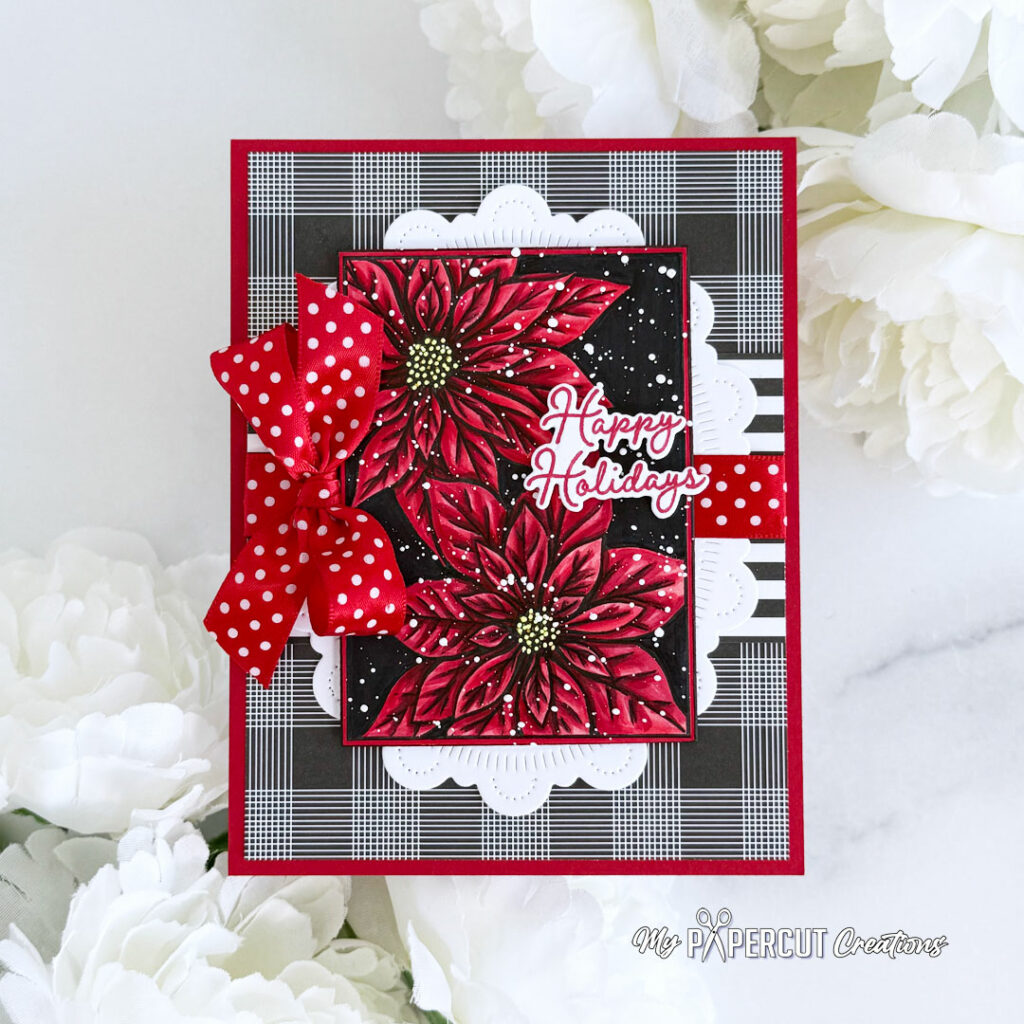
Step 7: Tie Pure Poppy Swiss Dot 5/8″ Satin Ribbon into a bow and adhere with a glue dot.
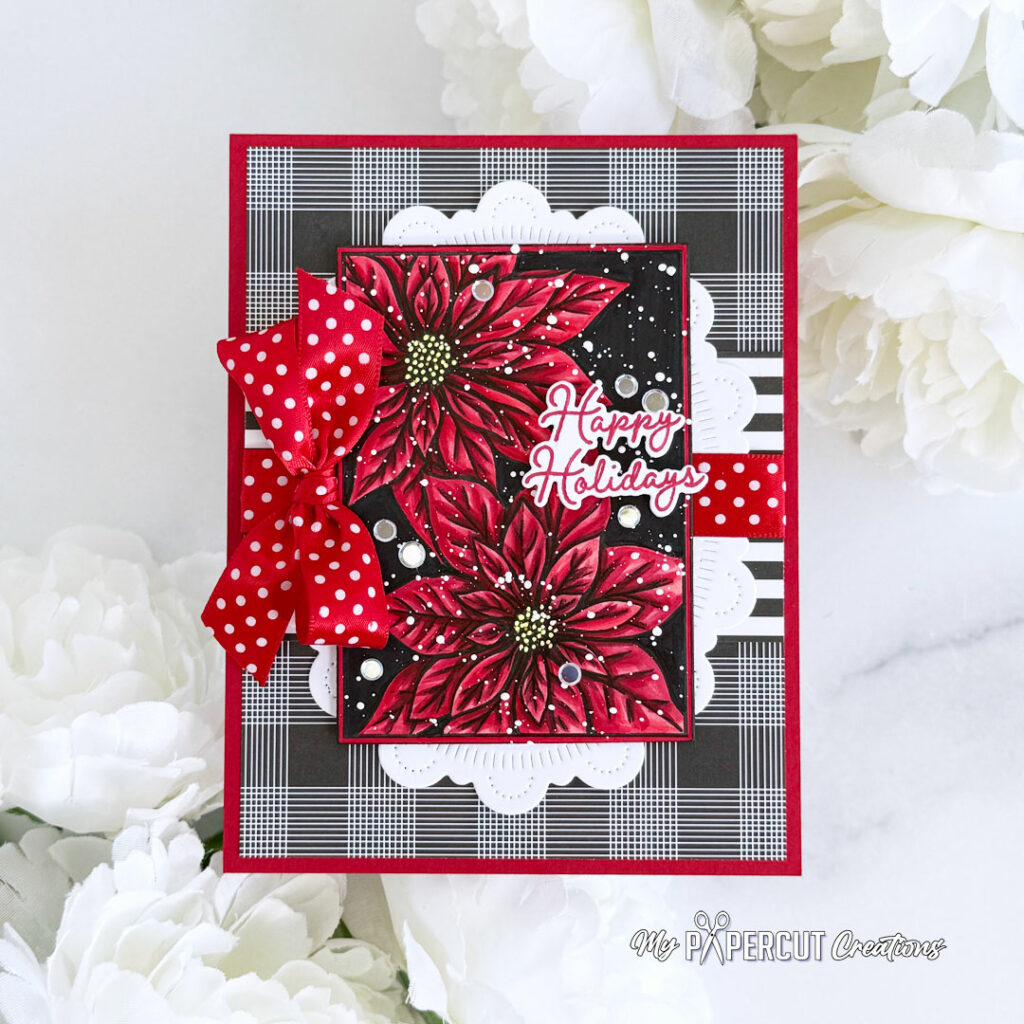
Step 8: Add Moonshine Sequins for a little extra holiday sparkle.
Thank you so much for stopping by and spending a little creative time with me!! I hope you enjoyed seeing how this festive card came together and that it inspires you to pull out your favorite Papertrey Ink goodies and get started on your holiday cards!!
Thank you so much for stopping by!! Have a wonderful week!!
Linda c says
Beautiful.