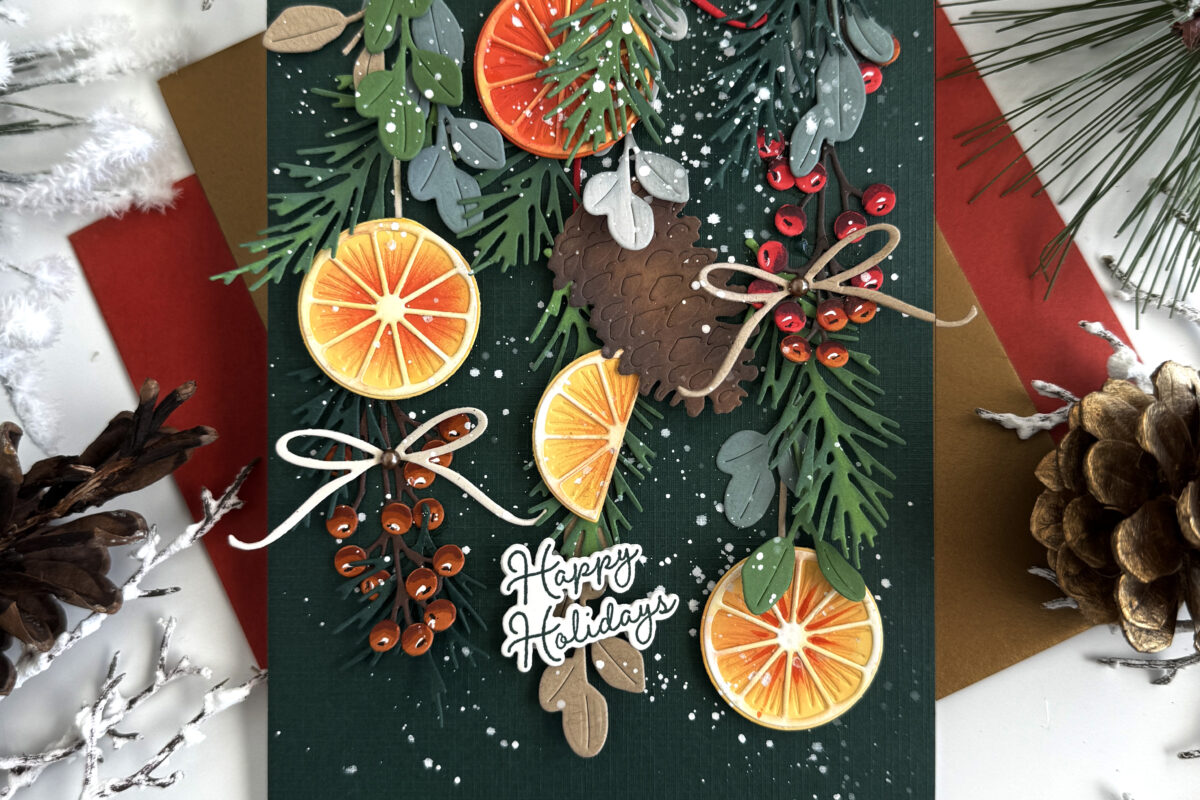
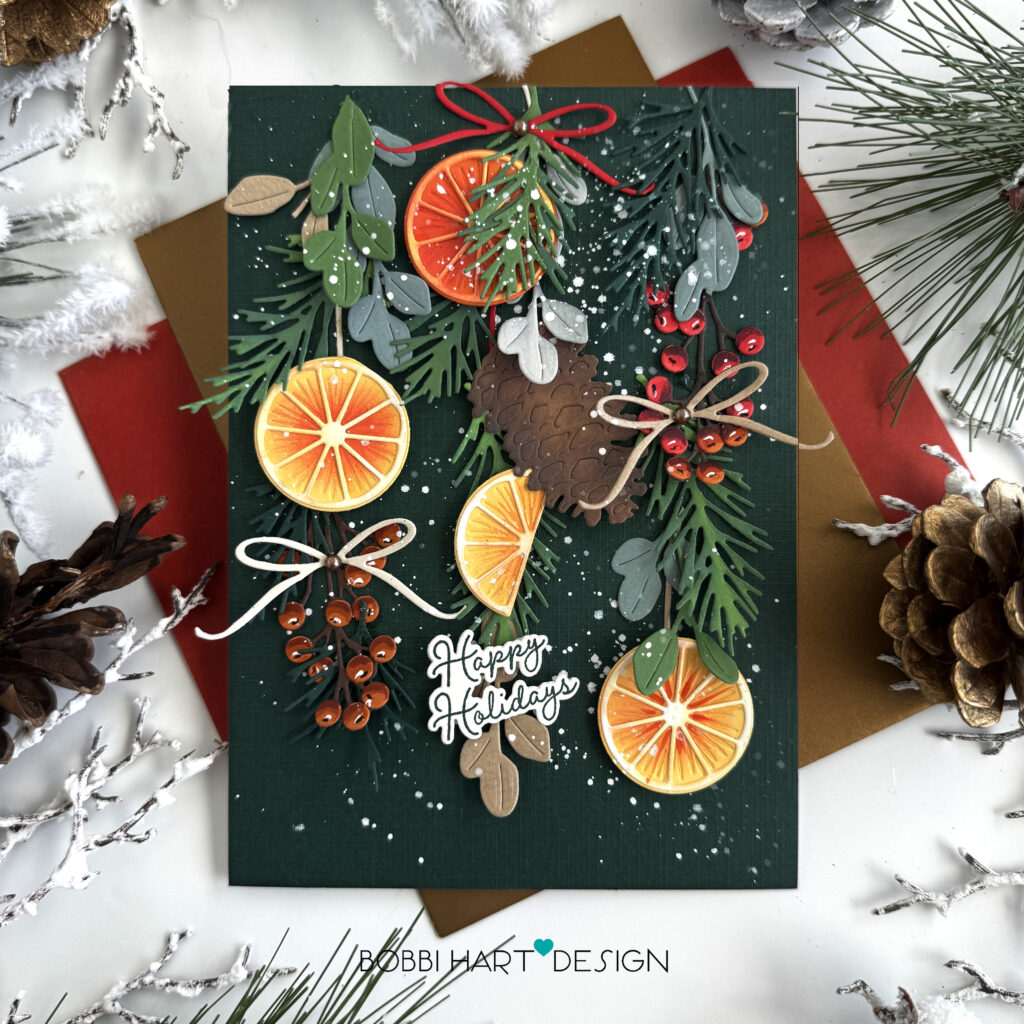
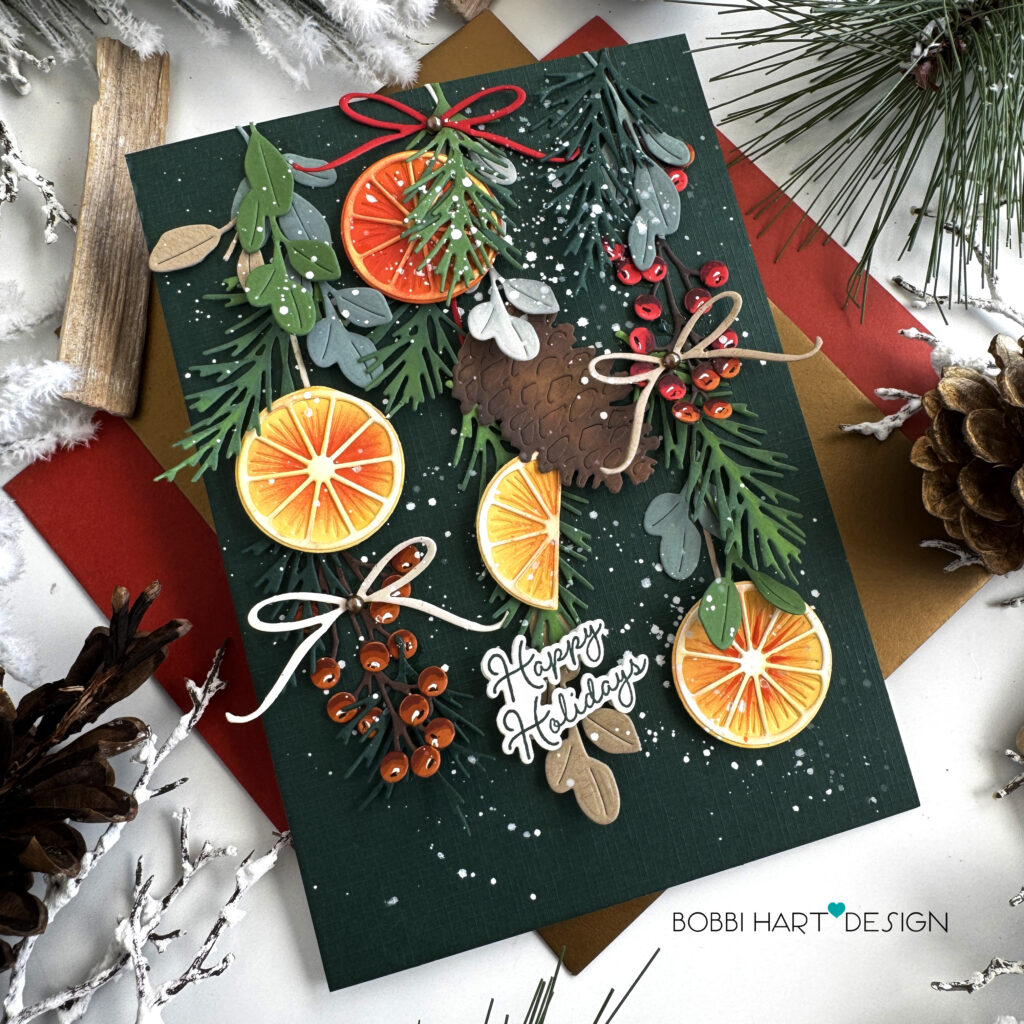
Rich, rustic colors and nature-inspired details give today’s card the warmth and charm of the holiday season. Hanging from delicate strings are dried orange slices, evergreen sprigs, mistletoe, and branches filled with rich red and rust-colored berries, each accented with sweet little twine bows.
I layered the festive arrangement over deep green Pinefeather cardstock, creating a dramatic backdrop that makes all of those warm holiday colors stand out beautifully. A simple “Happy Holidays” sentiment finishes the card while letting the hanging details take center stage. I love how this one combines traditional Christmas greenery with the earthy colors and rustic charm of dried oranges and berries!
My 5″ X 7″ card features the following Papertrey Ink products:
Into the Blooms: Holiday Bouquet dies
Holiday Wreath stamp set and coordinating dies
This card is 5″ X 7″ and uses a white card base made from Stamper’s Select White cardstock. Here are the step-by-step details for creating this holiday greeting.
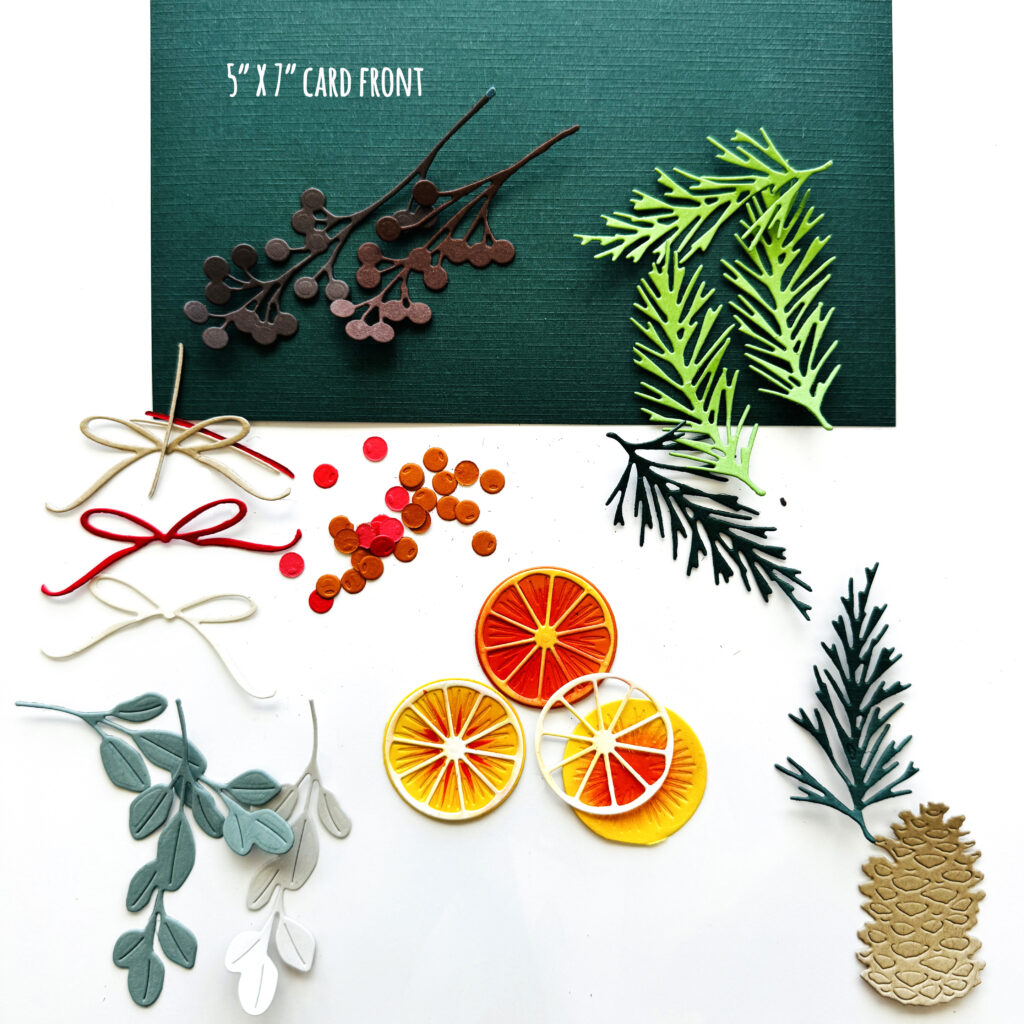
STEP ONE: Cut a 5″ X 7″ piece of Pinefeather cardstock for the card front. Die cut and assemble the remaining die cuts: foliage, berry branches, pinecone, orange slices and twine bows. Use the following cardstock colors for the die cuts: Ocean Tides, Pinefeather, New Leaf, Pure Poppy, Classic Kraft, Dark Chocolate and Stamper’s Select White cardstock. NOTE: If you are making an A2-size card, one thicker garland will fill the front!
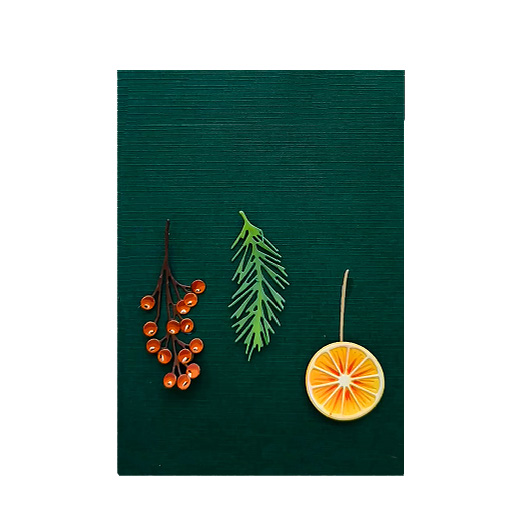
STEP TWO: Begin attaching the fruits and foliage in three distinctive columns. Add shadowing and white highlights to the berries to make them appear rounded. Use the strings (part of the bow die) to connect the elements in each vertical garland of festive decor. Alternate the individual items so that each garland is balanced and unique. Use foam tabs under larger items such as the orange slices to create more dimension on the front of the card.
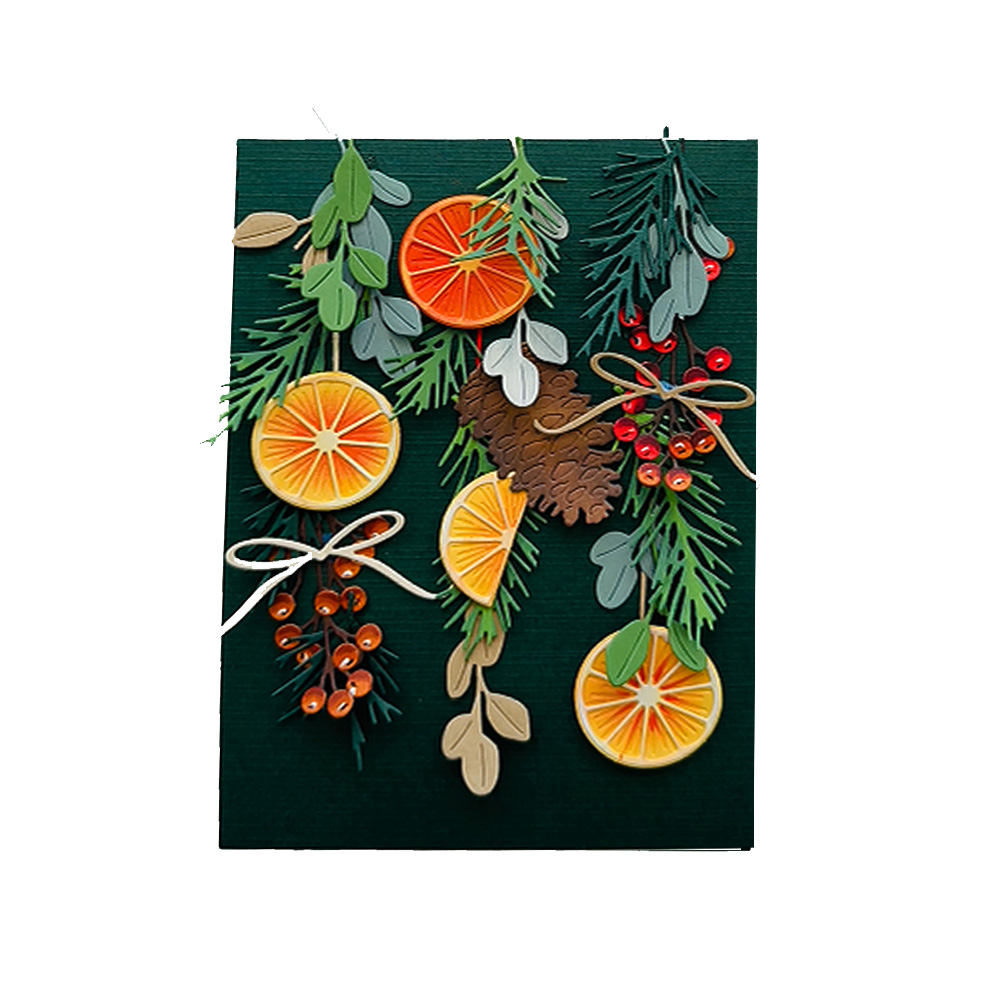
STEP THREE: Fill in each hanging garland. Die cut more items as needed. Attach one bow to each garland strand, alternating the location of each bow. (See the red bow on the center garland in the next photo.)
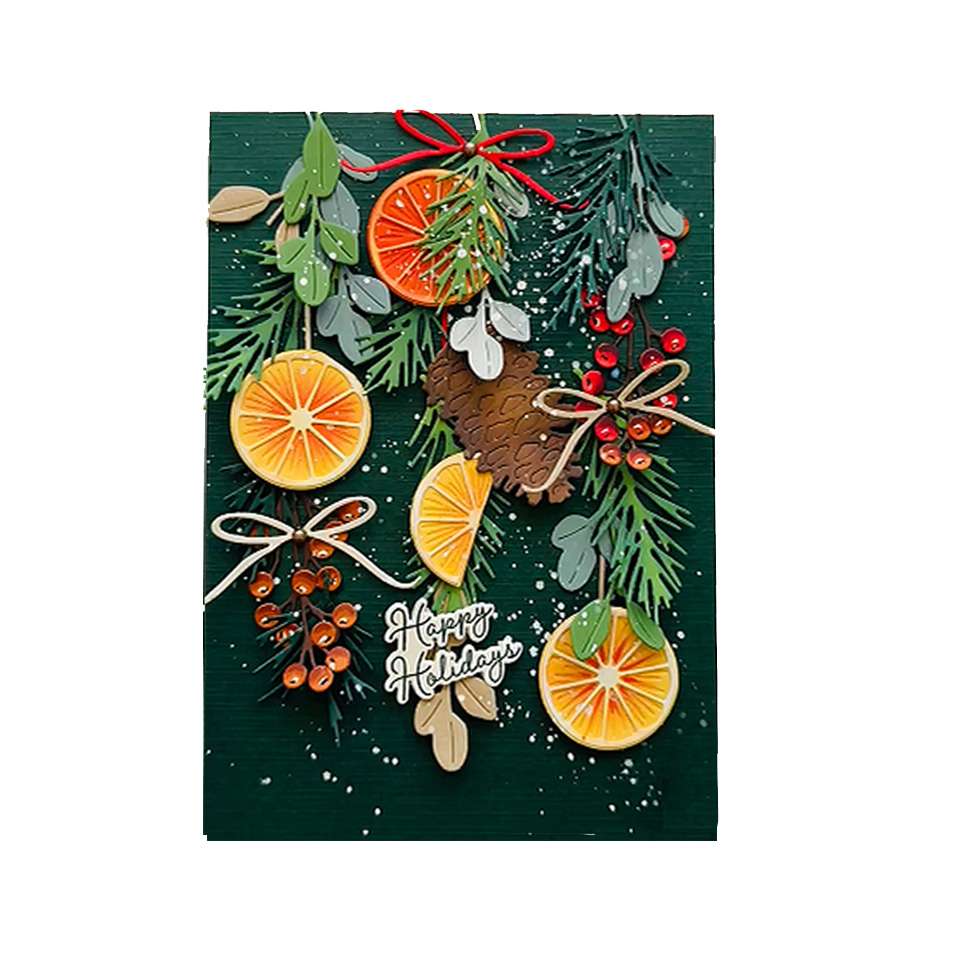
STEP FOUR: Once all the fruit and foliage are in place, Splatter white paint over the card front for freshly fallen snow. Attach a bronze pearl gem sticker to the center of each bow. Stamp once using Pinefeather Ink and die cut three pieces for the “Happy Holidays” sentiment from the stamp set, Holiday Wreath stamp set and coordinating dies. Stack the cuts, glue and attach to the bottom of the center garland for a thicker, less bendable sentiment die cut.
STEP FIVE: Attach the card front to an A7 card base. This card is ready to send!
You can shop the entire collection here at Papertrey Ink! If you decide to place an order, please use the links in this post so that Papertrey Ink team knows what inspired you. I appreciate it very much. It helps me to continue to bring more ideas to you!
Thanks for stopping by today. If you want to see more ideas and inspiration from me, subscribe to my blog, BobbiHartDesign.com. I’ll send you updates on new posts! You can also find me on Instagram as @BobbiHartDesign and on Facebook as BobbiHartDesign. Bobbi Hartmann Lemanski, Bobbi Hart♥ Design, Adding h♥art into every design
Leave a Reply