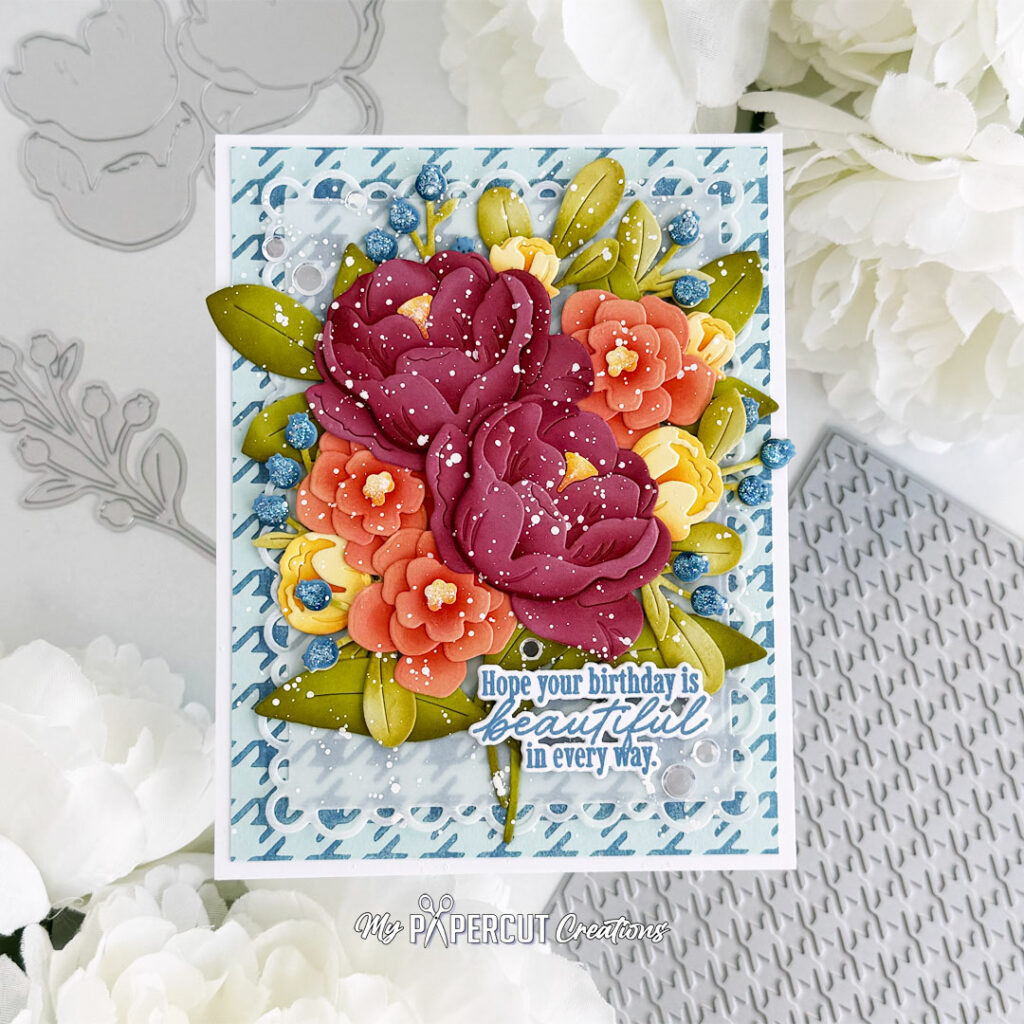
Hello, crafty friends!! Brenda back with a Project Inspiration project to share with you today!! There’s something extra special about a handmade birthday card filled with layers, dimension, and beautiful details!! For this card, I combined a gorgeous mix of deep berry, coral, and yellow flowers with leafy greenery, pops of sparkling blue, and a blue houndstooth background. A little white splatter adds an artistic touch, while the sentiment brings everything together with a cheerful birthday wish!!
Supplies
Stamps: Blooming Beauties
Dies: Into the Blooms: Freshly Picked, Love to Layer: A Little Loopy, Blooming Beauties
Press Plate: Houndstooth
Ink: Scarlet Jewel, Berry Sorbet, Terracotta Tile, Summer Sunrise, Melon Berry, Simply Chartreuse, Ripe Avocado, Dark Indigo, Blueberry Sky
Cardstock: Autumn Rose, Melon Berry, Lemon Tart, Blueberry Sky, Spring Moss, Simply Chartreuse, Coastal Blue, Stamper’s Select White
Other supplies: Moonshine Sequins, Versamark Ink, white embossing powder, white bleed-proof ink, vellum, Star Dust Stickles, liquid glue
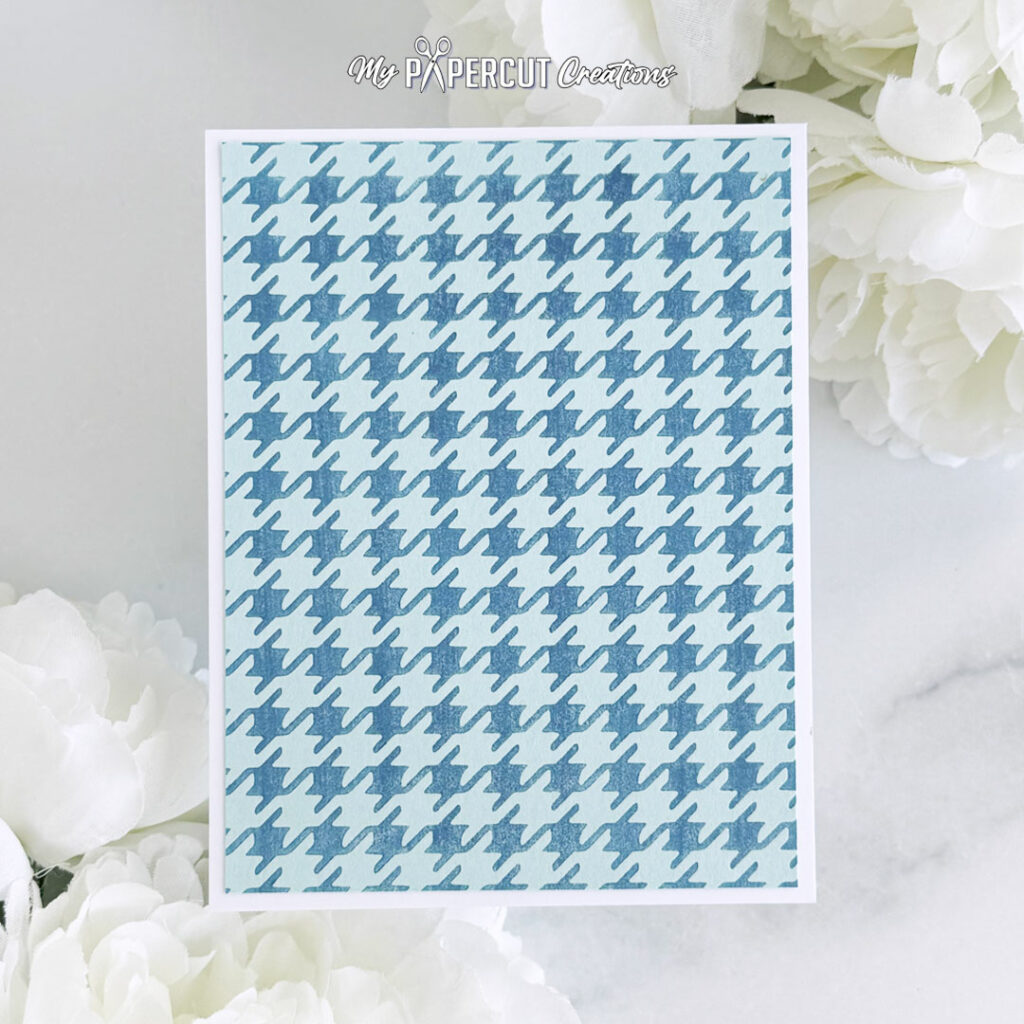
Step 1: Press Blueberry Sky ink onto A2 panel of Coastal Blue cardstock with the Houndstooth Press Plate using the BetterPress System. Trim & adhere to A2 white card base with liquid glue.
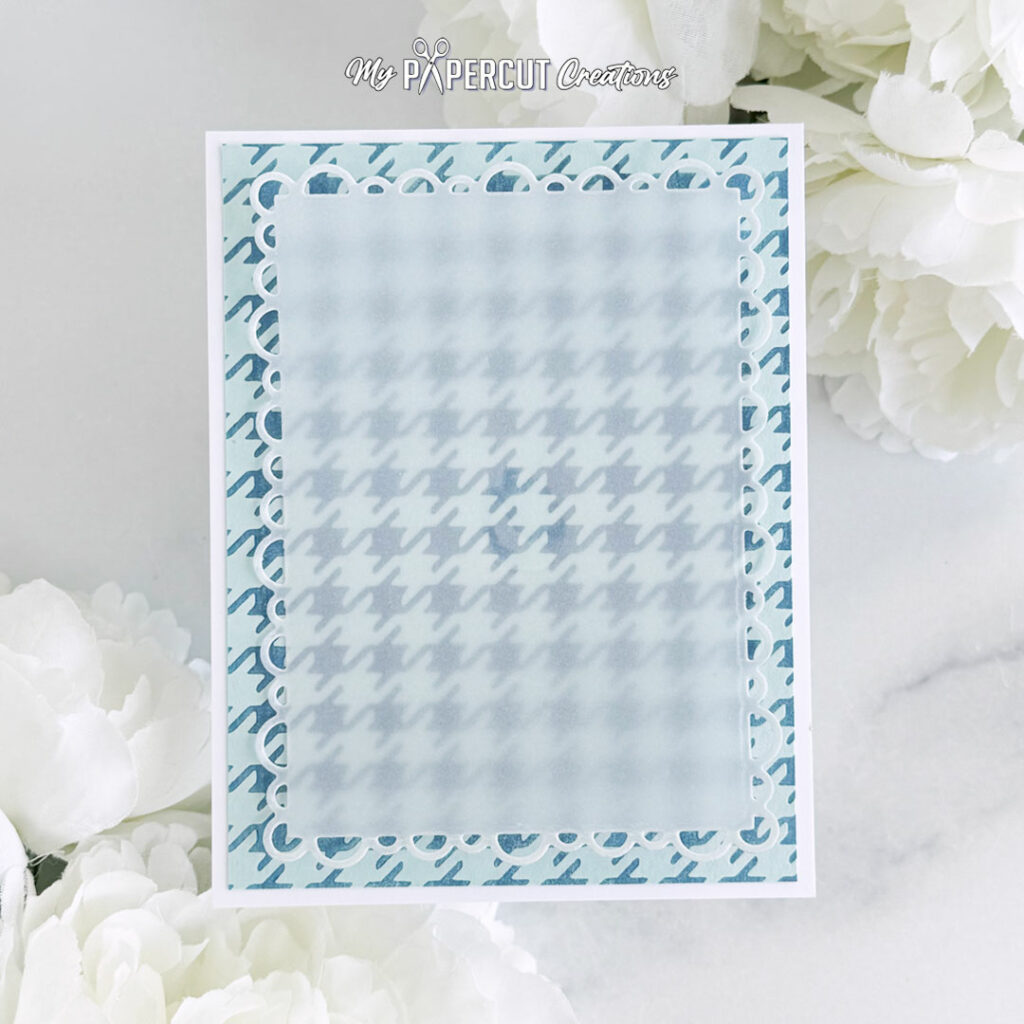
Step 2: Die-cut the largest die in the Love to Layer: A Little Loopy Die Set from vellum and adhere to the center of the background.
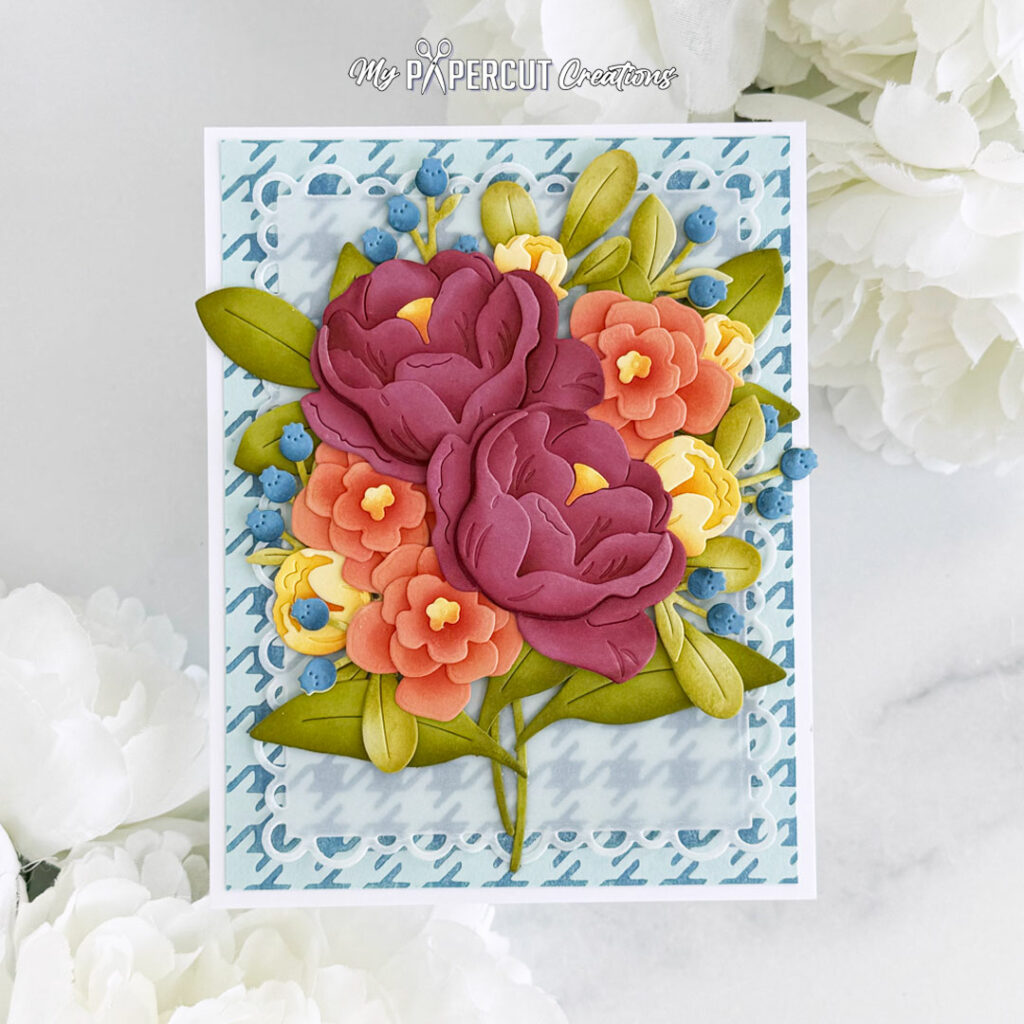
Step 3: Die-cut the flowers and foliage in the Into the Blooms: Freshly Picked Die Set from Autumn Rose, Melon Berry, Lemon Tart, Blueberry Sky, Spring Moss and Simply Chartreuse cardstock. Add shading with Scarlet Jewel, Berry Sorbet, Terracotta Tile, Summer Sunrise, Melon Berry, Simply Chartreuse, Ripe Avocado and Dark Indigo inks using blending brushes. Arrange and adhere to the background with liquid glue.
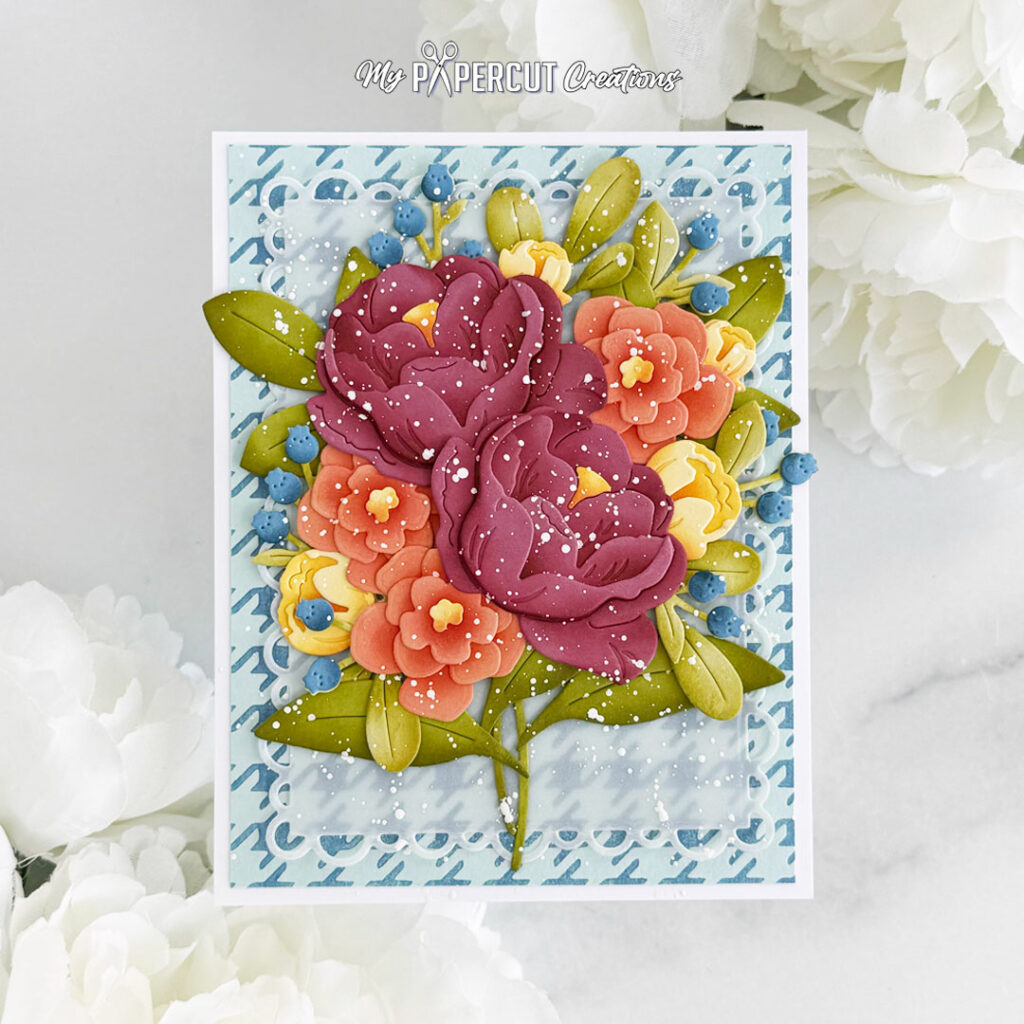
Step 4: Splatter with white bleed-proof ink.
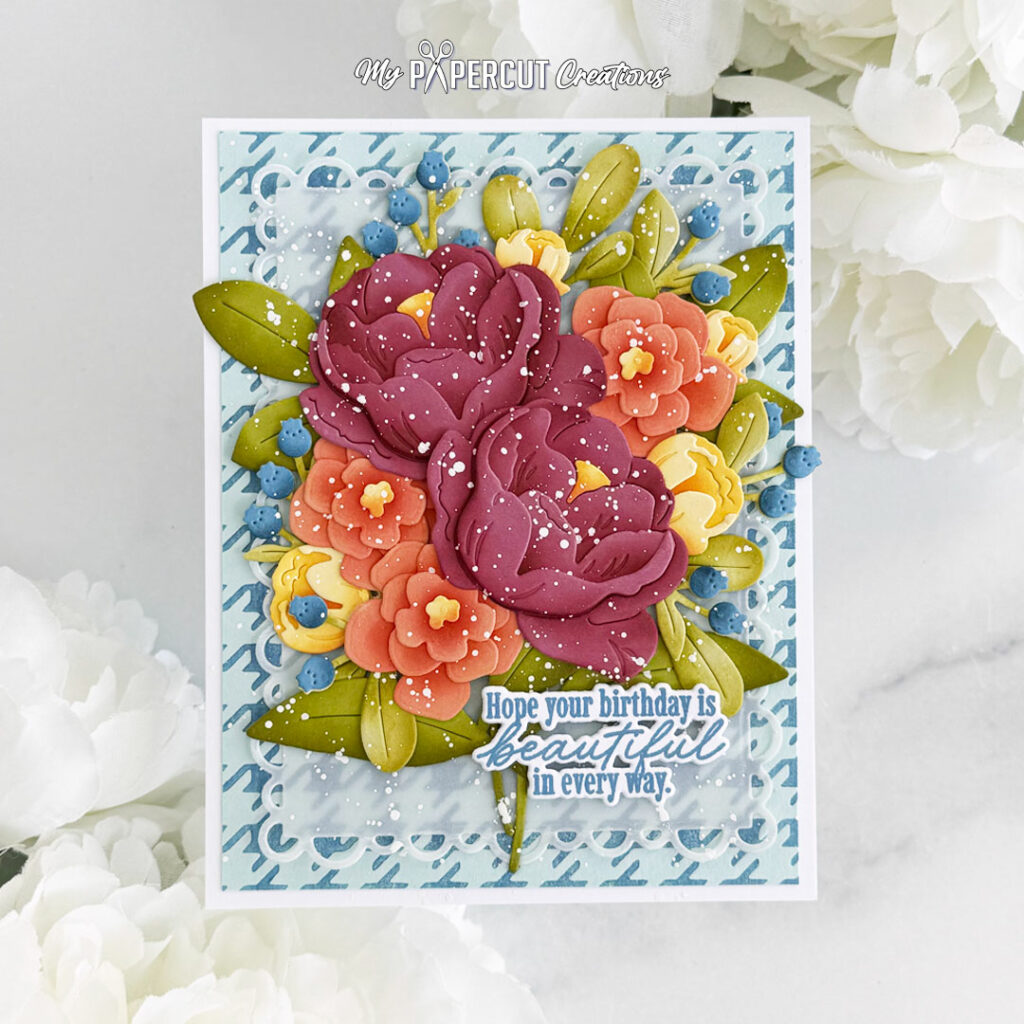
Step: 5: Die-cut the sentiment from the Blooming Beauties Die Set from Stamper’s Select White cardstock and stamp with the sentiment from the Blooming Beauties Stamp Set with Blueberry Sky ink. Die-cut three more layers from Stamper’s Select White cardstock, adhere to the back of the stamped one, then adhere to the front of the card.
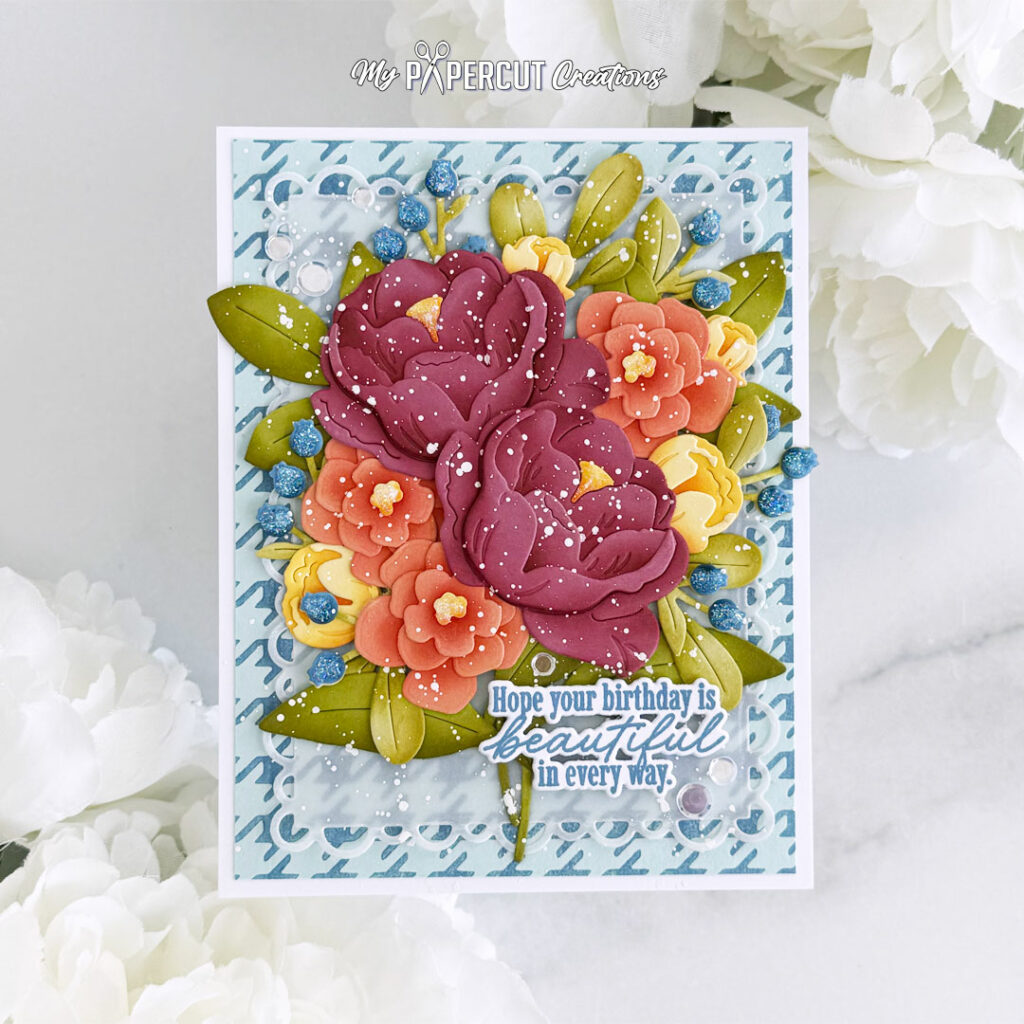
Step 6: Add Star Dust Stickles to the berries and the centers of the flowers. Sprinkle Moonshine Sequins around the sentiment and in the upper, left corner.
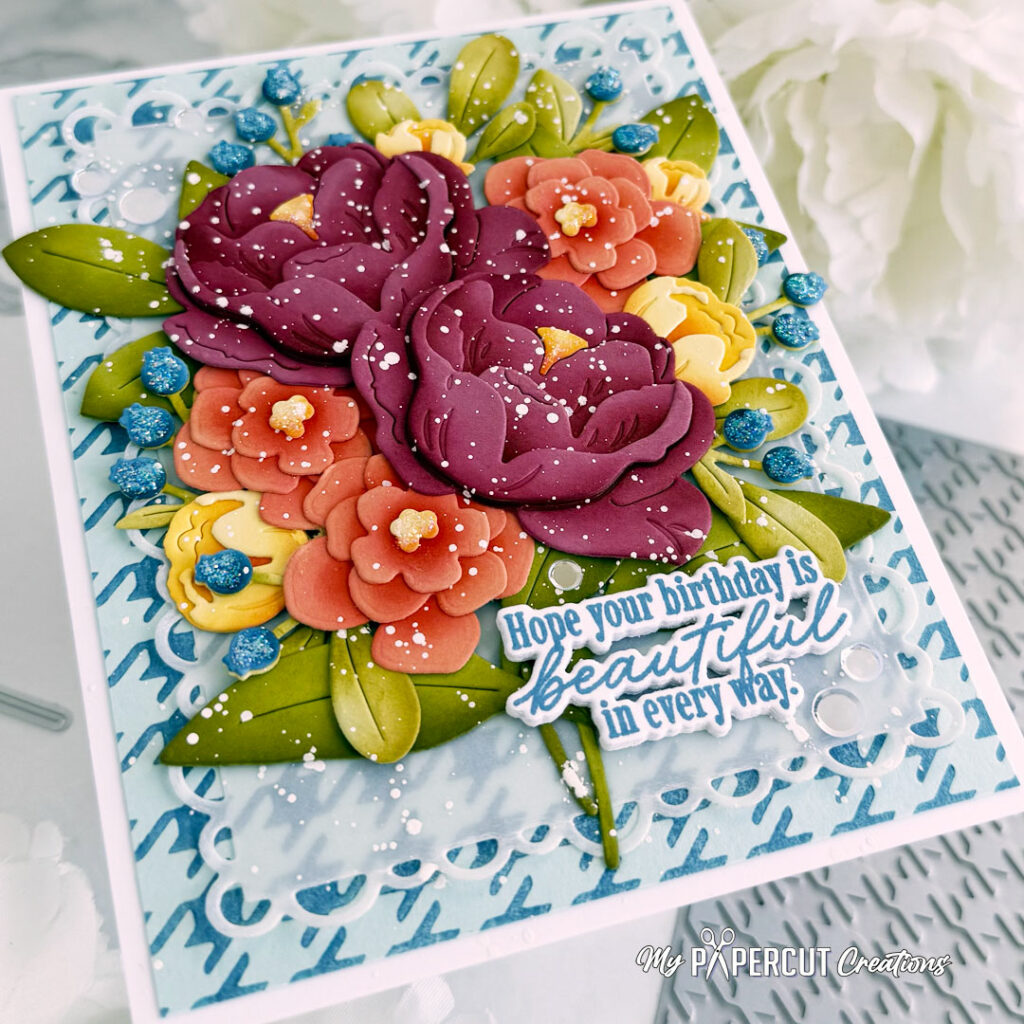
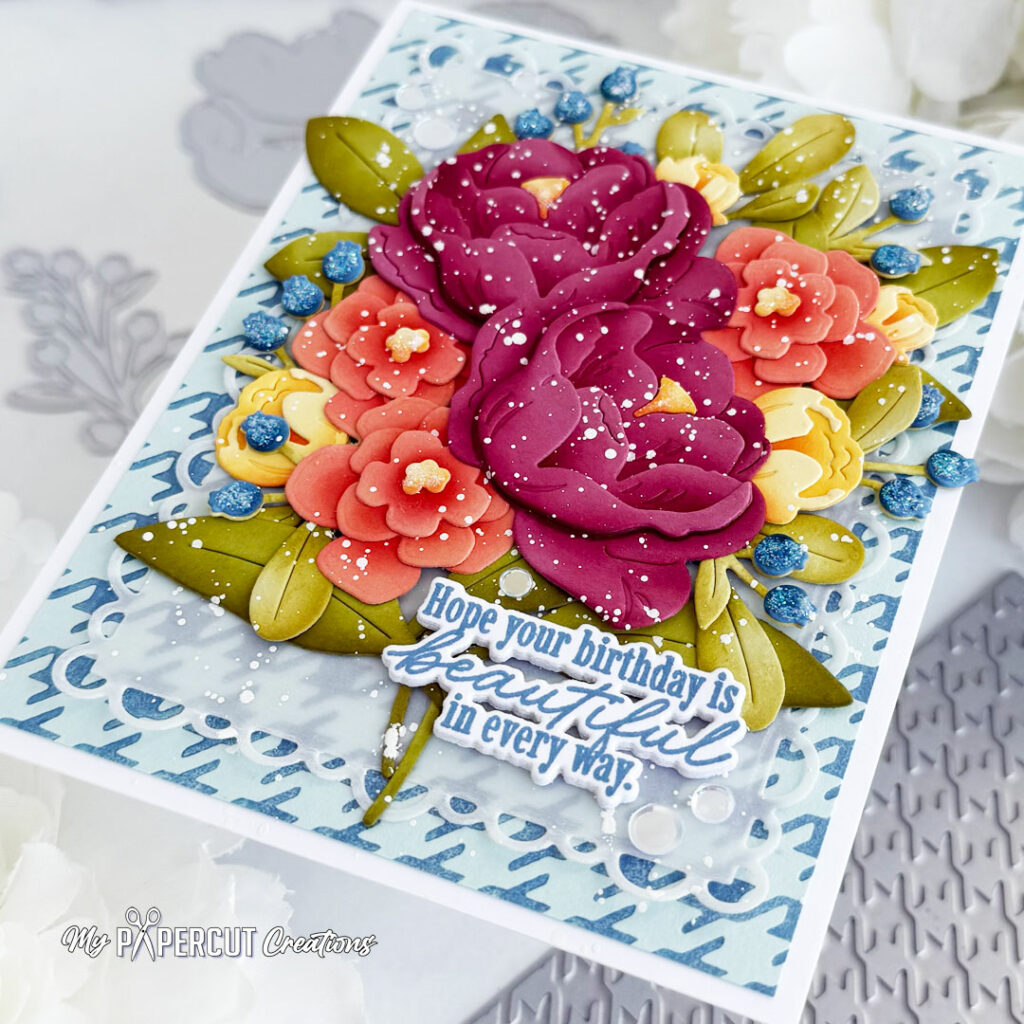
I hope this inspires your next birthday project!! Such a sweet way to celebrate someone special and wish them a birthday that’s beautiful in every way!!
Thank you so much for stopping by!! Have a wonderful week!!
Joan says
Very pretty!!!! 🥰
Linda c says
Beautiful.
Phyllis Miller says
This was a great display of layers and color!