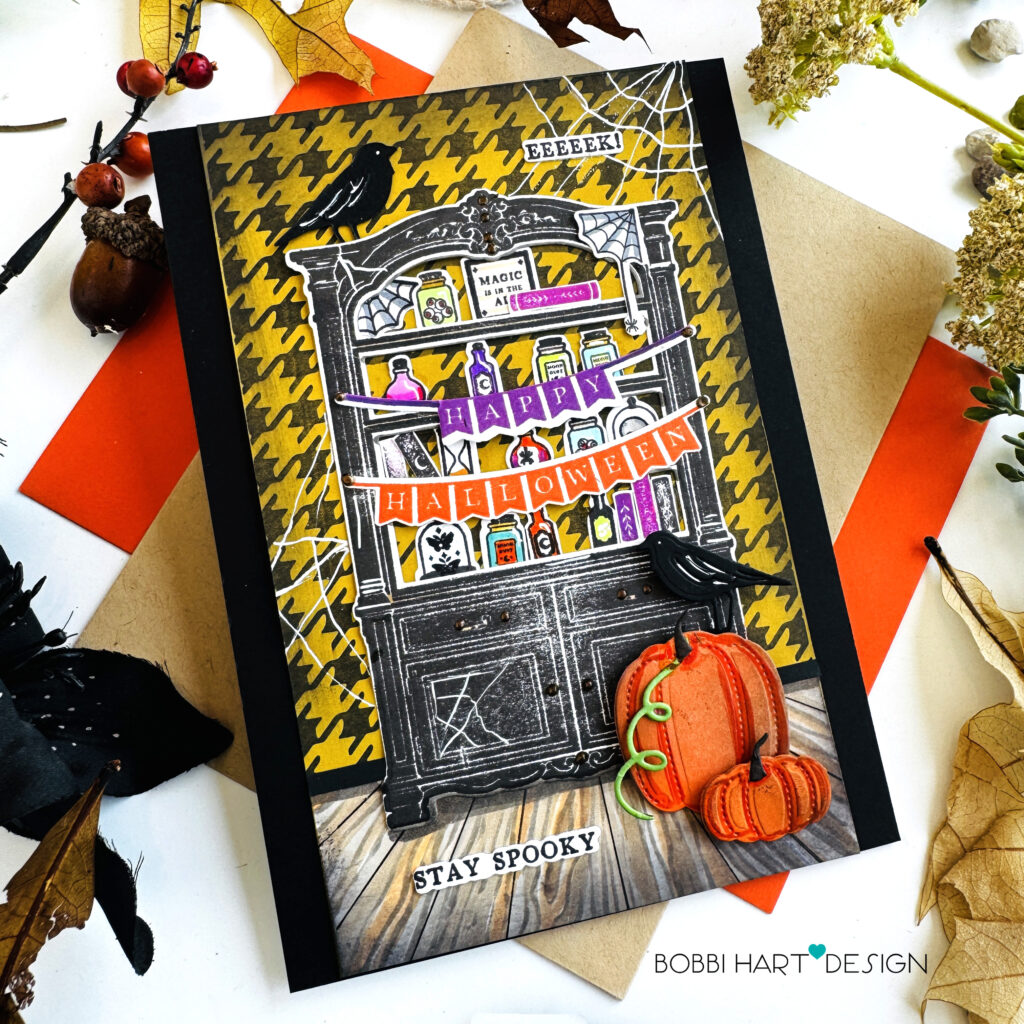
Step inside the spooky mansion study, where things are looking delightfully bewitching! A mysterious black bookcase takes center stage, packed from top to bottom with dusty old books, curious potions, creepy body parts, and all sorts of Halloween oddities. Behind it, a bold houndstooth wallpaper and a creeky old wood floor gives the room a wonderfully dramatic backdrop—just the right mix of sophisticated and spooky. It feels like the kind of study where a witch might curl up with a spell book, brew a questionable potion, and keep a few strange specimens on the shelf…just in case!
My card features some new Halloween goodies from the Papertrey Ink August 2026 release including:
Bewitching Bookcase stamp set and coordinating die set
Halloween Silhouettes stamps and coordinating die set
This card measures 5″ X 7″ and uses a white card base made from Stamper’s Select White cardstock. True Black Ink was used for all the black ink stamping. Here are the step-by-step details for creating this card including how to create the perfect wood floor for this bookcase! Here’s a reel to watch, too!
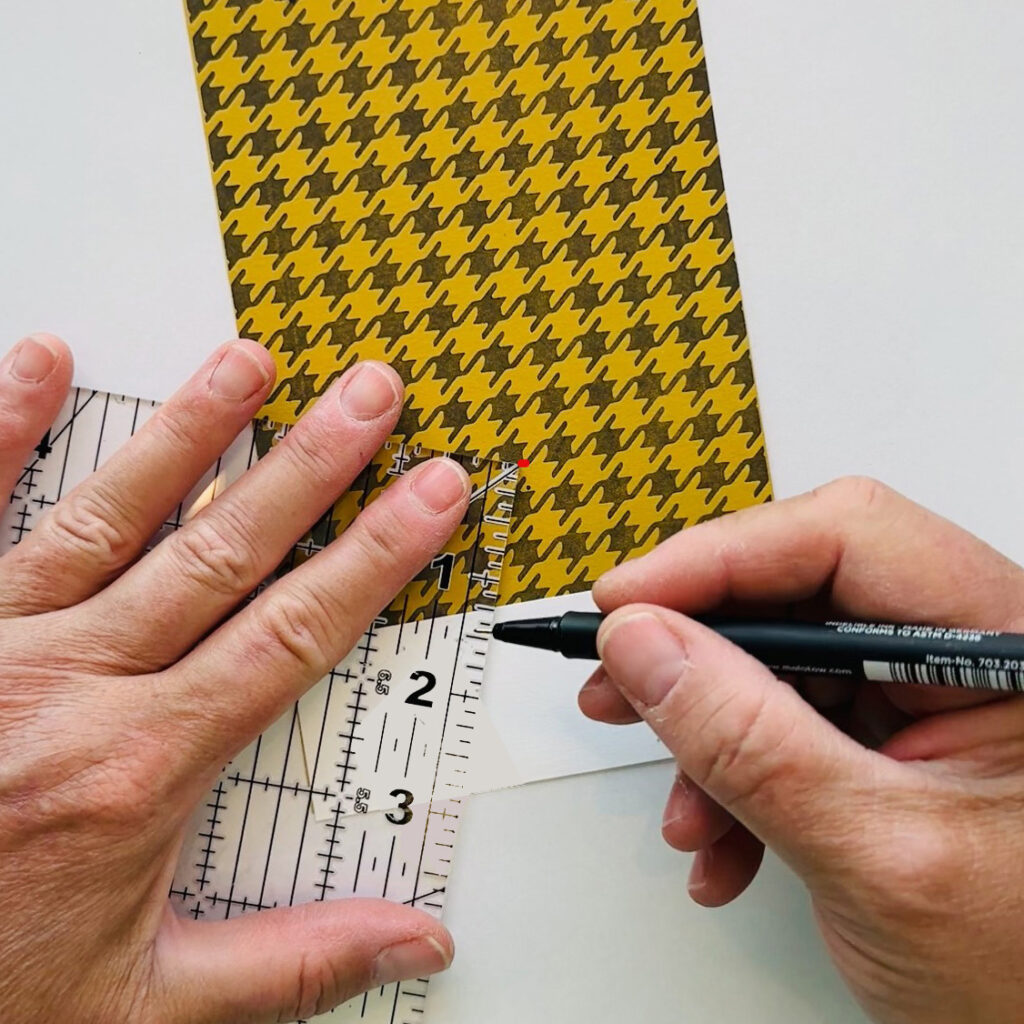
Step 1: Using the Houndstooth Press Plate and the BetterPress Press Plate System, press LetterPress black ink on Saffron Spice cardstock to make the pattern houndstooth wallpaper for the witches’ study. Cut the the design down to 4-1/4″ wide X 7″ tall, cutting next to the design’s edges, leaving room for a 1-1/2″ X 4-1/4″ band of Stamper’s Select White cardstock at the bottom. Attach the white band. This will be the wood floor.
Mark a center point about 1-1/2″ above the bottom of the houndstooth pattern (see red dot in photo above). Using a ruler and a fine-tip black marker, draw lines from the center point to the bottom of the wood floor, pivoting at the center point. This creates a one-point perspective drawing for the floor. You can watch the reel here to see how this is done.
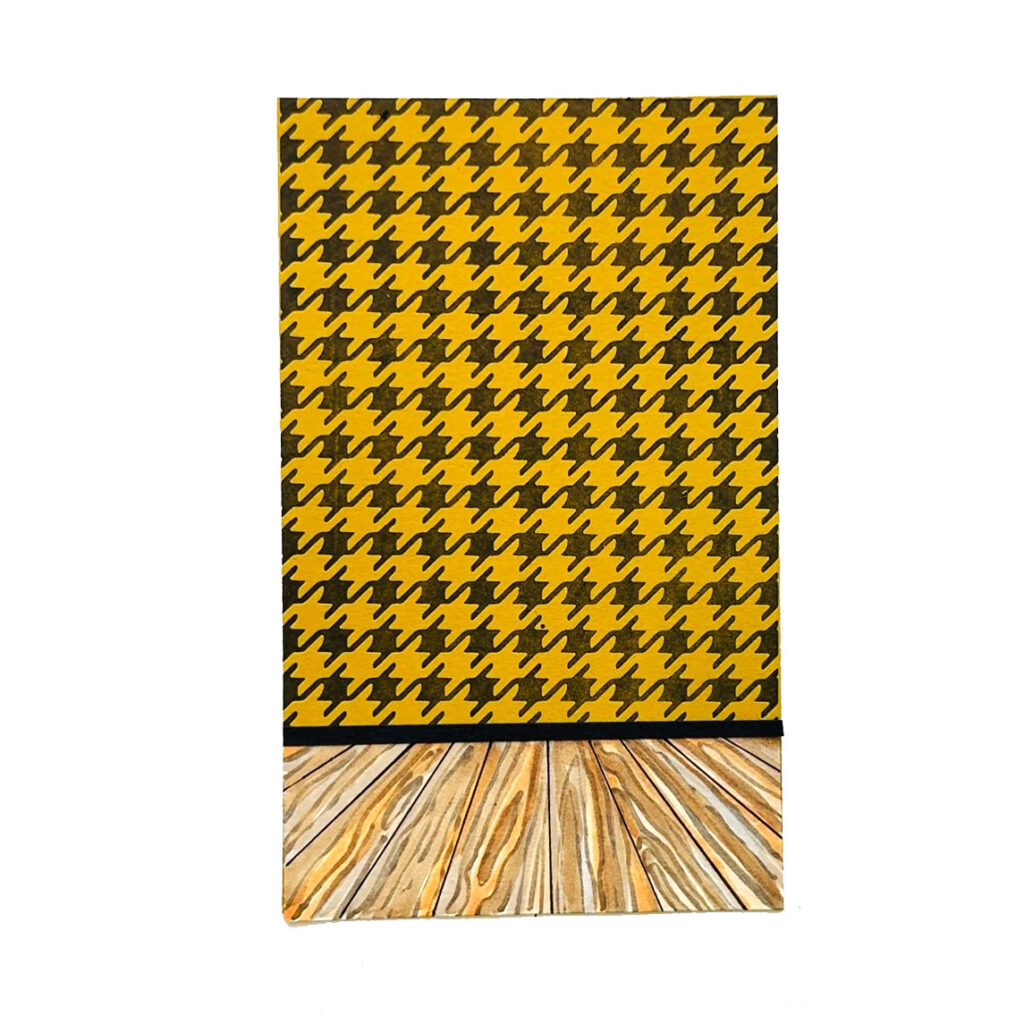
STEP 2: Create woodgrain using Copic markers in W6, W3, E55, E43, E42. Attach a strip of True Black cardstock measuring a 4-1/4″ wide X 1/8″ tall to the top of the wood floor. This will be the wall’s baseboard. It also conceals the edge of the wood floor cardstock for a clean look.
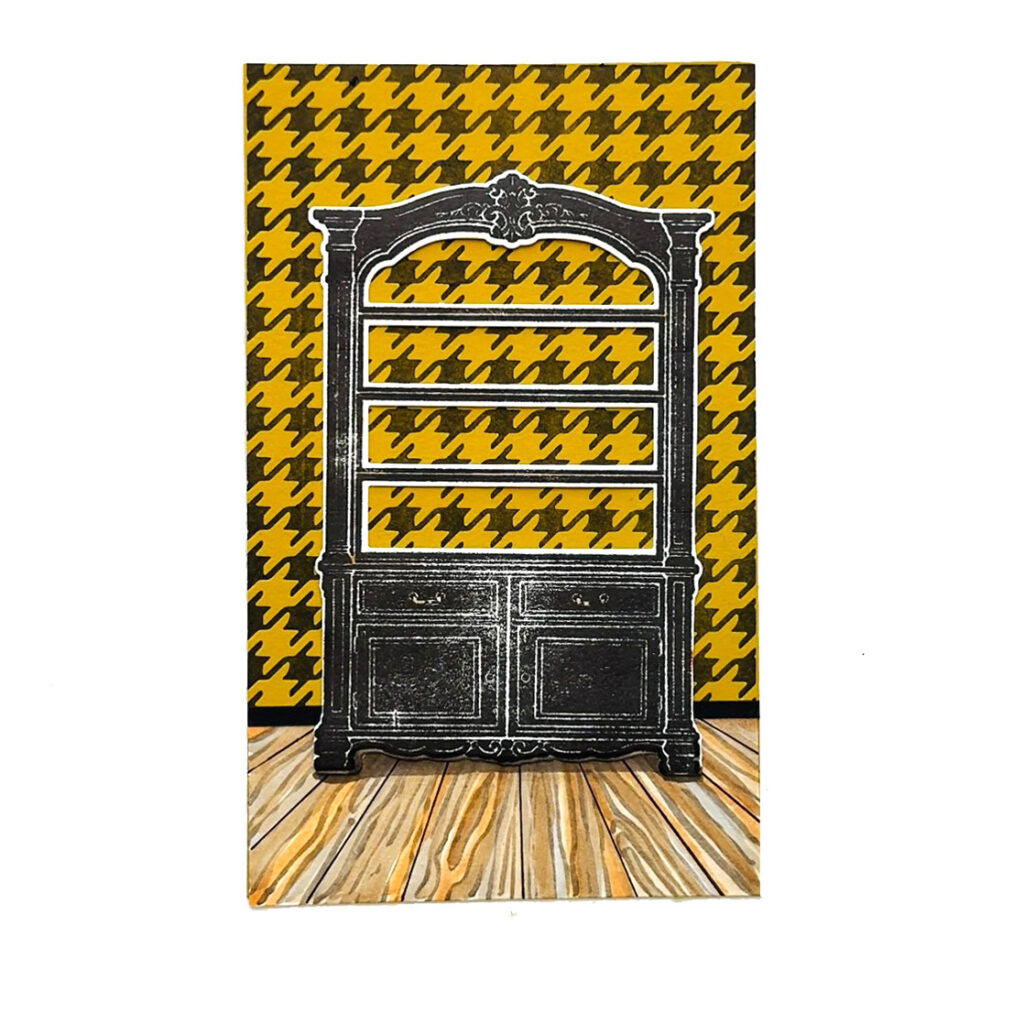
Step 3: Using the Bewitching Bookcase stamps and dies, stamp in True Black on Stamper’s Select White cardstock and die cut the bookcase. Attach the die cut to the scene, allowing the bookcase to rest on the wood floor, below the baseboard. Using a Copic W6 marker, add a shadow below the bookcase base on the floor and under each shelf and the top arch. This will create depth and give the bookcase a more realistic look. It also helps to ground the furniture piece on the floor.
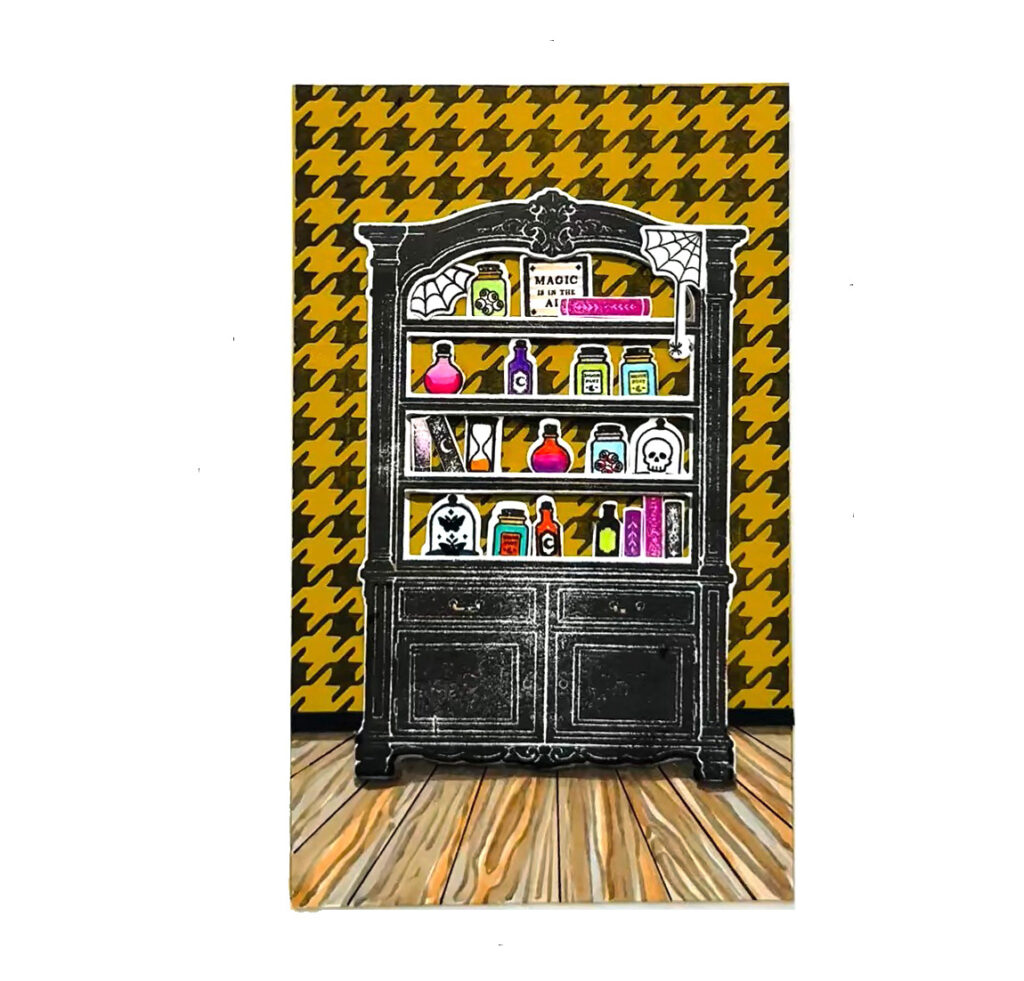
Step 4: Stamp, die cut and attach all the fun books, potion bottles, signs, and extras to the shelves of the bookcase using the Bewitching Bookcase stamps and dies.
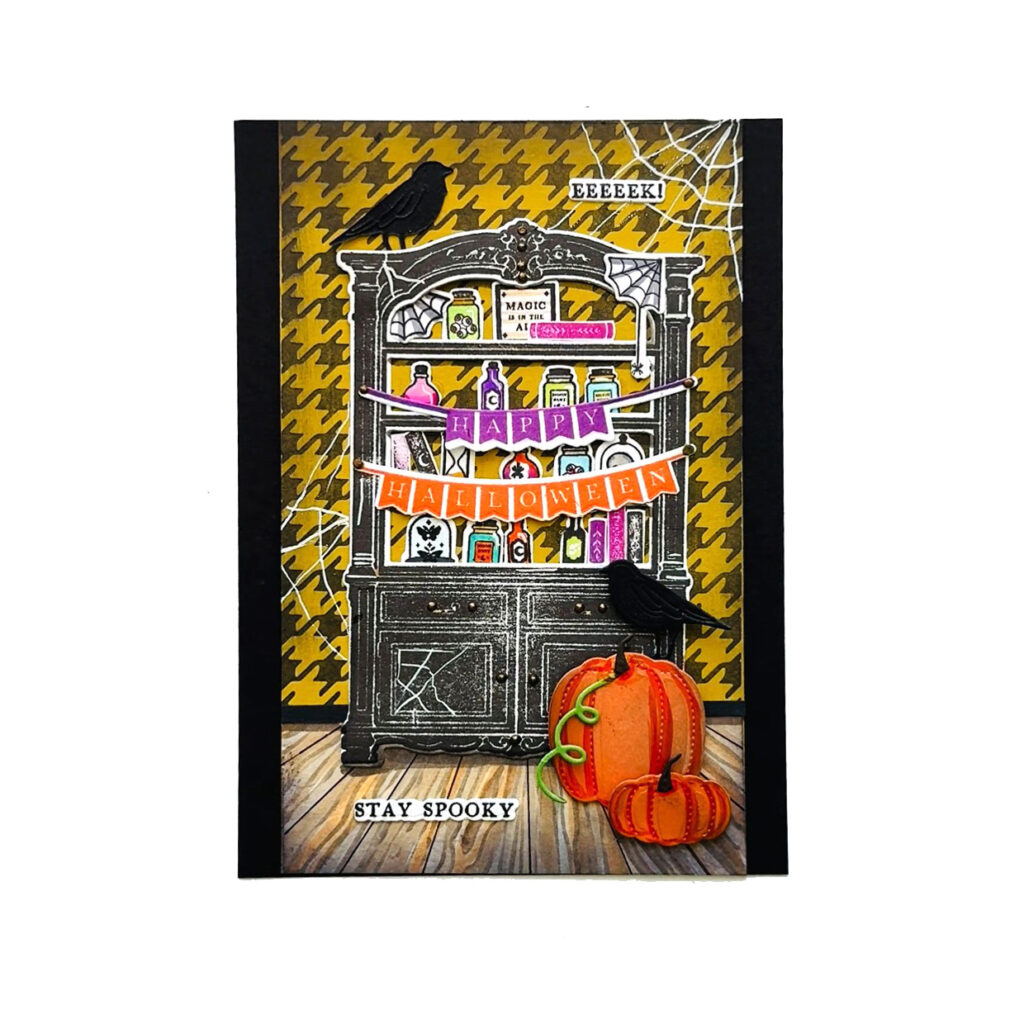
Step 5: Attach the entire 4-1/4″ wide X 7″ tall scene background to a 5″ X 7″ piece of True Black cardstock.
Using the Build-A-Scarecrow die set, die cut two pumpkins from Orange Zest, New Leaf, and Dark Chocolate cardstock. Blend a little True Black ink around the edges of the pumpkins Assemble and attach to the base of the bookcase using foam tabs. This will give some depth to the scene. Attach the two black birds at the top of the bookcase and pumpkins. Flip one bird over so that it faces the opposite direction.
Attach the “Happy Halloween” banners that were stamped in Orange Zest Ink and Amethyst Allure Ink. Stamp in True Black and die cut the “Stay Spooky” and “Eeeeek” sentiments from the Halloween Silhouettes stamps and dies. Attach to the top and bottom of the card front. Using a white pen, add cobwebs to the scene. Use a Bronze Pearl Pen to add hardware and details to the bookcase and the banners.
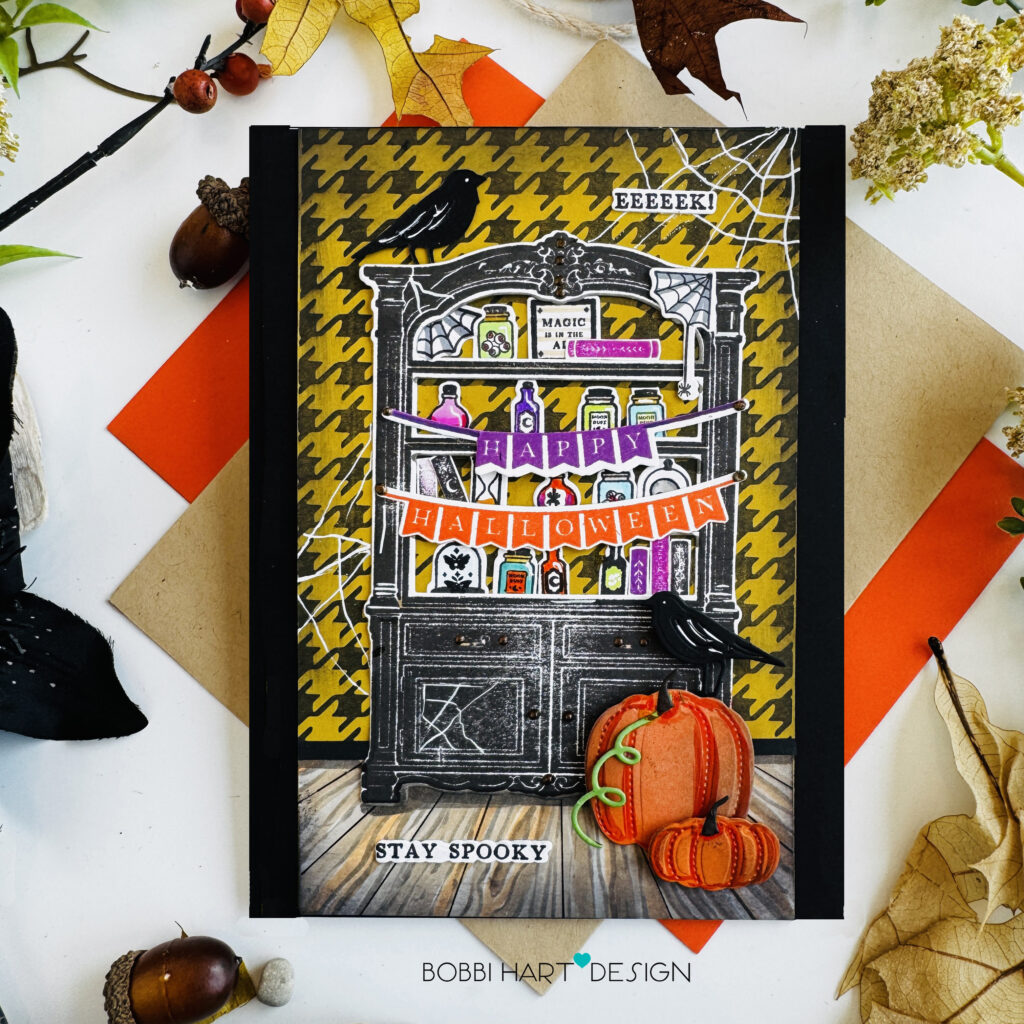
STEP 6: Attach the card front to a Stamper’s Select White A7 card base measuring 5″ wide X 7″ tall. You’re ready to send some spooky and bewitching vibes to a friend in October!
You can shop the entire collection here at Papertrey Ink! If you decide to place an order, please use the links in this post so that Papertrey Ink team knows what inspired you. I appreciate it very much. It helps me to continue to bring more ideas to you! Don’t forget to watch my REEL here!
Thanks for stopping by today. If you want to see more ideas and inspiration from me, subscribe to my blog, BobbiHartDesign.com. I’ll send you updates on new posts! You can also find me on Instagram as @BobbiHartDesign and on Facebook as BobbiHartDesign. Bobbi Hartmann Lemanski, Bobbi Hart♥ Design, Adding h♥art into every design
Leave a Reply