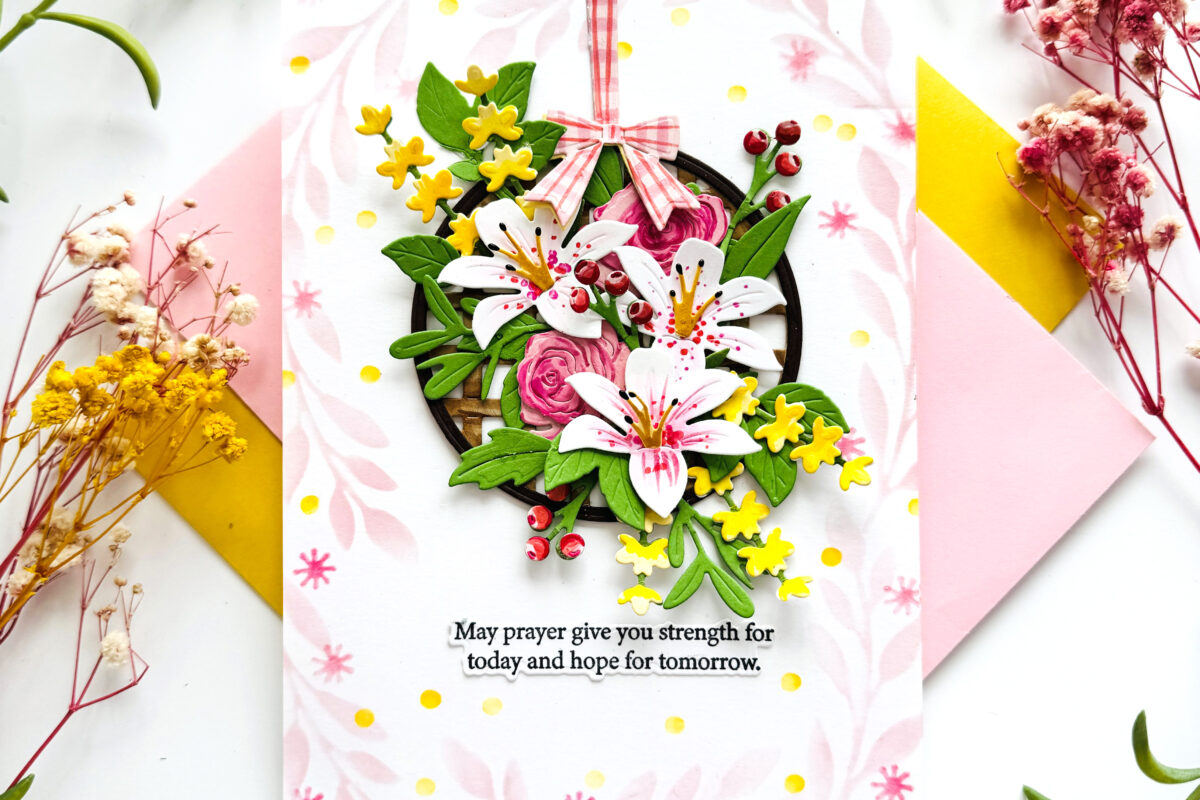
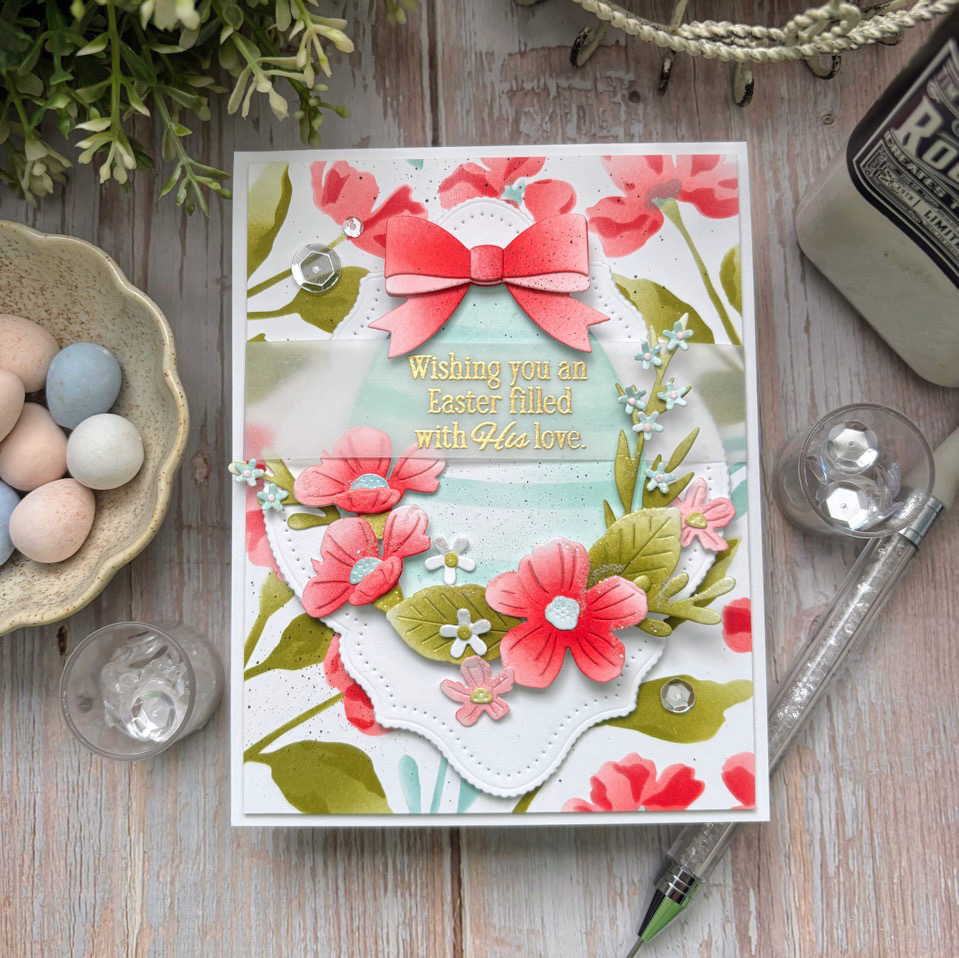
Kelly Lunceford captures the beauty and meaning of the Easter season with this elegant card filled with soft florals, delicate layers, and shimmering accents. 🌸✨ A softly stenciled background sets the stage for a layered egg framed with the Love to Layer: Garnished Edges dies, while blooming details from the Into the Blooms: Wild Wood dies and a dimensional bow created with the Wrap-it Ribbons dies add charming depth and texture. Gentle ink blending, a gold embossed sentiment, and sparkling embellishments bring warmth and dimension to the design, creating a heartfelt Easter greeting that feels both joyful and serene.
Kelly shares, “Easter is right around the corner and it’s never too early to get started on those special projects to share with loved ones! My card for today captures the feeling of new beginnings and the true spirit of Easter! With stencils, die cuts, and shimmering touches, it’s easy to create a keepsake to be treasured throughout the season.”
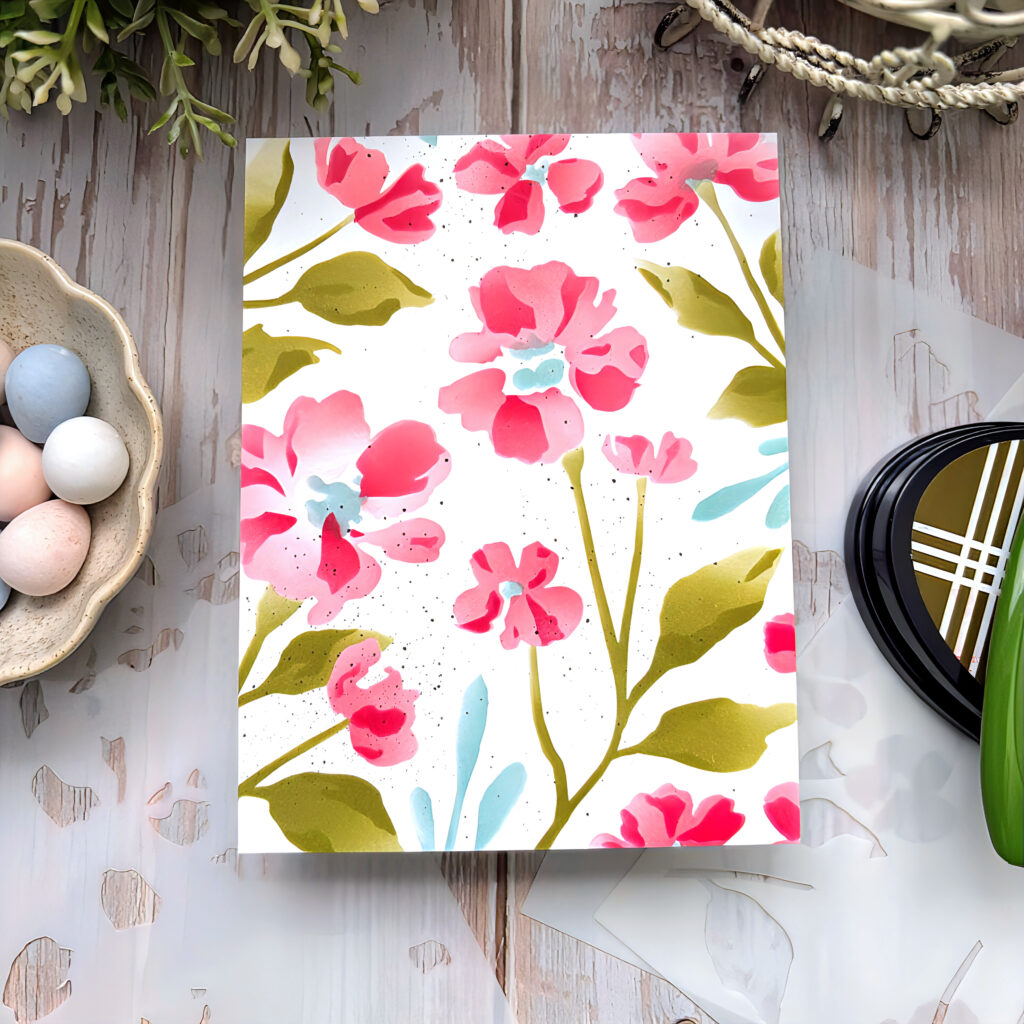
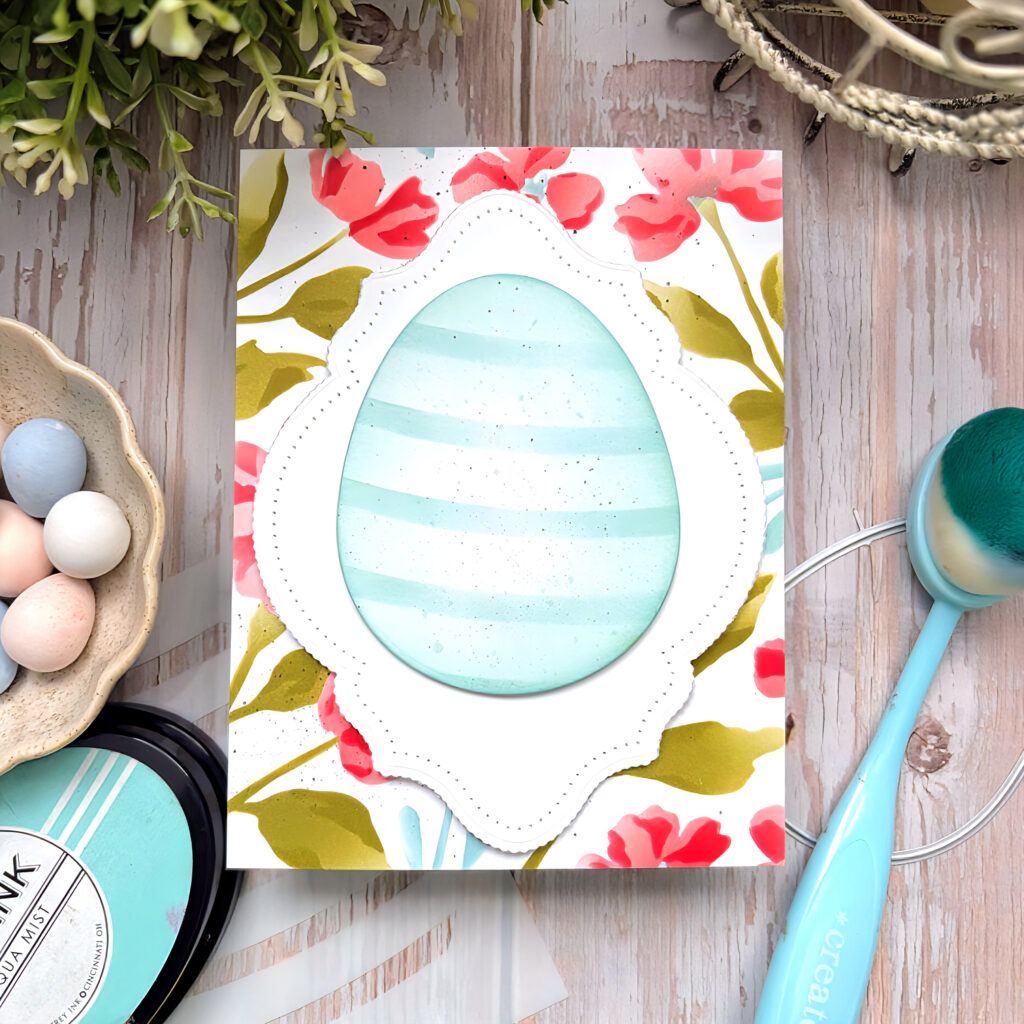
STEP 1: Stencil an A2 panel of white cardstock using the In the Meadow stencil collection. Add some brown ink splatter. Trim it down to measure 4 x 5 1/4“.
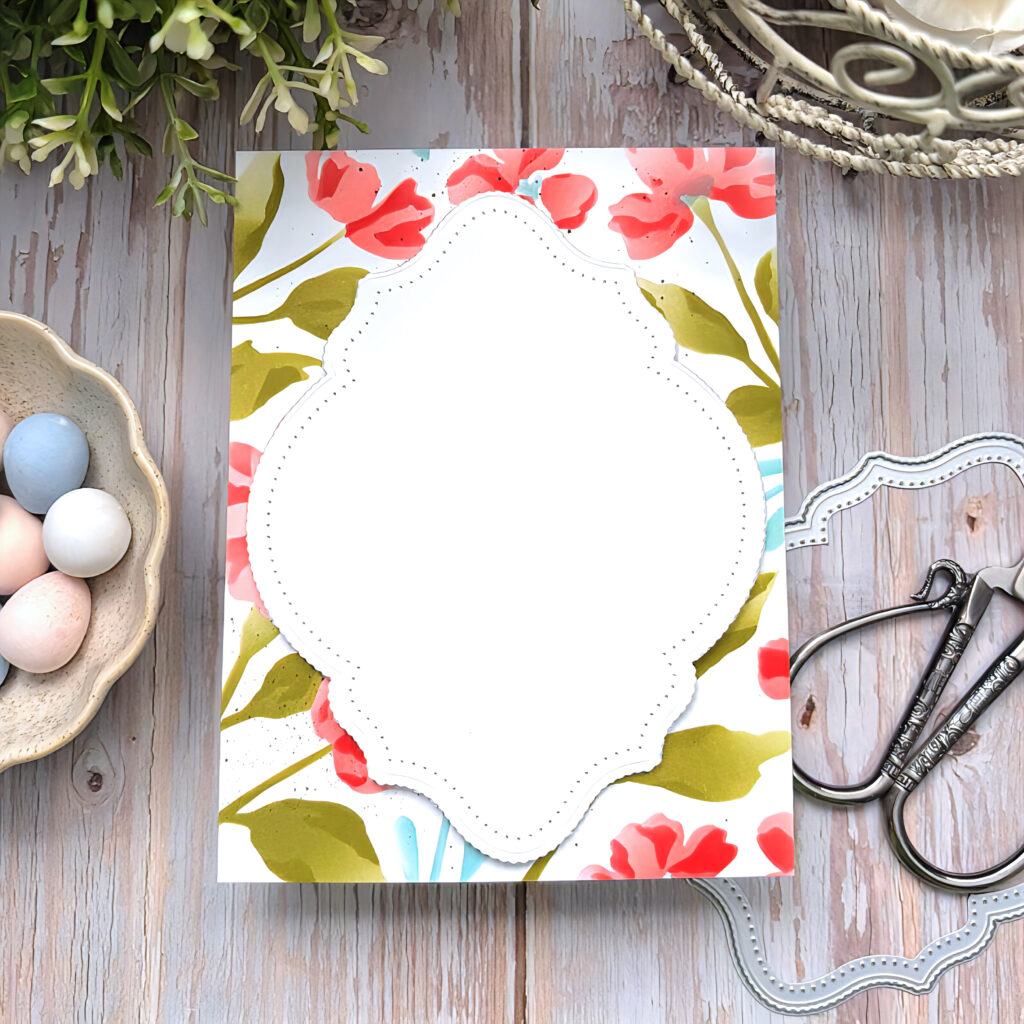
STEP 2: Cut the decorative mat from white cardstock and attach it to the background using foam squares.
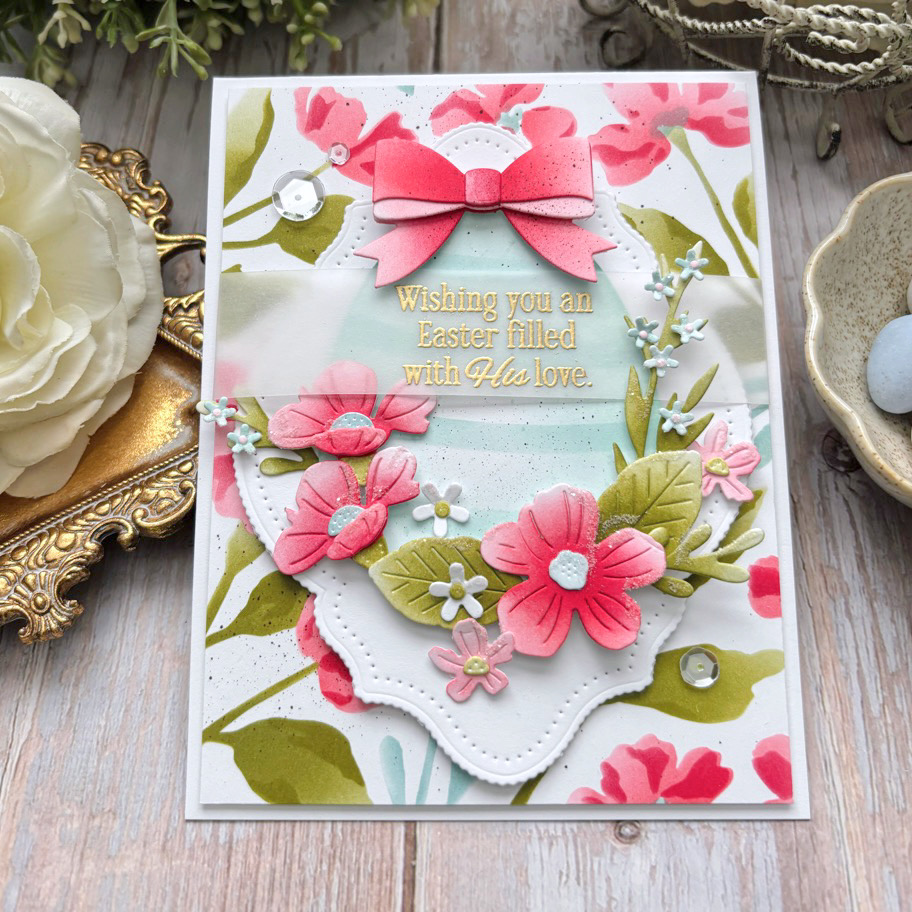
STEP 3: Cut the middle-sized egg from white cardstock. Add some Aqua Mist ink using a blender brush. Create the stripes by using the coordinating stencils. Add some Aqua Mist ink splatter and a touch of brown ink splatter. Attach it to the decorative mat using foam squares.
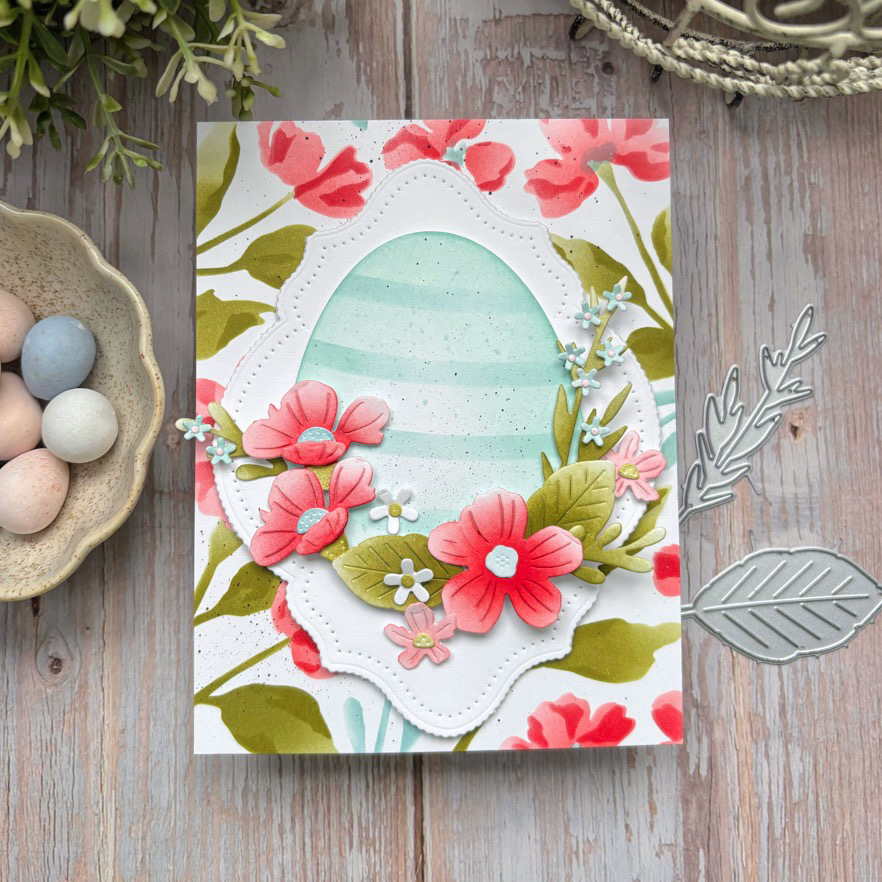
STEP 4: Cut and color all of the pieces for the flowers and foliage. Arrange them around the egg using liquid glue and foam squares.
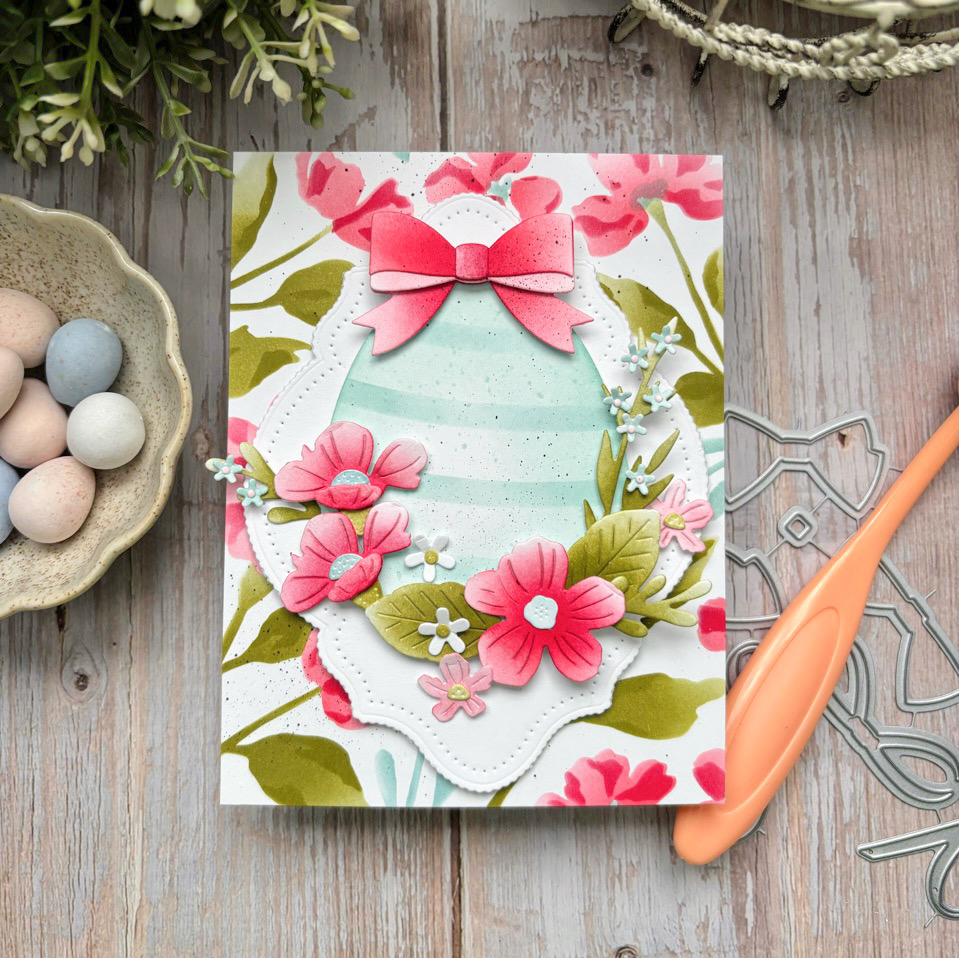
STEP 5: Cut the pieces for the bow from white card stock. Color it with ink and a blender brush and assemble it using foam squares and liquid glue. Attach it to the card.
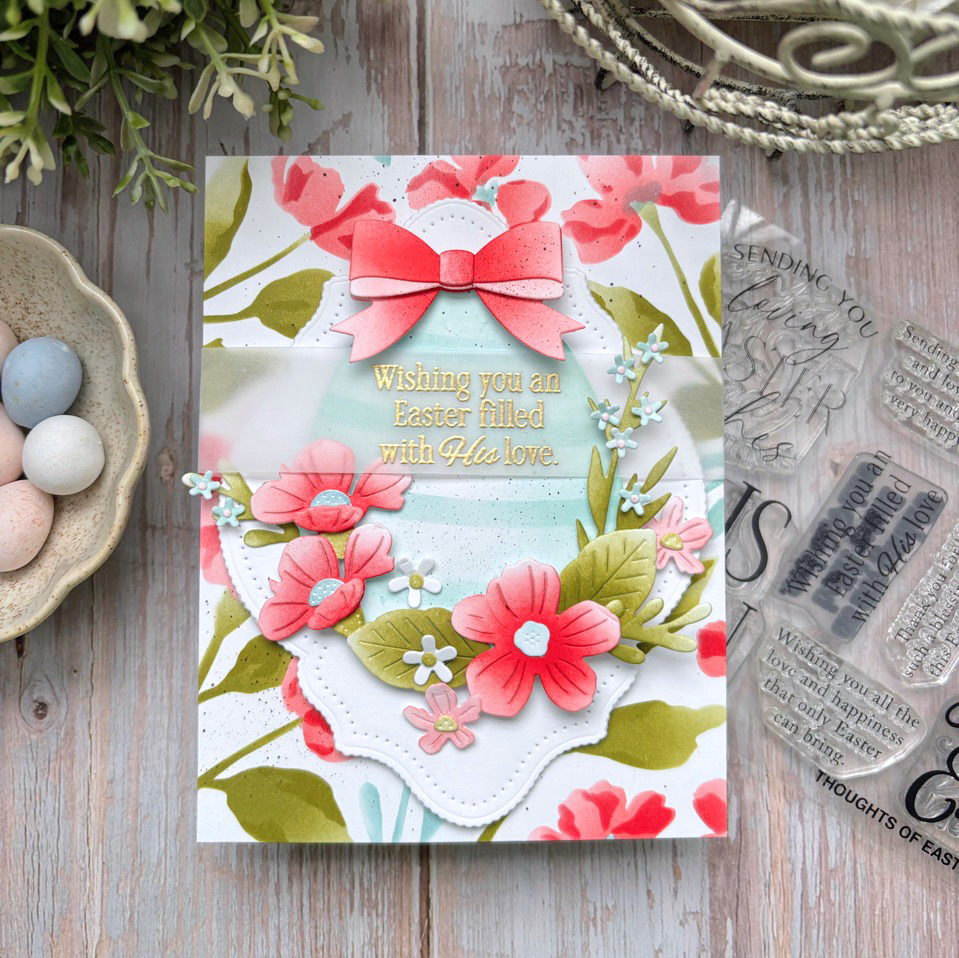
STEP 6: Heat emboss the sentiment on a strip of vellum and wrap it around the panel. Secure it on the back using clear tape or the adhesive of your choice.
STEP 7: Add glitter and sequins. Attach the entire panel to a top-folding A2 card base using foam squares.
This project is a beautiful reminder that handmade cards can capture the spirit of a season through thoughtful layers and meaningful details. ✨ From the softly stenciled background to the dimensional egg, florals, and shimmering accents, every element works together to celebrate Easter and the promise of new beginnings.
Whether you are crafting for family, friends, or church celebrations, this design offers wonderful inspiration for creating heartfelt Easter greetings.
Be sure to tag Papertrey Ink on Instagram when you share your version — we would love to see how you bring this joyful design to life 💛🌸
Reader Interactions
Comments
KAREN F.says
Your card is fabulous!
Connie Gsays
Just gorgeous!
Helen F.says
What a beautiful creation, Kelly! Thank ;you for the step by step tutorial.
Suzan Fohringersays
Always beautiful designs! Thank you for sharing your talents!
Cathy Lynn Oliversays
Love this!!! The design, colors and words!!! Beautiful


KAREN F. says
Your card is fabulous!
Connie G says
Just gorgeous!
Helen F. says
What a beautiful creation, Kelly! Thank ;you for the step by step tutorial.
Suzan Fohringer says
Always beautiful designs! Thank you for sharing your talents!
Cathy Lynn Oliver says
Love this!!! The design, colors and words!!! Beautiful
Mandy says
Beautiful card!