• Skip to primary navigation
  • Skip to main content
  • Skip to primary sidebar
  • HOME
  • SHOP
  • BLOG
  • TEAM

Papertrey Ink Blog

Clear Stamps, Dies, Paper, Ink, Kits

  • HOME
  • SHOP
  • BLOG
  • TEAM

Sweet Americana Die + Sweet American Stencil Collection + Reflections: Psalm 46 Stamp Set & Dies

Project Inspiration: Always Remember Floral Card by Kelly Lunceford

Build-A-Bear Die + This is Big Sentiments: Welcome Stamp Set & Die + Quilt-It: Baby Stamp Set & Die

Project Inspiration: Cozy Christmas Card by Melissa Phillips

October 5, 2025      Winnie Cate Ignacio

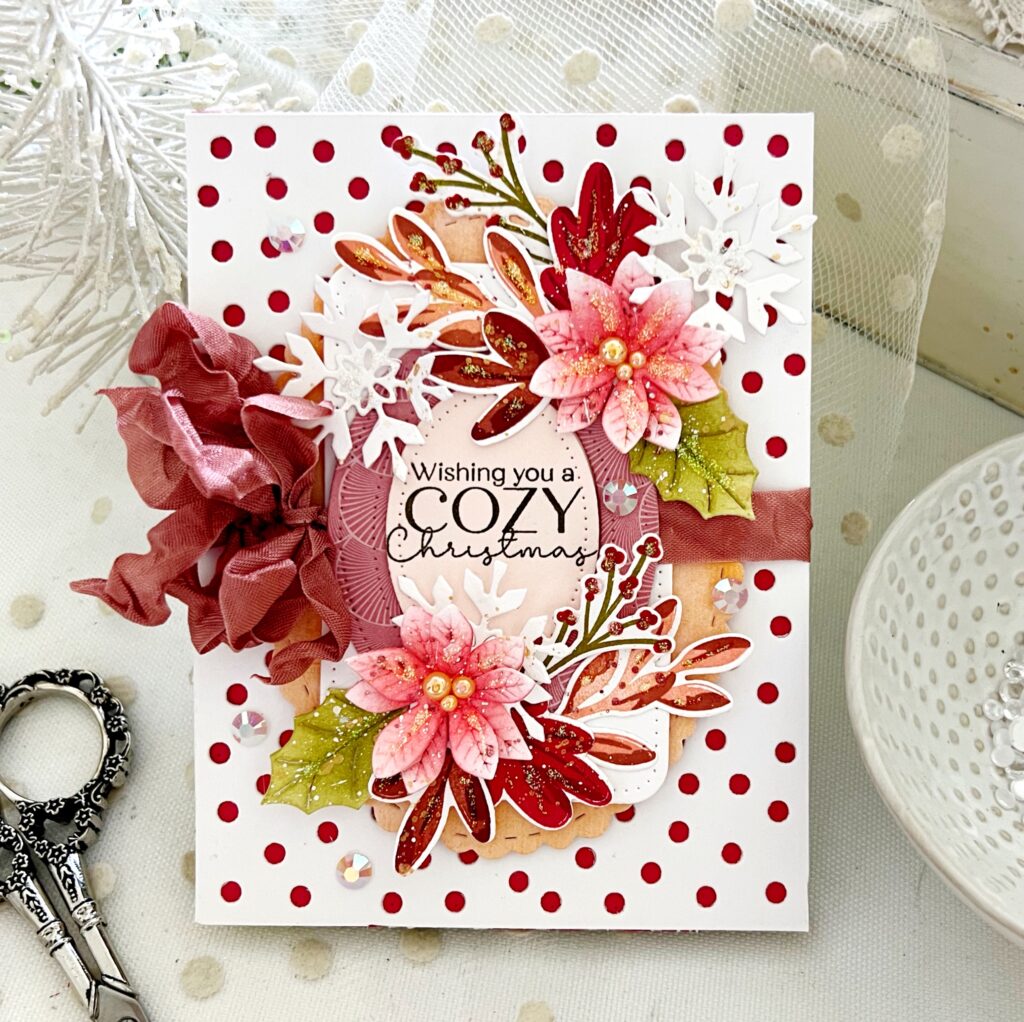
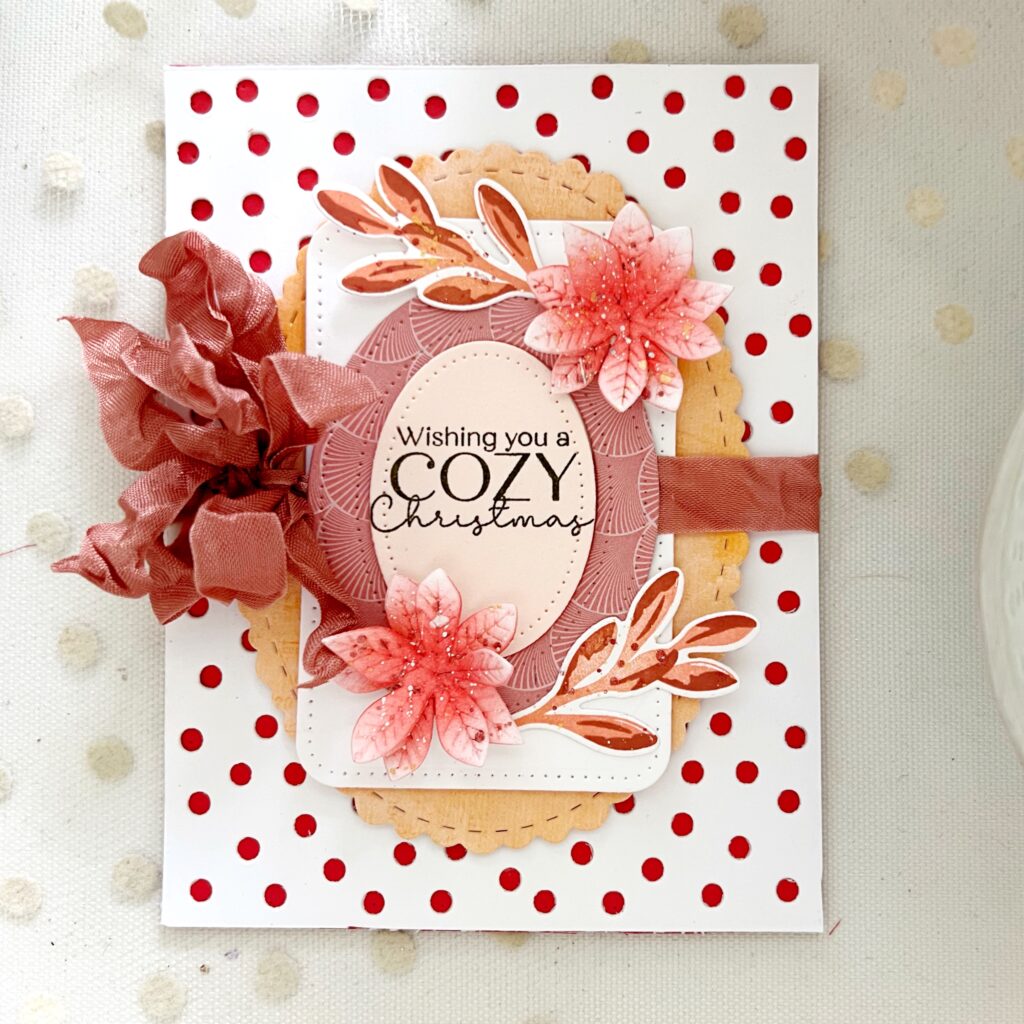
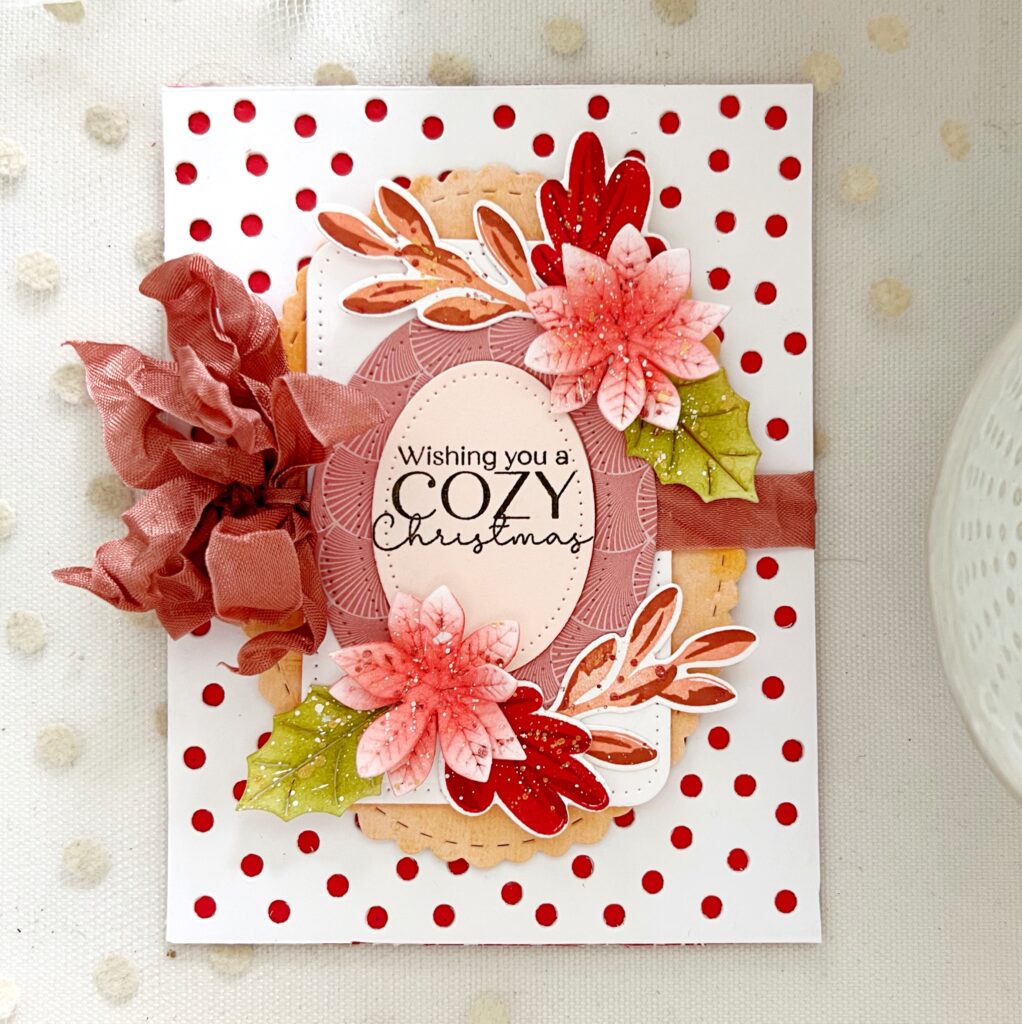
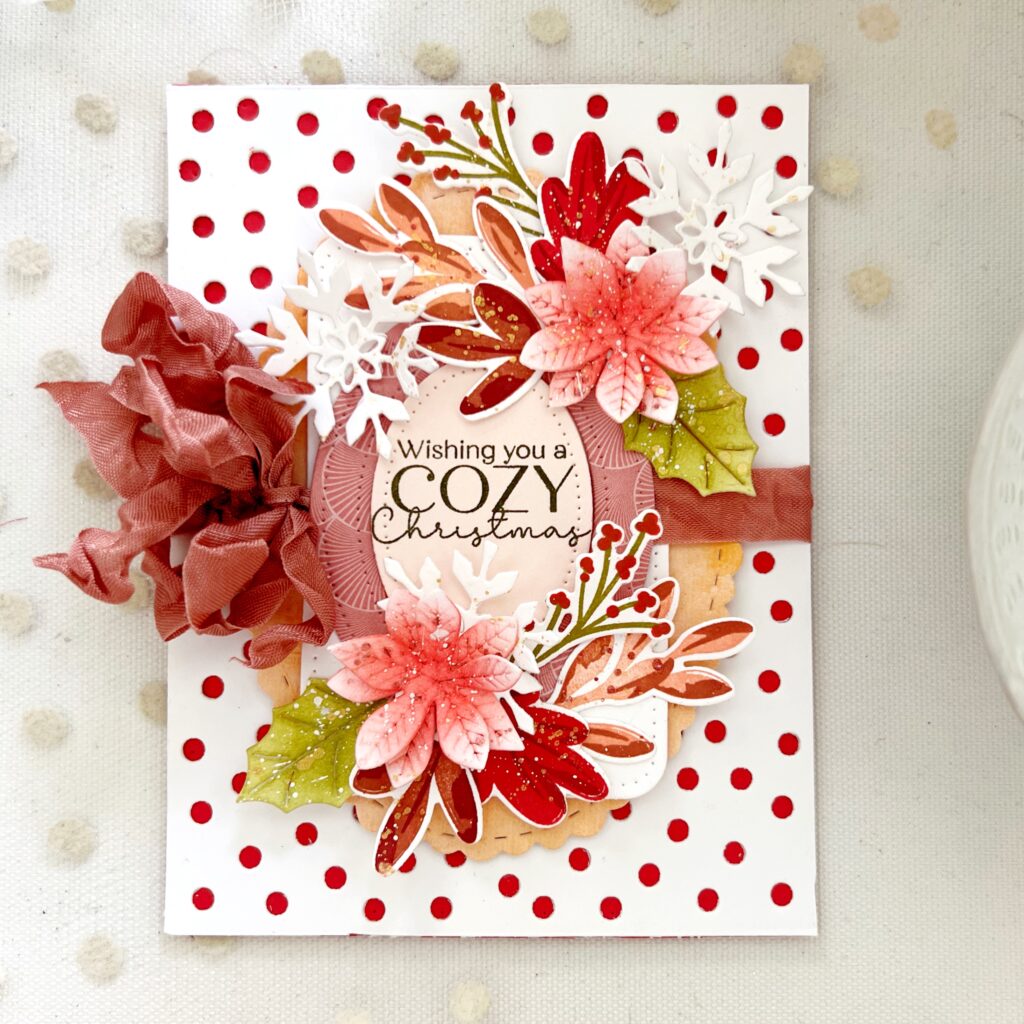
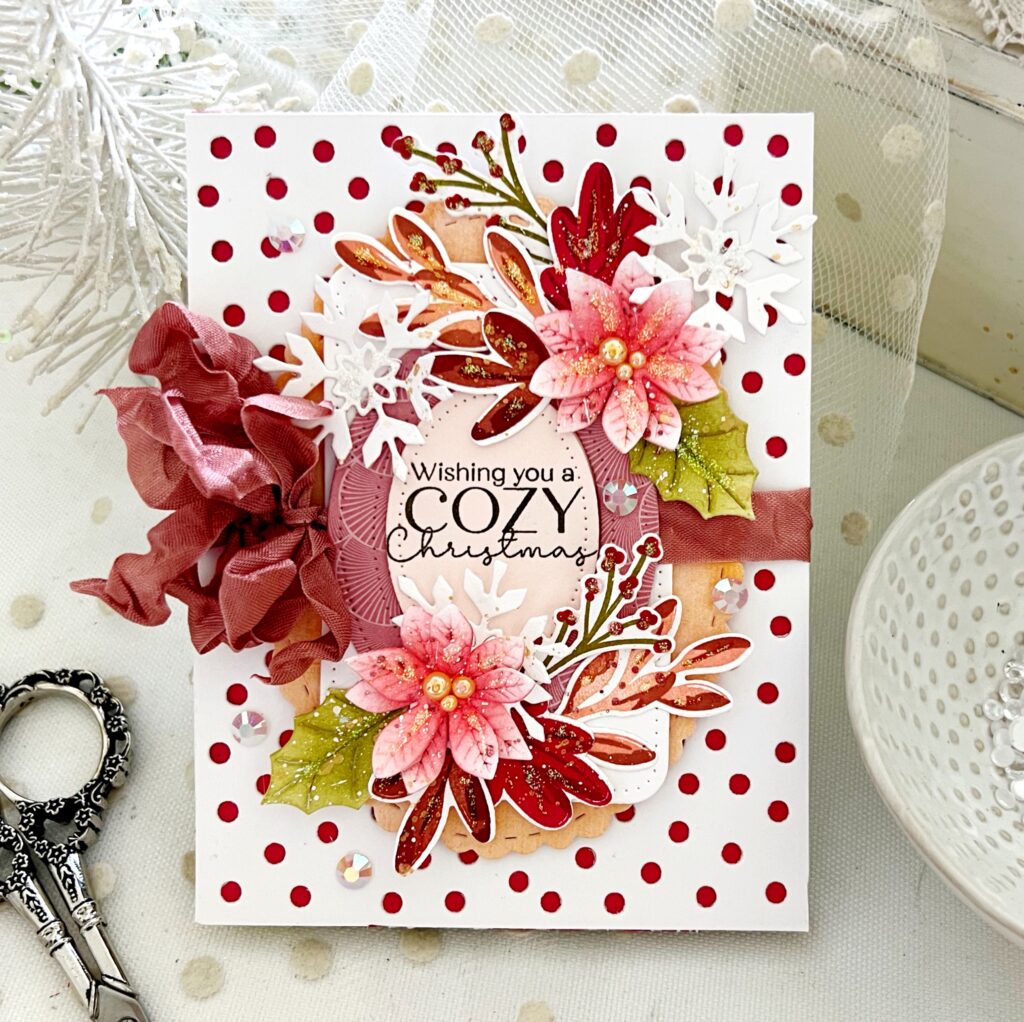
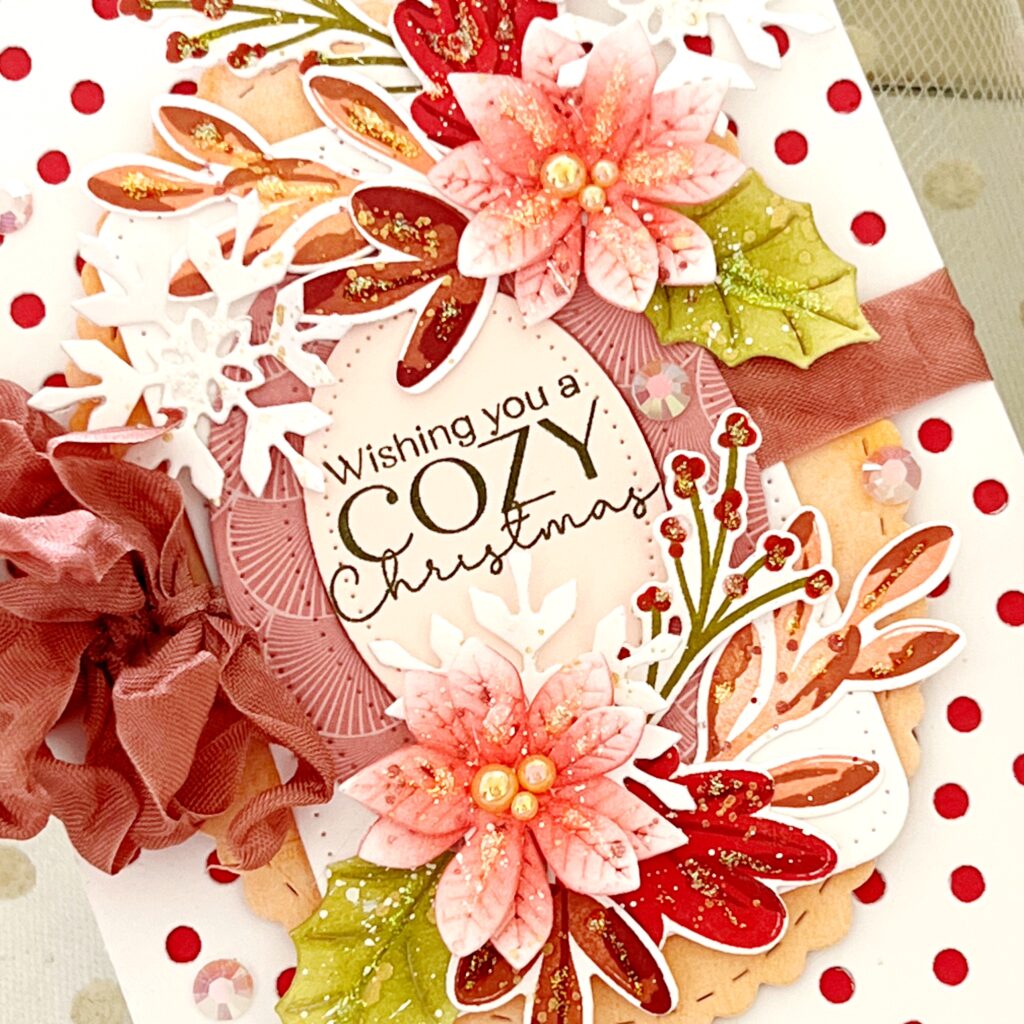
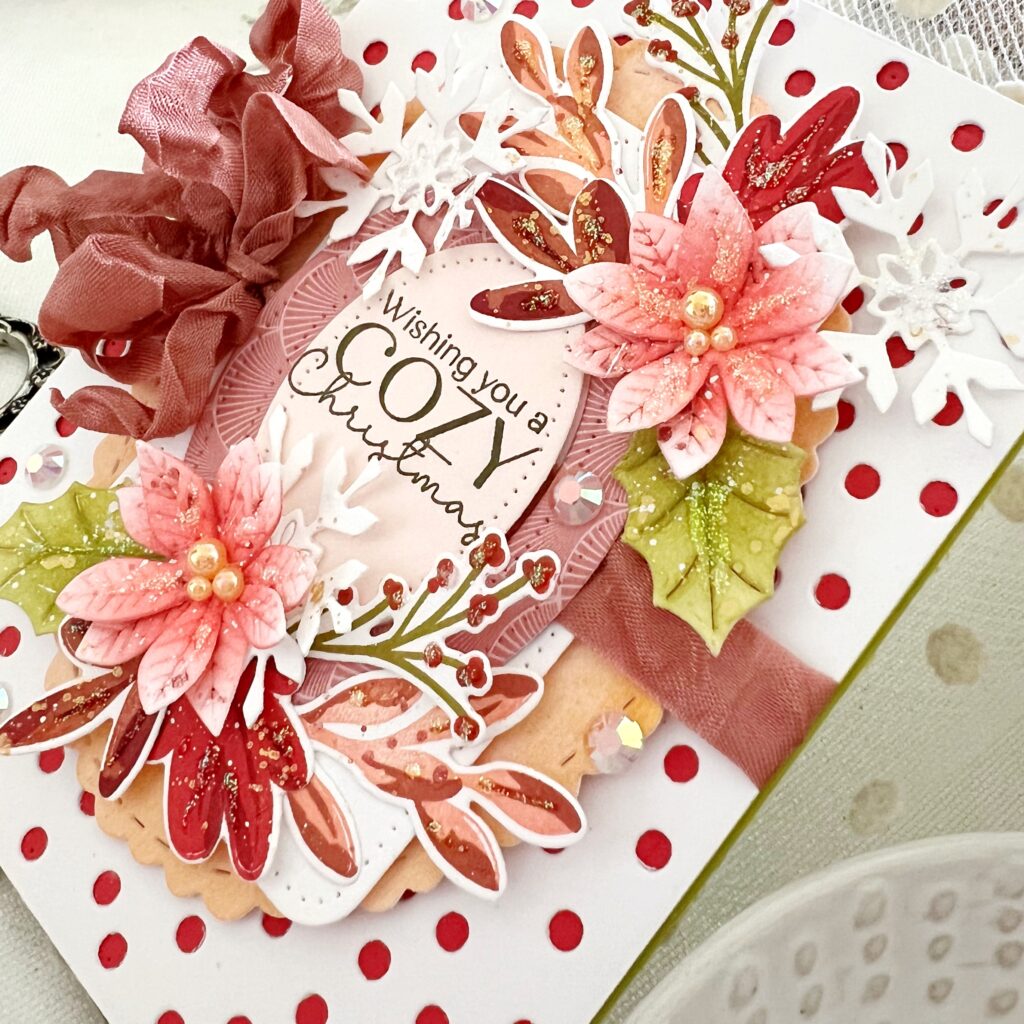
Melissa Phillips’ Cozy Christmas Card is filled with festive layers that radiate warmth and cheer. With vibrant poinsettias, delicate snowflakes, and rich holiday tones, her design captures the heart of Christmas in a way that feels both elegant and inviting.


Melissa shares, “Fall into Christmas today as I use the beautiful Fall Blessings stamps and dies to create a cozy card for the holidays!”
SUPPLY LIST:
STAMPS: Fall Blessings, Just Sentiments:  Warmth 
INK: Americana, Pure Poppy, Scarlet Jewel, Melon Berry, Ripe Avocado, Olive Twist 
PAPER: Stamper’s Select White, Sweet Blush, Pure Poppy 
DIES: Fall Blessings, In Frames:  Ovals, Rounded Rectangles:  Pierced, Love to Layer:  Playful Scallops, Border Bling:  Lots of Dots, Build-A-Hat, Into the Blooms:  Poinsettia, Into the Blooms:  Swag
OTHER:Fossilized Amber and Lumberjack Plaid Distress Spritz, white paint, Crystal Stickles glitter, patterned paper, scrunched seam binding, adhesive pearls, adhesive gems 

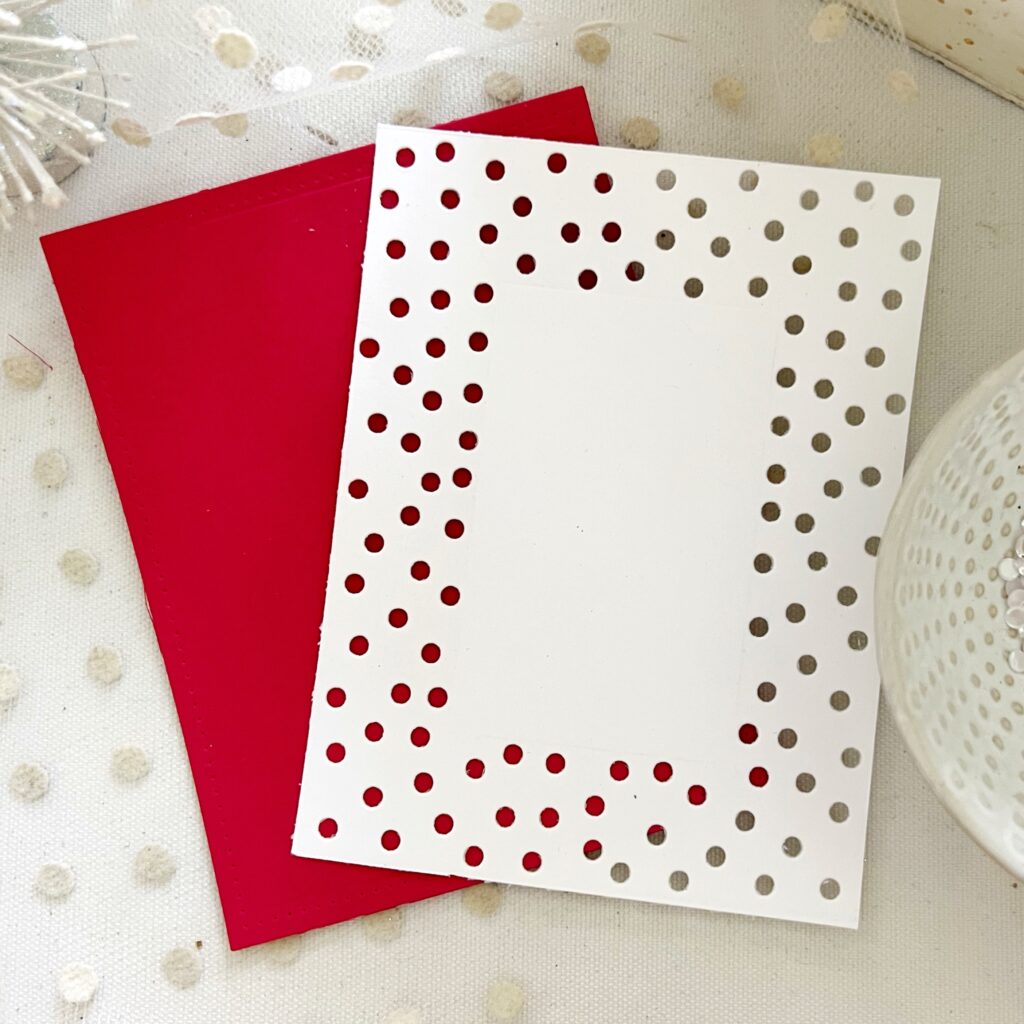
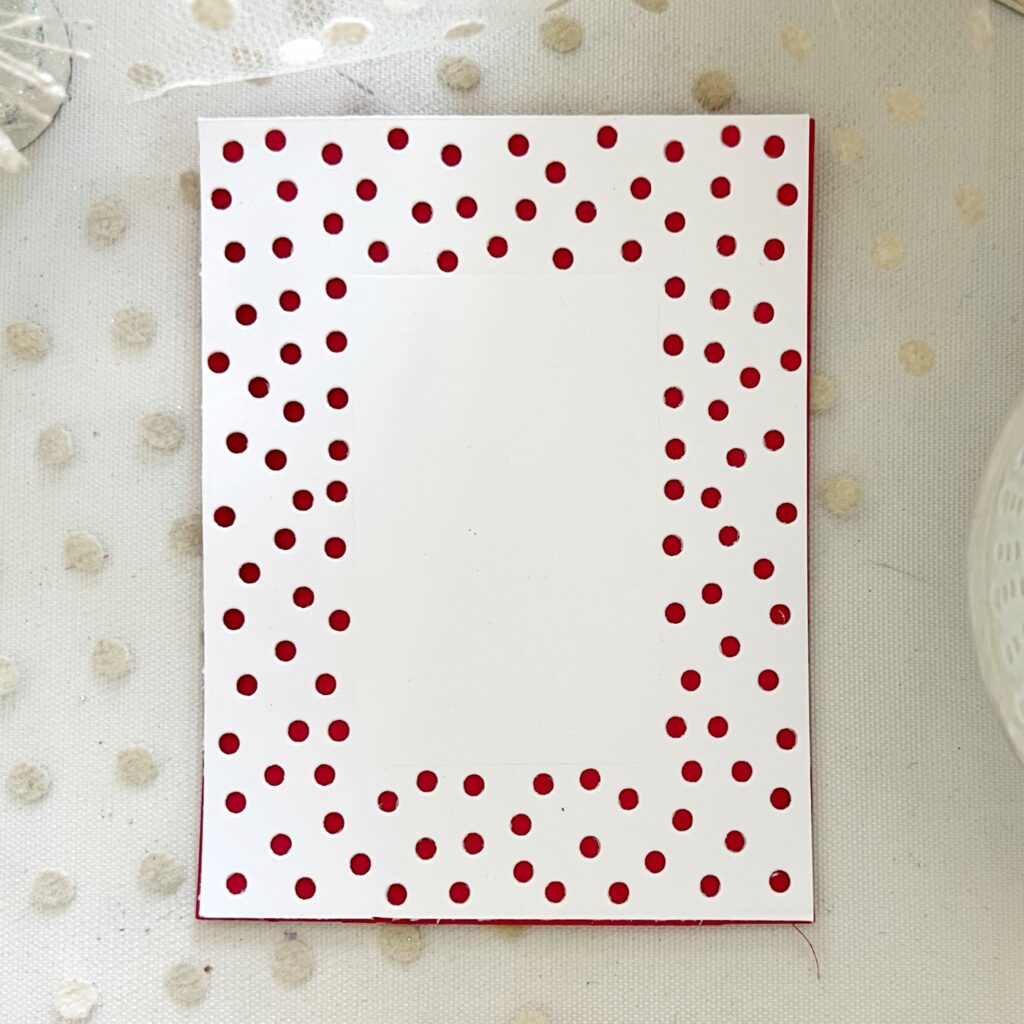
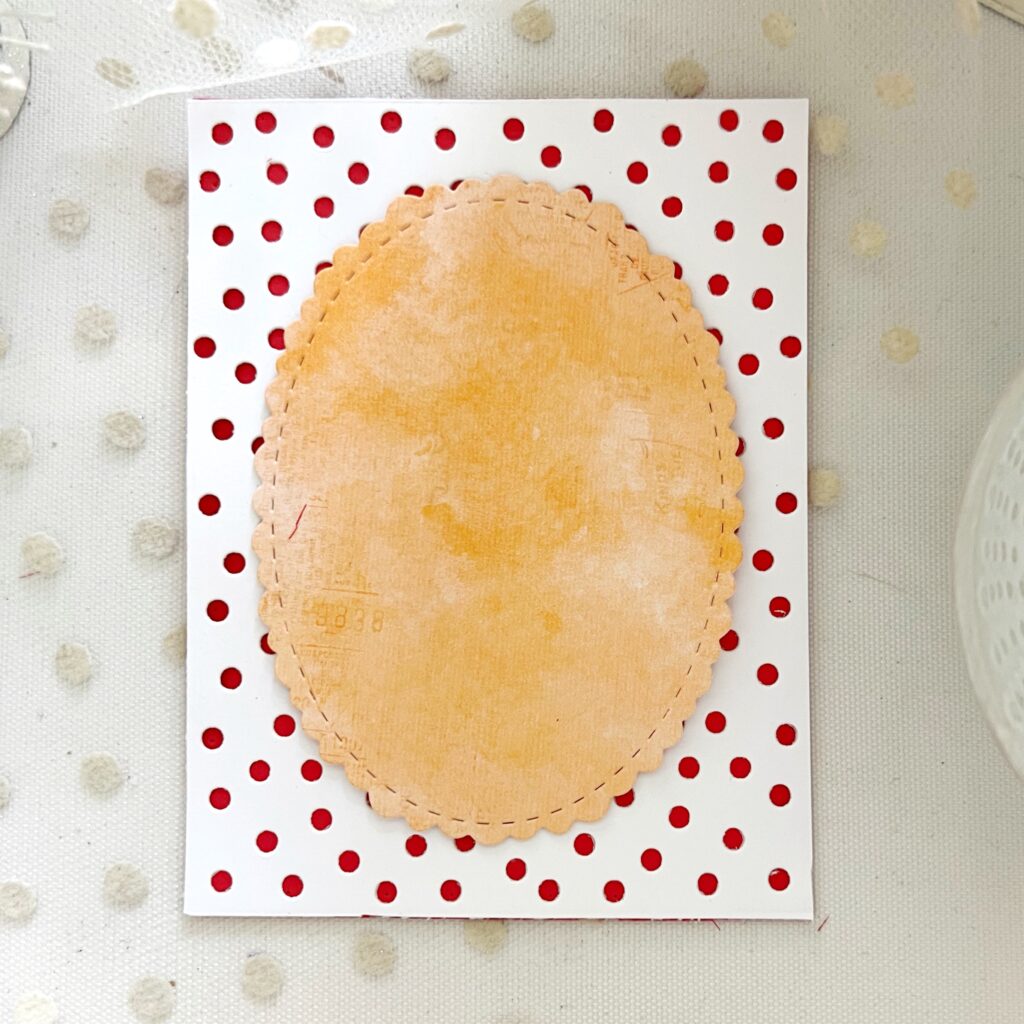
STEP 1: Cut an A2 card base from Pure Poppy and an A2 layer from white cardstock using a Cover Plate or Border Bling die.

STEP 2: Adhere white layer over Pure Poppy card base.

STEP 3: Adhere Love to Layer:  Playful Scallops oval to center of card.

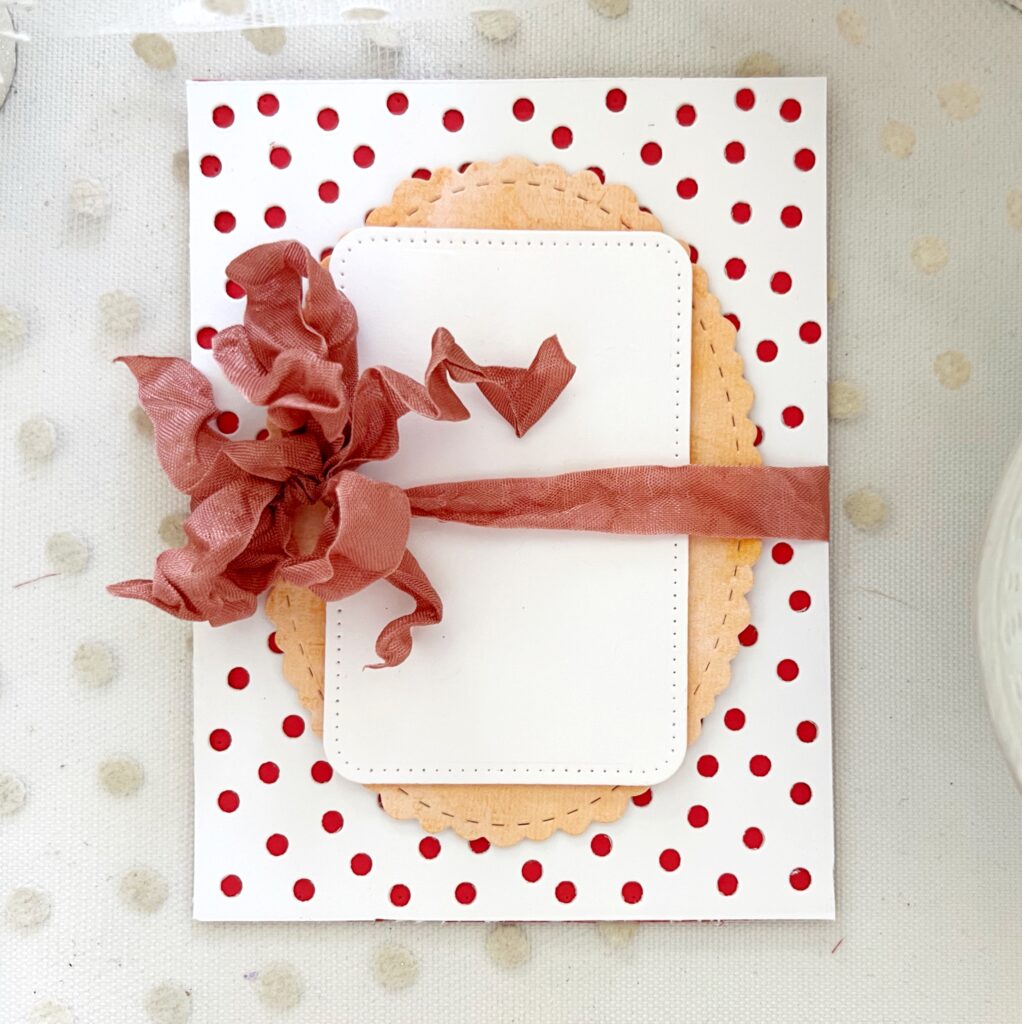
STEP 4: Adhere white die cut rectangle to center of card.  Tie a bow around center of card using scrunched seam binding.

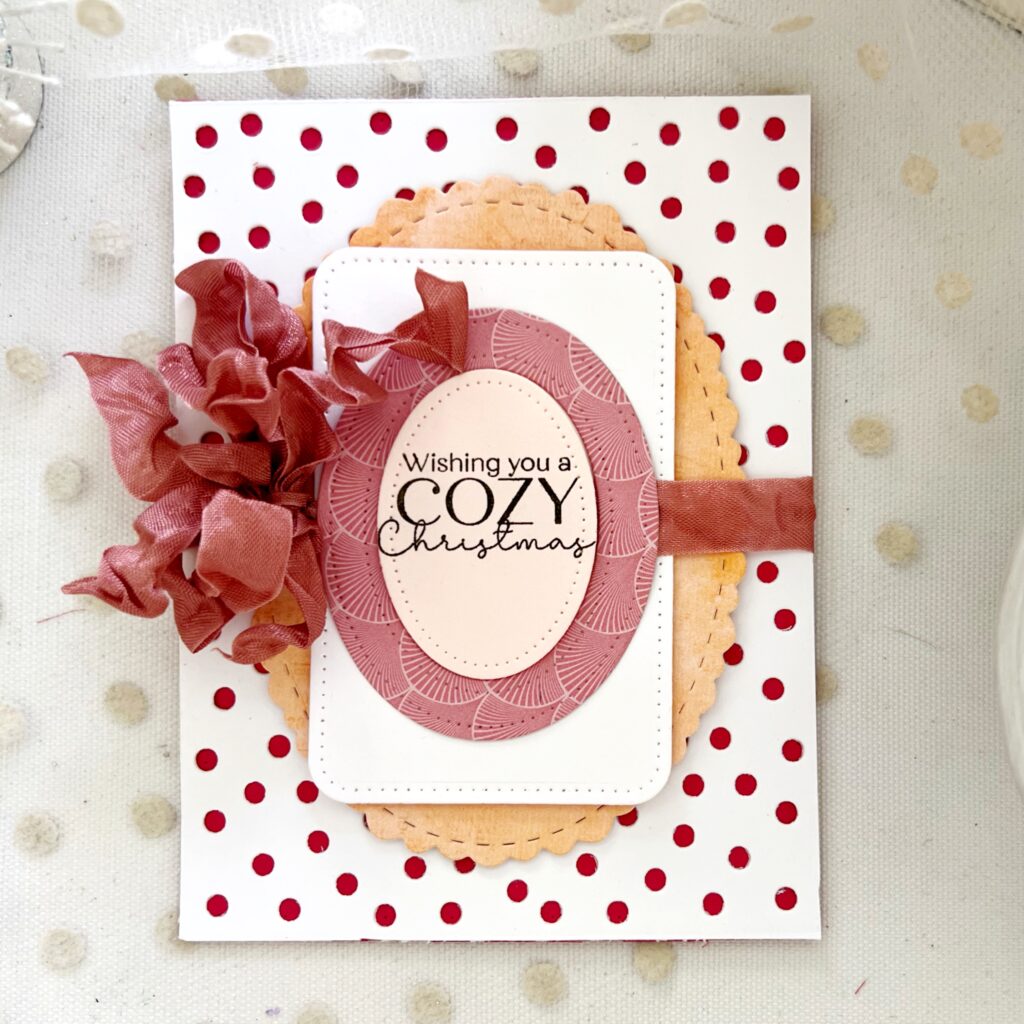
STEP 5: Adhere oval frame and stamped oval die cuts to center of card.

STEP 6: Die cut, stamp, and ink blend floral pieces.  Adhere long fall leaves and poinsettias around oval.

STEP 7: Continue adding leaves.

STEP 8: Add die cut snowflakes and berries.

STEP 9: Finish with adhesive pearls, gems, and Stickles glitter.

Every detail of Melissa’s card, from the shimmer to the sentiment, is filled with holiday joy. 🎄✨

Show us how you’re spreading holiday cheer in your projects by tagging Papertrey Ink on Instagram or sharing below, we can’t wait to see your designs!

Primary Sidebar

FACEBOOK

Papertrey Ink

Categories

Archives

Categories

Recent Posts

  • Sweet Americana Die + Sweet American Stencil Collection + Reflections: Psalm 46 Stamp Set & Dies
  • Project Inspiration: Always Remember Floral Card by Kelly Lunceford
  • Build-A-Bear Die + This is Big Sentiments: Welcome Stamp Set & Die + Quilt-It: Baby Stamp Set & Die
  • Freedom in Bloom Stamp Set & Die + Land that I Love Sentiments Stamp Set & Die + Handmade with Love Mini Stamp Set & Die + Love to Layer: Whimsy Die + In Stitches: Starry Skies + Cover Plate: Gathering Florals Die + Frame Worthy Die + So Radiant Stencil + Amazing Grace Background Stamp Set + Amazing Grace Press Plate
  • Best Dad Ever Card by Bobbi Lemanski

Copyright © 2026 · Papertrey Ink.