


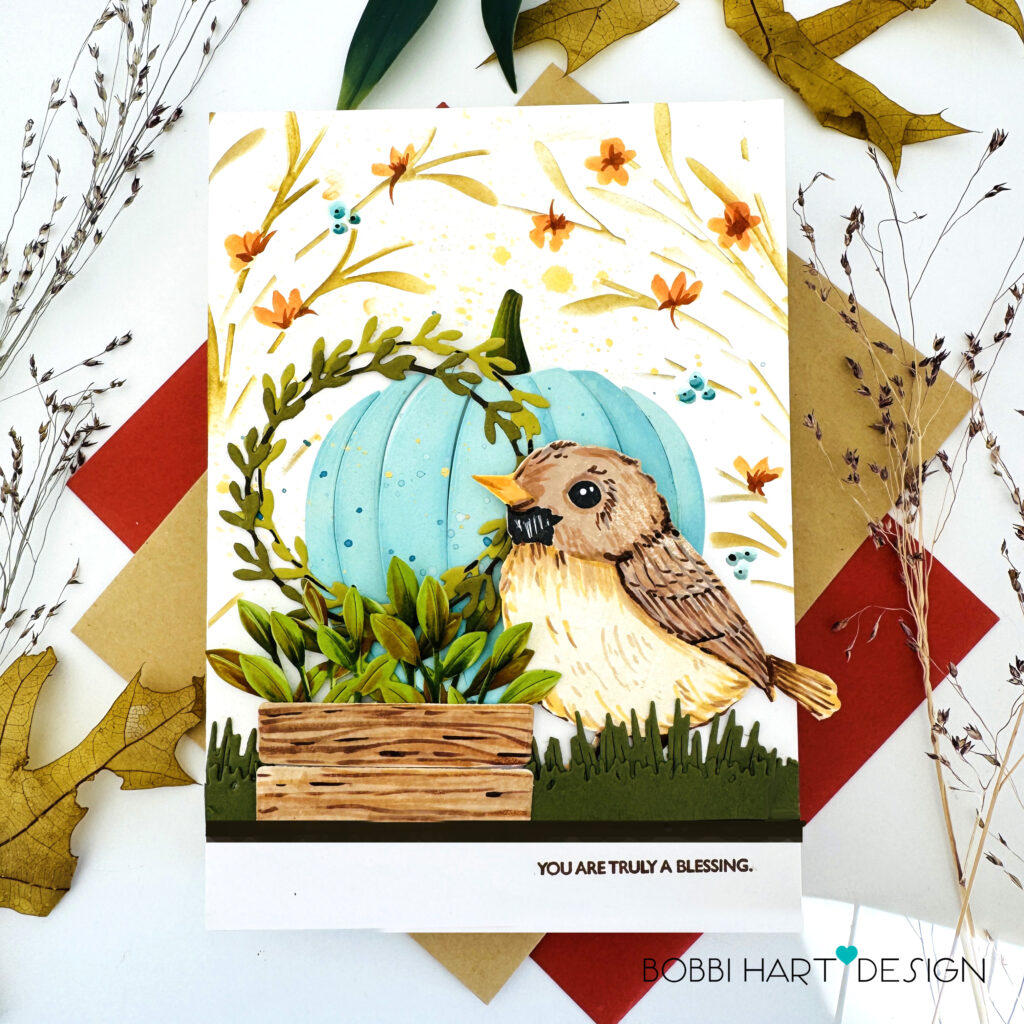
A bird in the hand is worth two in the bush… I think this sweet bird is enough, all on its own, to share a special message. I’m using the following Papertrey Ink products for this card:
So Sweet stamp set and So Sweet die set
This is Big Sentiments: Fall Harvest stamp set
Wandering Petals Stencil Collection
The card measures 5″ X 7″ and uses a white card base made from Stamper’s Select White cardstock. Here are the step-by-step details for creating this sweet bird card..
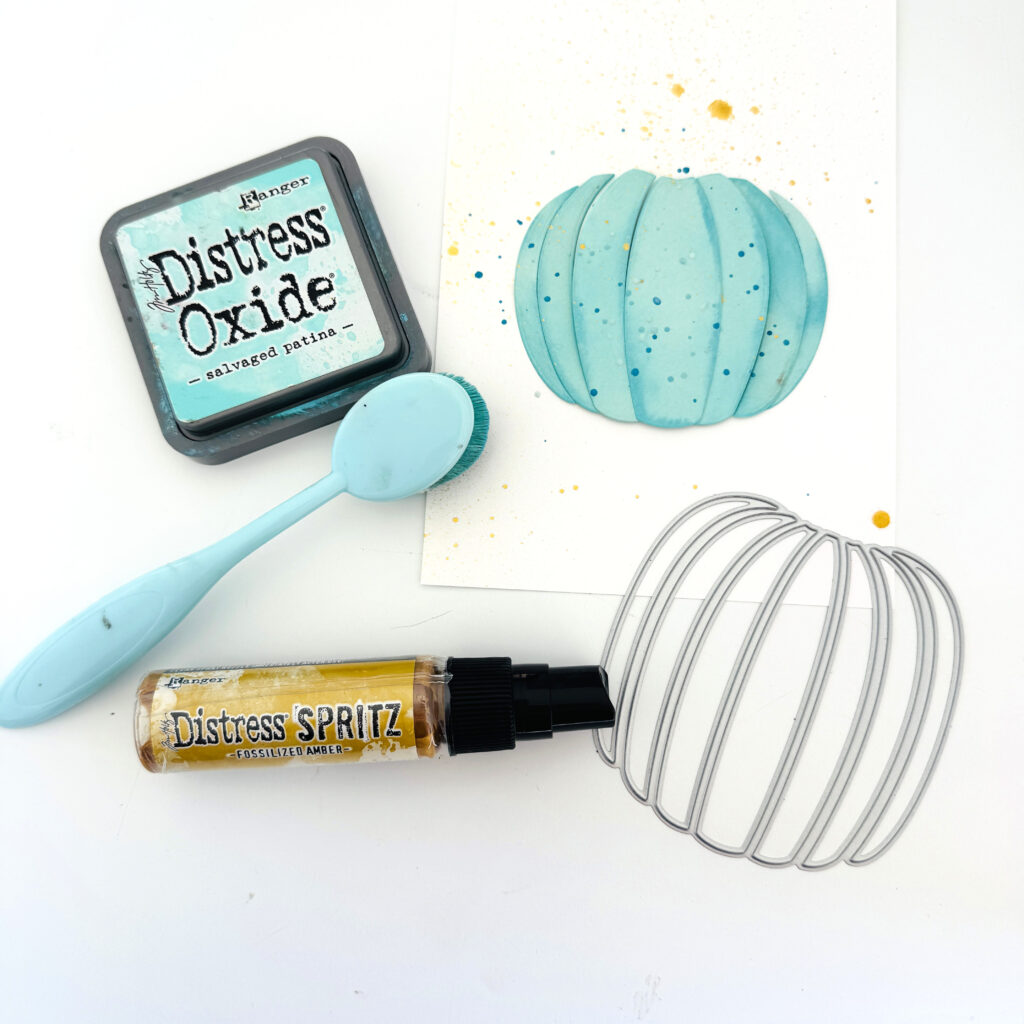
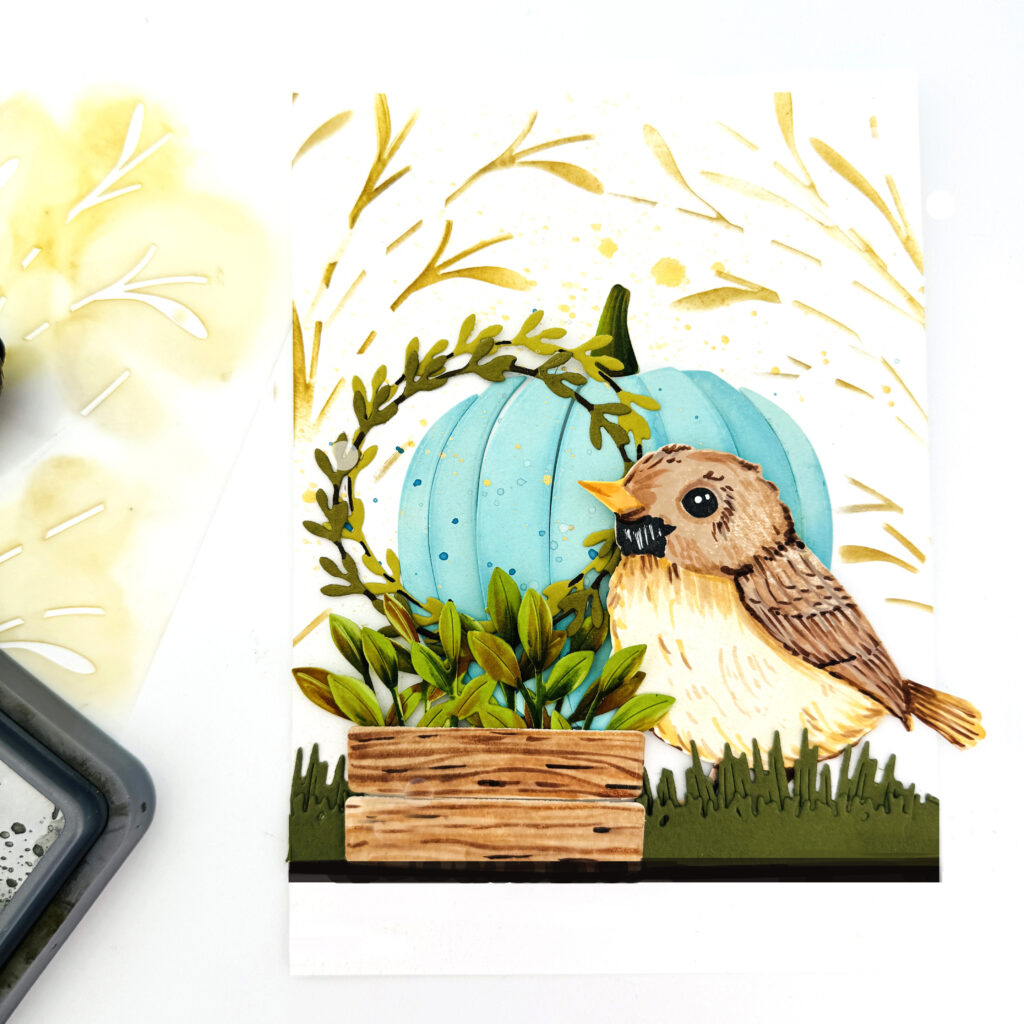
STEP 1: Cut a 5″ X 7″ card front panel from Stamper’s Select White cardstock. Die cut the pumpkin from Aqua Mist cardstock using the Pumpkin Slices Die. Blend a darker aqua ink around the edges of each pumpkin slice. Attach the pumpkin to the front panel, using foam tabs behind the center three slices and continue to attach the outer slices.
Splatter an aqua watercolor paint and Fossilized Amber Distress Spritz over the front panel. Set it aside to dry. 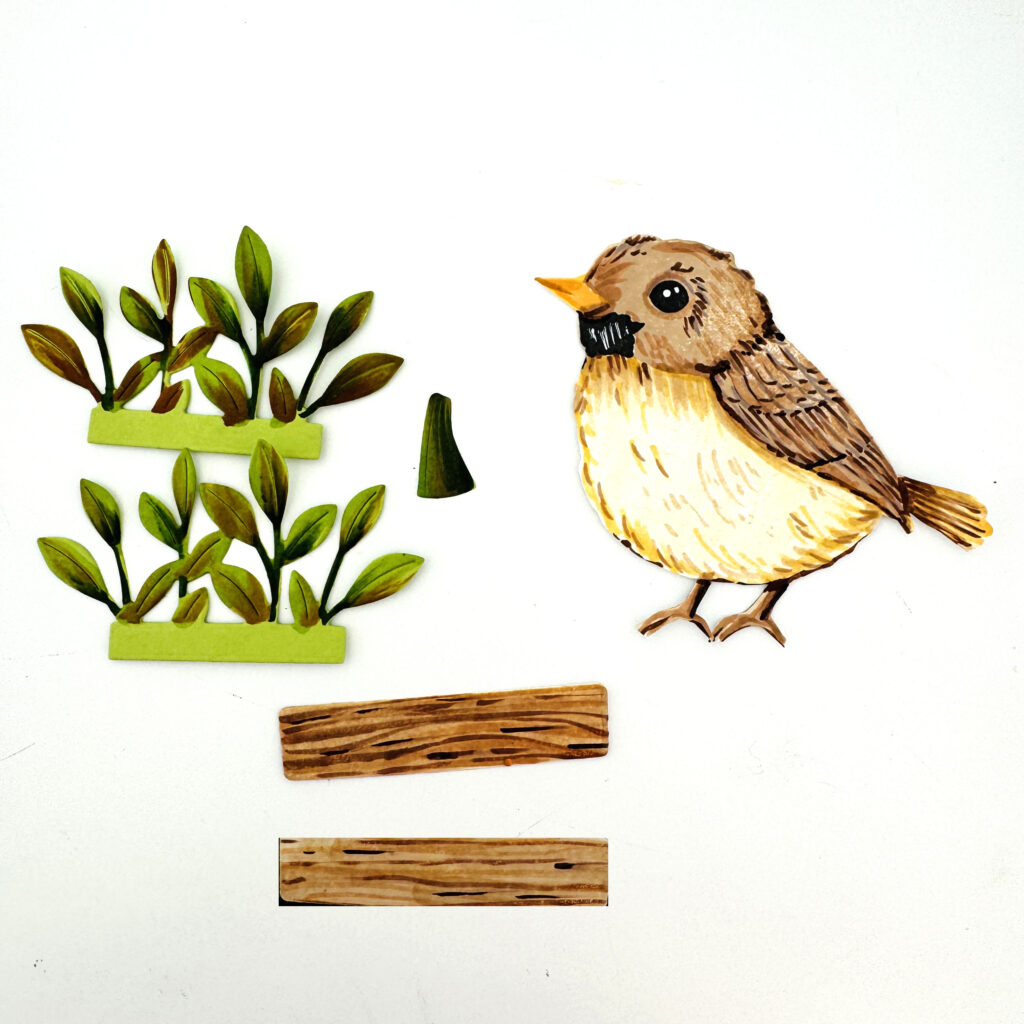
STEP 2: Stamp, color and die cut the bird using the So Sweet stamp set and So Sweet die set. Use Copic or other markers to further define the bird’s feathers with shadows and highlights.
Using the Perfectly Potted Die, cut two clay pot top bands from white cardstock. Use Copic Sketch markers in E55, E57, and E42 to create a woodgrain pattern. Cut two leafy die cuts from New Leaf cardstock. Use markers to enhance the leaves. Die cut a green stem for the pumpkin using the Pumpkin slices Die. Shade the stem with shades of green markers.
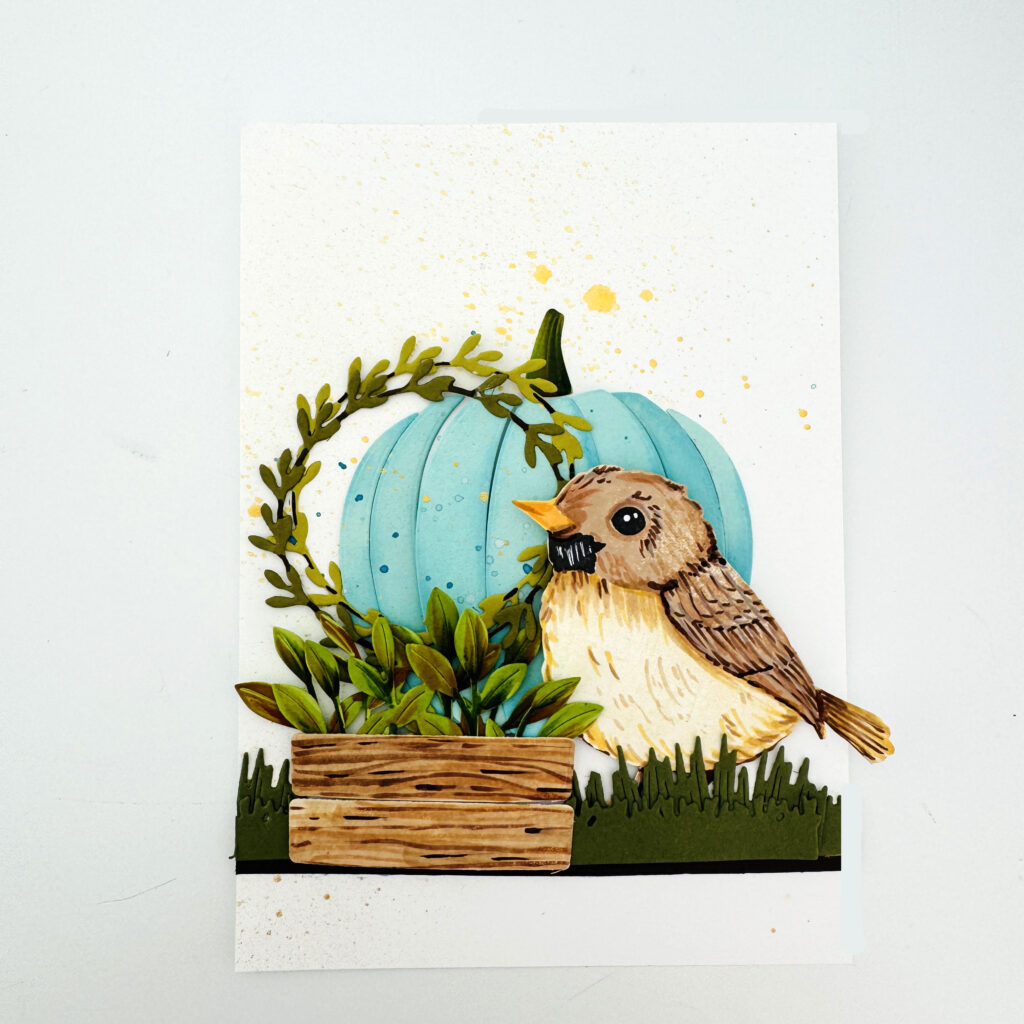
STEP 3: Die cut two leafy wreaths from Ripe Avocado cardstock using the Fall Blessings Die. Assemble and attach the woodgrain planter box, stacking the two bands to make a planter box. Add the leafy greens and the “topiary” wreaths. Attach the planter with foam tabs to make it stand out, layering over the bottom of the pumpkin as shown. Attach the bird to the right of the planter. Die cut multiple grassy die cuts using the Perfectly Potted Die and Ripe Avocado. Create a “ground” for the bird and planter to rest on. Attach a 1/8″-1/4″ strip of Olive Twist to the base of the grassy area for a clean edge.
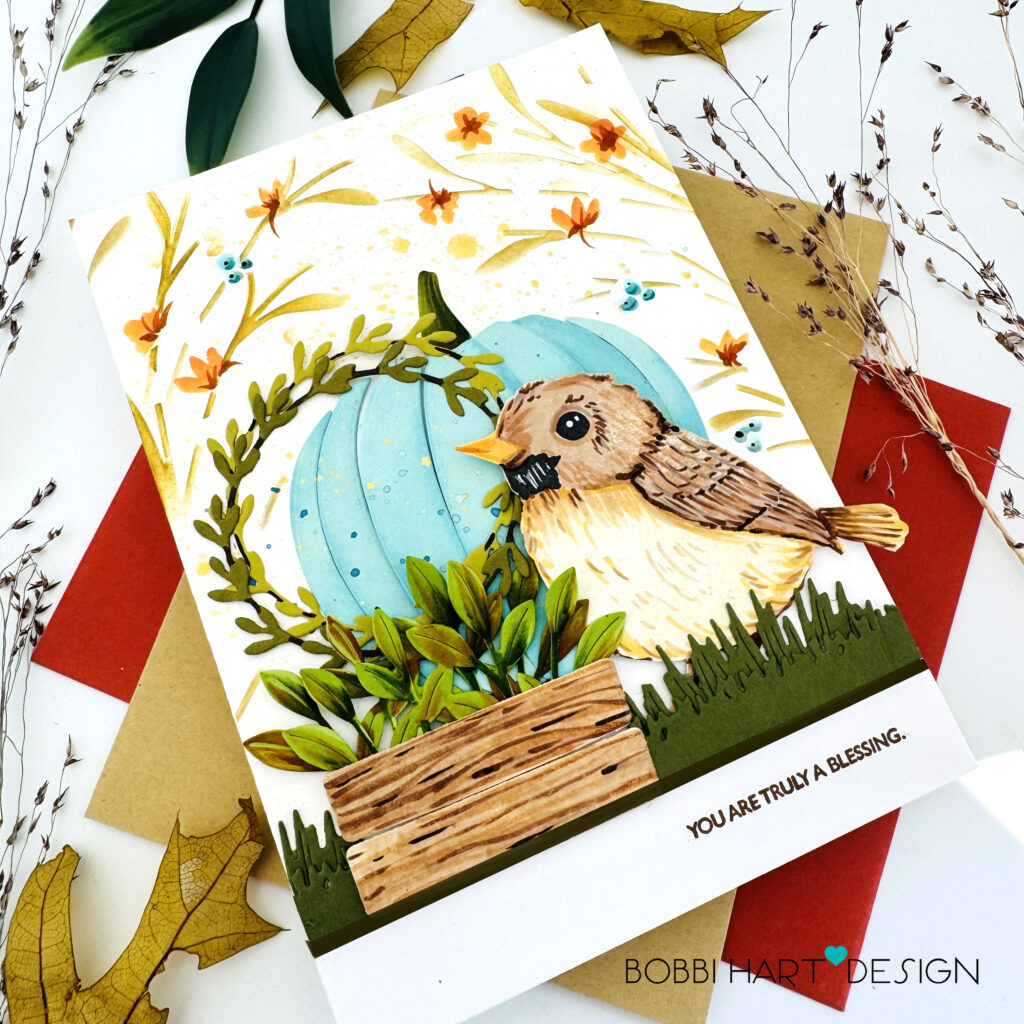
STEP 4: Stencil above and around the pumpkin scene using the Wandering Petals Stencil Collection and Crushed Olive Distress Oxide Ink.
STEP 5: Stencil the “wandering petals” flowers onto the branches using a blender brush and Carved Pumpkin Distress Oxide Ink. Add a center to the flowers using a terracotta color like Copic YR27 as shown here. Stamp the phrase, “You are truly a blessing” from the set, This is Big Sentiments: Fall Harvest stamp set using in brown ink.
You can shop the entire collection here at Papertrey Ink! If you decide to place an order, please use the links in this post so that Papertrey Ink team knows what inspired you. I appreciate it very much. It helps me to continue to bring more ideas to you!
Thanks for stopping by today. If you want to see more ideas and inspiration from me, subscribe to my blog, BobbiHartDesign.com. I’ll send you updates on new posts! You can also find me on Instagram as @BobbiHartDesign and on Facebook as BobbiHartDesign. Bobbi Hartmann Lemanski, Bobbi Hart♥ Design, Adding h♥art into every design
Cathy Laycock says
Love this one the best for day 1. Love the colors chosen and layout.
It feels like home.
Jo Johnson says
I love the colors used in this. They are striking. ♥️
Carol says
Love the bird!
donna mikasa says
So cute, Bobbi!
Love how the different elements work together so beautifully!
Jill Hennessy says
It’s hard to pick just one item from This new release! Love the “tweet” birdie and he sits perfectly n the potted plant ❤️
Debbie Schenz says
You have my vote! Love this card with the lovely bird.