


Hello, fellow cardmakers and crafters!!
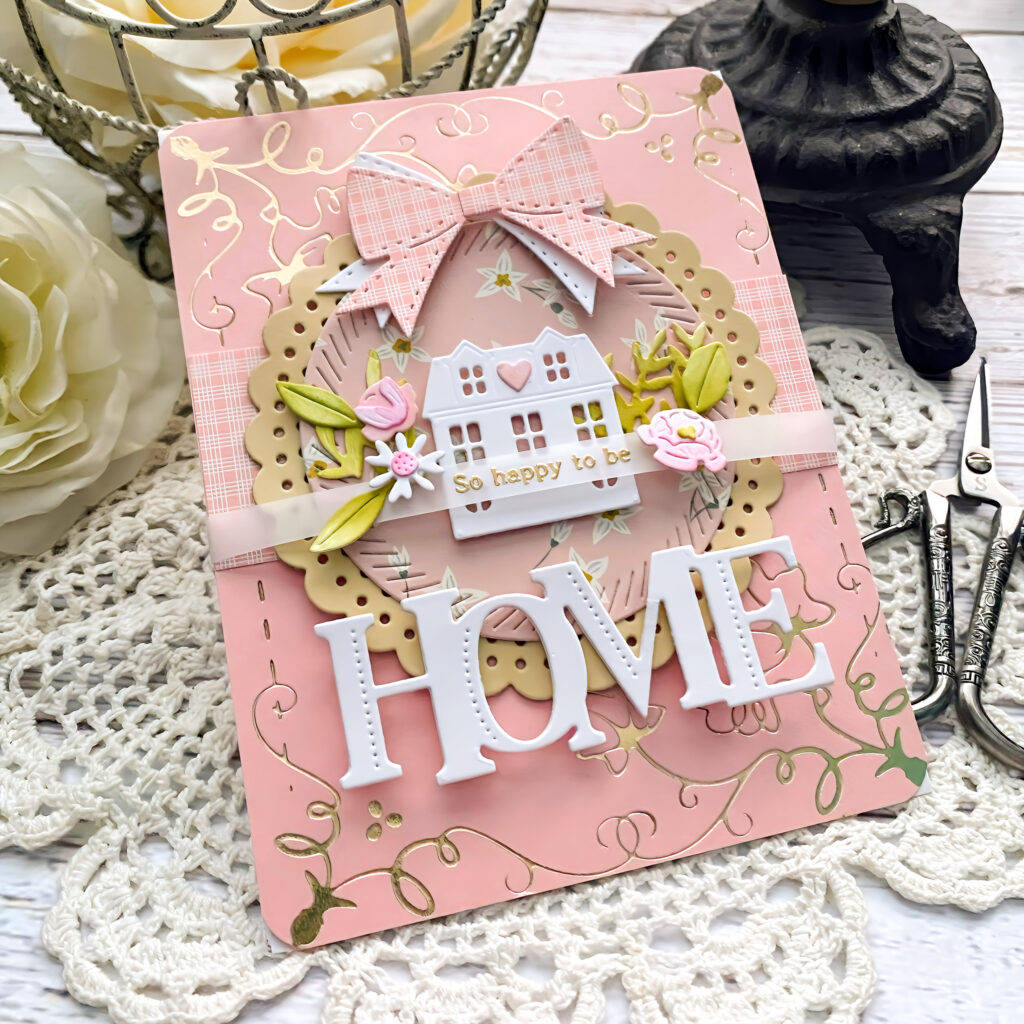
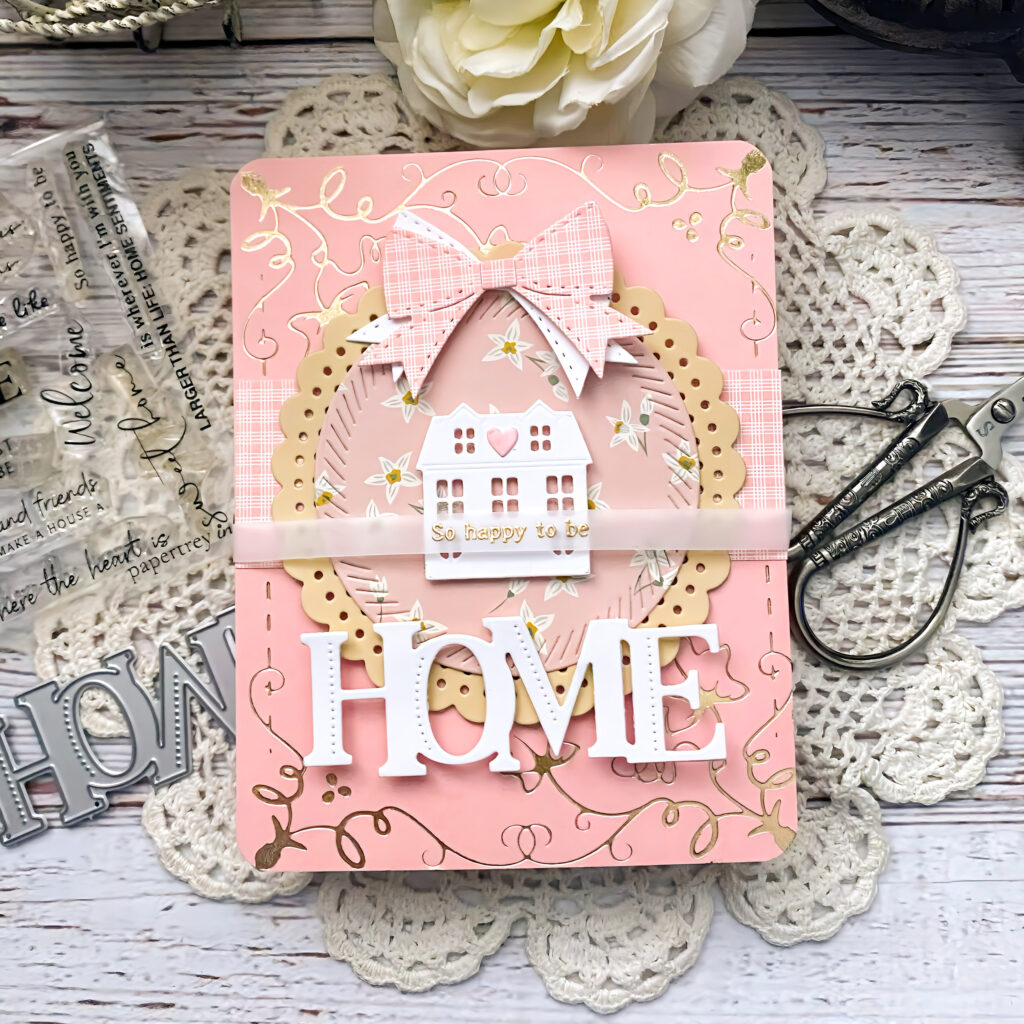
There’s something instantly comforting about this card from Kelly Lunceford; it feels like opening the door to a place you love. The soft pink background, delicate gold foiling, and intricate scalloped frame set the stage for a charming white house adorned with tiny blooms and leafy sprigs. That perfectly placed plaid bow ties it all together with a welcoming touch. Kelly shared that she wanted to capture the coziness of home, the kind that makes you think of soup on the stove, something baking in the oven, and family gathered close. While this design isn’t autumn-themed, it radiates that same feeling of belonging and warmth, reminding us why “home” will always be one of the sweetest places our hearts can go.
Kelly says, “As the seasons change and summer slips away and our hearts turn to autumn, there’s something so reassuring about ‘home’. Perhaps a warming soup on the stove, something baking in the oven, and family gathered together. While my card for today isn’t autumn inspired, I wanted to capture the coziness of home and how special it can be!”
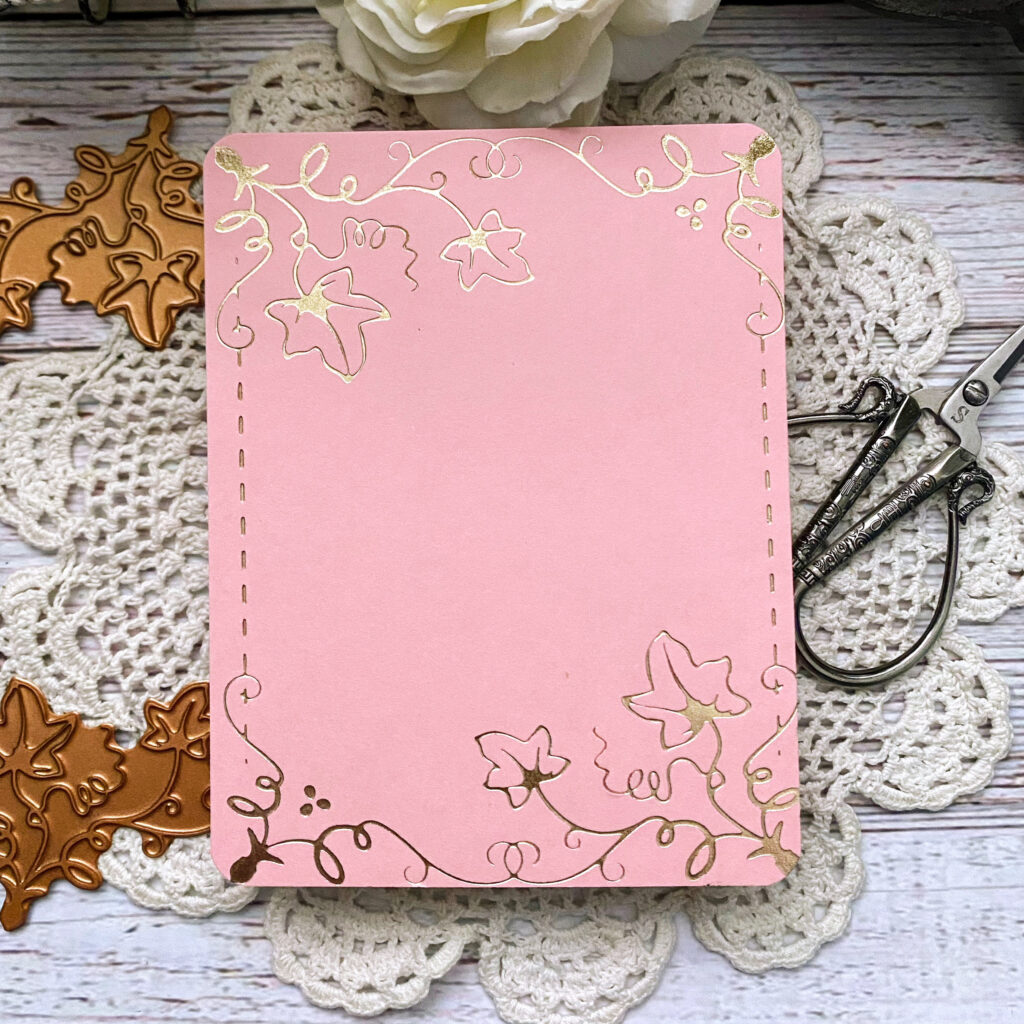
Step 1: Cut an A2 sized panel of Pale Peony cardstock. Use the hot foil plate and champagne foil to add the background design. Round the corners with a punch.
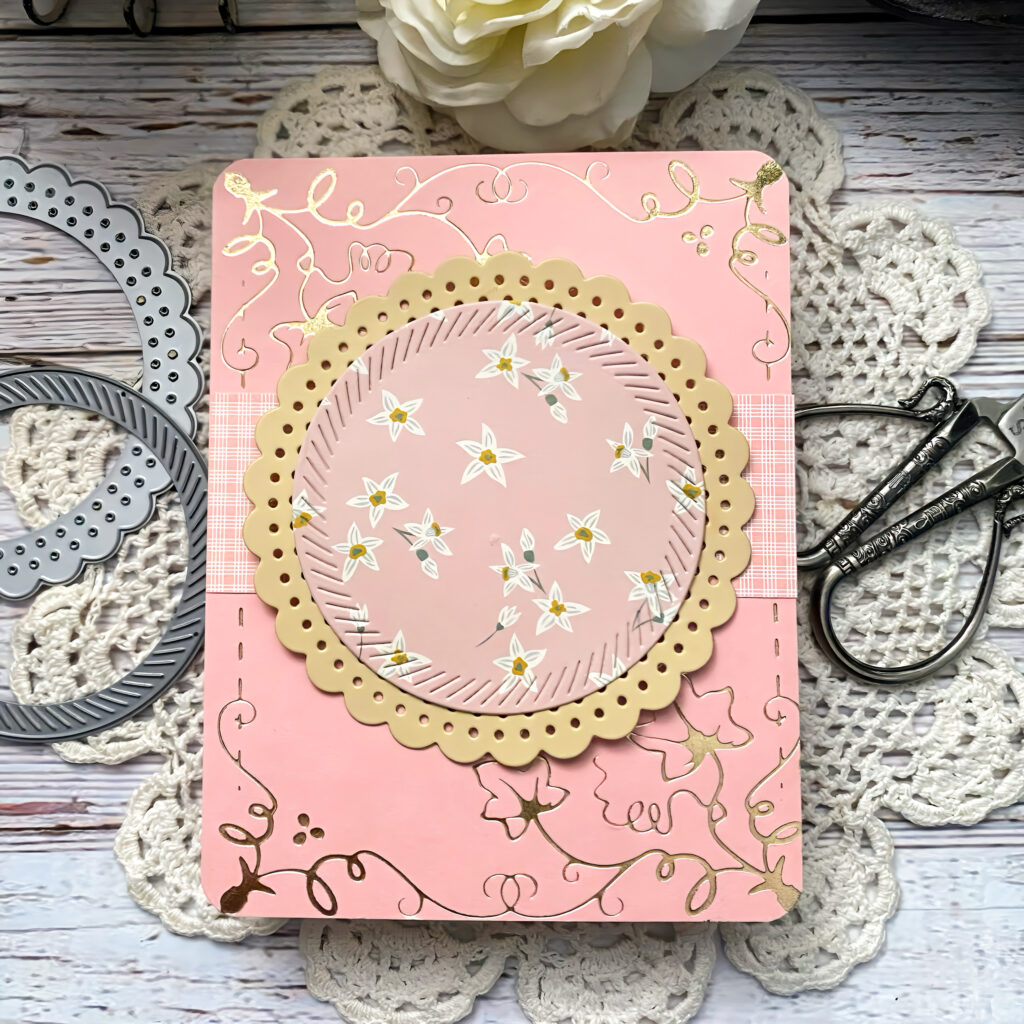
Step 2: Add a strip of plaid pattern paper a little higher than the middle. Attach the circles with foam squares and adhesive.
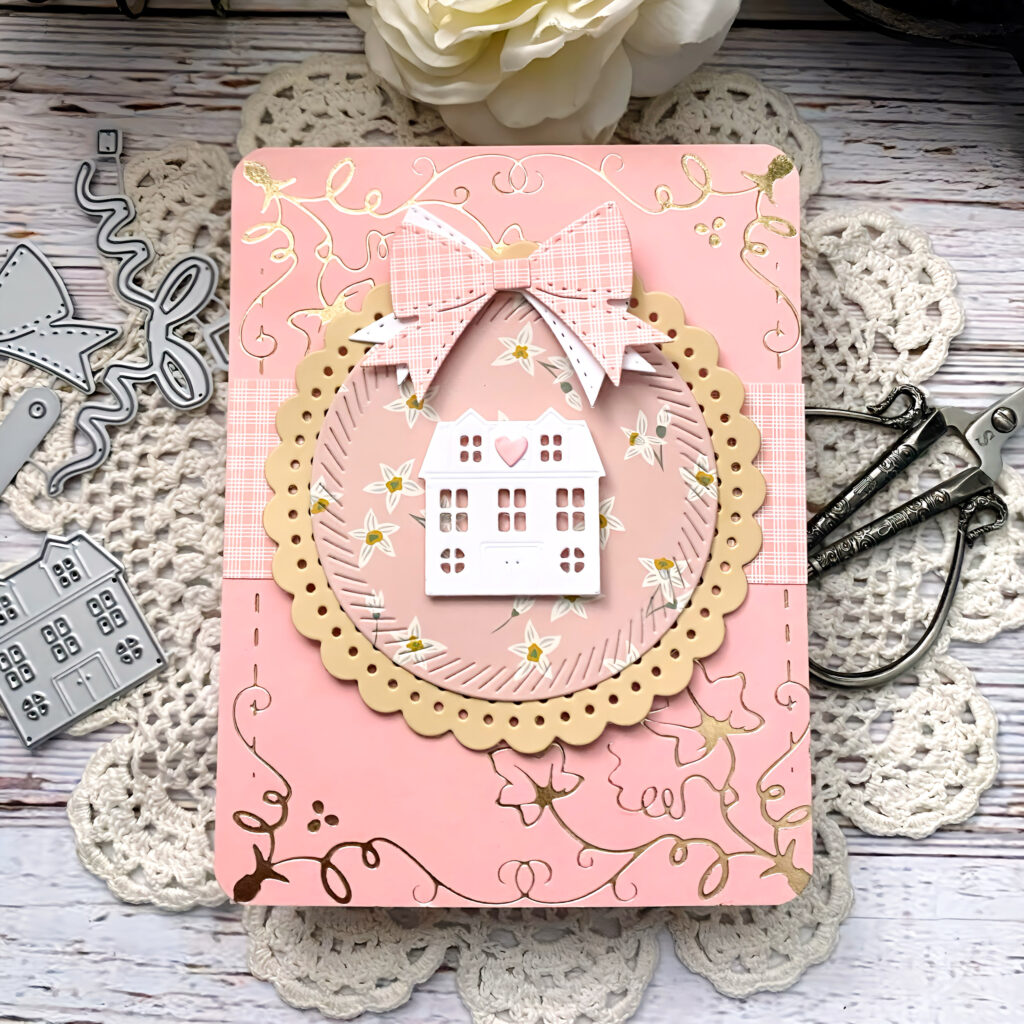
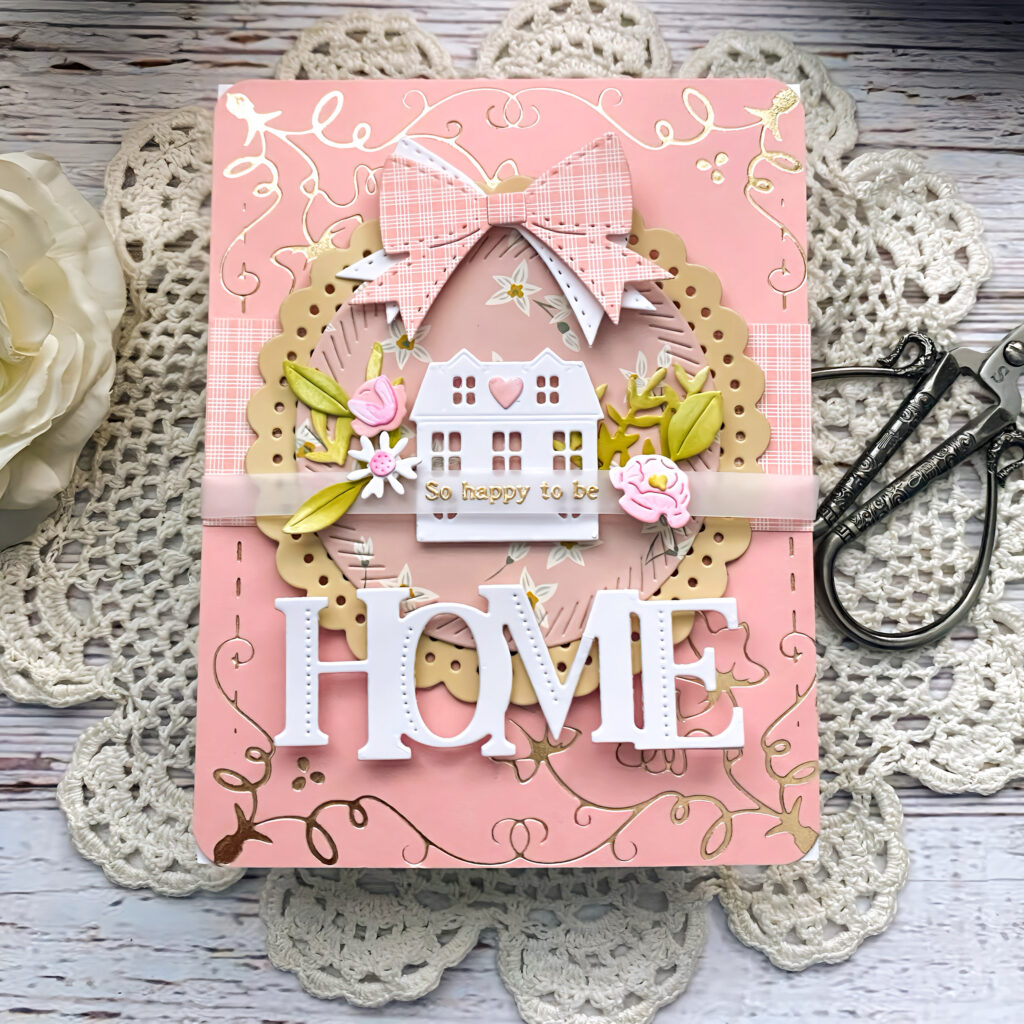
Step 3: Add the bows, die cut house, and heart to the house using liquid glue and foam squares.
Step 4: Cut the HOME word twice and glue them together. Attach it to the bottom of the circle, using small pieces of foam tape. Heat emboss the companion sentiment onto a strip of Vellum using gold embossing powder. Center it on top of the house and secure it to the back of the background panel using tape.
Step 5: Cut the flowers and foliage and add color, using blender brushes, and dye ink. Arrange them around the house using both liquid glue and small pieces of foam tape. Attach the background panel to a top folding white card base.
We’d love to see your take on this design! Don’t forget to tag us on Instagram or share your creations in the comments. Whether you’re celebrating a birthday or just sending a heartfelt hello, this layered card is sure to bring joy to any recipient.
Supply List:
STAMPS: Larger than Life: Home Sentiments
DIES: Bring Home the Holidays, Love to Layer: Stitched Circles, Love to Layer: Scalloped Circles, Into the Blooms: Above Ground, Larger Than Life: Home
INK: CLICK HERE
Spring Moss, Simply Chartreuse, Ripe Avocado, Pale Peony
CARDSTOCK: Pale Peony, Fine Linen, Stamper’s Select White, Bitty Big: Pale Peony
HOT FOIL PLATE: Fall Harvest
OTHER SUPPLIES: Versamark, Champagne Foil, Floral Pattern Paper, Vellum, Gold Embossing Powder, Corner Rounder Punch
Leave a Reply