Hello, friends! This is Yana Smakula and I am excited to bring you my first monthly video tutorial for Papertrey Ink from the “In The Studio with Yana” video series. I’ll be sharing video tutorials on the 24th of each month (with the exception of next month – I am doing a lot of traveling and am unable to film).
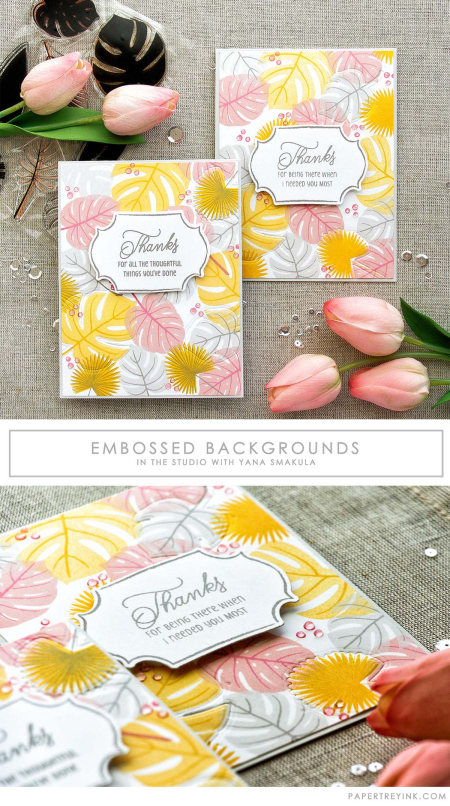
For this blog post and video tutorial I decided to show you one of my most favorite techniques – creating a background pattern using individual images. To spice things up I’ll also show you how to dry emboss some of the stamped images to add additional depth and detail to your project.
I decided to use Palm Prints stamp set for my project however many other images and sets work great for this technique. I love to use large solid images with one or two detailed layers, however smaller one layer designs and even outline designs can also be used.
I picked just a few leaves for my pattern and I assigned a particular color for each leaf, this is my number one trick for stamping patterns – it saves a lot of time and minimizes the number of mistakes I make when I do my stamping.
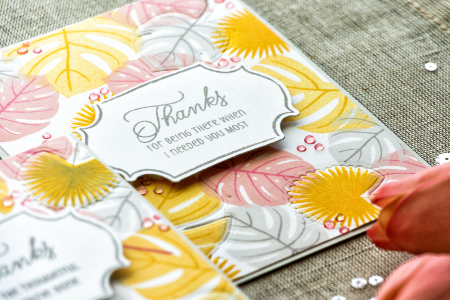
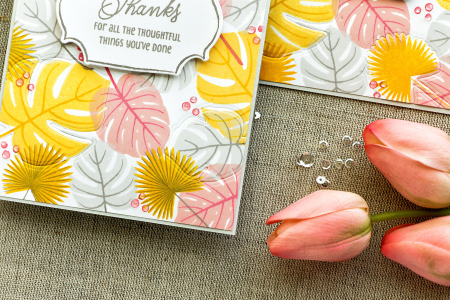
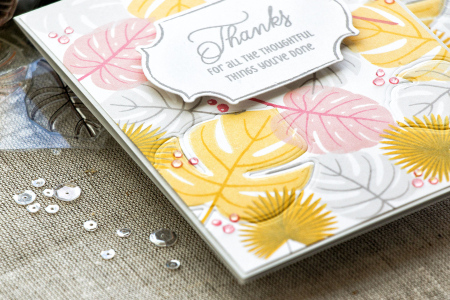
I used monstera leaves in 3 sizes as well of a round palm leaf to create my background. For my color combo I picked yellow, pink and gray. For each color I used a lighter and a darker shade of ink.
You want to make sure to begin working on your background by stamping large monstera leaves first. Unless you are going for a geometric looking pattern, try to avoid stamping same images in a straight line, stamp them so that they form a triangle for organic look.
Working from large to small fill in the background with the images you selected. After I was done stamping my background using monstera and palm leaves I used a berry image from the Gathered Garden set to fill in any gaps I had on my background.
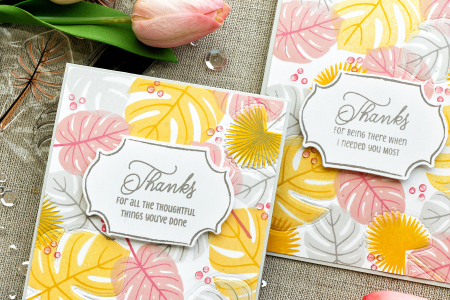
At this point my background was done, however I wanted to show you a simple trick you can do using your coordinating dies to add even more detail to your project. I used coordinating dies, just 3 of them (large monstera, small monstera and palm leaf) and dry embossed my background.
You’ll need to use a tan embossing mat to be able to do dry embossing using coordinating dies in your die cutting machine. Make sure to check your machine manual for the proper sandwich.
To create a sentiment I used a beautiful label and a Thank You sentiment from the Gathered Garden set and stamped both using dark gray ink. I trimmed my background panel down slightly and adhered it onto an A2 top folding card base made out of Soft Stone cardstock. After I foam mounted my sentiment label I also added dimensional dots over my pink stamped dots using Nuvo Crystal Drops in Morning Dew.
Have fun stamping!
- STAMPS: Palm Prints, Gathered Garden
- INK: Duckling, Sunshine,Twirling Tutu, Hollyhock, Fog, Cobblestone (Simon Says Stamp)
- PAPER: Soft Stone, white
- DIES: Palm Prints dies, Gathered Garden
- OTHER: Platinum 6 die cutting and embossing machine, Foam adhesive, Tape adhesive, Mini MISTI, Nuvo Crystal Drops (Morning Dew)


Leave a Reply