Another countdown has begun! This NEW set from Papertrey is very different from previous releases. It features reverse images, and is one of the first to do so with clear stamps. And don’t forget to make a note in your weekly planner that this set goes live Thursday night (midnight EST)!

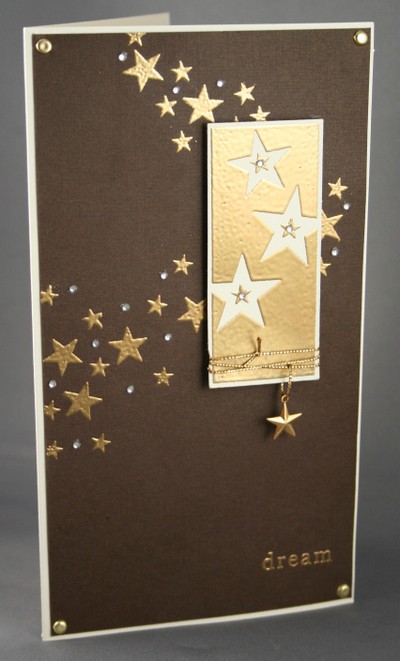
Today’s project uses some fun star images. Stars are all the rage right now, so I designed two basic symmetrical stars that can be used individually. Then there is the reverse star block. The two seperate stars can nest perfectly in the negative "star-shaped" space.
I decided to challenge myself and use one of my supplies that had been neglected for years. After digging around, I stumbled onto my gold embossing powder. I’m not a big fan of gold and don’t use it often because of this. I decided to play around and make that gold embossing powder something I loved! I paired it with some warm, rich chocolate brown cardstock (Bazzill) along with cream for my neutral. While I was going through my embellishments, I found this gold star charm, and I knew it would be he perfect finishing touch.
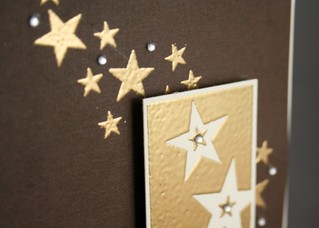
I created the "star" trail on my background by drawing a free form path with pencil. I stamped and embossed all the stars randomly and then added a few twinkle stickers. I think all the elements combined to leave a magical, sparkly effect.

To create the loop for my star, I used the gold cord from Stampin’ Up! I started by punching a 1/16th inch hole in my star block. I threaded the cord through to the front of the block and added the charm. To make it easier to tie, I wrapped the cord around a pencil and tied a nice tight knot. I then trimmed the ends and removed the pencil. Viola, a perfect little loop! I slid the knot to the back of my project as well, to give it an even cleaner look.
By the way, I edited my last post with some details about how the project was created. If you were wondering about how it was done, be sure to check it out.


Leave a Reply