Faux postage was all the rage for a while when the concept was first introduced to the stamping community. Why not reinvent this fun technique with one of the NEW Super Jumbo sized square scallop punch?!?!? This small-sized punch is the perfect way to update it!
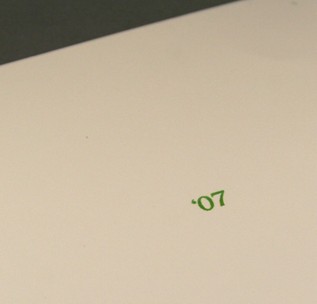
1. I printed my "cents" from the computer, and I made it "07" to represent the year. You could do lots of fun things with this. For example it could represent an age or anniversary.
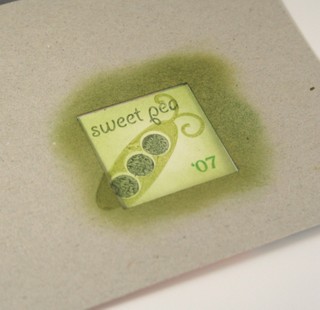
2. I punches a mask with a 1 1/4" square punch from scrap paper. I placed the mask over the computer printed number and sponged ink around the edge. I then stamped the sweet pea images from Green Thumb.
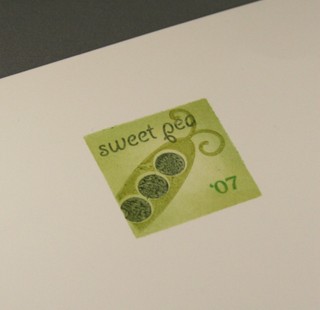
3. Once the mask is removed, you are left with your faux postage image.
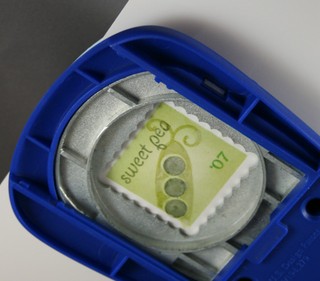
4. I then inverted the Super Jumbo scalloped square punch and punched out the image.

For my project I decided to make a fun little card that could be mailed to grandma. I used a 4 1/4 x 5 1/2 block of cardstock as my base. On the front I adhere a photo of Ethan. On the back I adhered my faux postage & added a postmark (Stampendous). I cut a block of white cardstock to fit to the side and had Ethan scribble a little. ( I handed him three shades of green crayons so I knew it would match my project! It’s all about color coordination, right?!?!?) I drew the dividing lines with a black pen and ruler. These fun little postcards could be made in advance and sent each month to a loved one, showing the growth of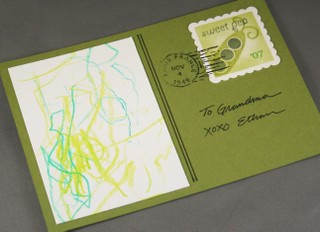
your child.
The postcard concept could also be used for wedding thank-yous with the couples photo and pretty floral faux postage. They could be utilized for birthday invitations. There are so many possibilities! And mass production of the faux postage with the scalloped punch is a snap. Just print your "cents" several to a sheet, add your masked sponging & stamping and punch away!
Ink: Old Olive & Always Artichoke dye inks from SU!, Black Noit Palette Ink
Stamps: Green Thumb from Papertrey Ink & postmark from Stampendous
Paper: old olive SU! cardstock
Other: sanding block for photo edges


Leave a Reply