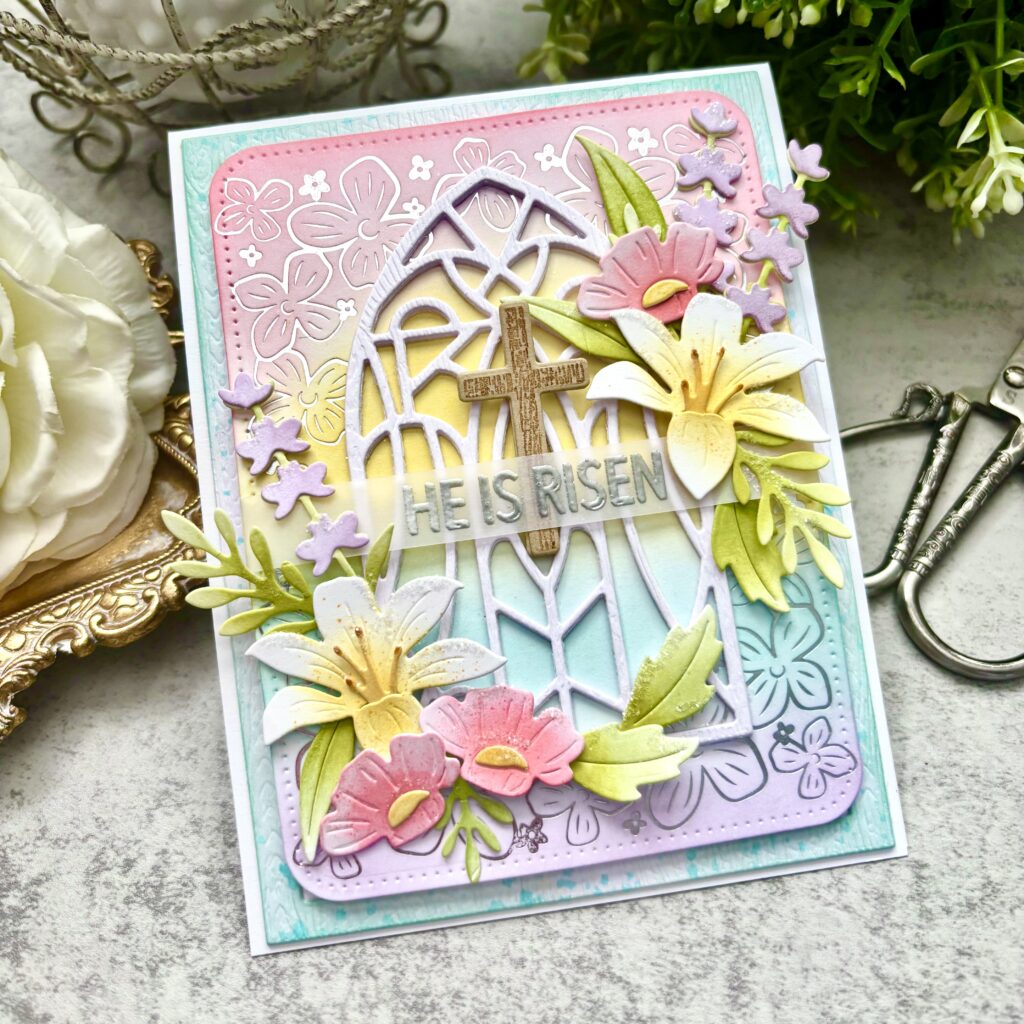
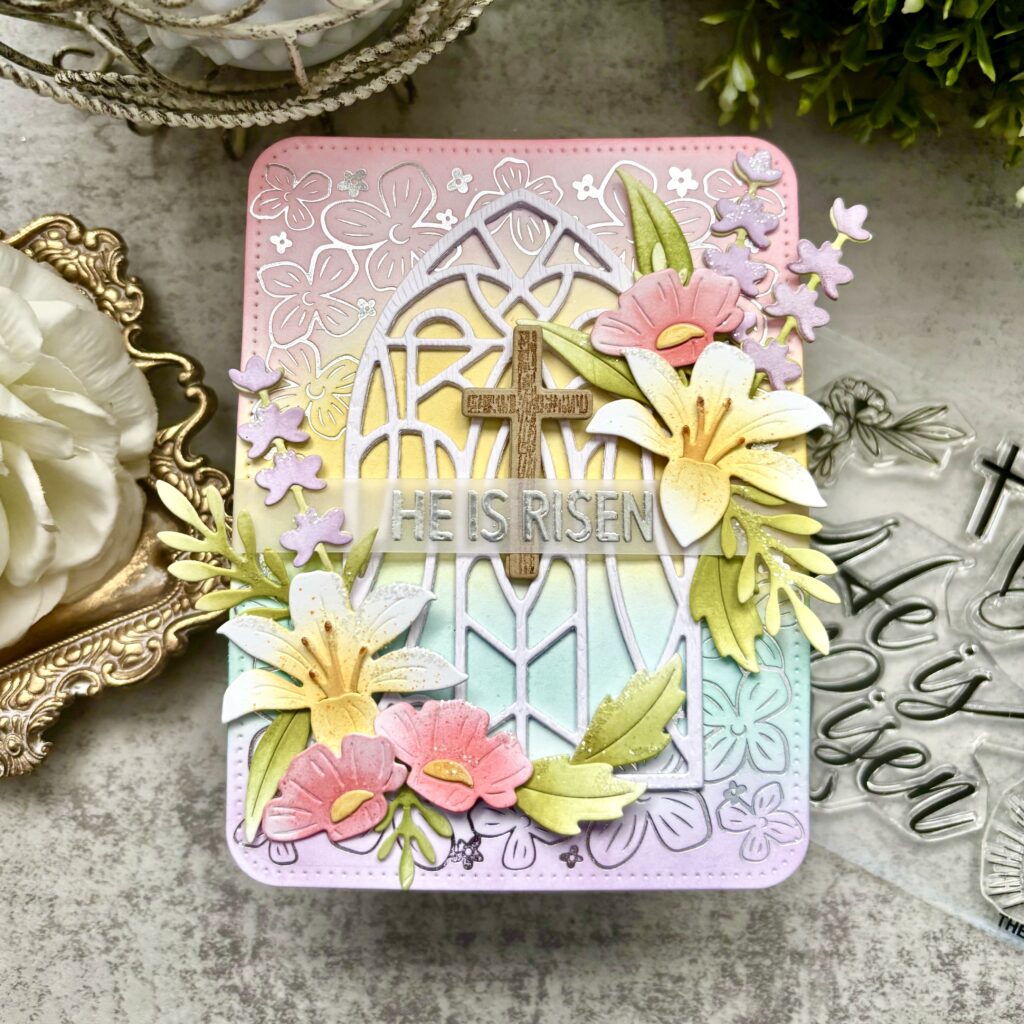
Kelly Lunceford captures the beauty and meaning of Easter with this stunning He Is Risen card, featuring a layered stained glass window surrounded by soft spring florals and delicate silver accents. 🌸✨ Using the Stained Glass Windows dies paired with the Framed in Flowers hot foiled background, she creates a luminous focal point that draws the eye straight to the cross and embossed sentiment. The blend of pastel inks, dimensional layers, and intricate die cutting gives this design a graceful, uplifting feel that perfectly reflects the spirit of the season.
Kelly shares, “One last Easter card before the big day arrives! This card pays homage to Easter with a beautiful cathedral window, silver foiling, and spring flowers bursting everywhere! I brought in a mix of old and new for this one-of-a-kind Easter greeting. This card is sure to bring the true spirit of Easter to the recipient!”
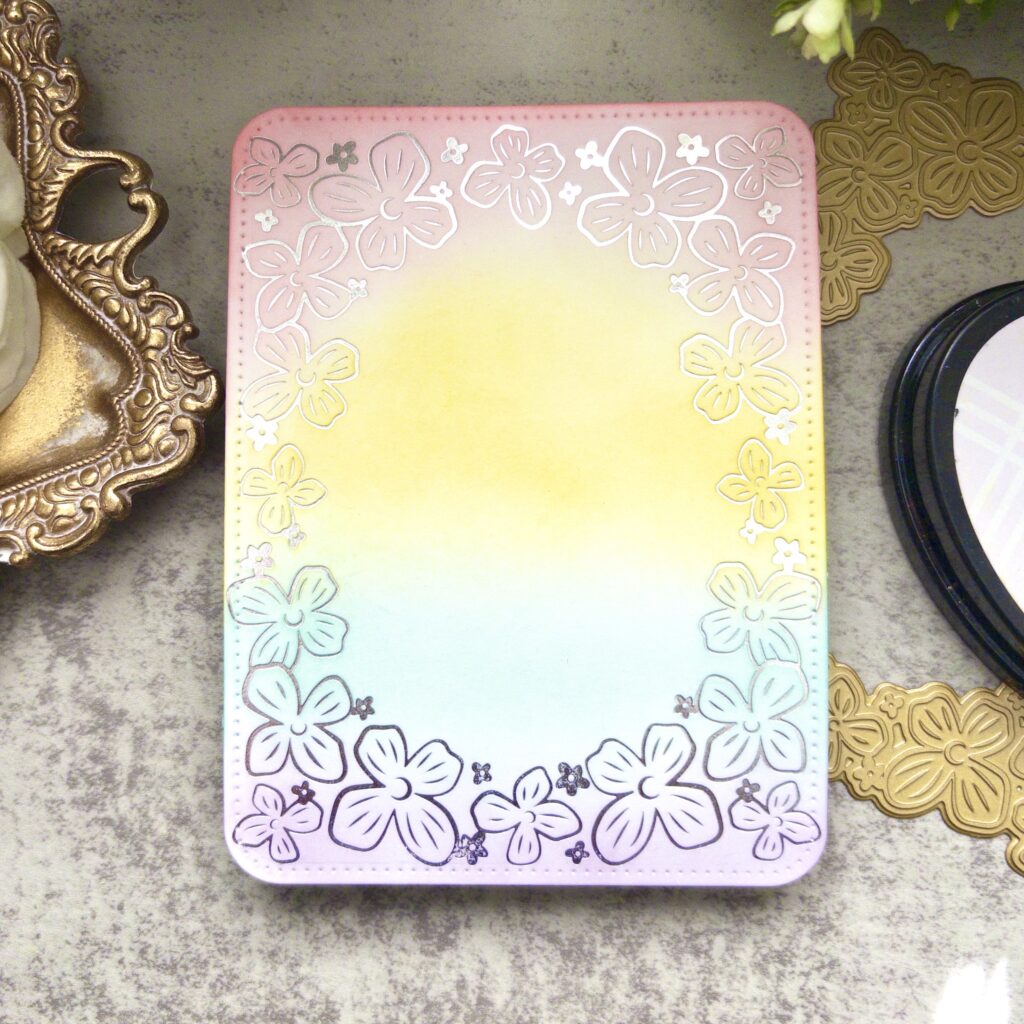
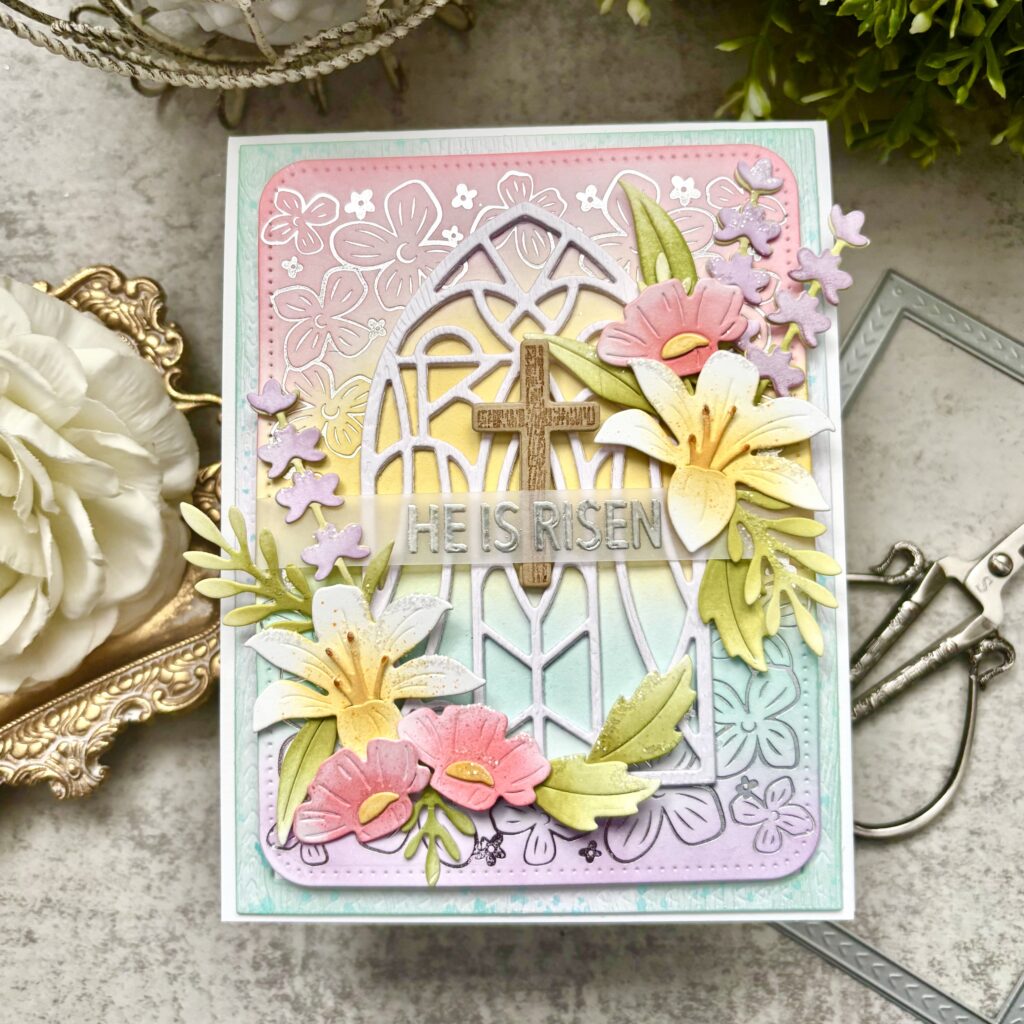
STEP 1: Foil a panel of white cardstock using the Framed in Flowers Hot Foil Plate. Trim the panel using the Rounded Rectangles: Pierced Die. Add color around the foiled design using ink and blender brushed.
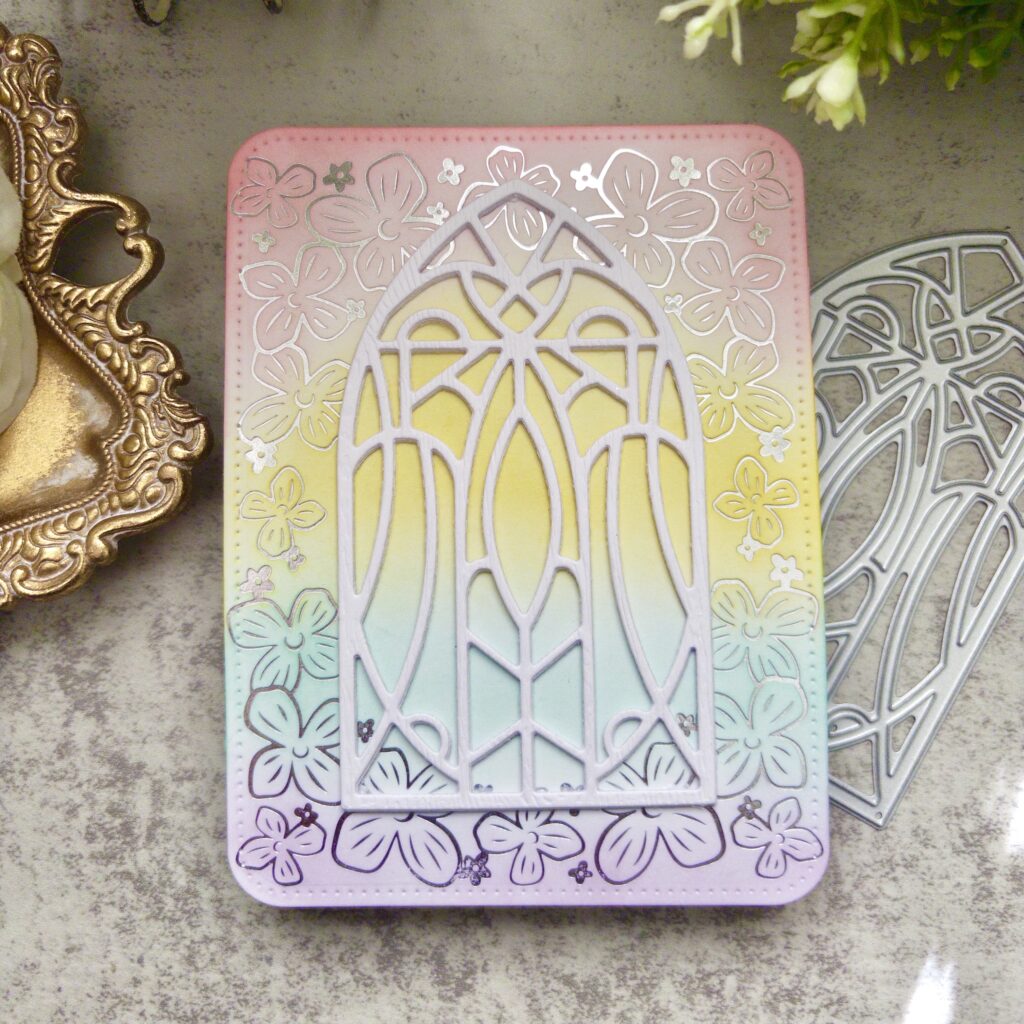
Step 2: Cut the stained glass window out three times. Cut one of the three from wood grain card stock and glue them together using liquid glue. Glue it to the foiled panel.
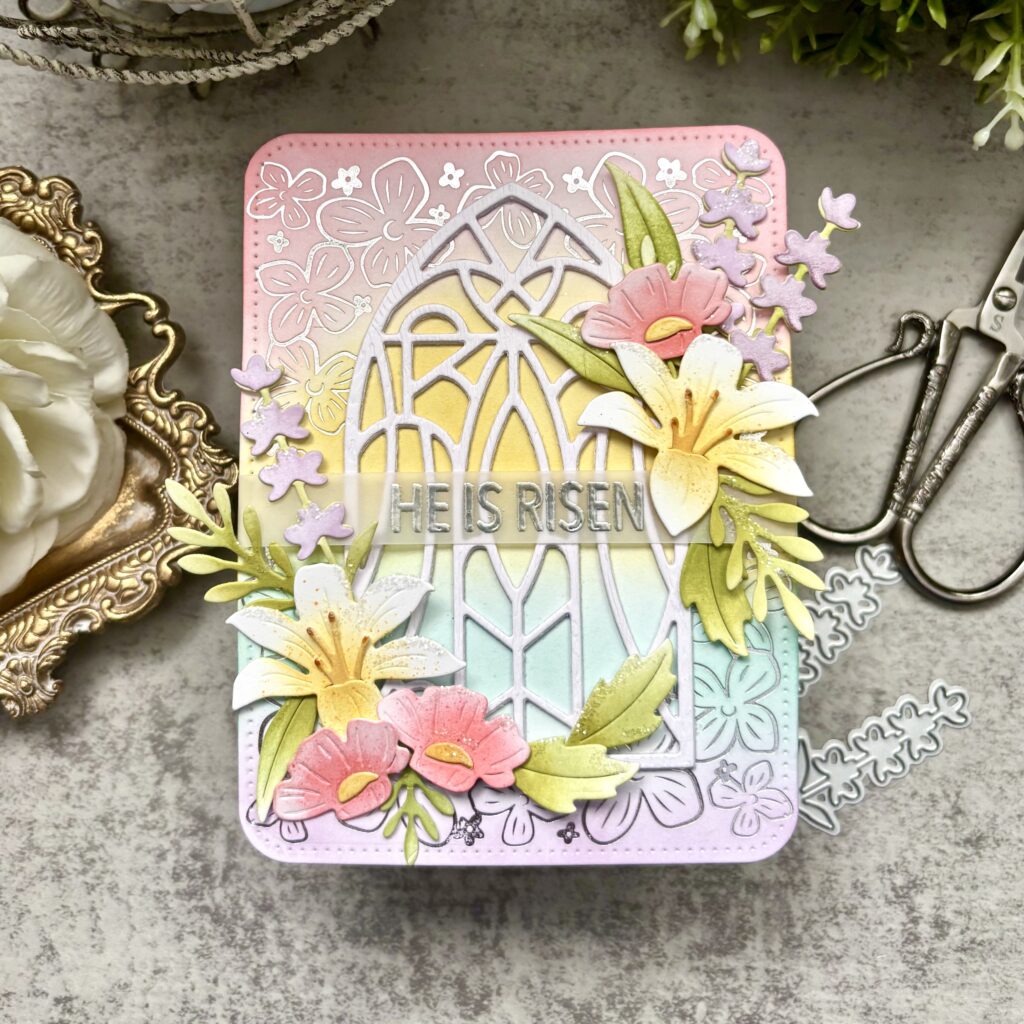
STEP 3: Heat emboss the sentiment using silver powder on a strip of velum. Wrap it around the panel and secure it to the back with the adhesive of your choice; I used clear tape.
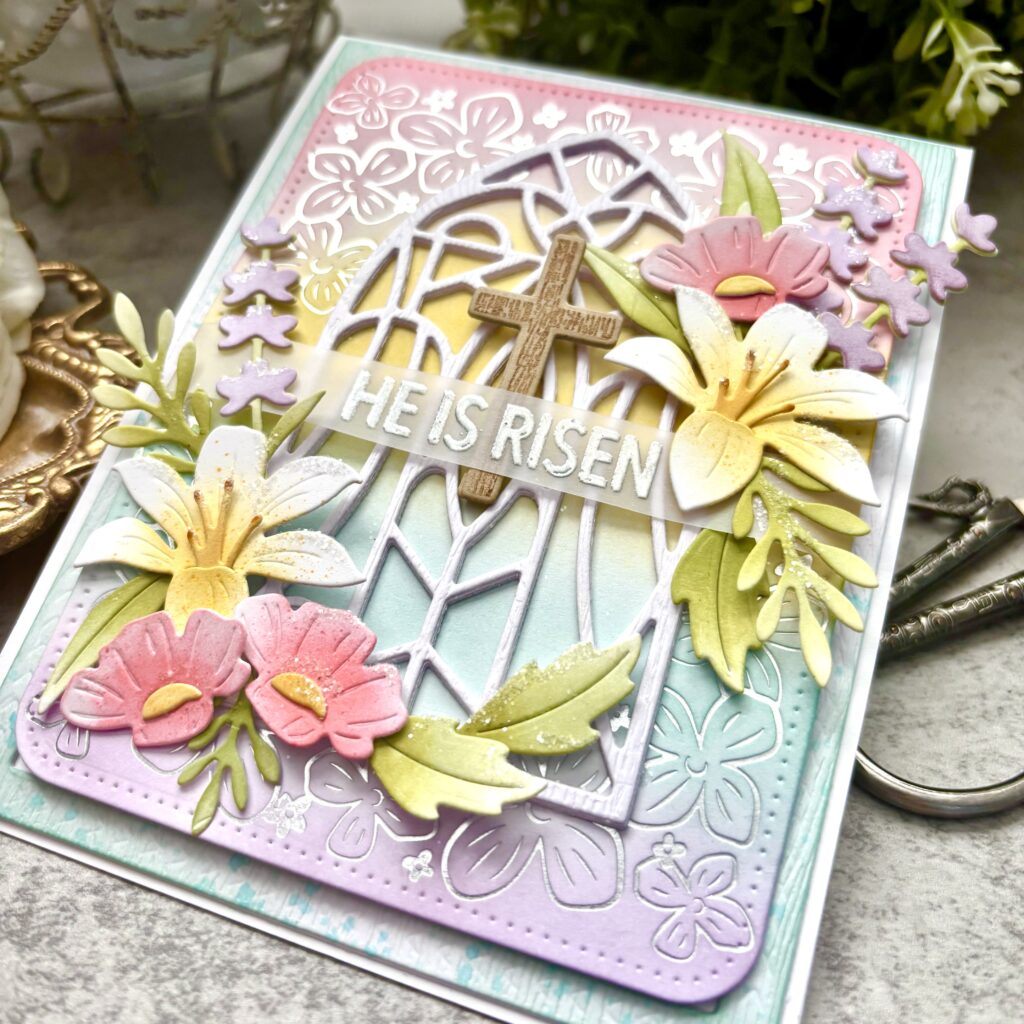
STEP 4: Cut and color all of the flowers and foliage. Attach them around the stained glass window using liquid glue and foam squares. Add glitter for sparkle and shine.
STEP 5: Die cut and stamp the cross and secure it behind the sentiment.
STEP 6: Cut the frame twice from woodgrain card stock and glue them together. Add some ink and ink splatter around the frame. Attach it to an A2 card base using liquid glue. Add the focal panel over the top using foam squares.
This project is a beautiful reminder that meaningful symbols and thoughtful layers can come together to create something truly special. ✨ From the foiled background and layered stained glass window to the softly colored florals and shimmering embossed sentiment, every detail adds depth and intention to the design.
Whether you’re creating a card to celebrate faith or to share Easter blessings, this design offers plenty of inspiration to craft something heartfelt and memorable.
Be sure to tag Papertrey Ink on Instagram when you share your version—we’d love to see how you bring your own creative touch to this elegant Easter card 💛


Leave a Reply