


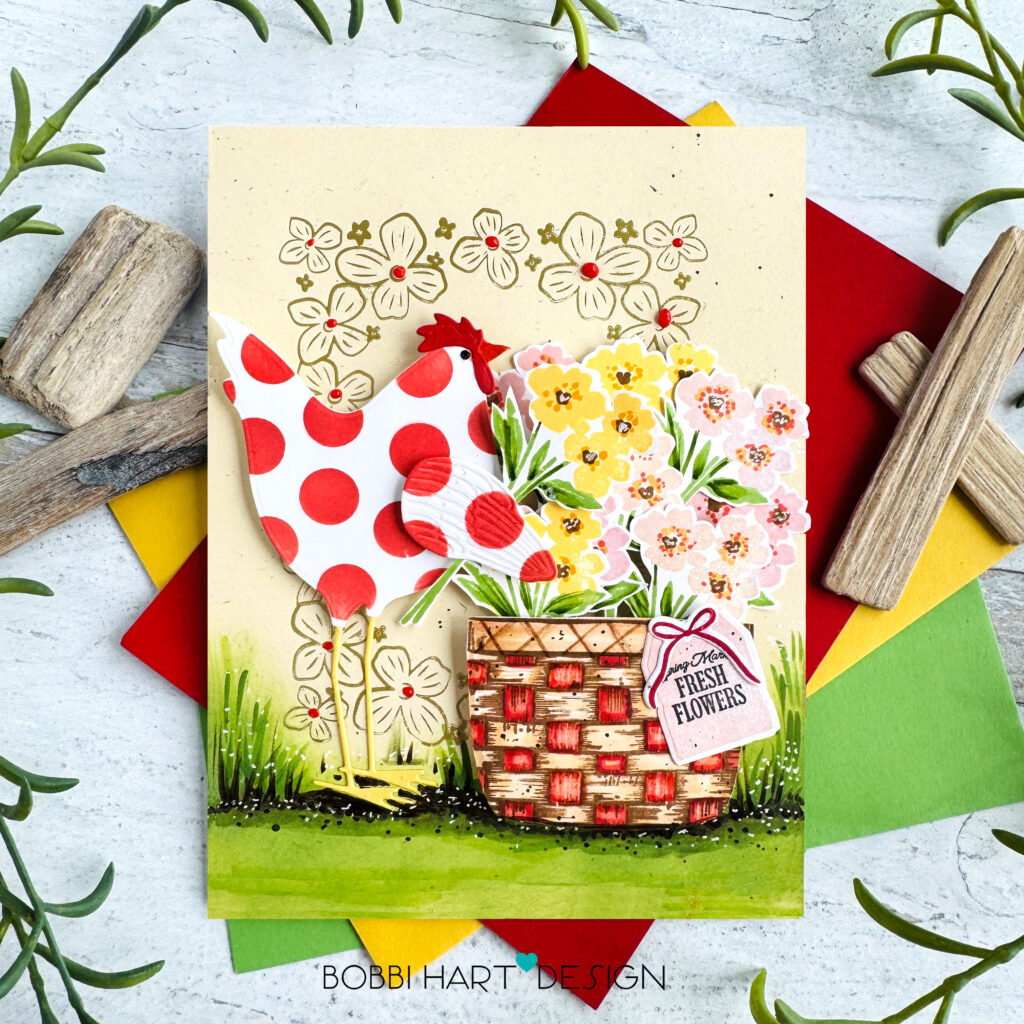
The Papertrey Ink March release includes this very cute rooster and I just had to use him on my featured card. This rooster is big! My card is 5″ X 7″ and you can see how tall he stands. My “rooster in bloom” card features the following products from the latest release:
Country Rooster Stencil Collection
Basket of Blooms Stamps and coordinating dies
Framed in Florals Hot Foil Plate
Below are the step-by-step directions on how I layered this card.
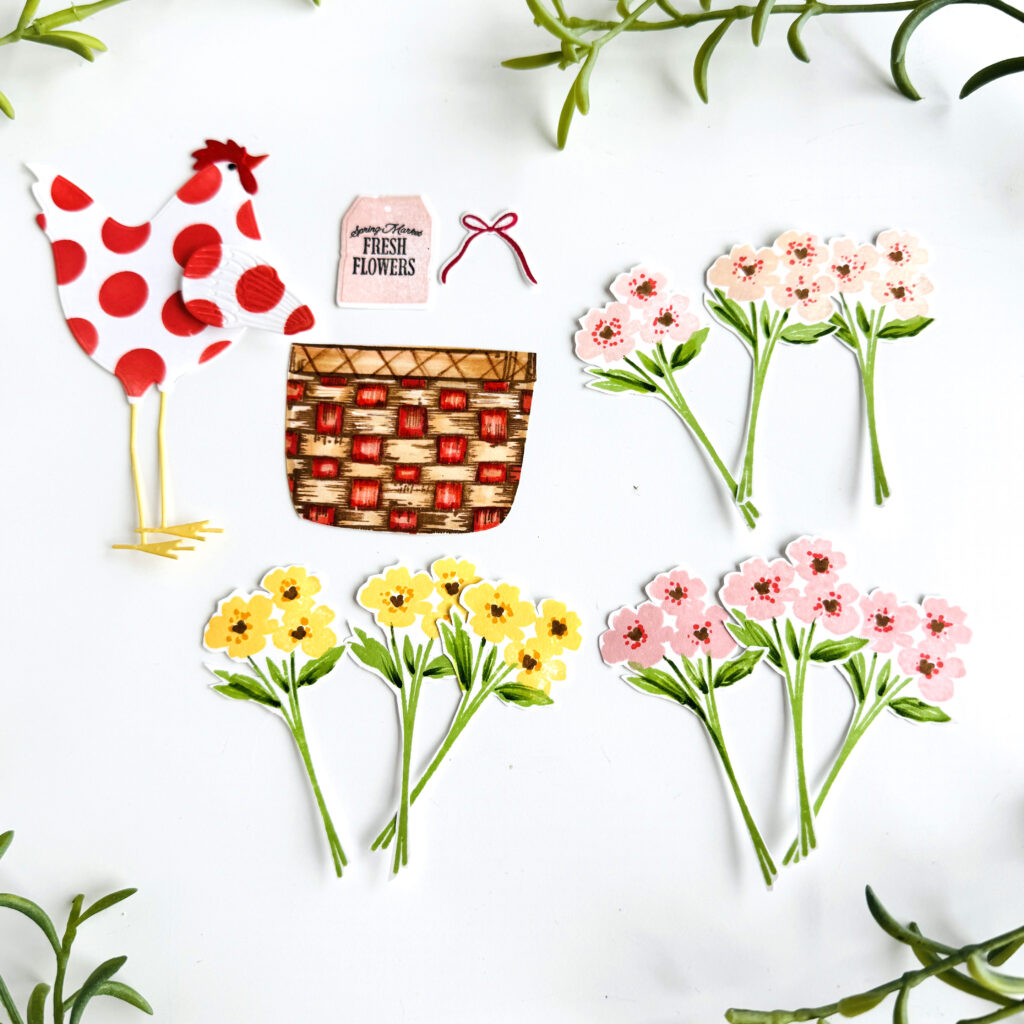
STEP 1: Stamp and die cut the following:
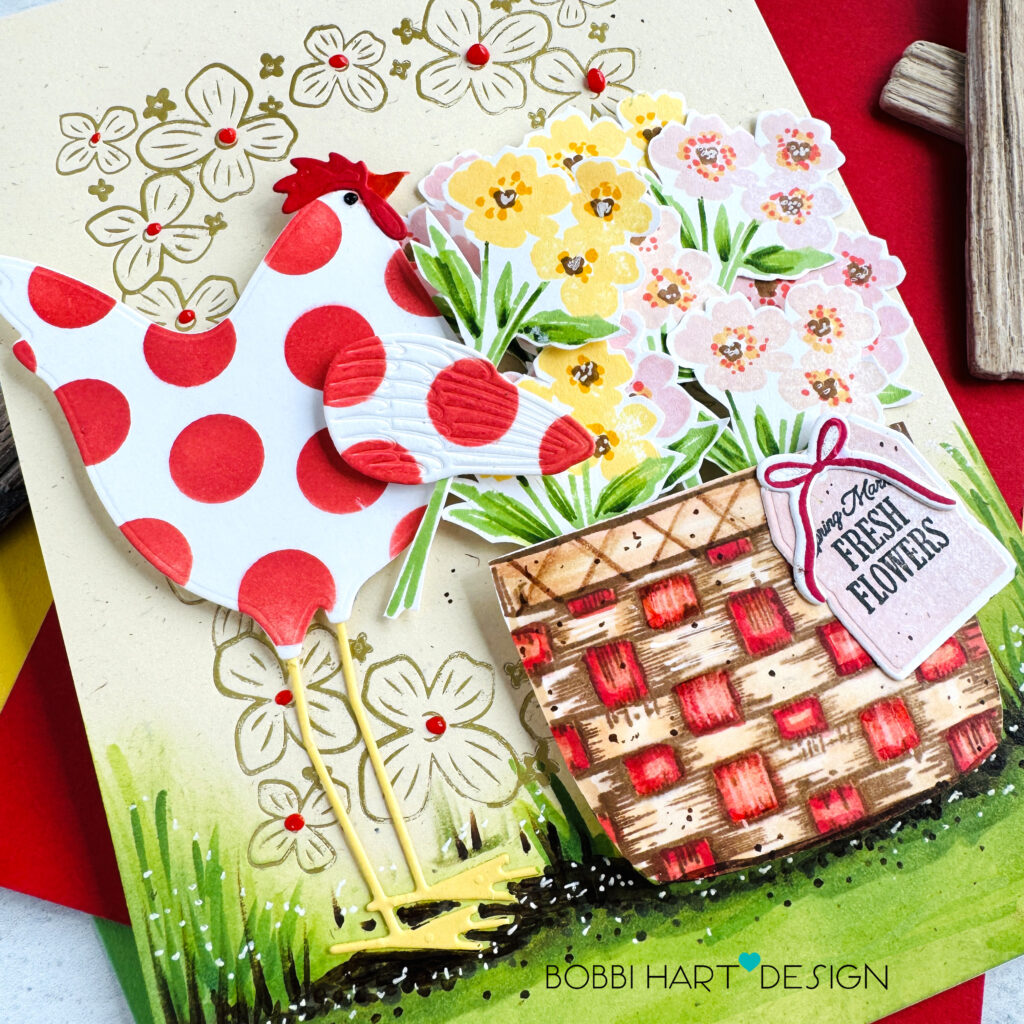
Stamp the basket’s top layer in Dark Chocolate and color the design using Copic Sketch Markers: R14, R21, R00, E57, E55, E43, E53, and E50. Alternatively, use the solid base layer that comes with the stamp set and avoid coloring the basket!
Stamp the floral stems using New Leaf Ink for the stems and three colors for the blossoms, three of each of the following colors: Pale Peony, Sweet Blush and Harvest Gold. Stamp the centers of each flower using Dark Chocolate.
Stamp the tag in Sweet Blush and the bow in Pure Poppy. Stamp the sentiment in True Black.
Die cut the Rooster from Stamper’s Select White, Pure Poppy and Harvest Gold cardstock. Stencil the body using the Polka Dot stencil and Candied Apple Distress Oxide Ink. Assemble the bird, attaching the wing to point forward (like an arm) as shown.
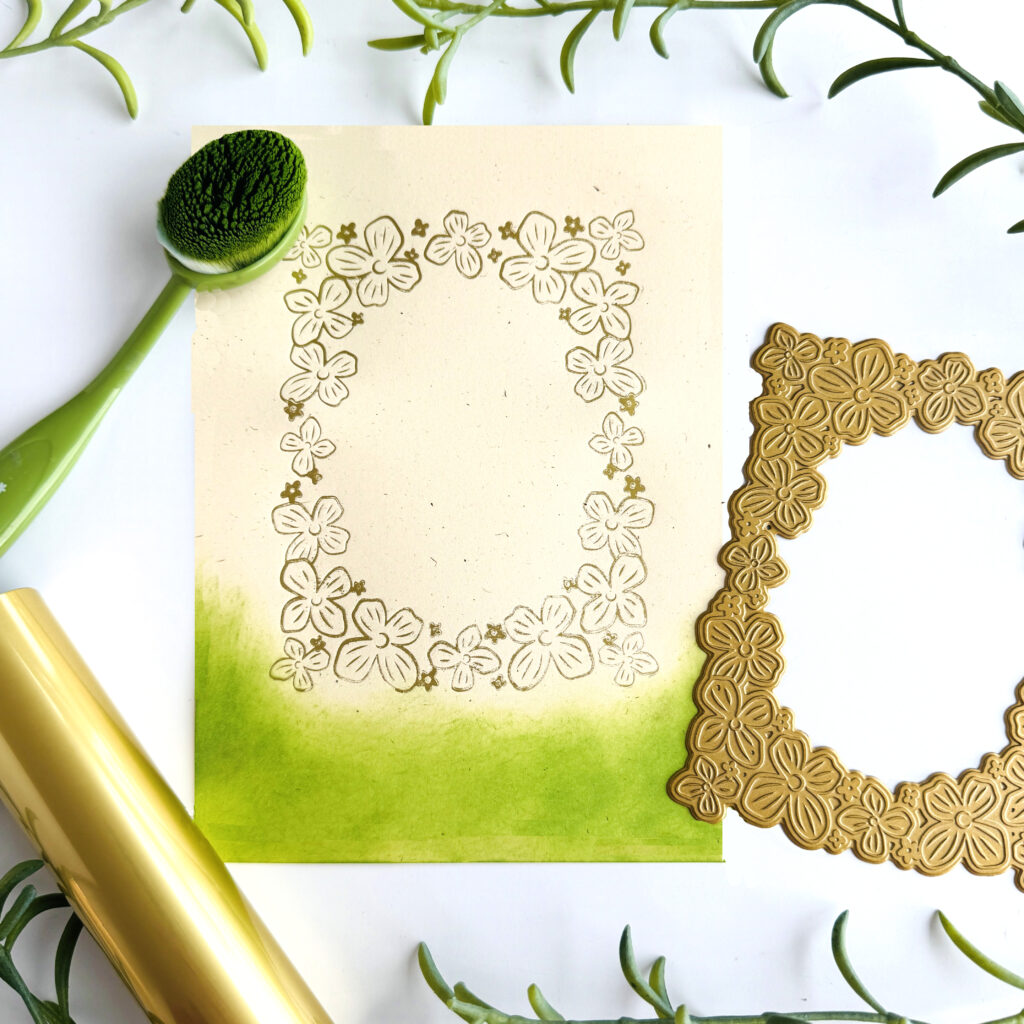
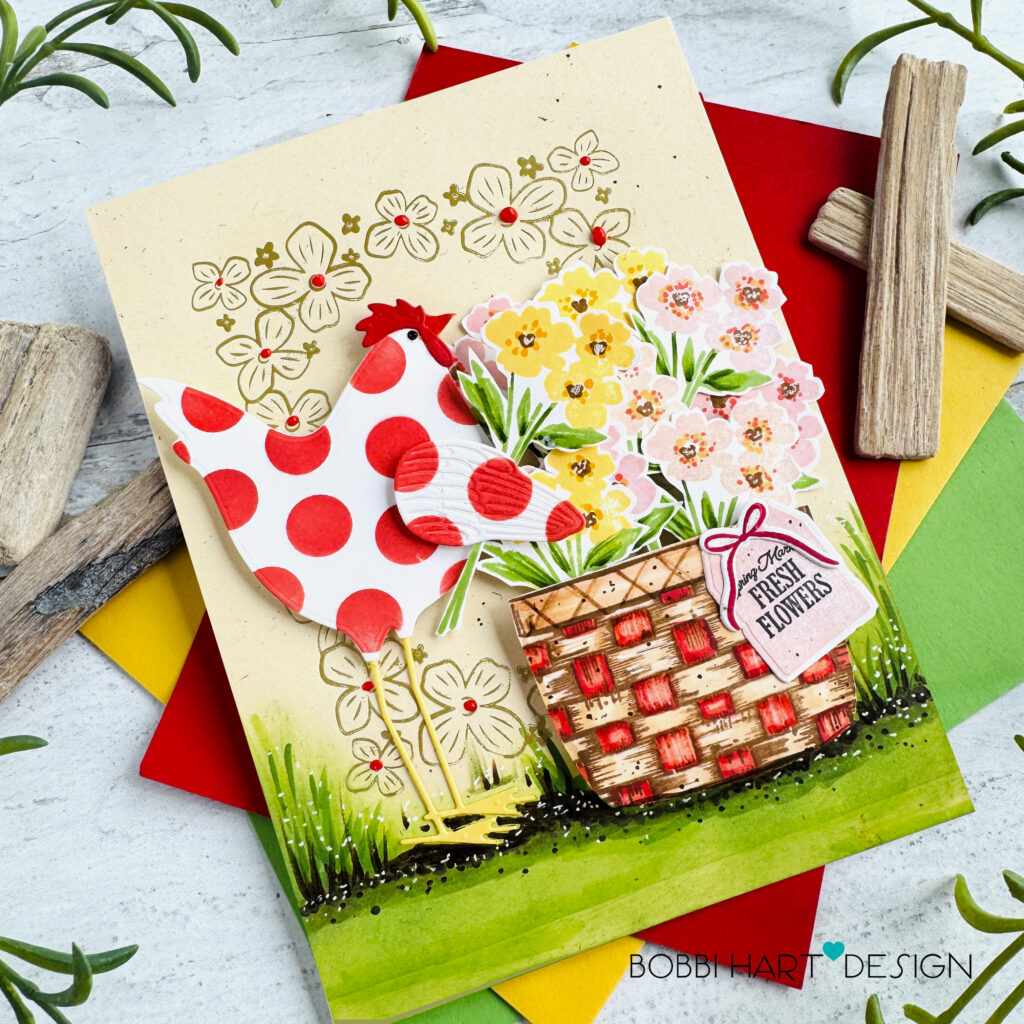
STEP 2: Create the background. Using the Framed in Florals Hot Foil Plate, hot foil the border design using matte gold foil on a 5″ X 7″ piece of Vintage Cream Cardstock. Using Distress Oxide Ink in Mowed Lawn, blend on a grassy background on the bottom of the panel.
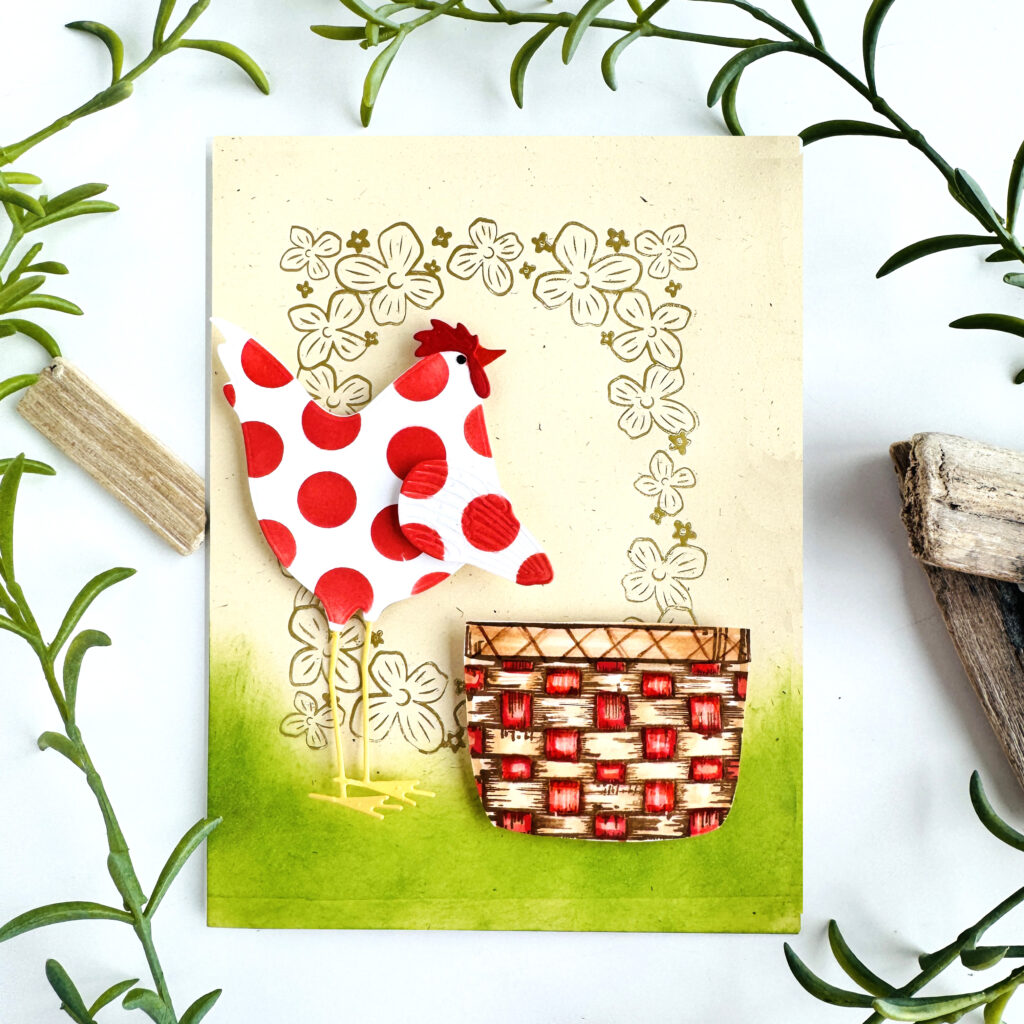
STEP 3: Attach the rooster and the basket using foam tabs to make them stand out from the background.
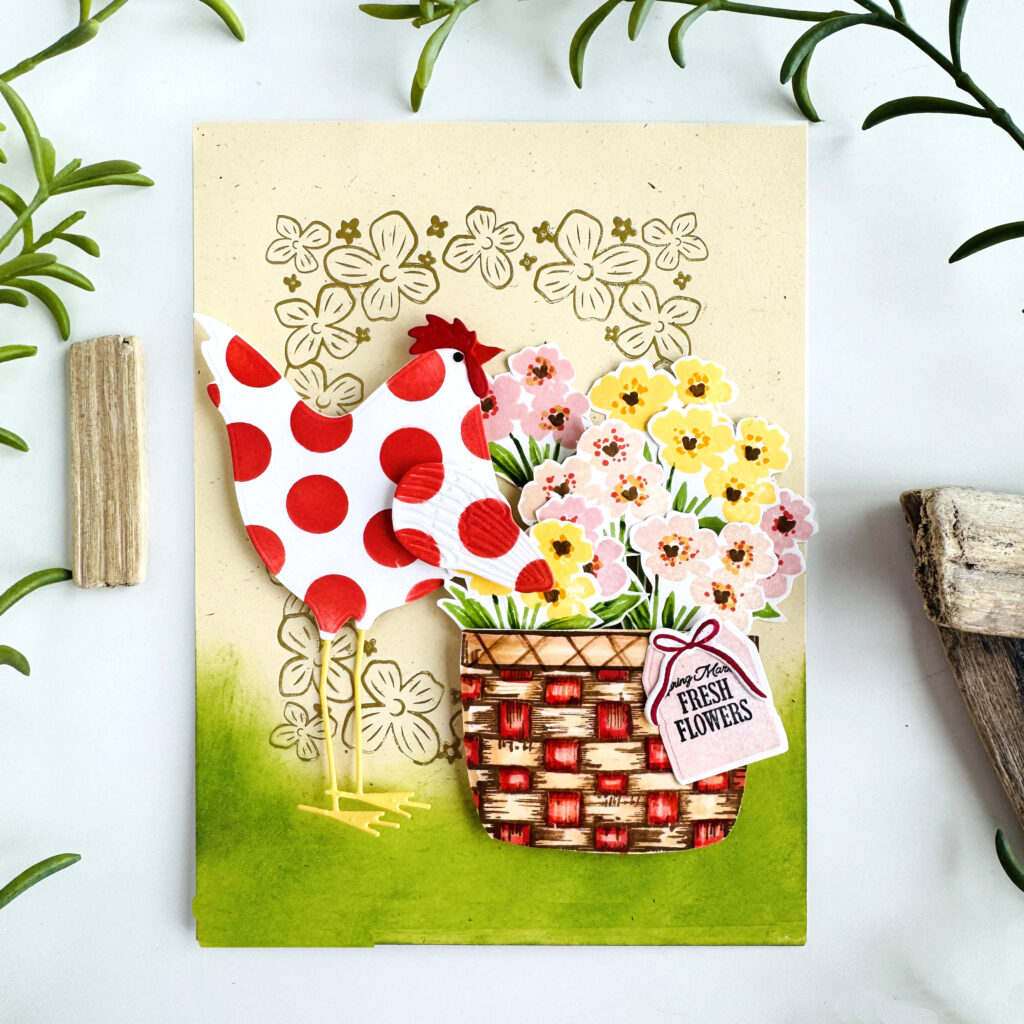
STEP 4: Add the floral stems to the basket. Use tape adhesive for the back layers and foam tabs for the front blossoms to create dimension in the bouquet. Keep one yellow blossom stem for the rooster’s hand. Attach the tag and bow to the basket.

STEP 5: Add red centers to the border design using Pearl Pen. Add a black eyeball to the rooster using a black Pearl Pen.
Add details to the landscape to ground the rooster and basket such as tall grasses, and dirt clumps, using Copic Sketch Markers in YG65, YG63 YG95, YG03,E47, and E79. Use a white Gelly Roll Pen to add white tiny blossoms to the grasses.
You can shop the entire collection here at Papertrey Ink! If you decide to place an order, please use the links in this post so that Papertrey Ink team knows what inspired you. I appreciate it very much. It helps me to continue to bring more ideas to you!
Thanks for stopping by today. If you want to see more ideas and inspiration from me, subscribe to my blog, BobbiHartDesign.com. I’ll send you updates on new posts! You can also find me on Instagram as @BobbiHartDesign and on Facebook as BobbiHartDesign.
Bobbi Hartmann Lemanski, Bobbi Hart♥ Design, Adding h♥art into every design
Leave a Reply