

Hello, friends!! Brenda back on the blog with you today!! I hope you’re enjoying the countdown to the fabulous February release!! While you wait for the new release, I have a Project Inspiration project to share that combines a few older goodies!!
Easter will be here before we know it!! We had a bit of warm weather last week in the midwest and my daylillies are starting to pop up already!! The warm weather inspired me to pull out some Easter goodies to get a head start on some Easter cards!!
Supplies
Stamps: Thoughts of Easter Sentiments
Dies: Egg Hunt, Into the Blooms: Clover, Thoughts of Easter Sentiments, Rounded Rectangles: Stitched, Love to Layer: Delightful Brackets, Into the Blooms: Wild Wood
Stencils: Egg Hunt, Delightful Bunnies
Ink: Pale Peony, Hibiscus Burst, Harvest Gold, Summer Sunrise, New Leaf, Green Parakeet
Cardstock: Sweet Blush, Pale Peony, Lemon Tart, Green Parakeet, Stamper’s Select White
Other supplies: vellum, Star Dust Stickles, yellow baubles, liquid glue, micro foam squares
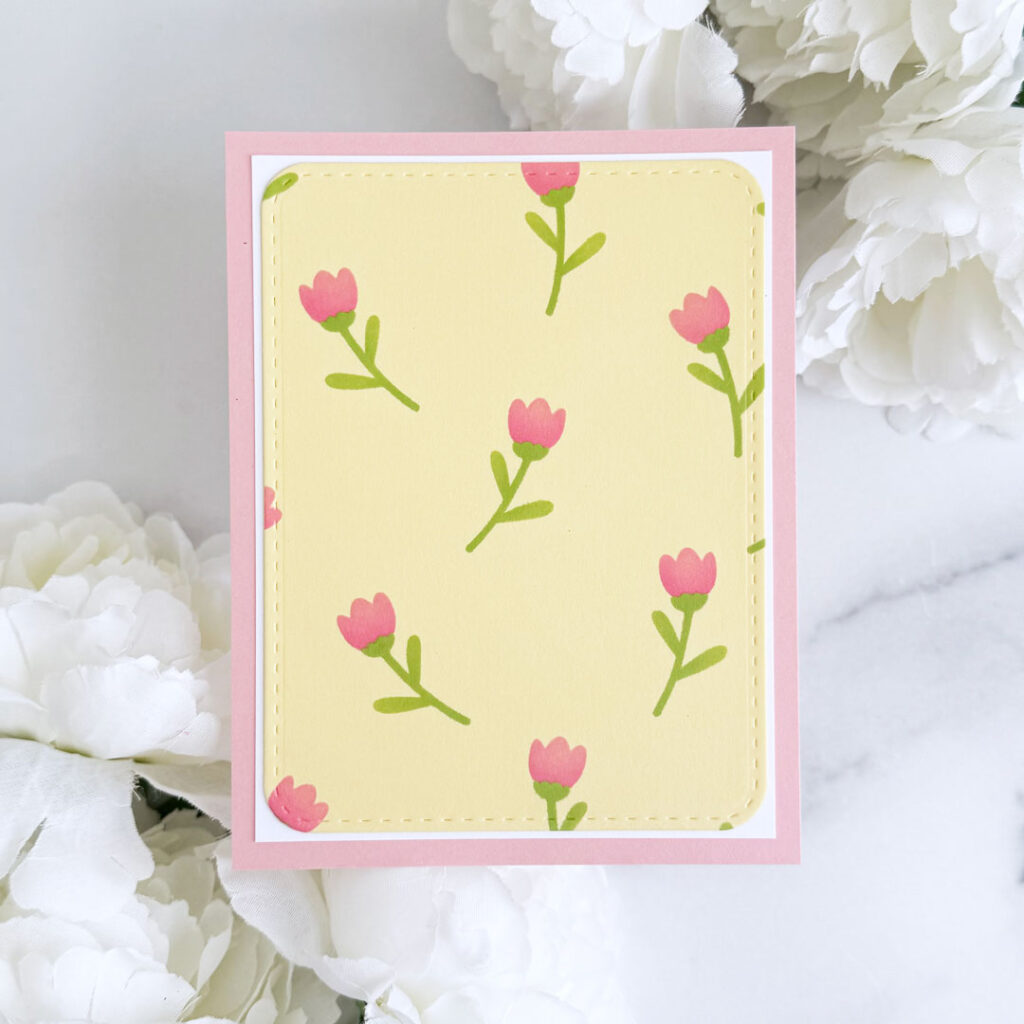
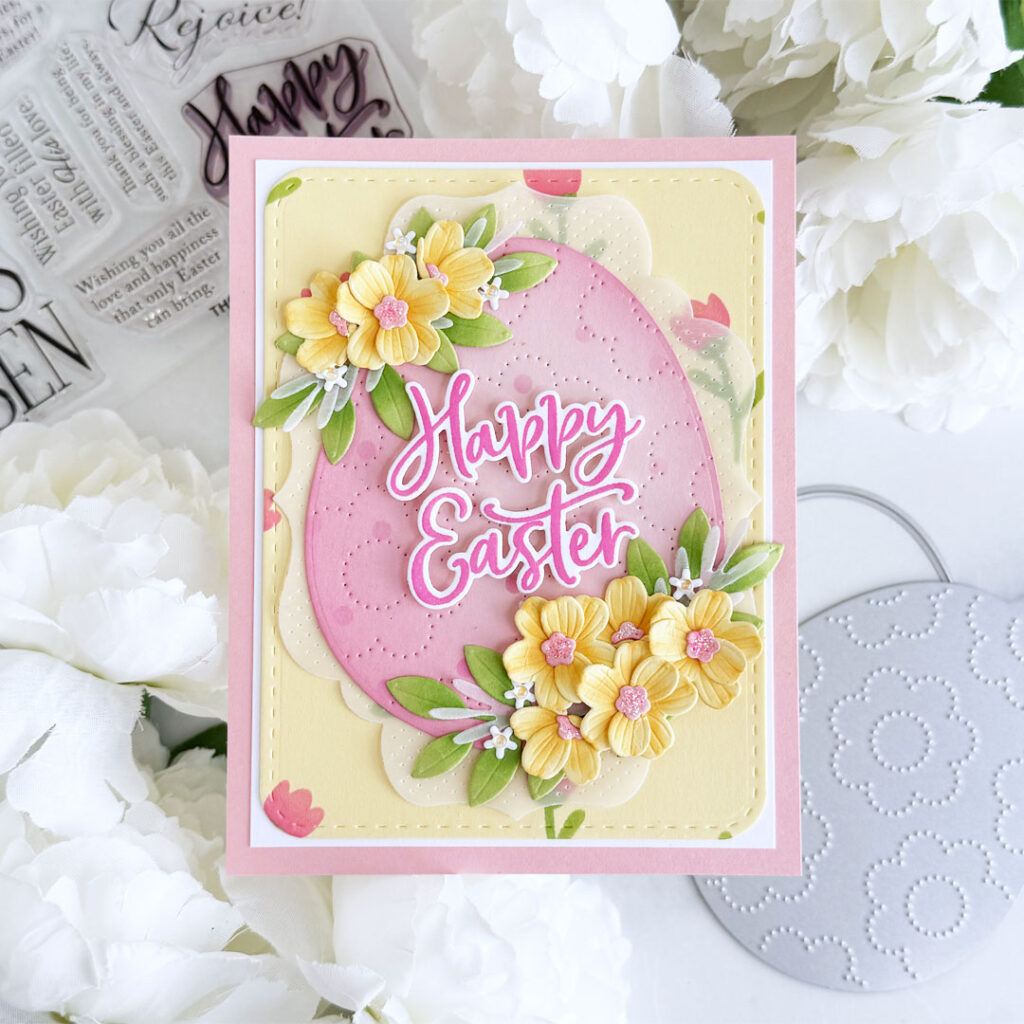
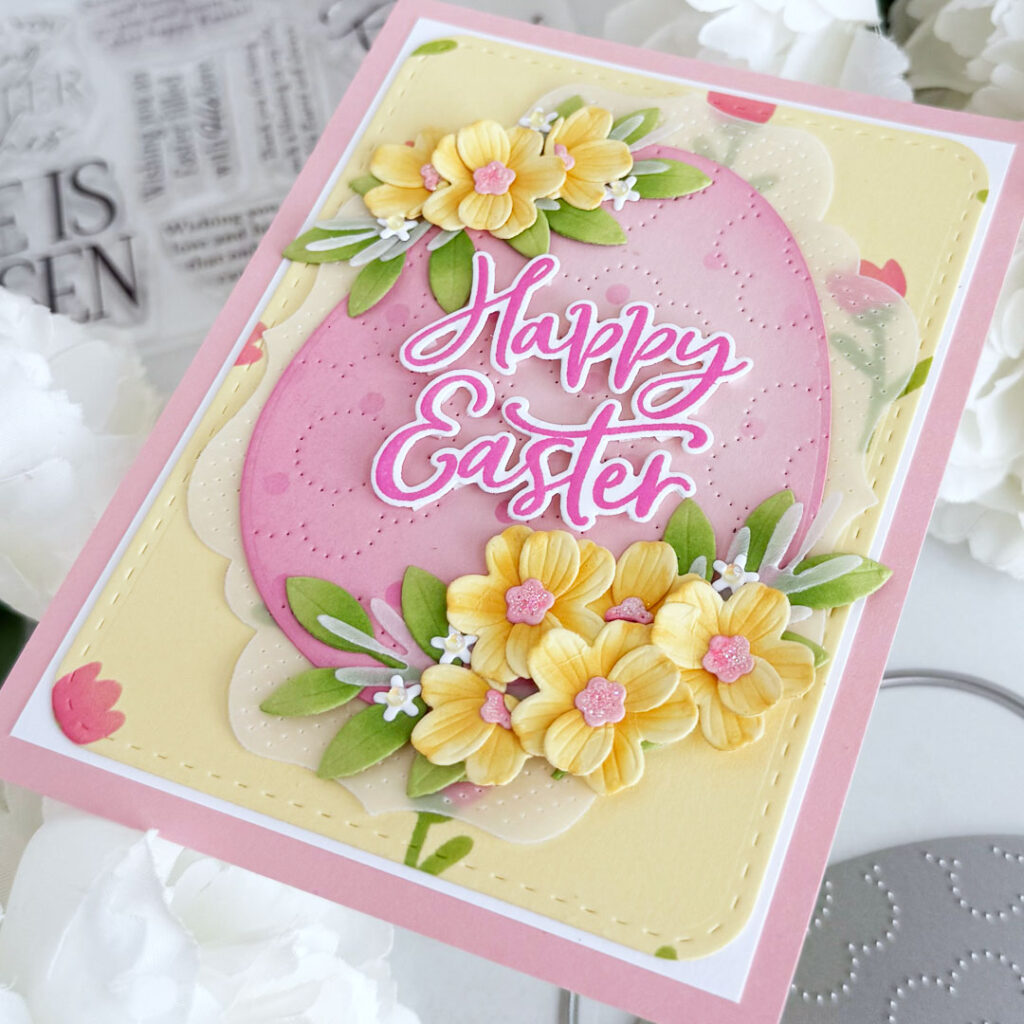
Step 1: Stencil the flower layers in the Delightful Bunnies Stencil Set onto Lemon Tart cardstock with Pale Peony, Hibiscus Burst, Green Parakeet and New Leaf inks. Die-cut the panel with the largest die in the Rounded Rectangles: Stitched Die Set, then adhere it to panels of Stamper’s Select White cardstock and Pale Peony cardstock using liquid glue.
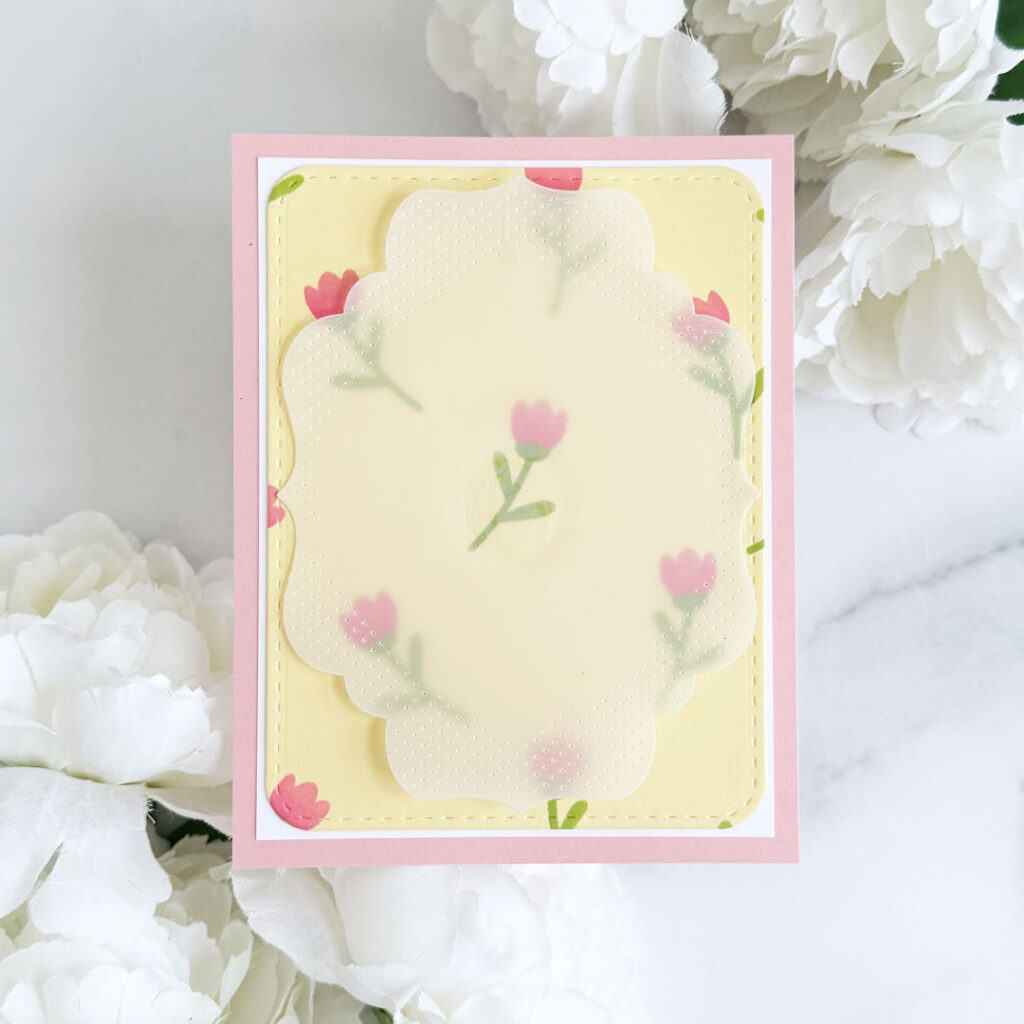
Step 2: Die-cut the largest die in the Love to Layer: Delightful Brackets Die Set from vellum and adhere to the background.
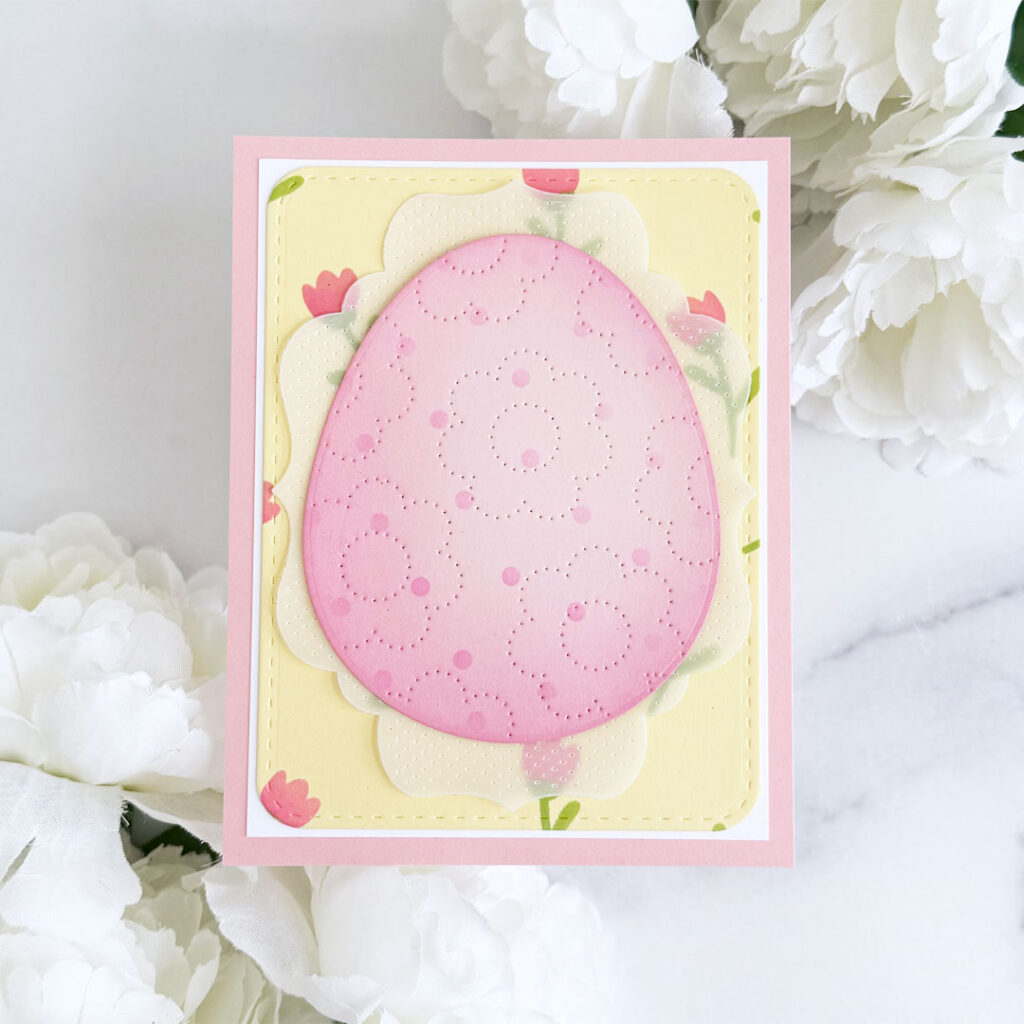
Step 3: Die-cut the egg and flower die in the Egg Hunt Die Set from Sweet Blush cardstock. Blend the polka dot stencil in the Egg Hunt Stencil Set onto the egg with Hibiscus Burst and Pale Peony inks. Ink around the edges of the egg with the same inks. Adhere to the background with liquid glue.
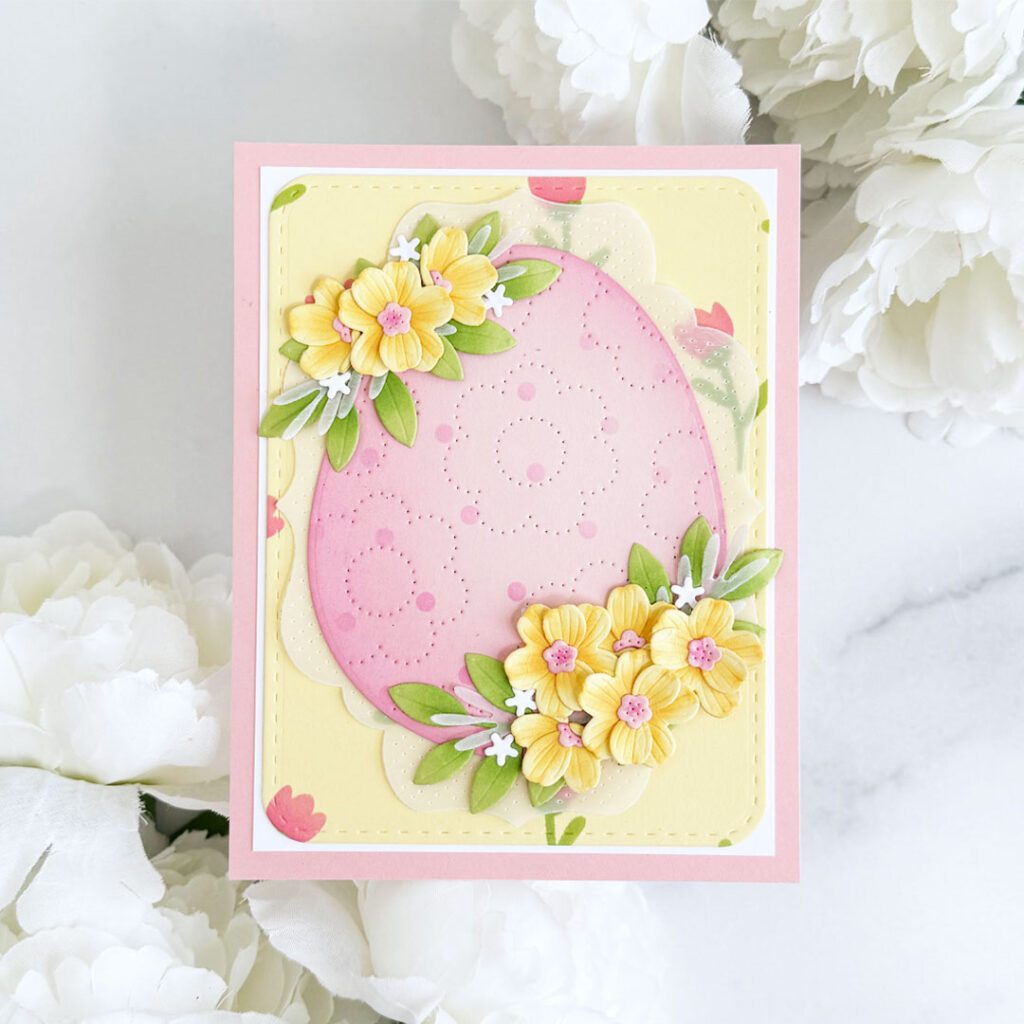
Step: 4: Die-cut the flowers and leaves in the Into the Blooms: Clover Die Set from Lemon Tart, Green Parakeet and Pale Peony cardstock and vellum. Add shading to the die-cuts with Harvest Gold, Summer Sunrise, Hibiscus Burst and New Leaf inks. Adhere the flowers together with liquid glue then arrange the die-cuts and adhere to the background. At this point, I decided I wanted some small white flowers, so I dug through my stash and pulled out the Into the Blooms: Wild Wood Die Set and cut the tiny flowers from Stamper’s Select White cardstock and adhered those to the arrangements.
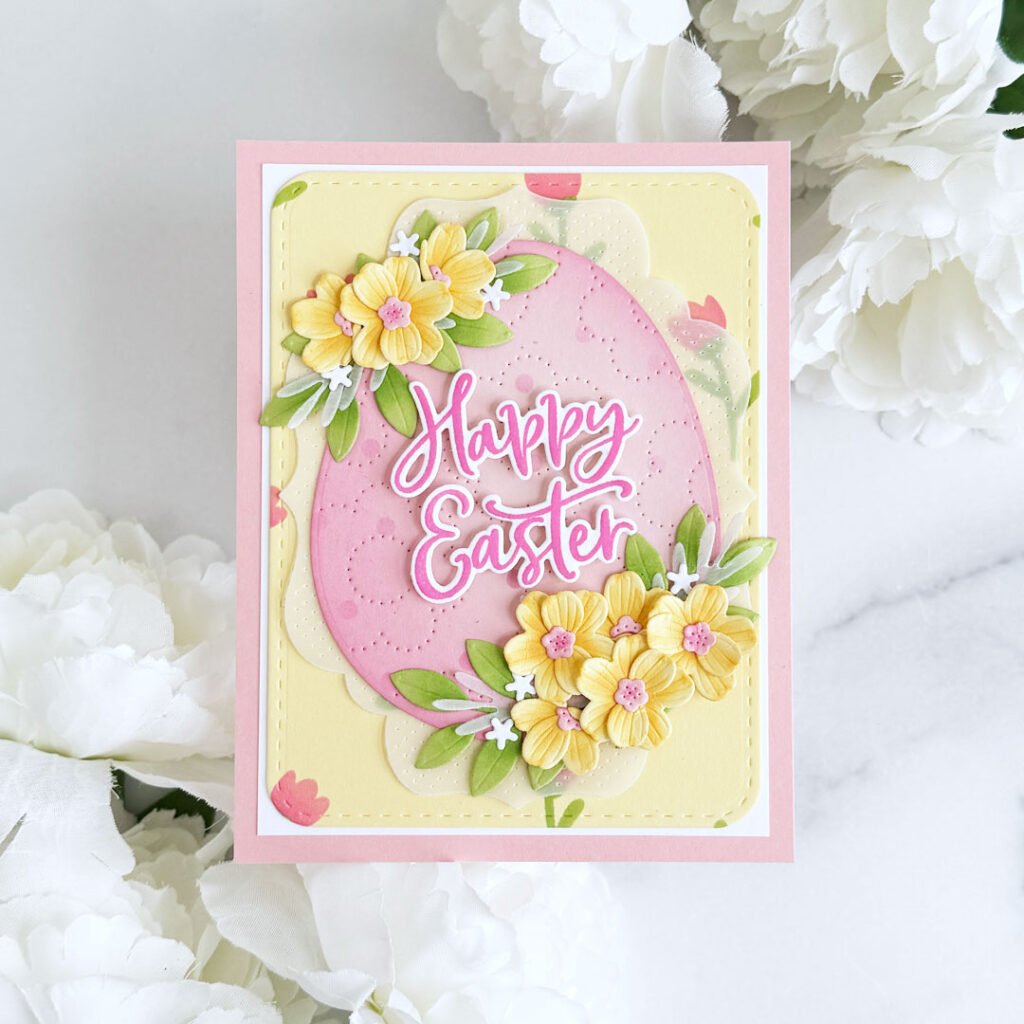
Step 5: Stamp the sentiment, from the Thoughts of Easter Sentiments Stamp Set onto Stamper’s Select White cardstock with Hibiscus Burst ink. Use the Coordinating Die to cut it out, then pop it up in the center of the egg with micro foam squares.
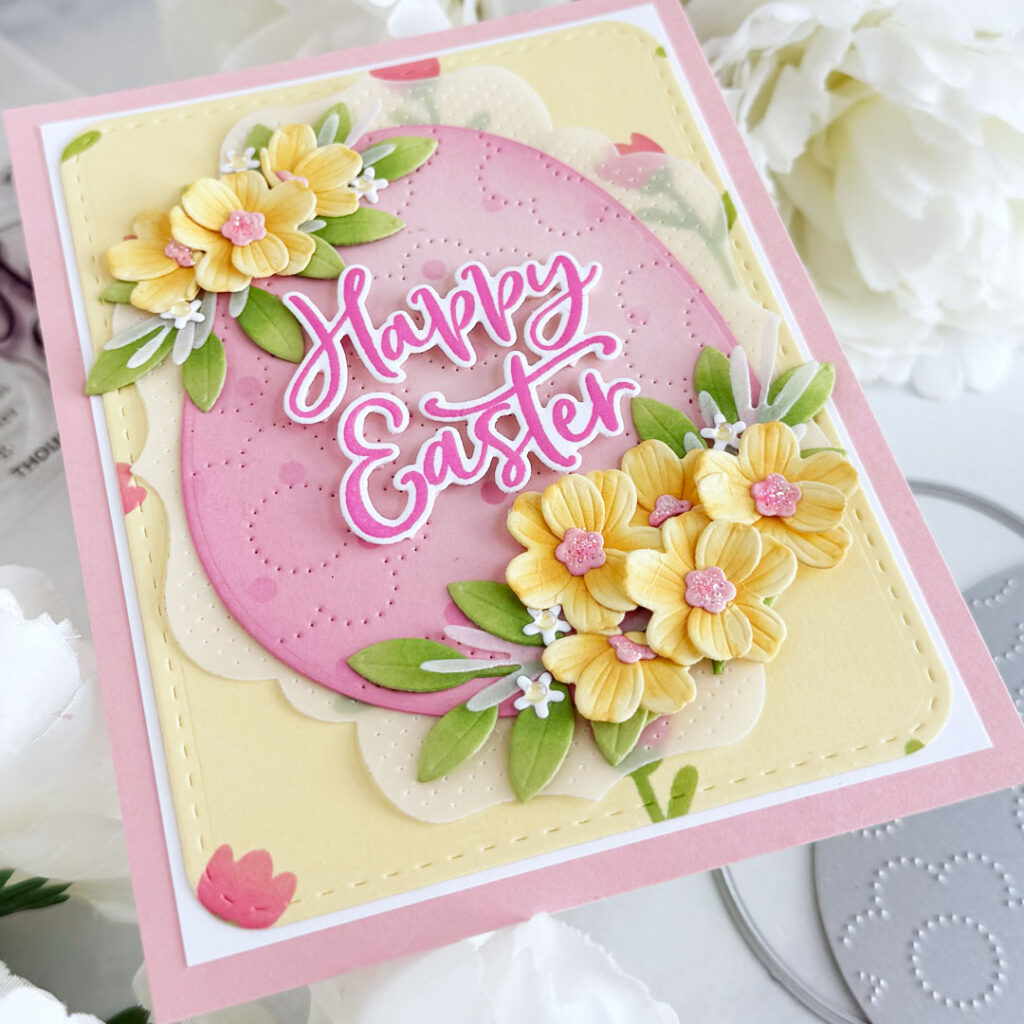
Step 6: Add Star Dust Stickles to the centers of the larger flowers and tiny pale yellow iridescent baubles to the tiny white flowers.
That does it for me today!! I appreciate your time!! Enjoy the rest of your weekend and the countdown!!
Cathy says
Such a beautiful Easter card. I absolutely love the flowers! 🌸
Linda c says
Beautiful card!
Donna says
Gorgeous card
Laurie Myers says
I love this card! So pretty and perfect for Easter!
Missy says
This card is so beautiful! I love the die cut flowers!
Linda M says
Really like this one.
Kathy Stoessner says
This pastel egg gives just the right look for a calm Easter greeting. I think it is one of the best.
Shari M says
Beautiful card! Love those into the blooms flowers!
Bo Gilmore says
Brenda. I love the soft color combo you used on this card. The dainty flowers are so pretty.
Joanne Enders says
I love all of the texture in this card. The colors that you chose are pretty too.
Janet Ackerman says
Love the Easter inspiration! The card is elegant but yet easy enough to make a few to send off to friends.
Peggy Good says
This one is my favorite. Love all the springy colors.
Judy Mehm says
This is such a beautiful card. Thanks for sharing.
Jan Thomas says
Live this card and all the elements that were used to make it.
Doug says
Beautiful card love the layers used
Marie Mielke says
Such a lovely Easter card!
Kristen Snoozy says
So cheerful and gorgeous! Let Spring begin!