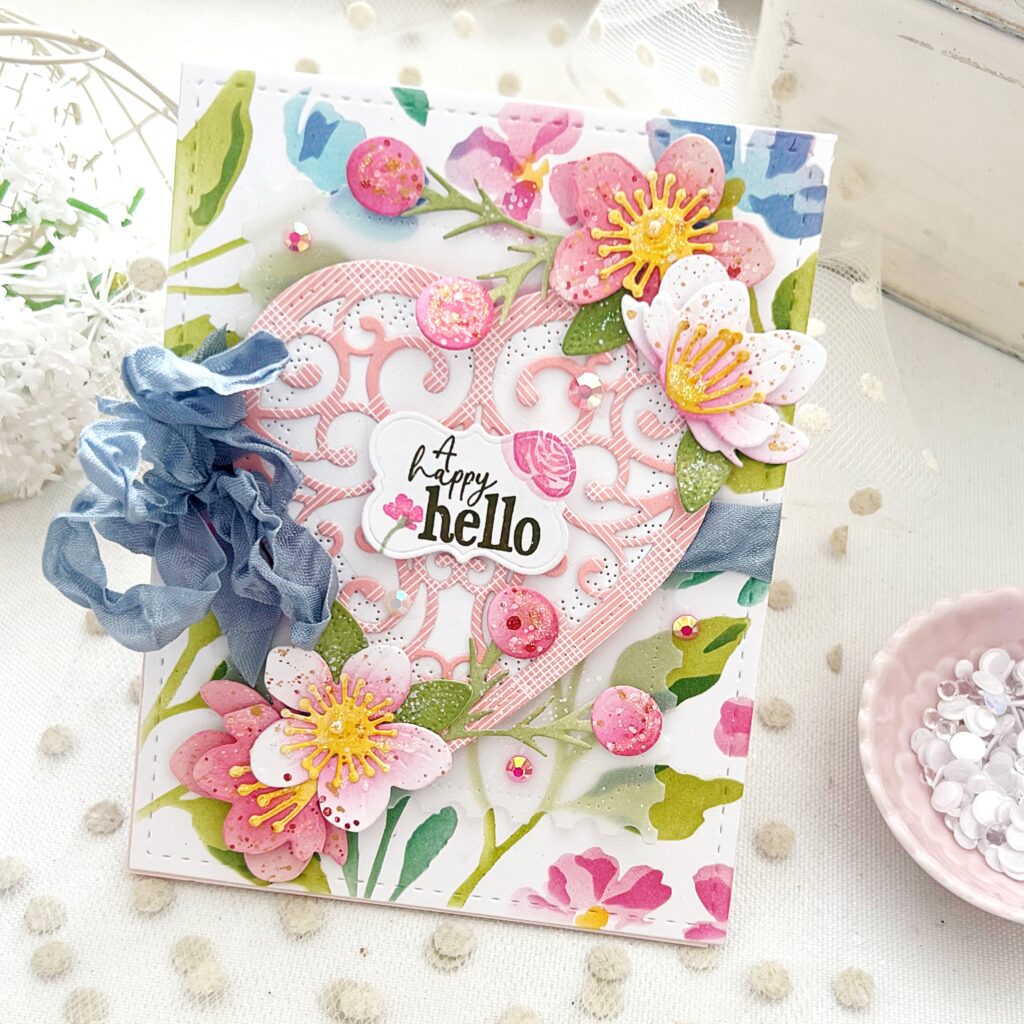
Melissa Phillips brings fresh color and layered charm to her A Happy Hello Card, a cheerful design inspired by the beautiful versatility of the In the Meadow Stencils. 🌸✨ By creating her own custom color palette with stenciling, Melissa builds a vibrant floral backdrop that sets the stage for delicate hearts, cherry blossoms, and sweet layered details. The soft vellum, scrunched seam binding, and sparkling accents give this heartfelt “hello” a touch of elegance and warmth.
Melissa shares, “The In the Meadow Stencils were the inspiration behind this card. I love creating my own custom color palette with stenciling, and hope you’ll try your own color combinations too!”
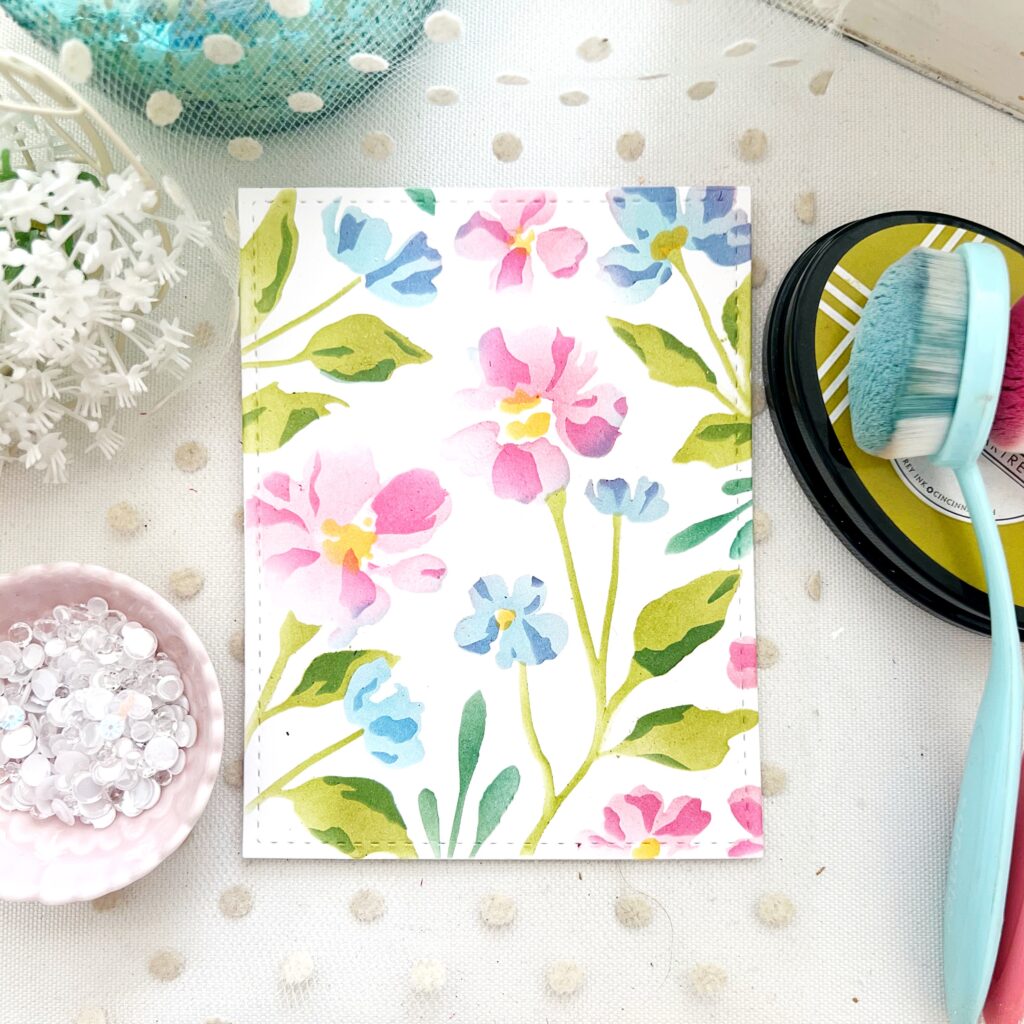
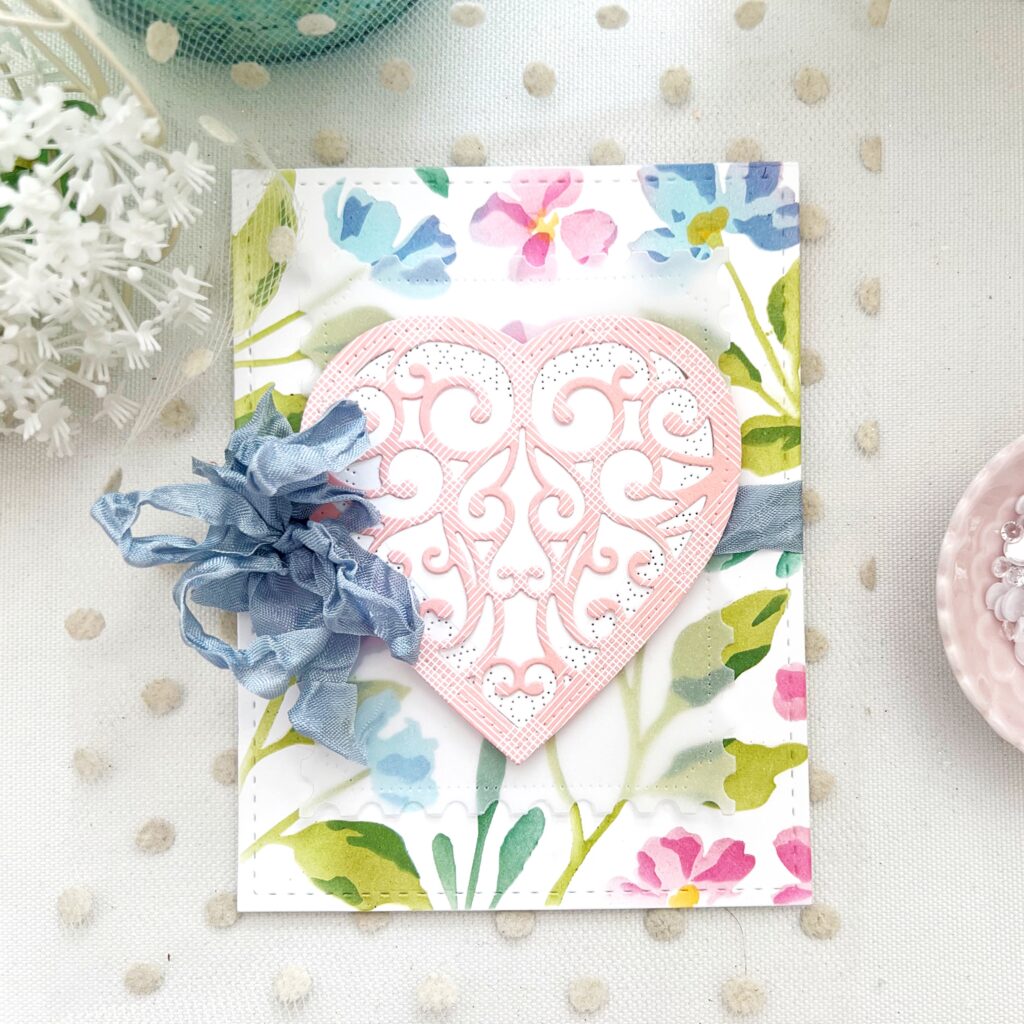
STEP 1: Stencil white card base with In the Meadow Stencils Collection.
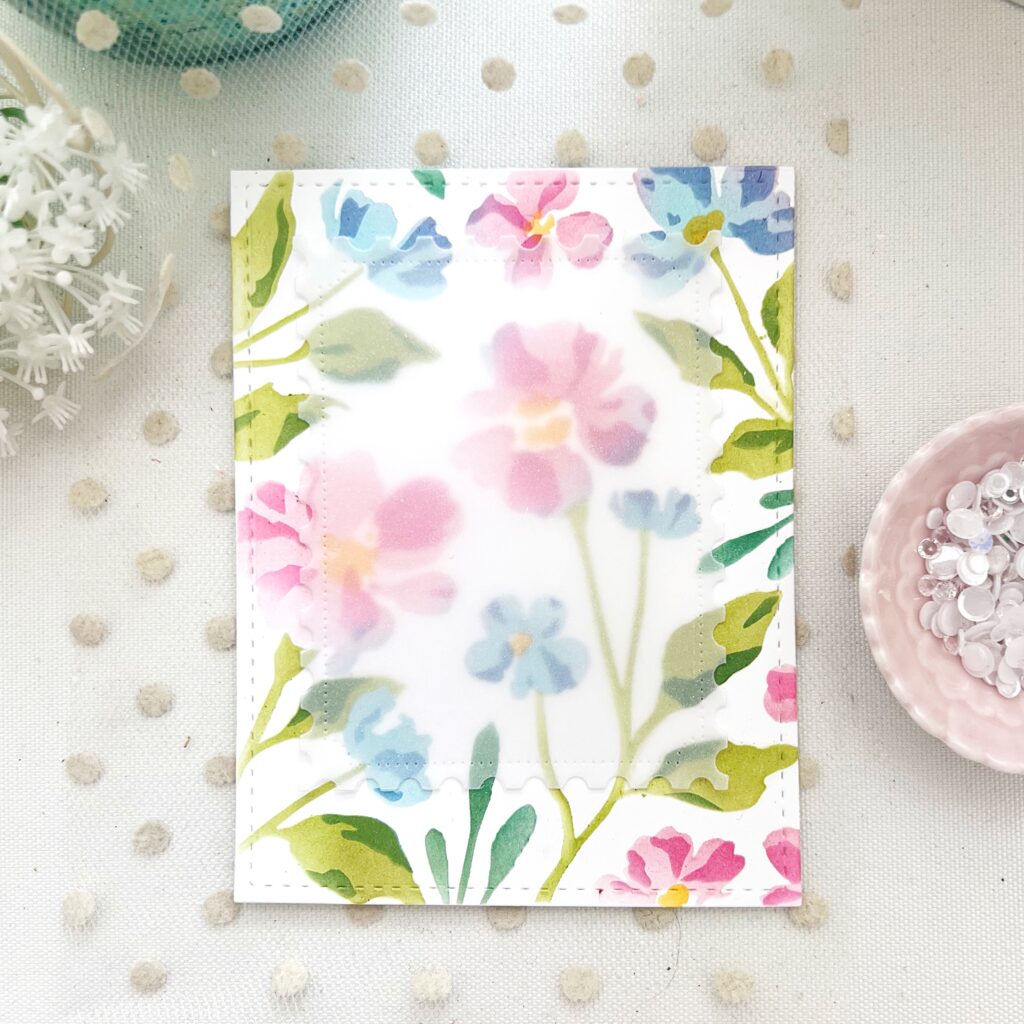
STEP 2: Adhere die cut vellum rectangle to center of card.
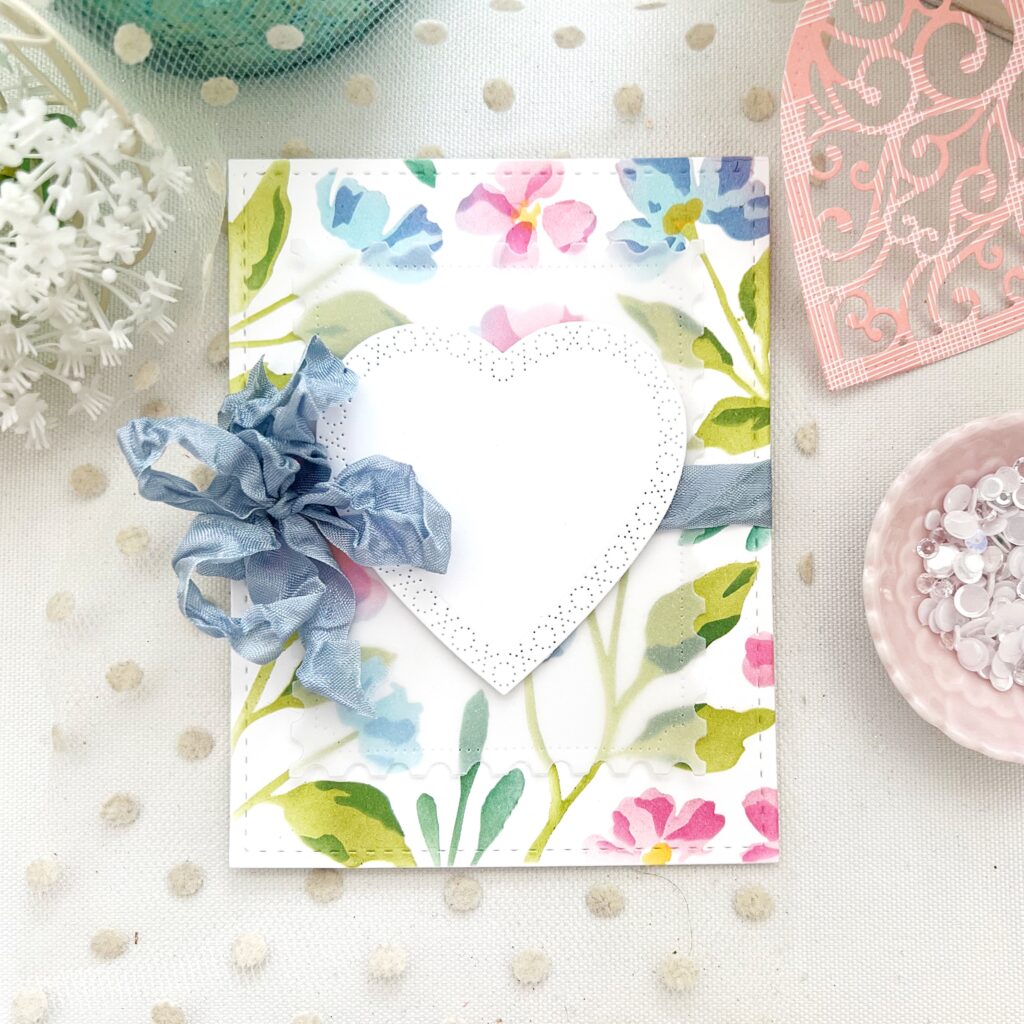
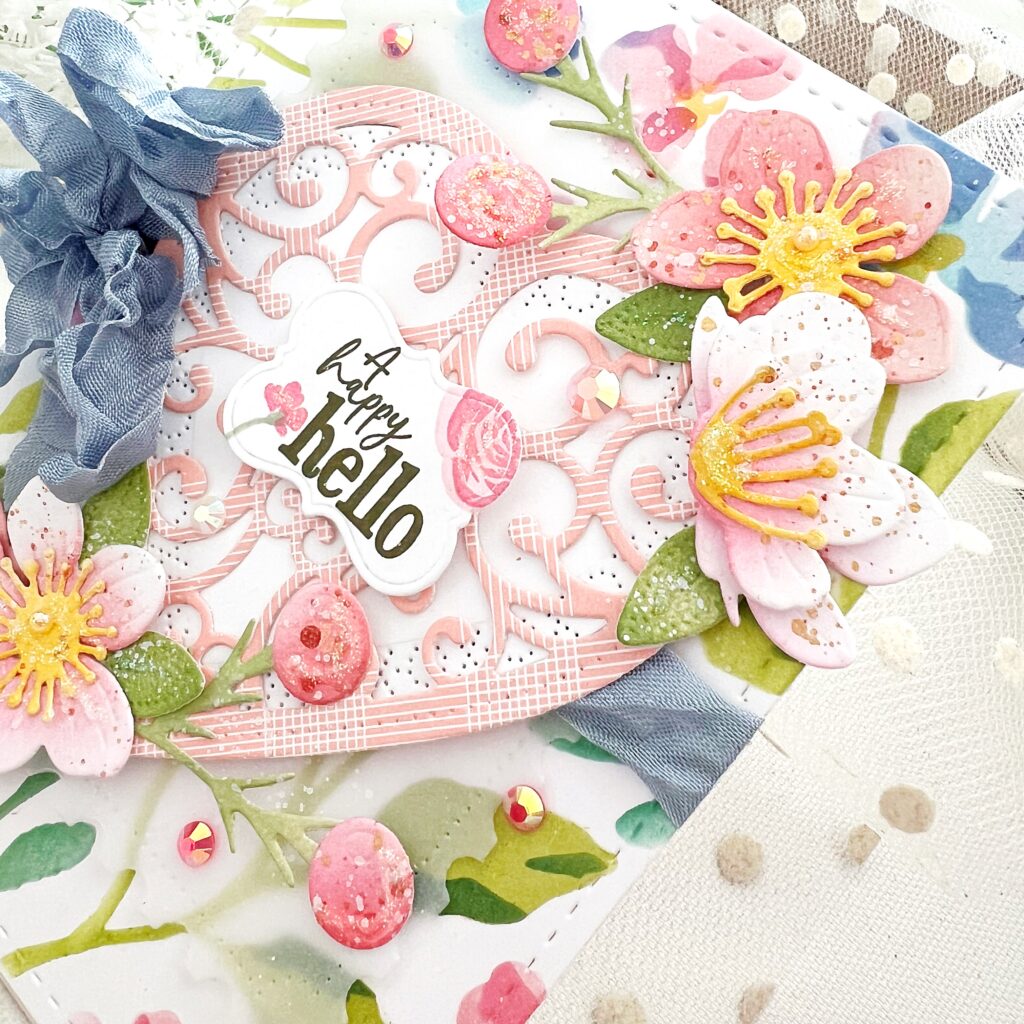
STEP 3: Tie scrunched seam binding around center of card and tie in a bow on left. Adhere white heart to center.
STEP 4: Cut Elegant Heart from patterned paper and adhere o er white heart.
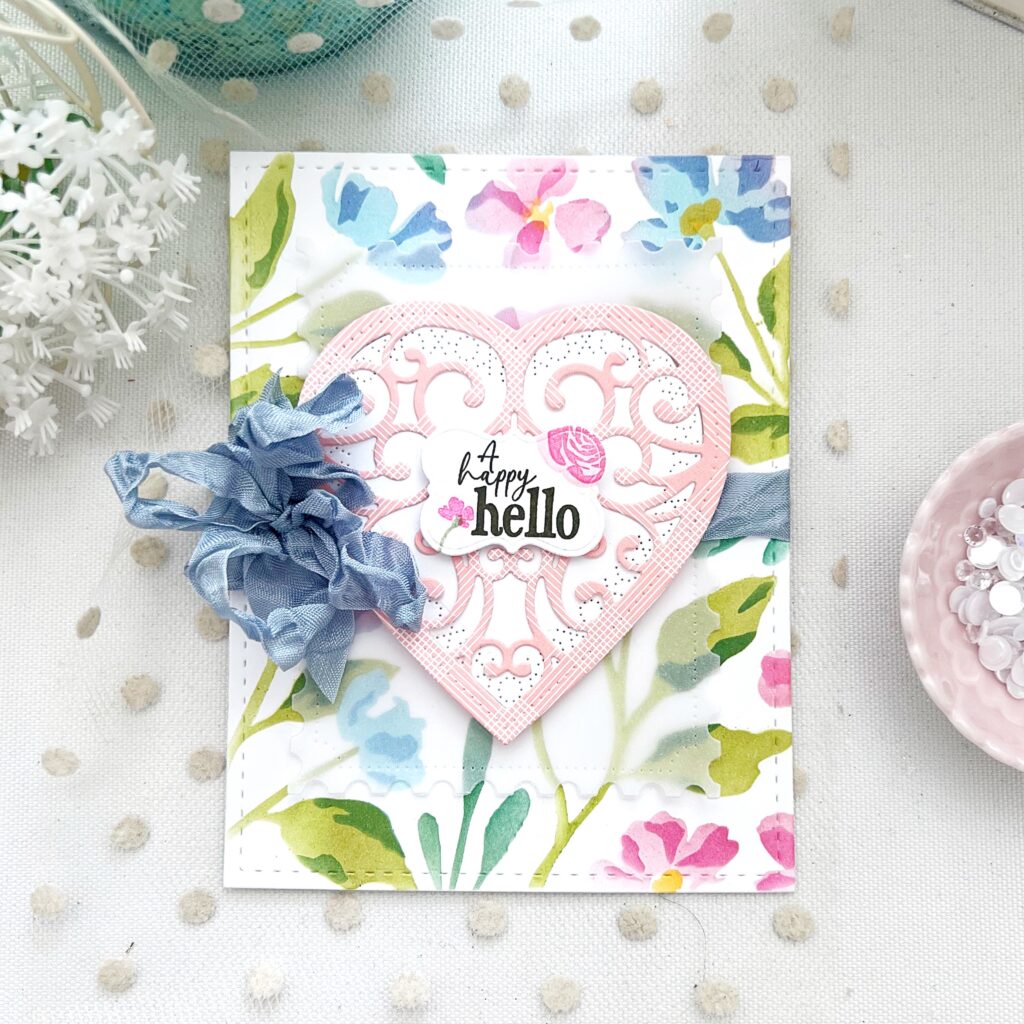
STEP 5: Stamp sentiment and flowers on label and adhere to center of heart.
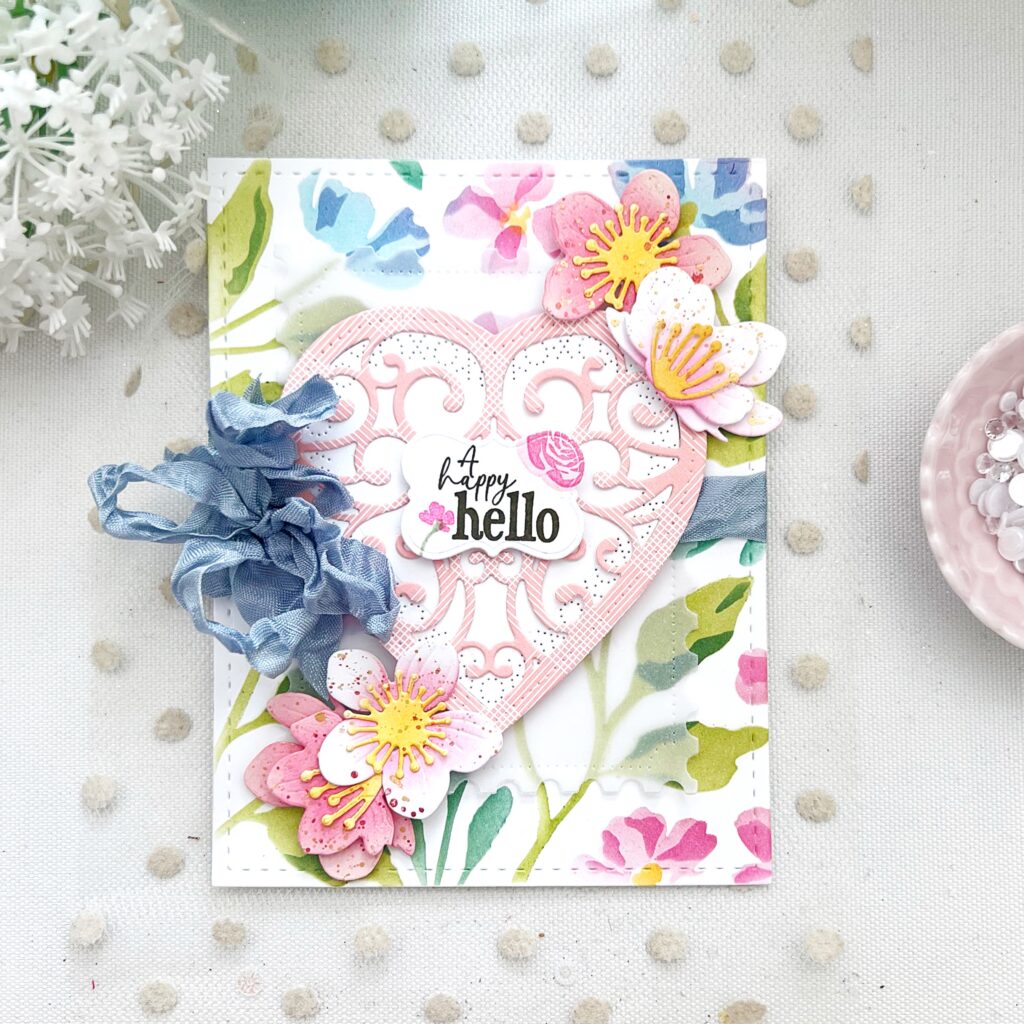
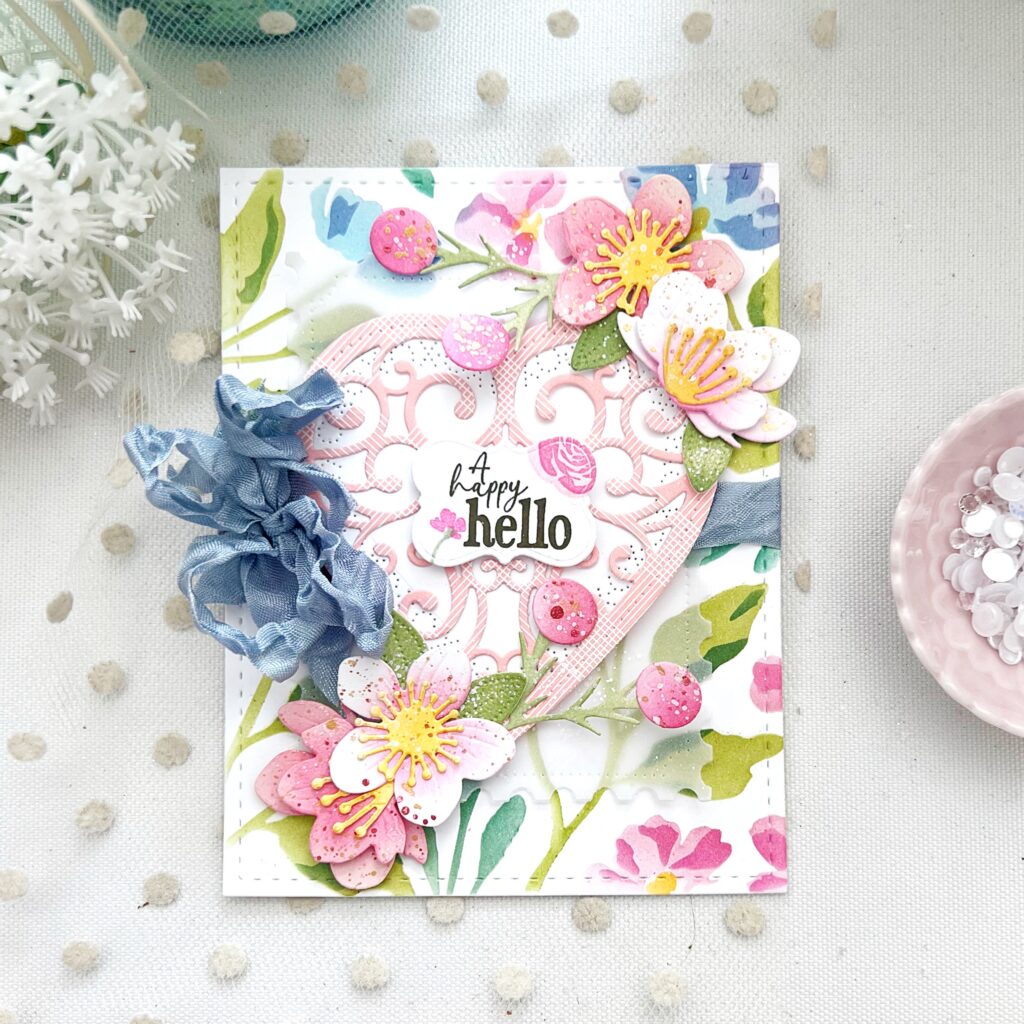
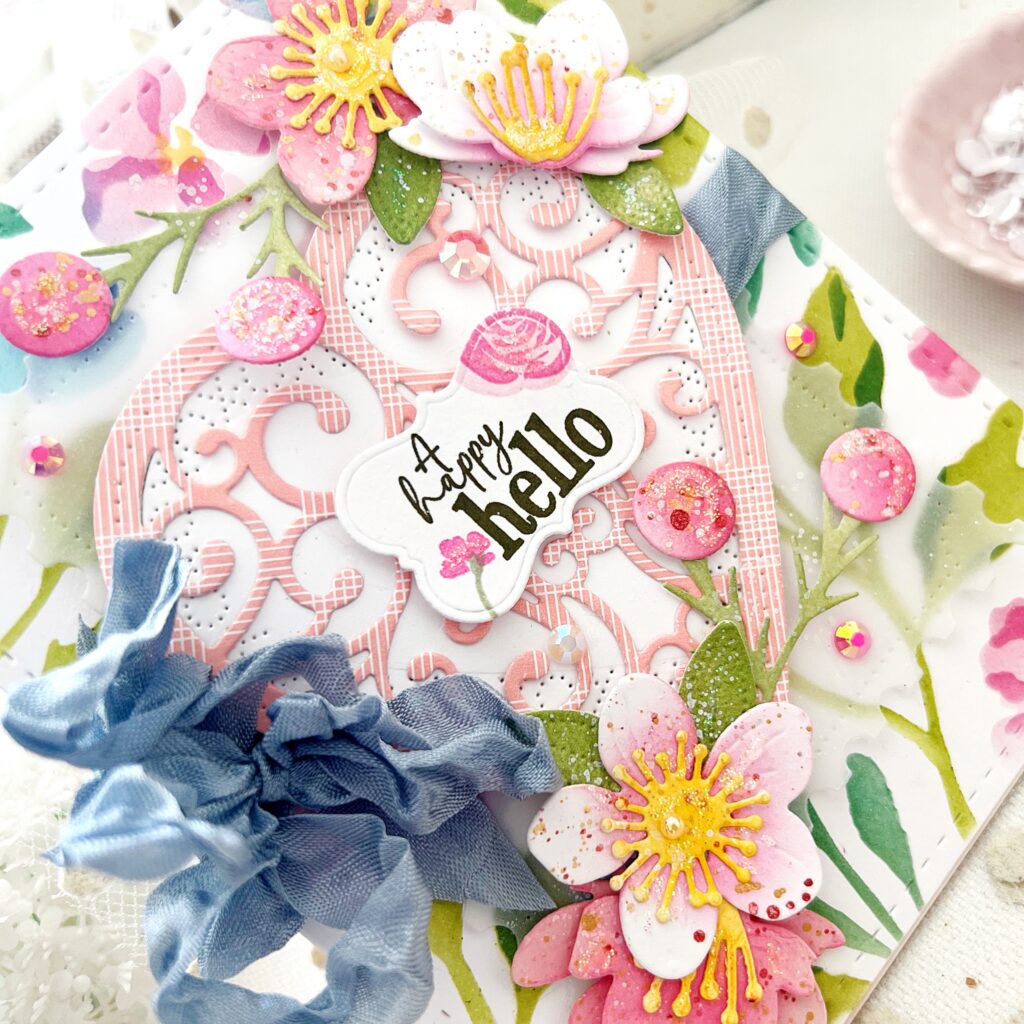
STEP 6: Ink blend Cherry Blossoms and adhere to card.
STEP 7: Ink blend berries and stems and adhere to card. Finish with gems and Crystal Stickles glitter.
This project is a lovely reminder that a simple greeting can feel extra special when paired with thoughtful layers and a personalized color palette. 💕 From the stenciled background to the ink-blended florals and shimmering gems, every detail works together beautifully.
Whether you’re sending a friendly hello or brightening someone’s day, let this design inspire you to experiment with your own color combinations and creative touches.
Be sure to tag Papertrey Ink when you share your version, we’d love to see how you make it uniquely yours ✨
Reader Interactions
Comments
Suzanne Csays
What a beautiful card! I love the colors you chose. You always put lovely finishing touches on your cards!


Suzanne C says
What a beautiful card! I love the colors you chose. You always put lovely finishing touches on your cards!
Patricia Sullivan says
Beautiful card!
Cindy says
Beautiful card My favorite!