


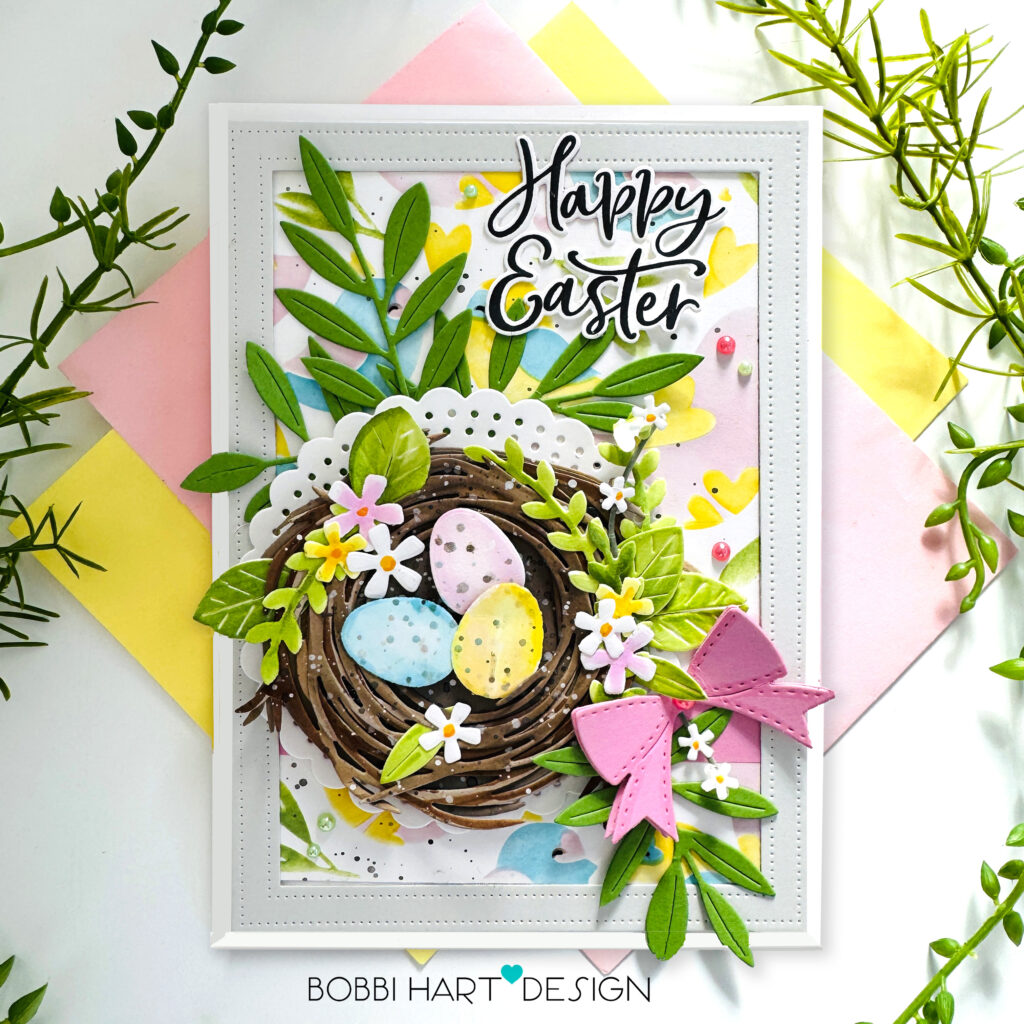
With spring, comes the birds and their nests, tulips and budding spring perennials, and Easter Sunday and colored eggs. This Easter card features all the reminders of new beginnings in the springtime. I’m using the following Papertrey Ink products:
Into the Blooms: Spring Nest Dies
Thoughts of Easter Sentiments Stamp Set and coordinating dies
In Frames: Big & Tall Rectangles dies
Love to Layer: Stitched Circle Die
Wings of Love Stencil Collection
Cardstock: Stamper’s Select White, Lovely Lady, New Leaf, Soft Stone, Cocoa Bean, Dark Chocolate
Ink: True Black
Here are the details on how to make this 5″ X 7″ card.

STEP 1: Using the Wings of Love Stencil Collection and Ranger Distress Oxide Inks in Spun Sugar, Mowed Lawn, Mermaid Lagoon, Mustard seed, and Tuxedo Black, stencil the bird pattern background. Splatter black watercolor ink over the stenciled birds. Set aside to dry.
Die cut the Love to Layer: Stitched Circle Die and bow from Stamper’s Select White and Lovely Lady cardstock. Die cut the Cover Plate: Lush Foliage Die from New Leaf cardstock. Die cut the In Frames: Big & Tall Rectangles dies stitched frame from Soft Stone cardstock.
Die cut the egg-filled nest, from Stamper’s Select White cardstock (eggs, flowers) New Leaf cardstock (leaves), and the nest from Cocoa Bean, and Dark Chocolate cardstock. Color the nest’s leaves, eggs and flowers for the nest using Copic Markers to add the details (flower centers, etc.) Assemble the entire nest and splatter black watercolor ink over the egg-filled nest. Add white specks to the nest using a white Gelly Roll pen or add white paint splatters.

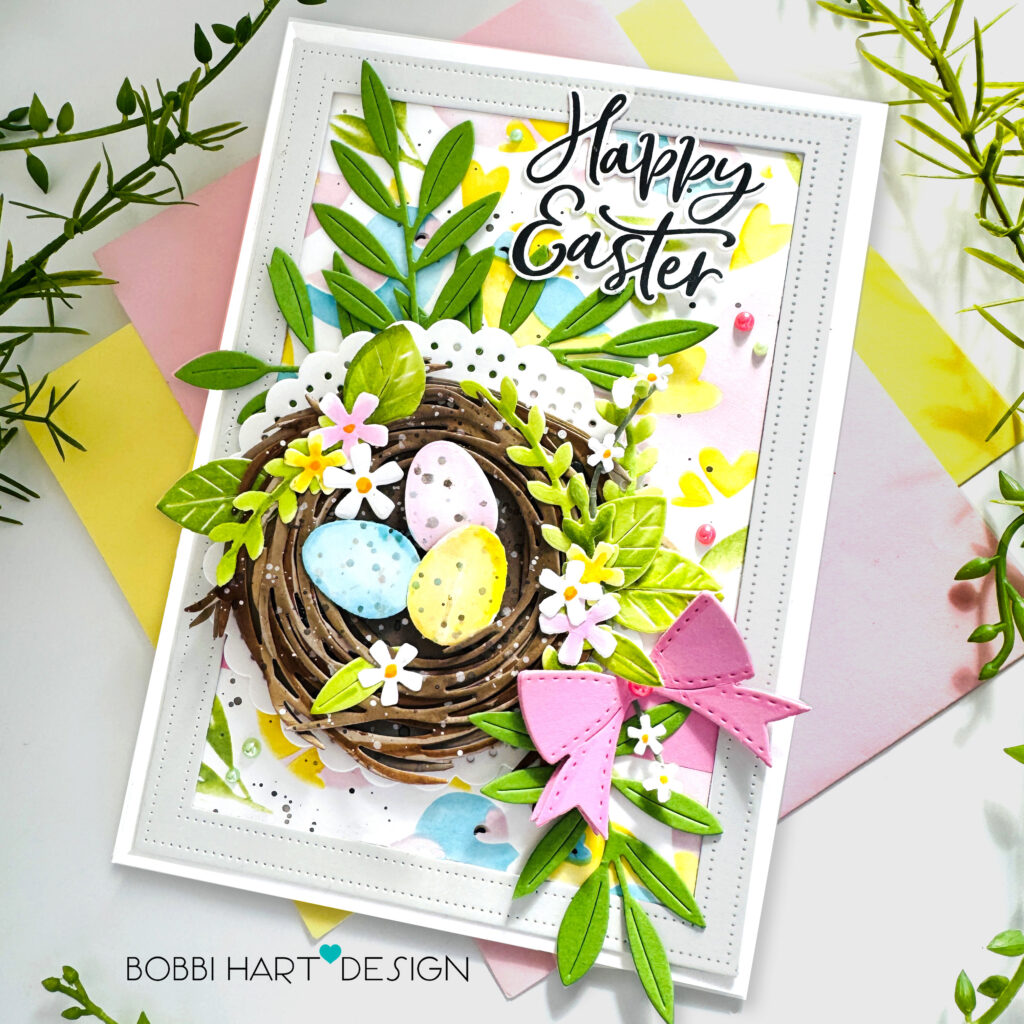
STEP 2: The stenciled design is not long enough to fill the interior of the frame so a 1″ Lovely Lady strip of cardstock is inserted into a cut stenciled design (about 3/4″ will show to the front). This addition will extend the design to fill the entire interior of the frame. Attach the frame and stenciled design to a 5″ X 7″ card base made from Stamper’s Select White (10″ wide X 7″ tall cardstock, scored down the center.)

STEP 3: Attach the white Love to Layer: Stitched Circle Die over the pink strip, on the left side.
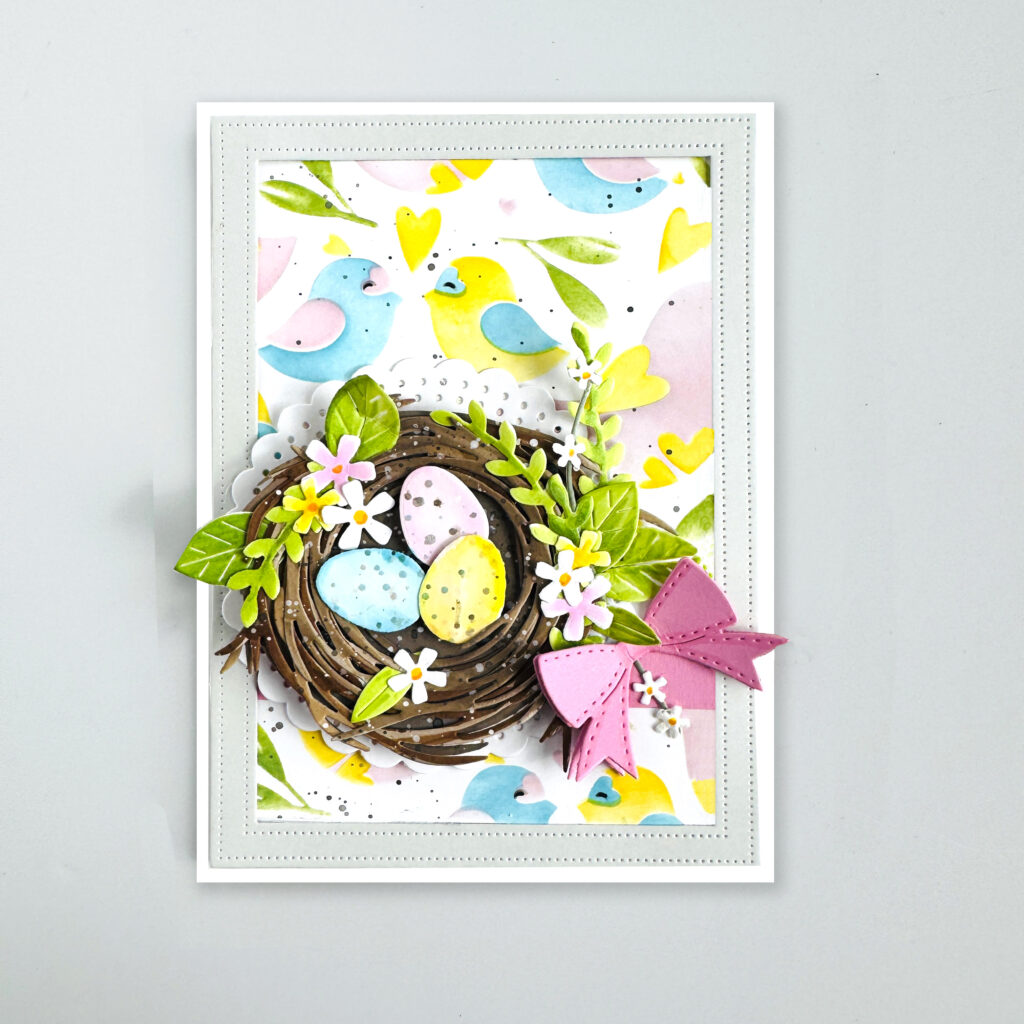
STEP 4: Attach the assembled Into the Blooms: Spring Nest over the stitched circle. Attach the Love to Layer: Stitched Circle Die pink bow to the right of the nest and over the pink strip. This gives the appearance of a ribbon with bow on the card.
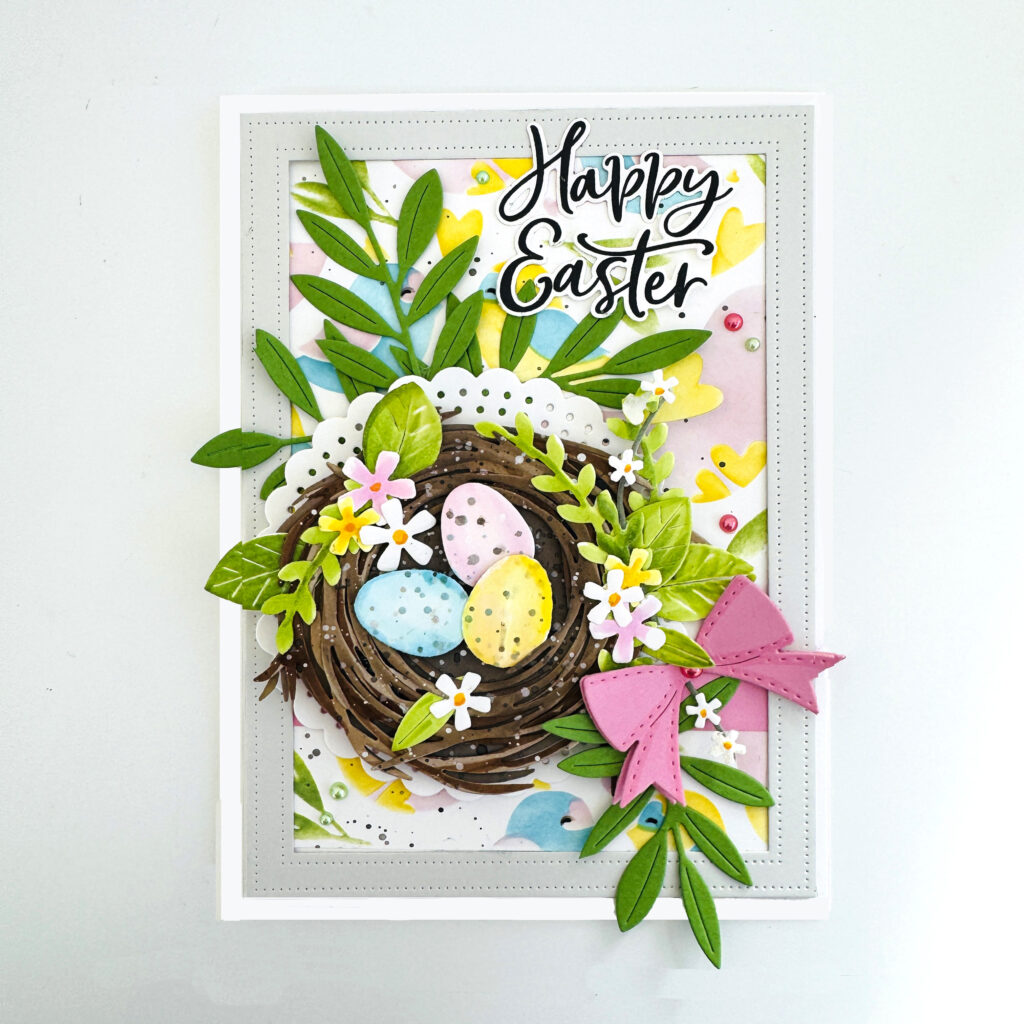
STEP 5: Cut the die cut stems off of the Cover Plate: Lush Foliage. Attach the leaves around the nest, tucking under the stitched circle and nest and gluing in place. Stamp in True Black and die cut the “Happy Easter” sentiment using the Thoughts of Easter Sentiments Stamp Set and coordinating dies and True Black ink. Attach the sentiment above the nest. Finish the card with a few pearl gem stickers in pink and green, placing them around the sentiment and nest. Add one pink one to the bow’s center, too.
Thanks for stopping by today. If you want to see more ideas and inspiration from me, subscribe to my blog, BobbiHartDesign.com. I’ll send you updates on new posts! You can also find me on Instagram as @BobbiHartDesign and on Facebook as BobbiHartDesign.
Bobbi Hartmann Lemanski, Bobbi Hart♥ Design, Adding h♥art into every design
Helen F. says
Beautiful Easter card, Bobbi! Love all the layers of your design
Carmela Hubler says
This is such a sweet card! Love the details and the layers!
Bobbi Lemanski says
Thank you, Carmela!
Bobbi Lemanski says
So glad you like it, Helen. Thank you!
Sarah says
This card it beautiful. I love the bright spring colors!
Heather Jennex says
I love this joyful Easter card! Such vibrant colours!
Sheila Fisher says
Absolutely love this card, so fresh and spring expired.
Jan Thomas says
I LOVE everything about this card especially the nest with those beautiful eggs.