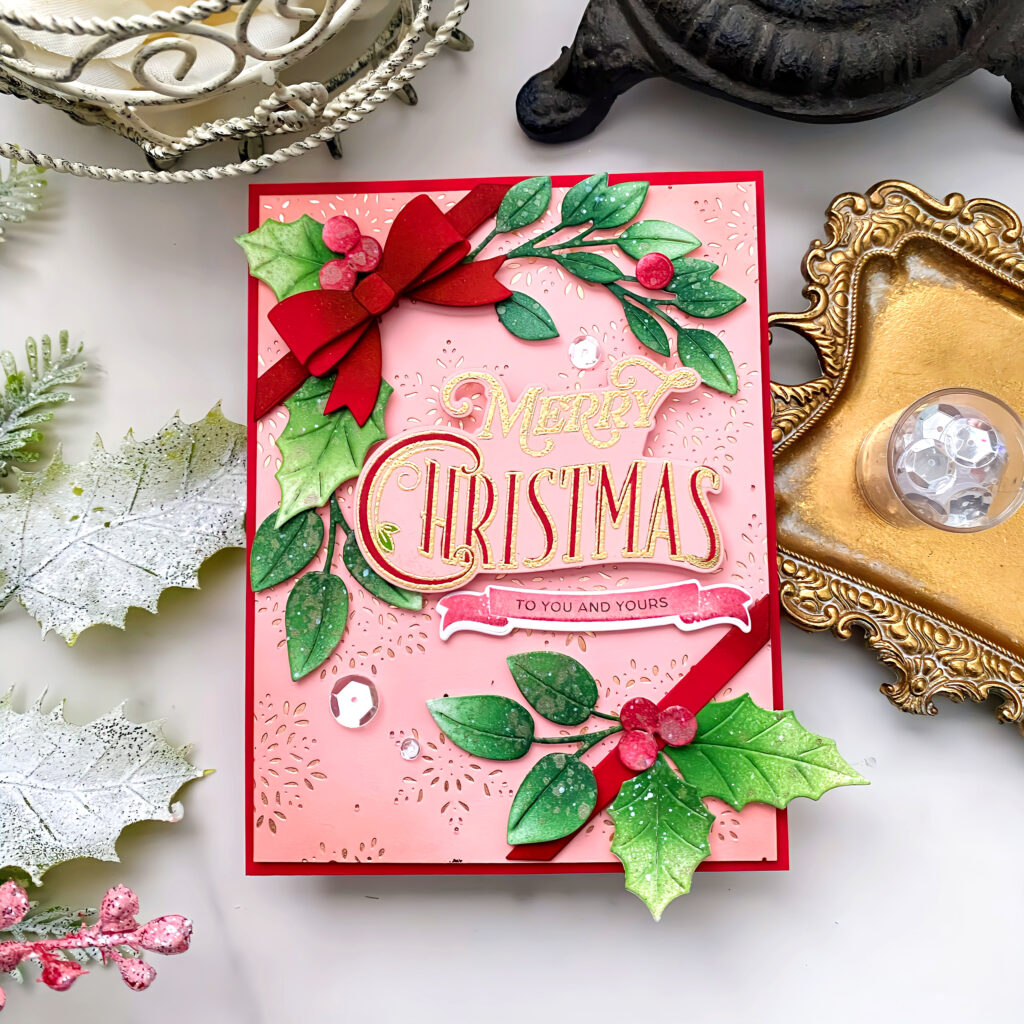
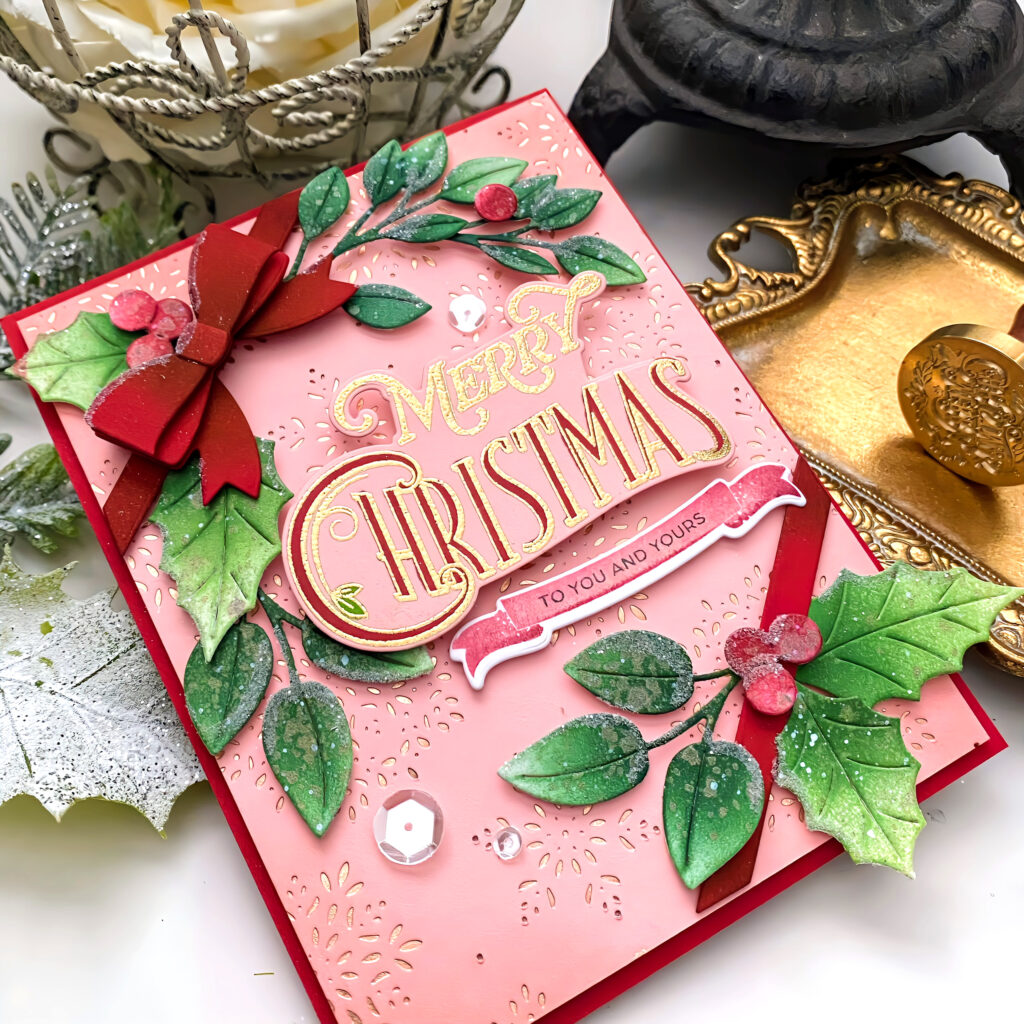
Kelly Lunceford brings elegant vintage charm to her Vintage Holiday Flair card, pairing soft blush tones with rich Christmas reds for a look that feels festive and timeless. 🎄✨ From the layered holly leaves and sparkling berries to the beautifully foiled background and bold ribbon centerpiece, every detail captures the joy of holiday decorating, the very moment Kelly found her inspiration!
She shares, “Does inspiration strike at the craziest times for you? I was switching my porch decor from autumn to Christmas, and as I placed one of the finishing touches, the tiniest detail caught my attention! I had immediately envisioned today’s card and couldn’t wait to sit down and create it!”
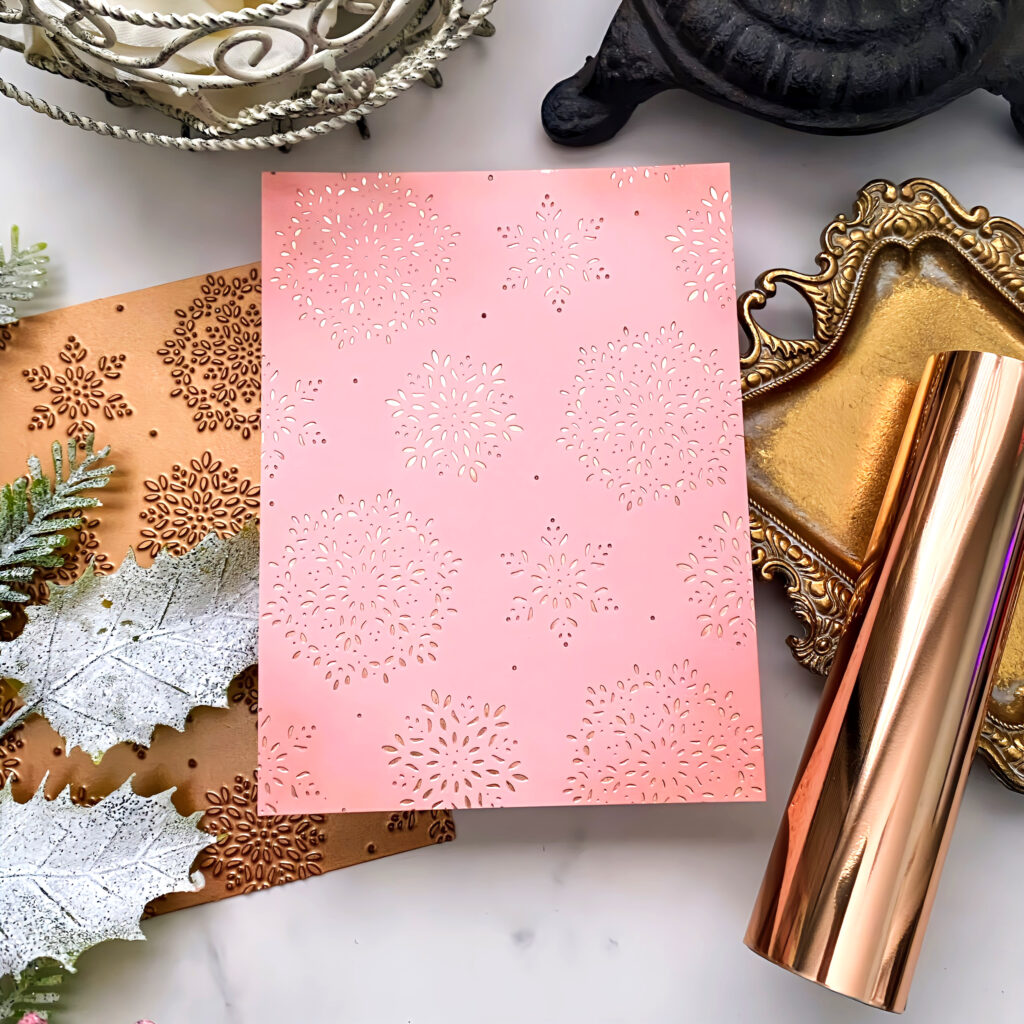
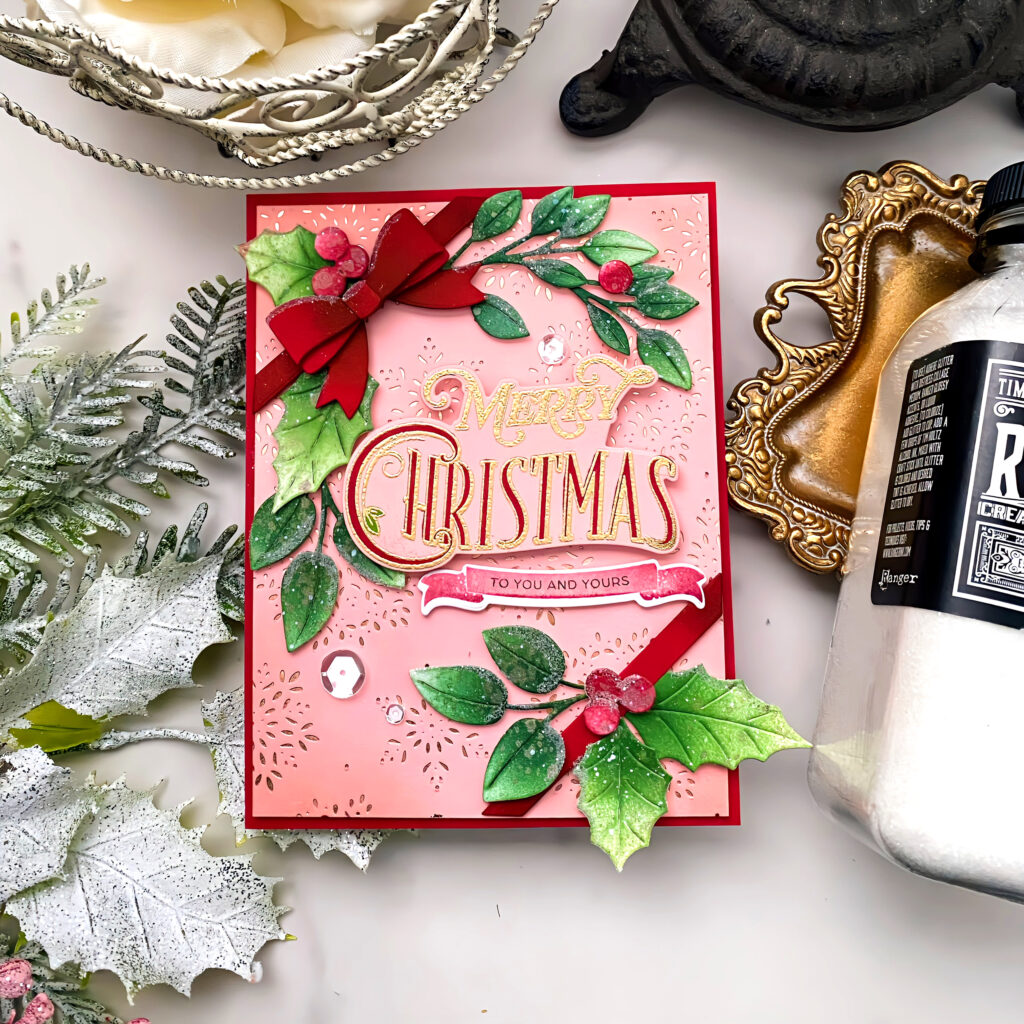
STEP 1: Foil a panel of Pale Peony card stock using blush foil. Trim it down to measure 4“ x 5 1/4“. Blend Pale Peony ink around the corners.
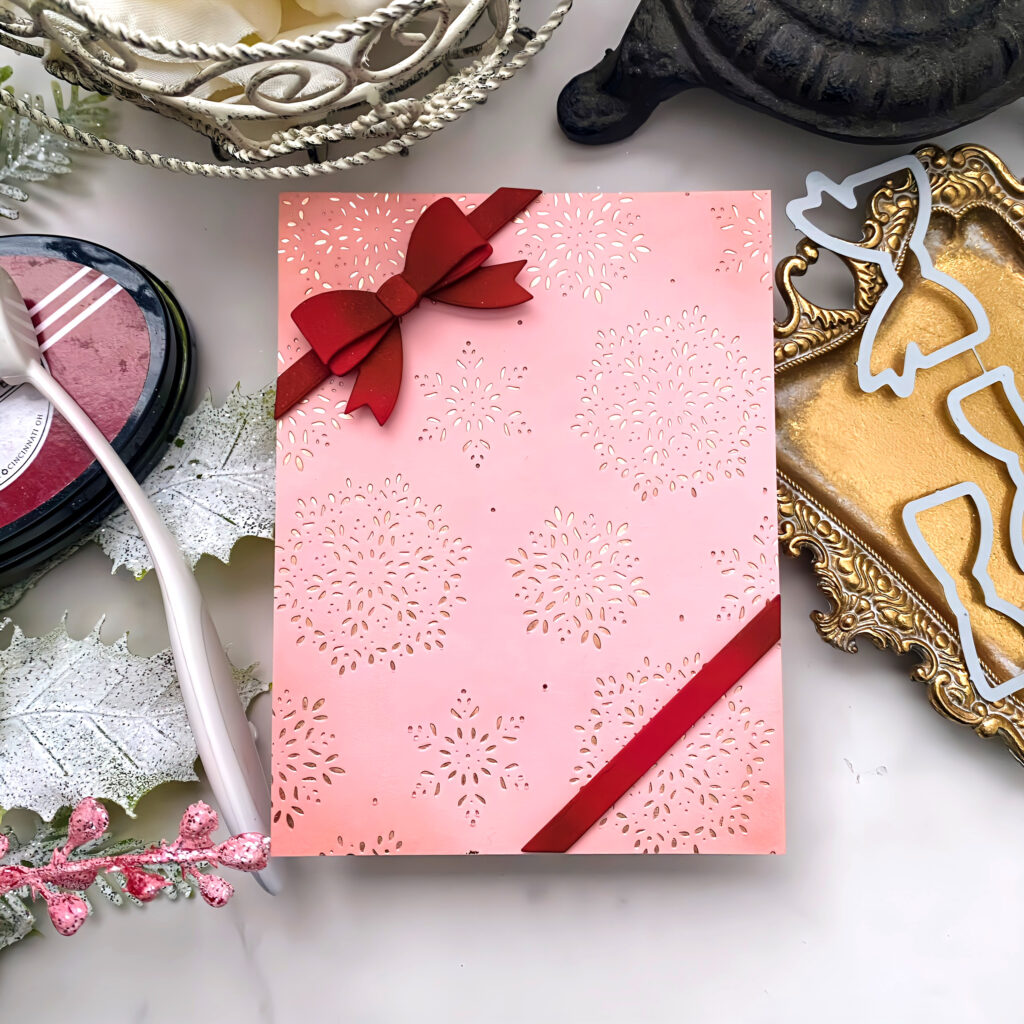
STEP 2: Cut the bow from Pure Poppy card stock. Add some Scarlet Jewel ink to each of the pieces to give realistic depth. Attach it to the background using liquid glue and foam squares.
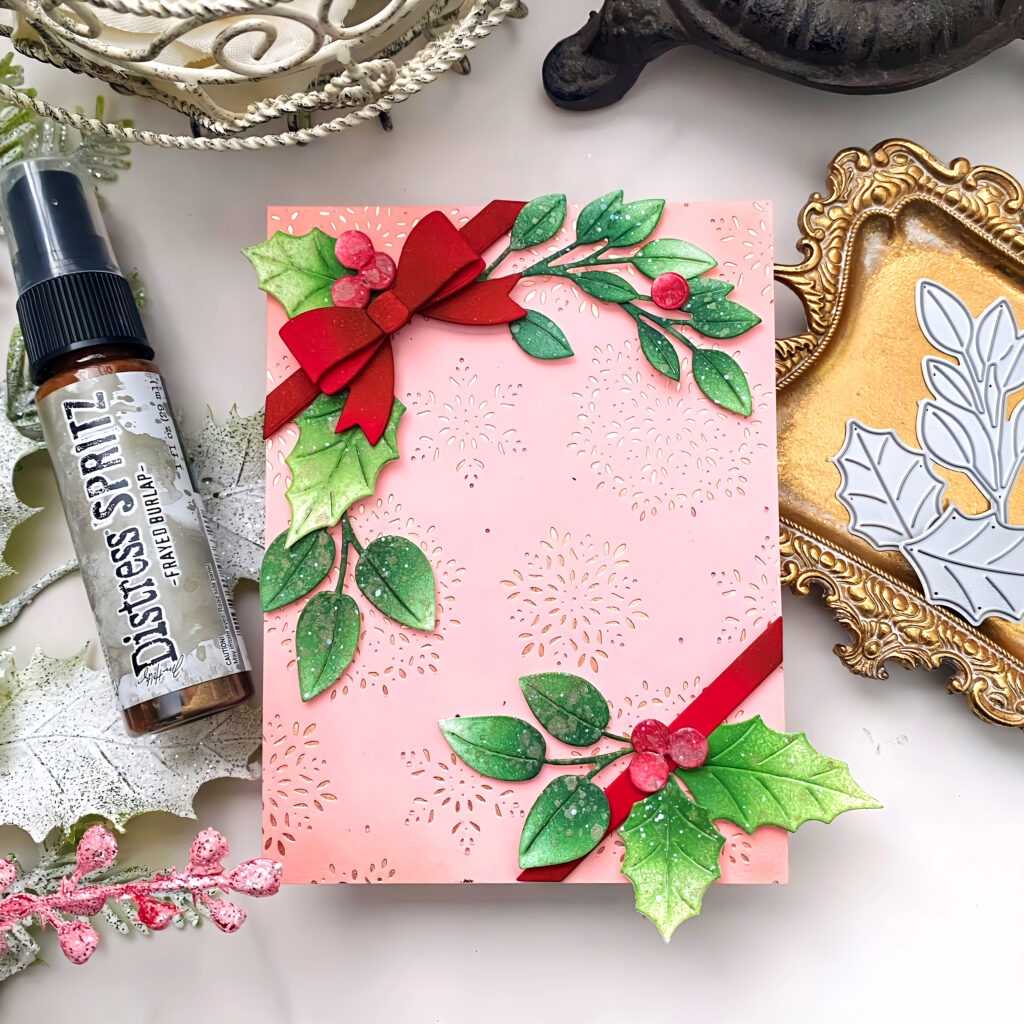
STEP 3: Cut and color all of the berries and foliage. Spritz them all with Frayed Burlap Distress Spritz and add some white acrylic paint splatter. Allow them to dry and then arrange the pieces around the ribbon and bow until you’re satisfied with the result.
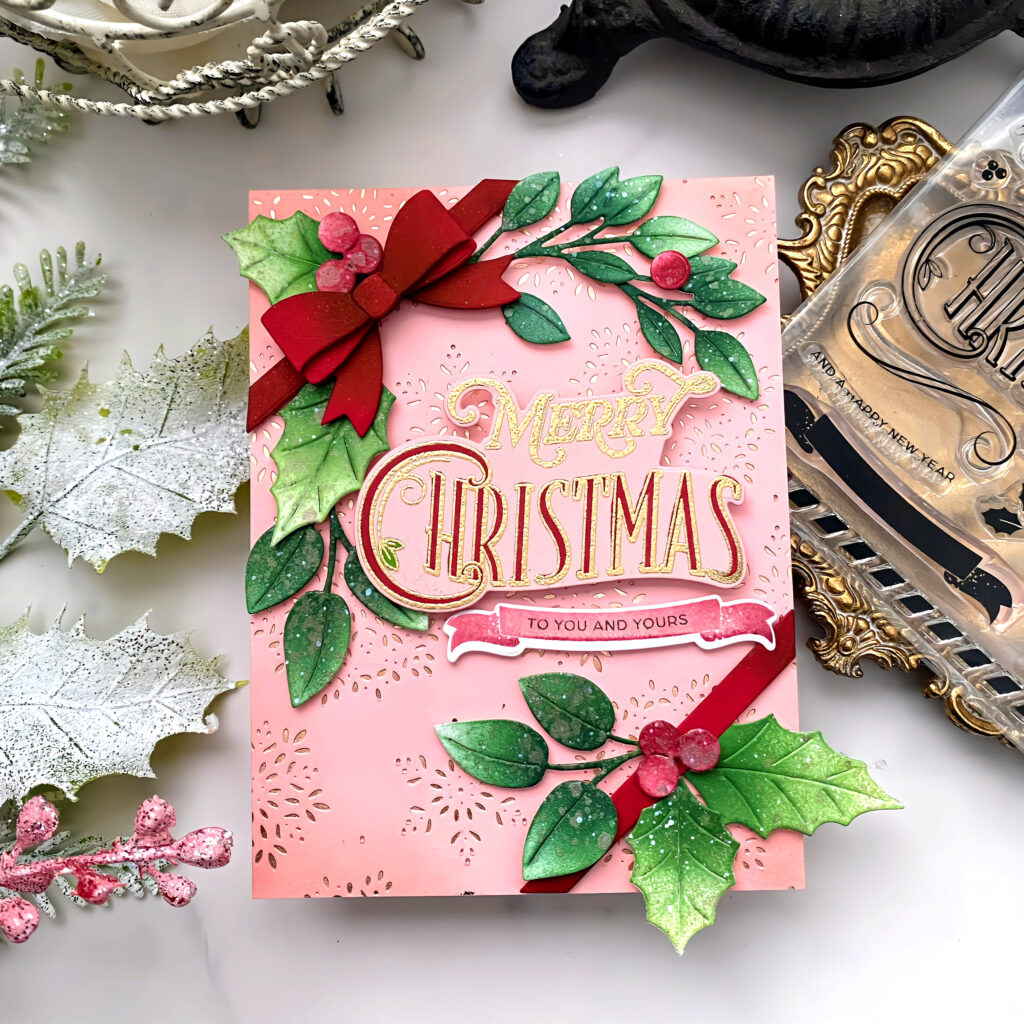
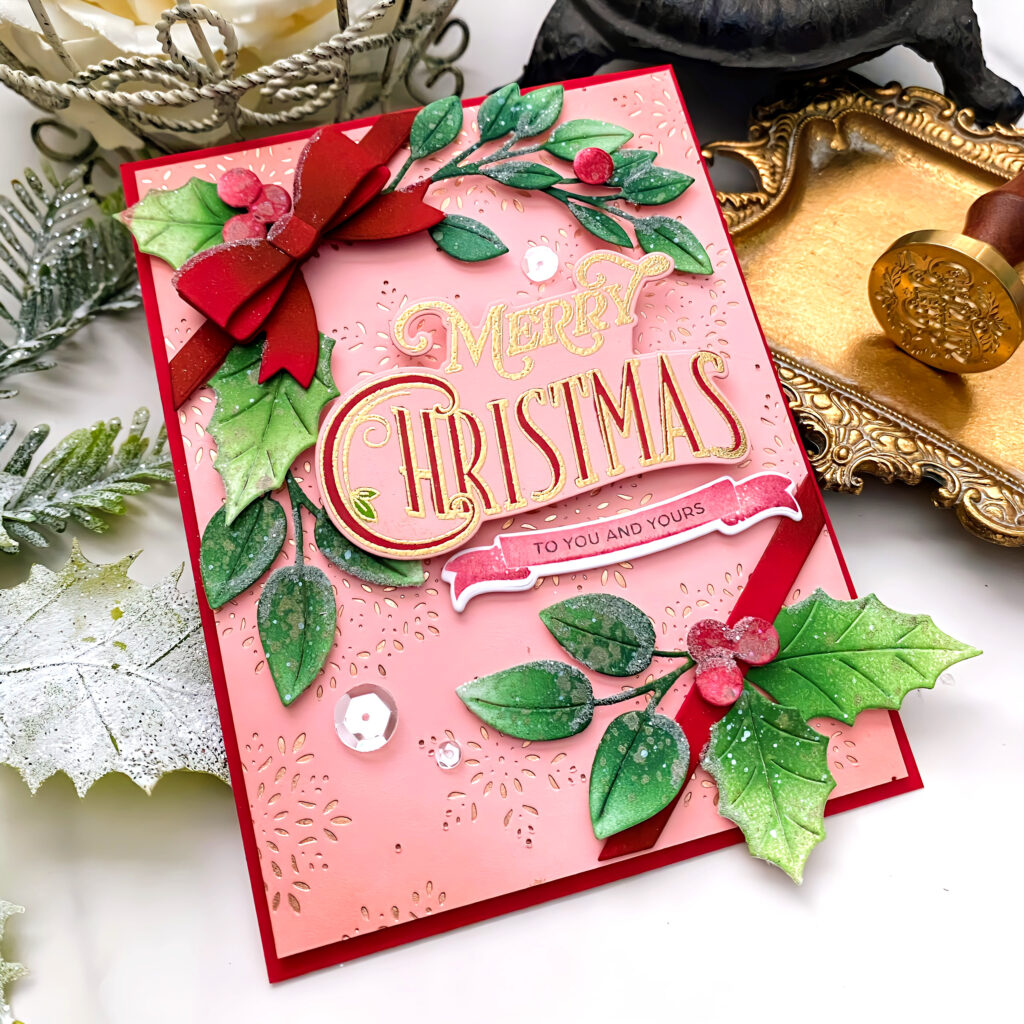
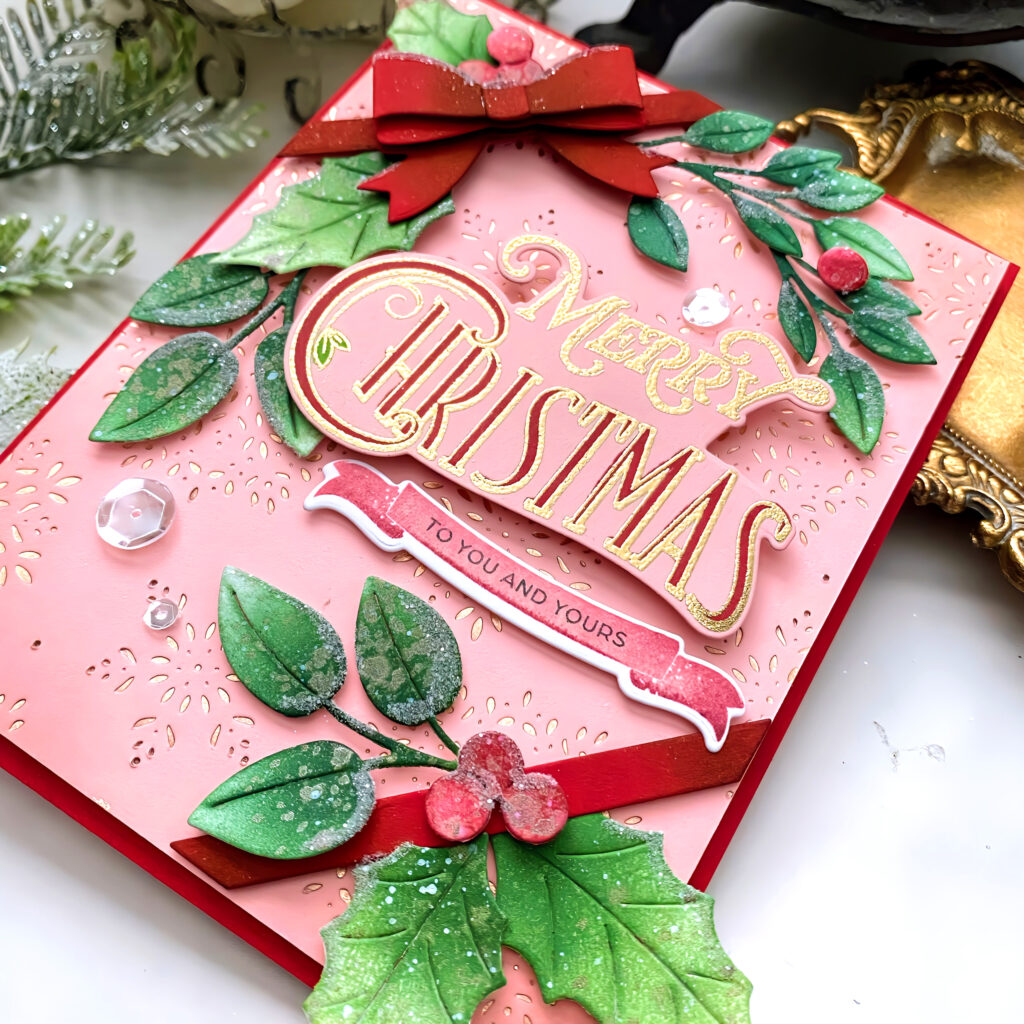
STEP 4: Stamp the sentiment in black using a stamp positioning tool; I used a mini MISTI. Leave the stamp where it is while you color the outline with an alcohol marker. Once the outline is colored, place it back into the MISTI and stamp the sentiment with Versamark ink. Sprinkle golden embossing powder over the top and set with heat. Attach it to the card using foam squares. Stamp the banner image using Pale Peony ink with Scarlet Jewel around the edges.
STEP 5: Attach to the background to an A2 Pure Poppy panel, add a trio of sparkling clear sequins, and glue to a white card base.
STEP 6: Add glitter to the foliage, berries, and bow using a 2-way glue pen and glitter of your choice.
Kelly’s project is a wonderful reminder that creativity can spark from the smallest seasonal moment, whether it’s a bow, a berry cluster, or your favorite Christmas décor. 🎁💫
Grab your Vintage Holiday Flair collection and let those festive touches inspire your own cardmaking magic. When you do, be sure to tag Papertrey Ink or share in the comments so we can admire your beautiful holiday creations!
Reader Interactions
Comments
Pam Gsays
Absolutely gorgeous as always. Love the vintage aspect especially. You have such a good eye!
Carmela Hublersays
So beautiful, Kelly! I love the colors!
Terry Festsays
Inspiring and makes me want to jump right into my STUDIO chair and get started….I love the whole card, as always it takes my breath away. It is cards like this that keep me in crafting ………so so talented
Helen F.says
LOVE your color scheme on this beautiful Christmas card! It makes a lovely gift all by itself, Kelly!!


Pam G says
Absolutely gorgeous as always. Love the vintage aspect especially. You have such a good eye!
Carmela Hubler says
So beautiful, Kelly! I love the colors!
Terry Fest says
Inspiring and makes me want to jump right into my STUDIO chair and get started….I love the whole card, as always it takes my breath away. It is cards like this that keep me in crafting ………so so talented
Helen F. says
LOVE your color scheme on this beautiful Christmas card! It makes a lovely gift all by itself, Kelly!!