


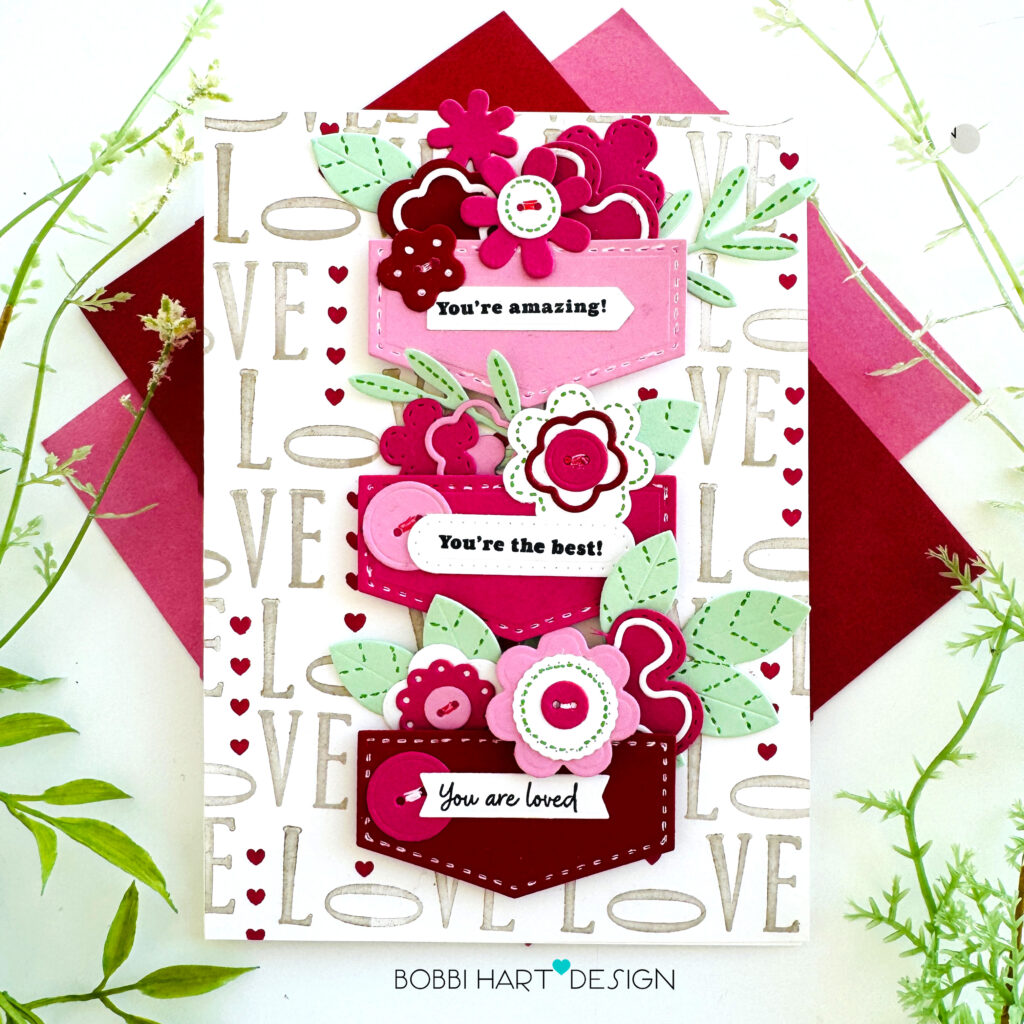
Hi friends! Today, I hope to inspire you with the cutest stitched pockets of “cute as a button” florals and leaves. With Valentine’s day two months away, it’s time to pull out the pinks and reds and get busy making cards to share your love! Today’s card features the following Papertrey Ink products:
Into the Blooms: Cute as a Button dies
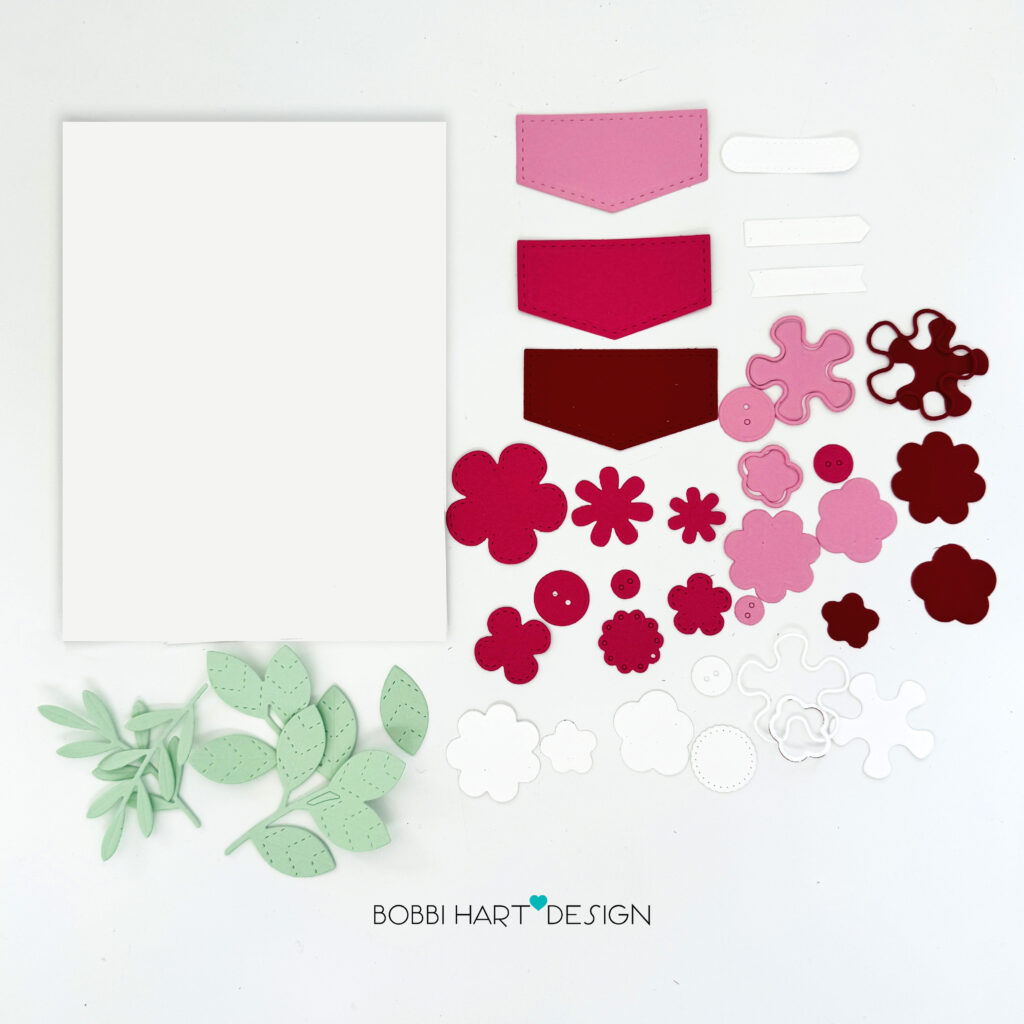
STEP ONE: Cut a card front panel measuring 5″ X 7″ from Stamper’s Select white cardstock.
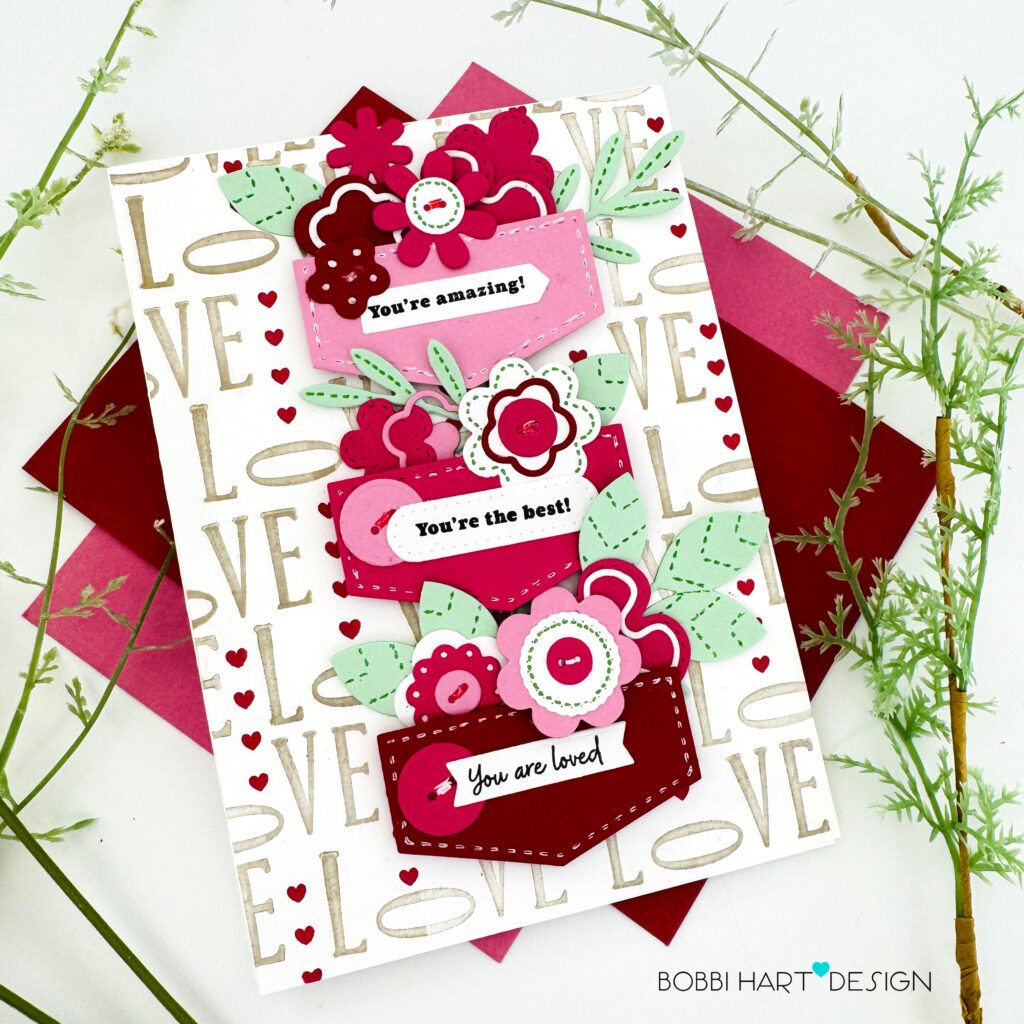
Die cut three labels to use as the pockets using the Hold That Thought Die from three colors: Pale Peony, Raspberry Fizz and Pure Poppy. Using the Into the Blooms: Cute as a Button dies, die cut the greenery from Mint Julep cardstock. Die cut the buttons and florals from the same set using the three pocket colors and white cardstock.
Die cut three smaller labels to fit on the three pockets from white cardstock using the Hold That Thought Die.
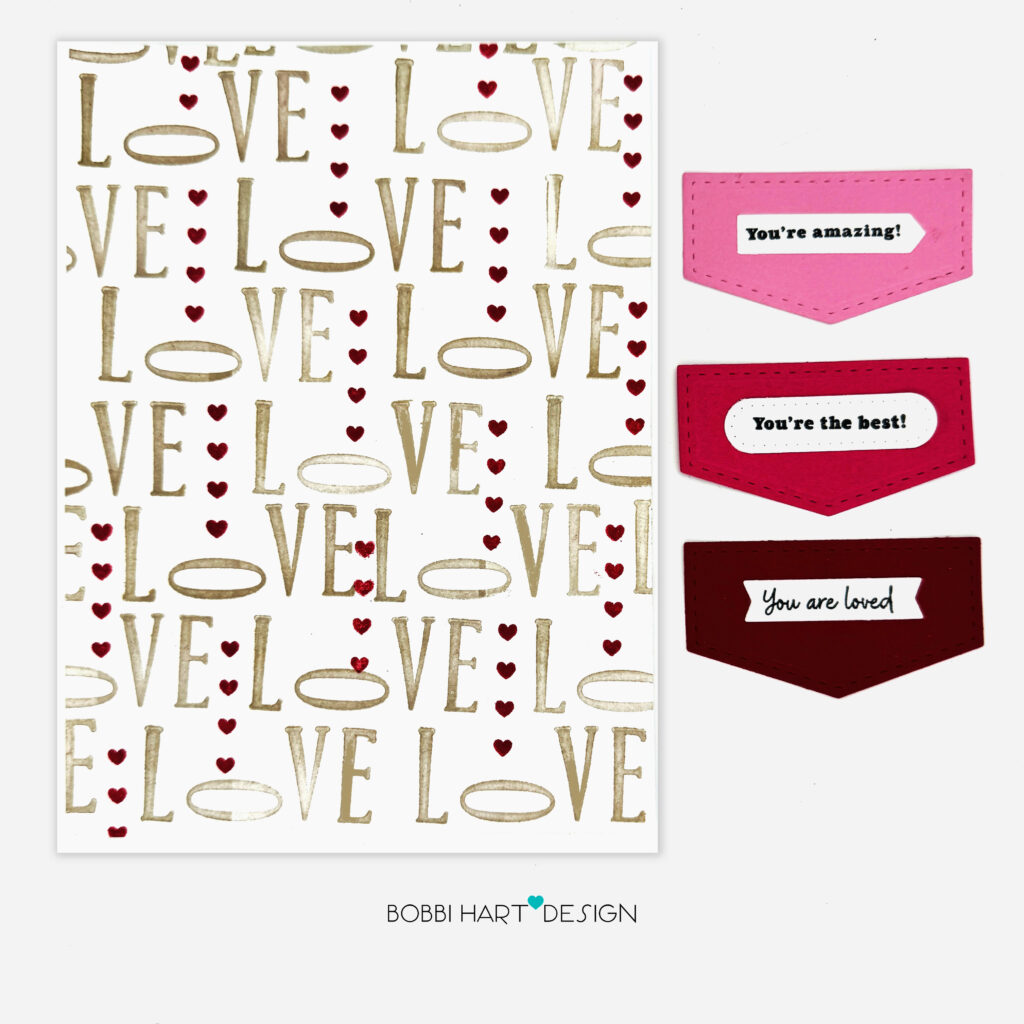
STEP TWO: Create a pattern on the card front using the Classic Alphabet stamp set, and gold metallic gold ink. Turn the “o” in “love” on the side for a fun pattern. Using the Just a Note stamp set, stamp the vertical stacked tiny hearts over the “o” letter using Pure Poppy dye ink.
Stamp three sentiments from the Just a Note stamp set on the smaller white labels using True Black Ink. Attach the white labels to the front of each pocket.
STEP THREE: Attach the pockets to the card front panel using foam tabs, stacking them down the center of the stamped background. Layer the buttons and florals to make “cute as a button” florals. Attach the greenery and buttons, tucking them inside each pocket. Use foam tabs under some of the elements to make them dimensional. Add an extra button to the outside of each pocket, tucking it under the white label.
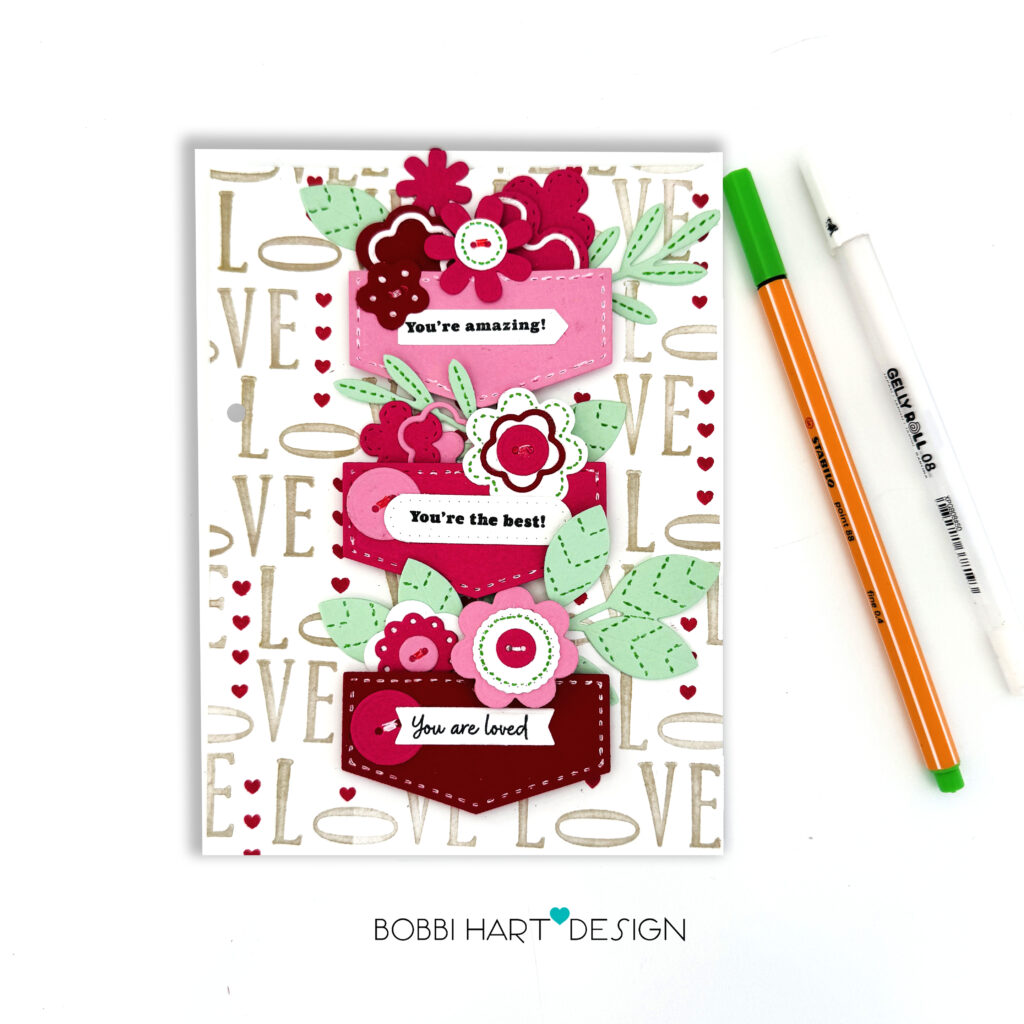
Use a white Gelly Roll Pen and a fine-tip red marker, add faux threads between the thread holes. Using a fine-tip green marker, add stitches around the buttons and on the leaves.
STEP FOUR: Attach the card front to a white 5″ X 7″ card base to complete the card. This card would be a perfect card for Valentine’s day and to share love throughout the year.
You can shop the entire collection here at Papertrey Ink! If you decide to place an order, please use the links in this post so that Papertrey Ink team knows what inspired you. I appreciate it very much. It helps me to continue to bring more ideas to you!
Thanks for stopping by today. If you want to see more ideas and inspiration from me, subscribe to my blog, BobbiHartDesign.com. I’ll send you updates on new posts! You can also find me on Instagram as @BobbiHartDesign and on Facebook as BobbiHartDesign. Bobbi Hartmann Lemanski, Bobbi Hart♥ Design, Adding h♥art into every design
Bo Gilmore says
That’s such a fun card!
Debra Daurelio says
Love this card. So cheery!
Karen L Sutton says
This set is wonderful! I love the card you shared. I think this set has a lot of uses in it.
Lissette Long says
Adorable card! Great design.
Linda c says
Cute!
Cheryl S says
Love, love, love this wonderful card!!
Cheryl S says
Love, love, love this wonderful card!! Where can I find the stitched pocket die?