


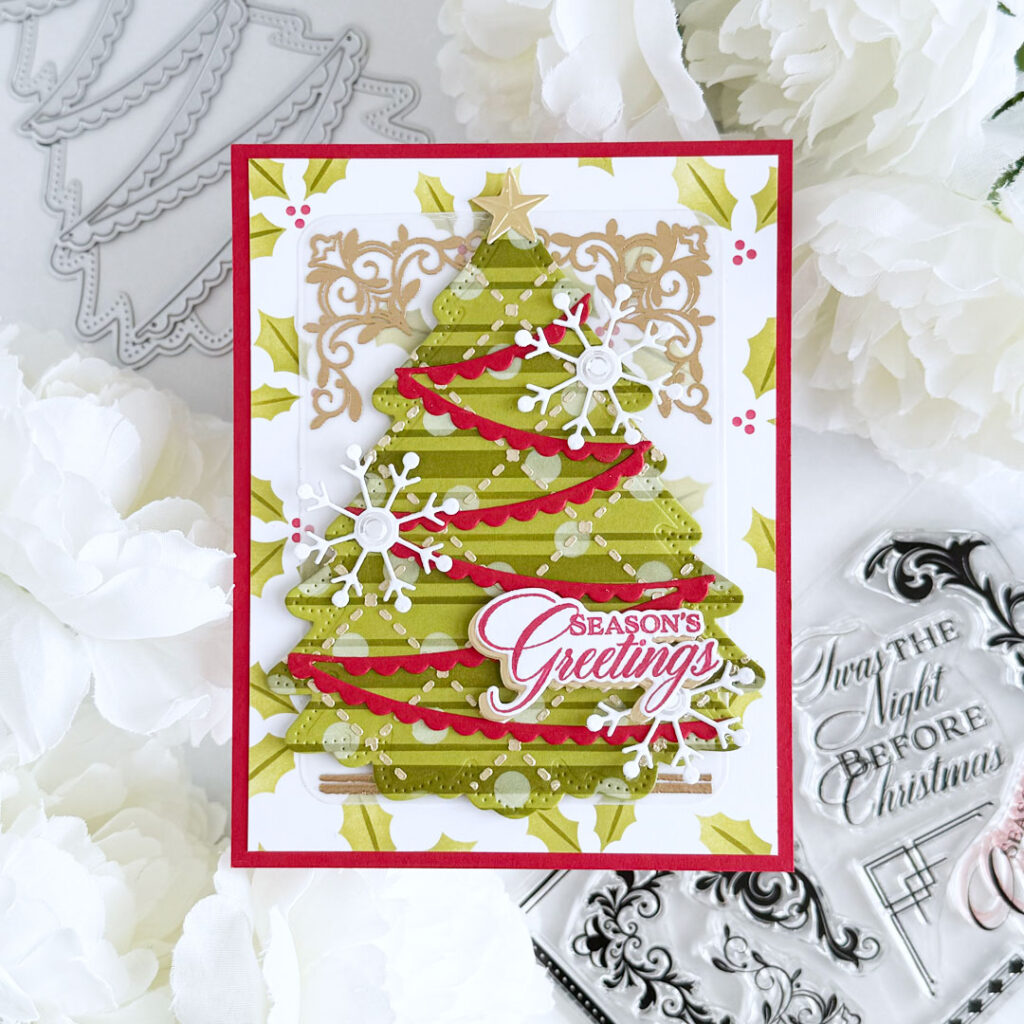
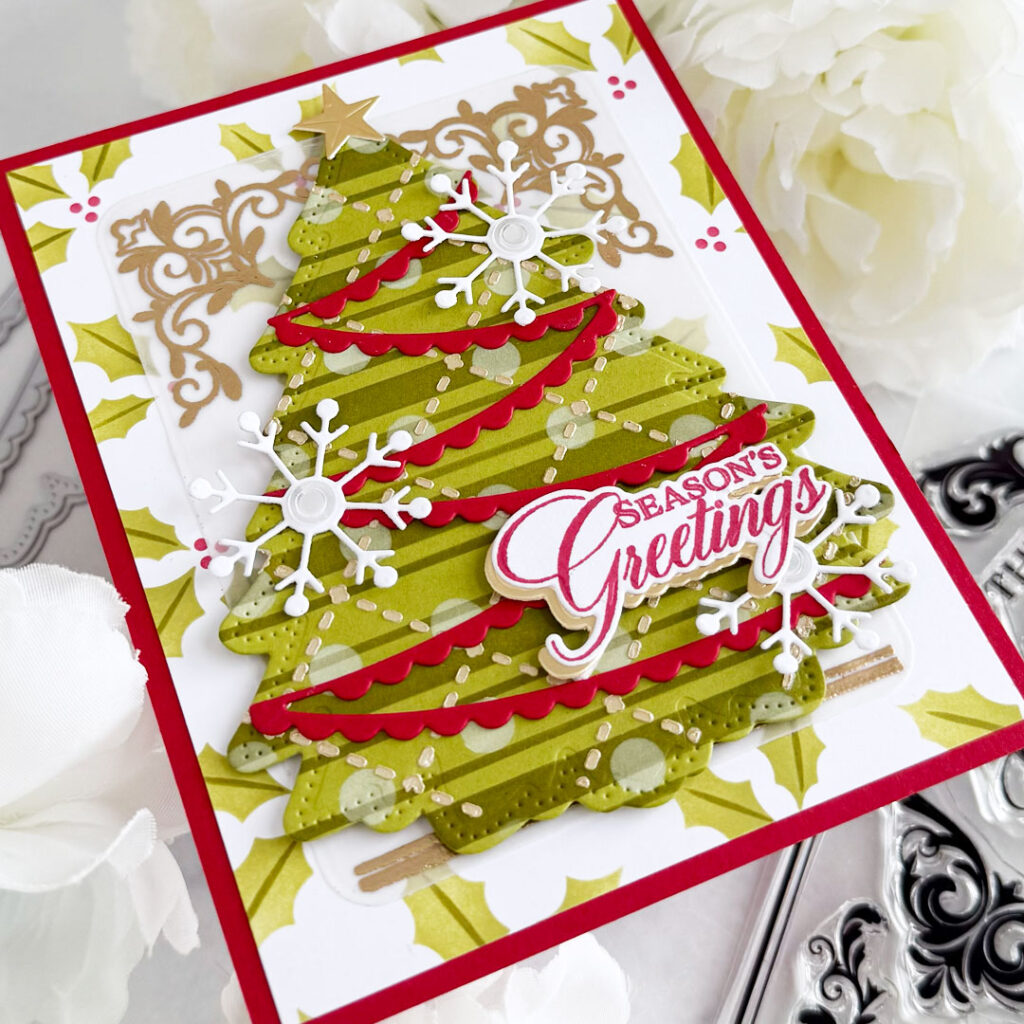
Hello, crafters!! Brenda back with you for another project inspiration!! I couldn’t wait to layer some of the Love to Layer: Christmas Tree Stencils onto a Love to Layer: Christmas Tree die-cut!! I layered darker ink, Fresh Snow ink, stencil butter and a Pure Poppy die-cut garland to add lots of interest to the tree on this Christmas card!!
Supplies
Stamps: Merry Motifs
Dies: Love to Layer: Christmas Tree, Merry Motifs, Rounded Rectangles, Forever Snowflake Frame
Stencils: Holly Berries, Love to Layer: Christmas Tree
Ink: Simply Chartreuse, Ripe Avocado, Pure Poppy, Fresh Snow
Cardstock: Simply Chartreuse, Pure Poppy, Stamper’s Select White
Other supplies: Moonshine Sequins, Versamark ink, WOW! Metallic Brass embossing powder, vellum, TCW Dune Stencil Butter, Honey Gold cardstock

Step 1: Stencil the Holly Berries Stencils onto a panel of Stamper’s Select White cardstock with Simply Chartreuse, Ripe Avocado and Pure Poppy inks. Trim the panel slightly and adhere it to an A2 panel of Pure Poppy cardstock.
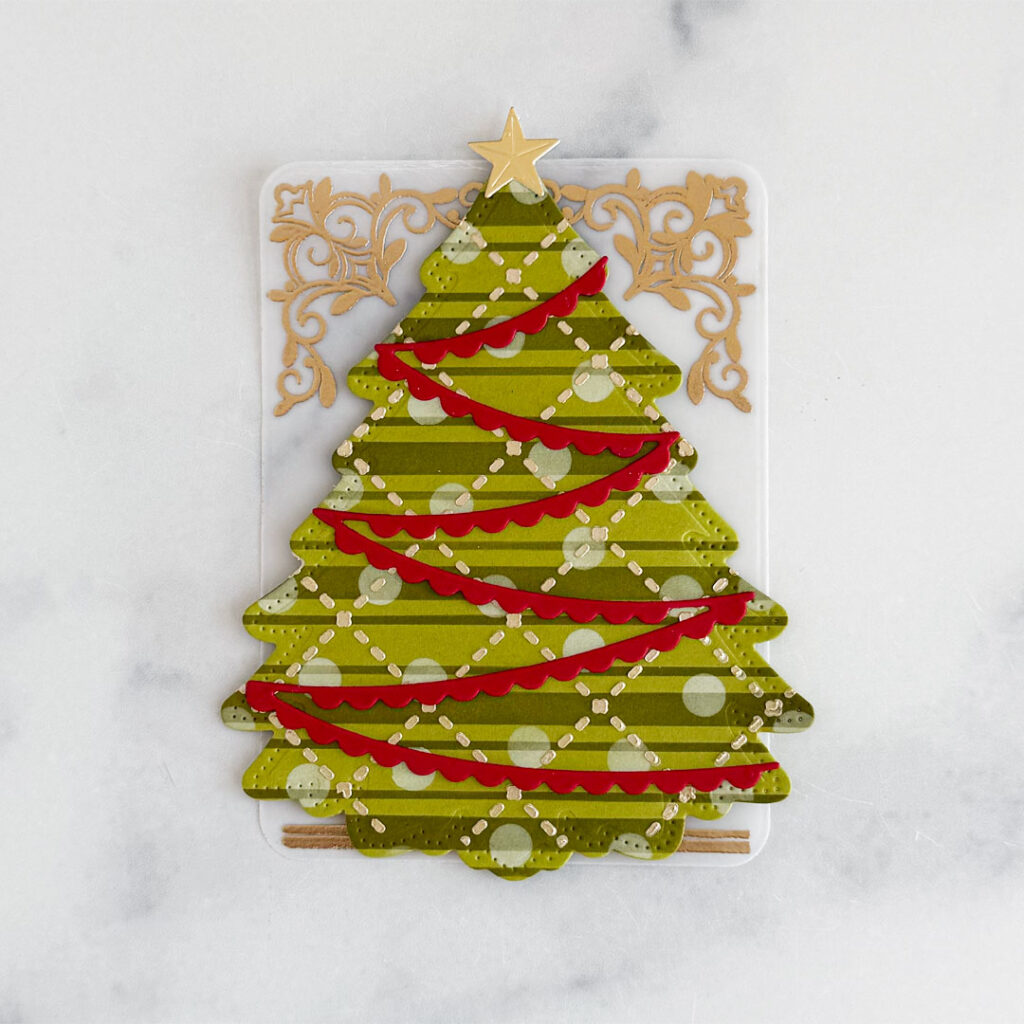
Step 2: Die-cut the largest tree in the Love to Layer: Christmas Tree Die Set from Simply Chartreuse cardstock. Stencil Ripe Avocado ink through the stripe stencil from the Love to Layer: Christmas Tree Stencil Set. Add Fresh Snow ink through the polka-dot stencil and stencil butter through the dashed lines stencil. Die cut the garland from the Love to Layer: Christmas Tree Die Set from Pure Poppy cardstock and the star from matte gold cardstock and adhere with liquid adhesive.
Step 3: Die-cut the largest die in the Rounded Rectangles Die Set from vellum. Stamp the double line stamp and the images from the Merry Motifs Stamp Set with Versamark ink and emboss with brass embossing powder.
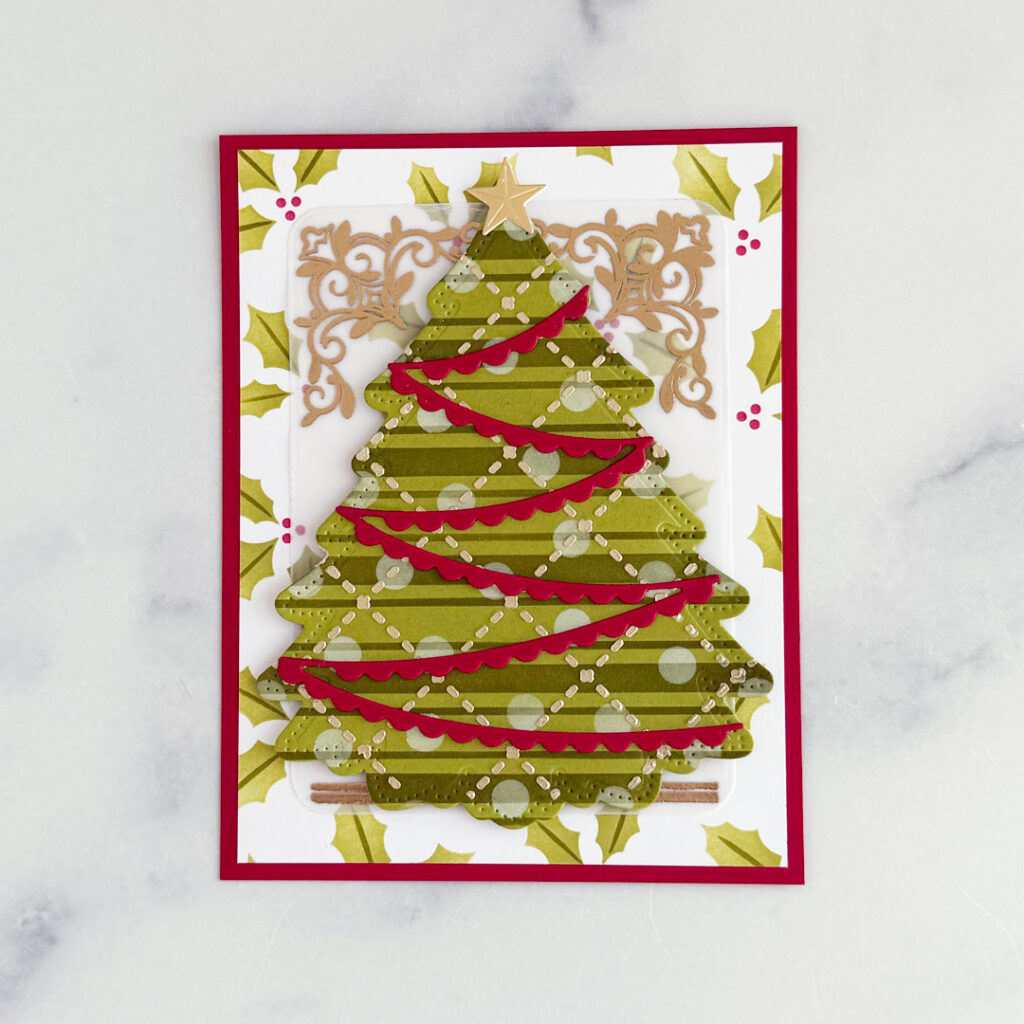
Step: 4: Adhere the tree to the vellum with foam tape, then adhere the vellum to the background, adding liquid glue only behind the tree.
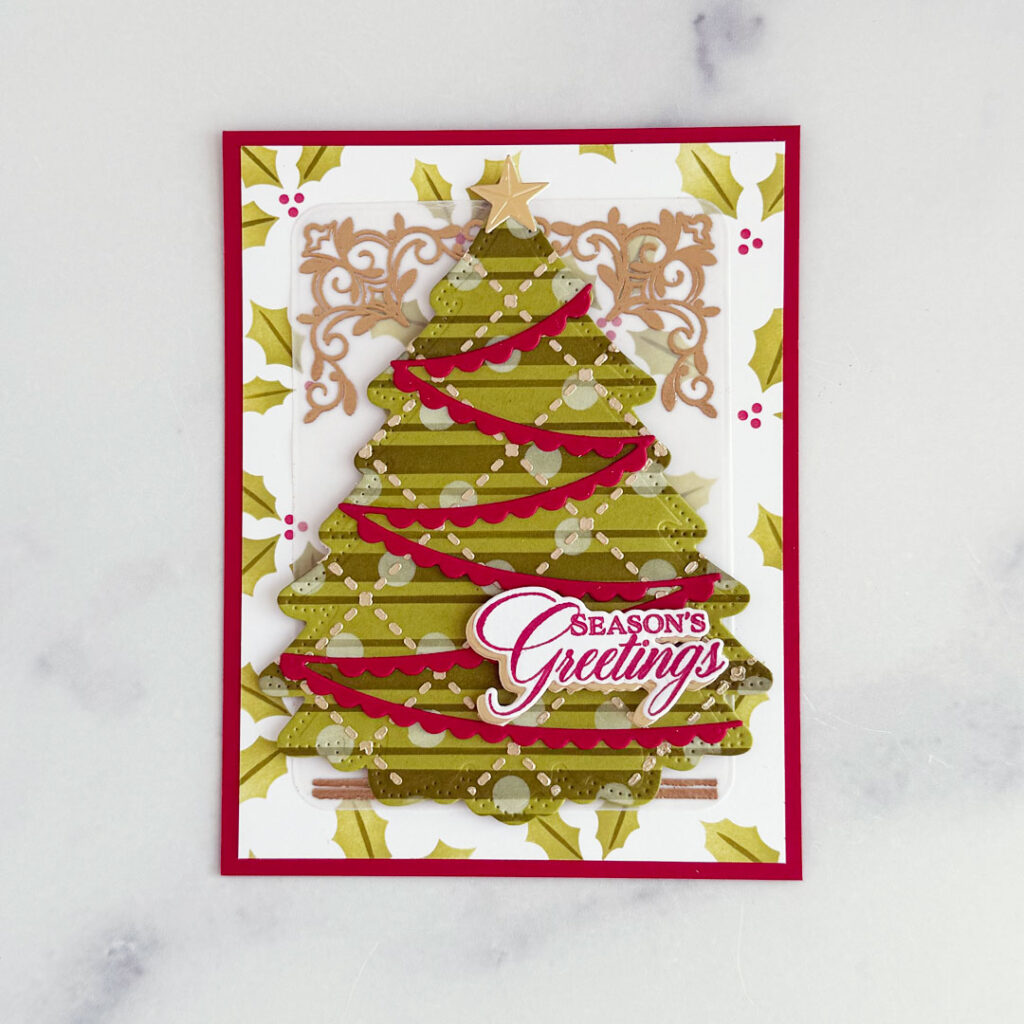
Step 5: Stamp the sentiment from the Merry Motifs Stamp Set onto Stamper’s Select White cardstock with Pure Poppy ink. Die-cut with the Coordinating Die, along with another layer from matte gold cardstock. Adhere, slightly offset, then pop up with foam tape.

Step 6: Die-cut three snowflakes from the Forever Snowflake Frame Die Set from Stamper’s Select White cardstock and adhere them with liquid glue.

Step 7: Adhere the largest and smallest sized sequins in the Moonshine Sequin Mix to the center of each snowflake to finish off the card.

Here are a couple of close-up photos…

That does it for me today!! Thank you so much for stopping by!!
Kathy Mc says
How lovely, Brenda! Such a fun & festive design all decked out for the season!
Andre M. says
Lovely layering on this card, the striped tree is so cute.
Michelle Dadson says
Just beautiful!