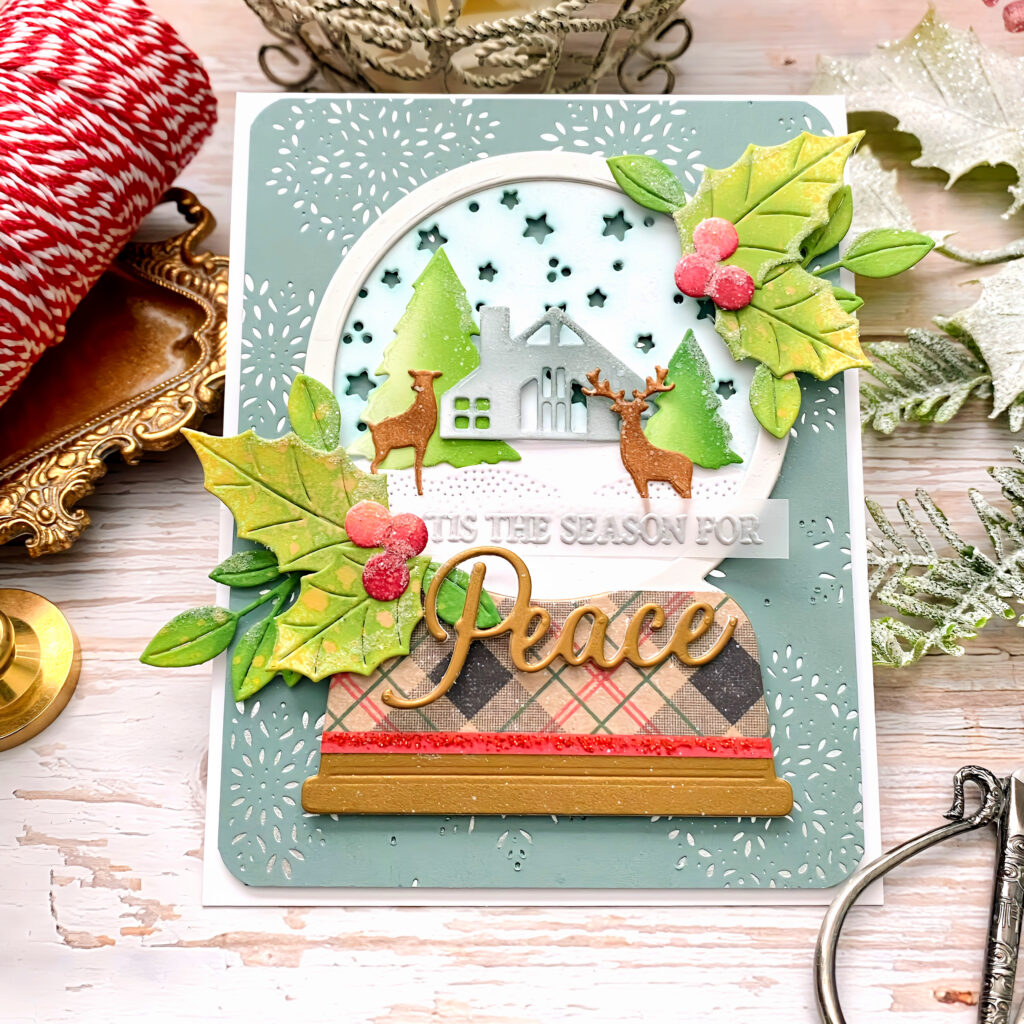
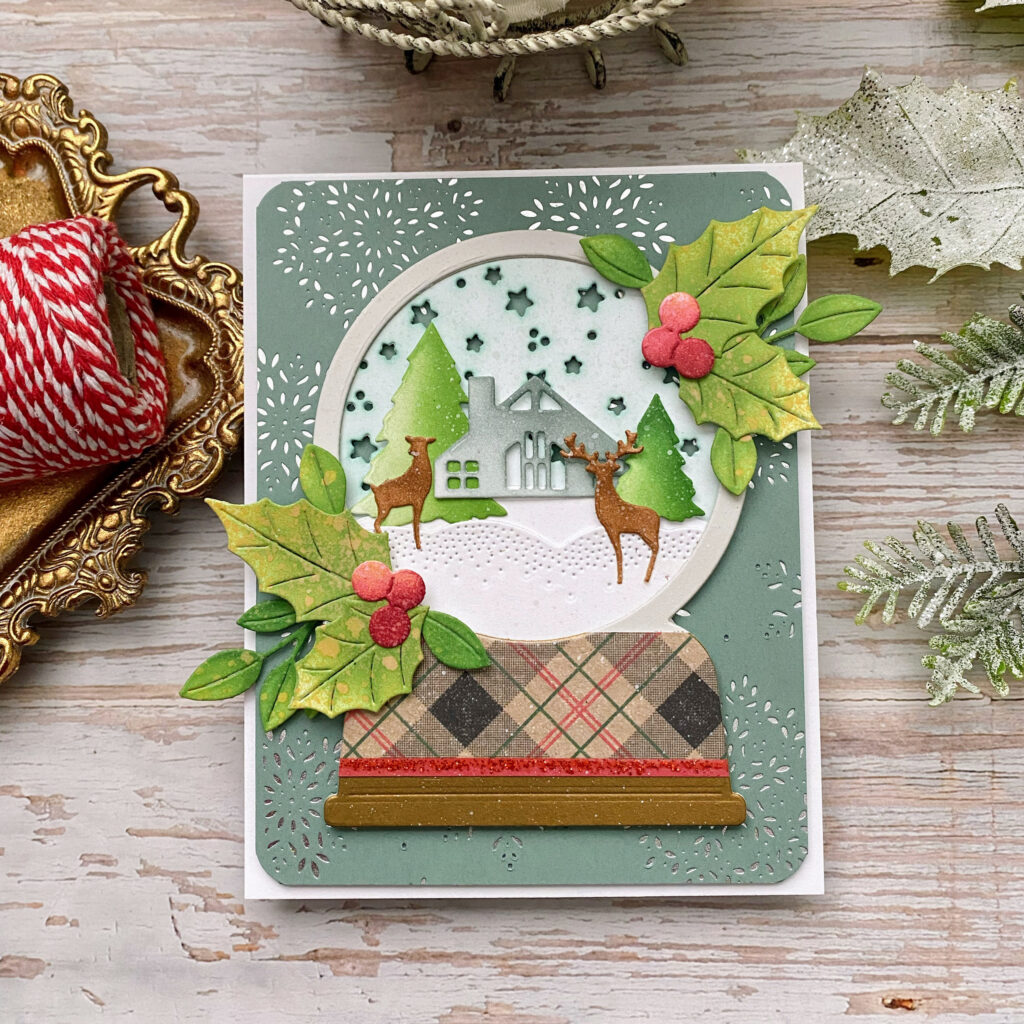
Kelly Lunceford brings peaceful winter magic to her Peaceful Winter Globe card, creating a snowy scene that feels calm, cozy, and full of holiday wonder. ❄️ With shimmering foiled snowflakes, soft ink-blended elements, and a charming plaid-base globe, this design captures the quiet beauty of the season in the sweetest way.
Kelly shares, “Do you ever see cute Christmas imagery and think to yourself, ‘I have a stamp/die set just like that!’? It happens to me all the time and I find it to be a great place to springboard ideas for projects! This card was inspired by a cute snow globe I saw with a plaid base, so of course I had to make my own!”
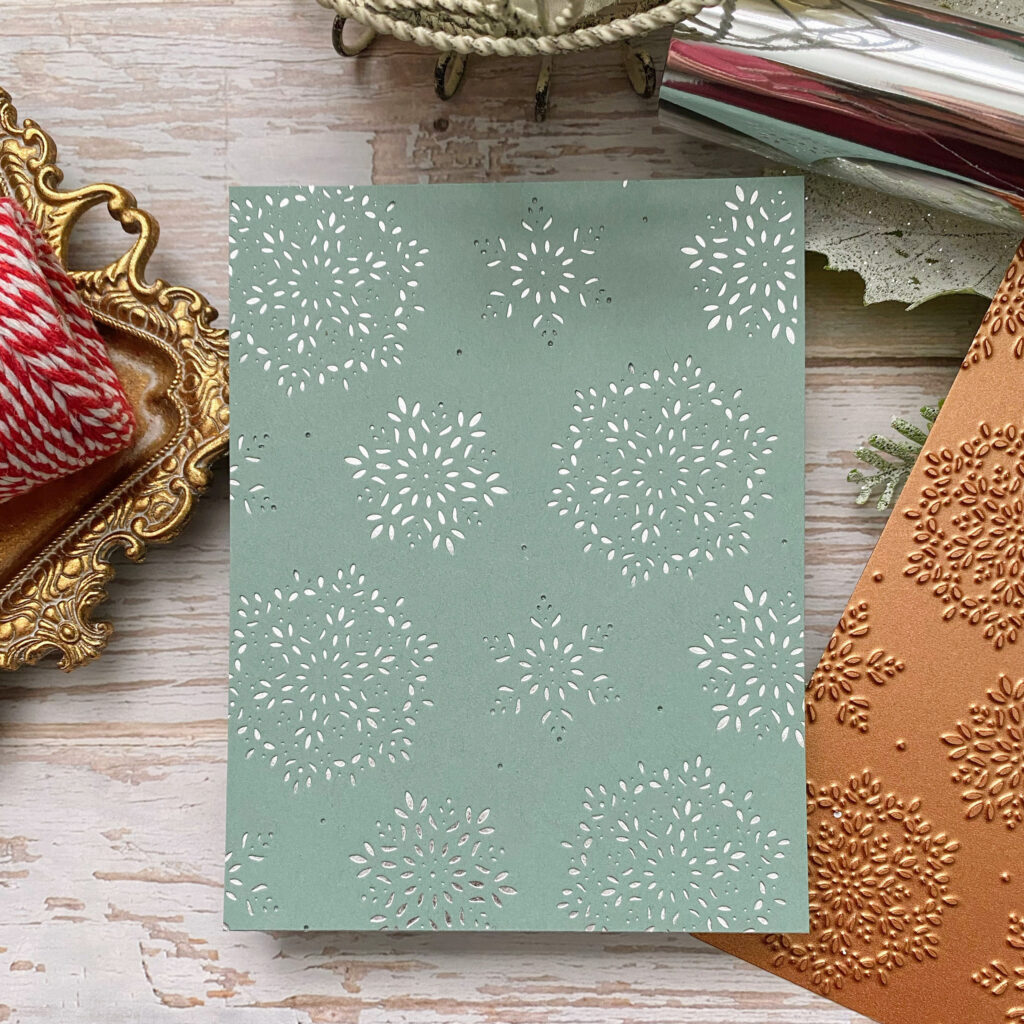
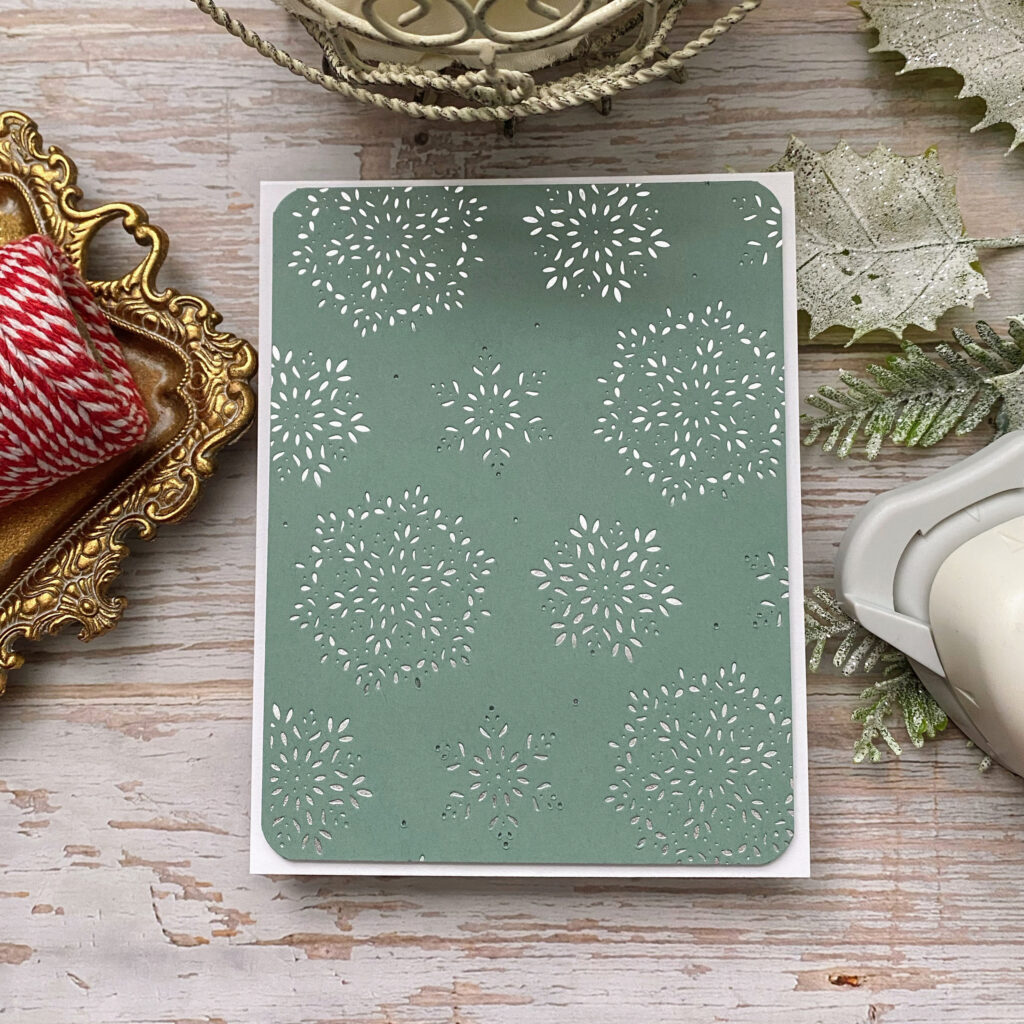
Step 1: Use the Fanciful Snowflakes Hot Foil Plate and silver foil on a panel of Ocean Tides cardstock measuring 4” x 5 1/4”.
Step 2: Use a corner rounder punch for all 4 corners and attach to a white card base using foam squares.
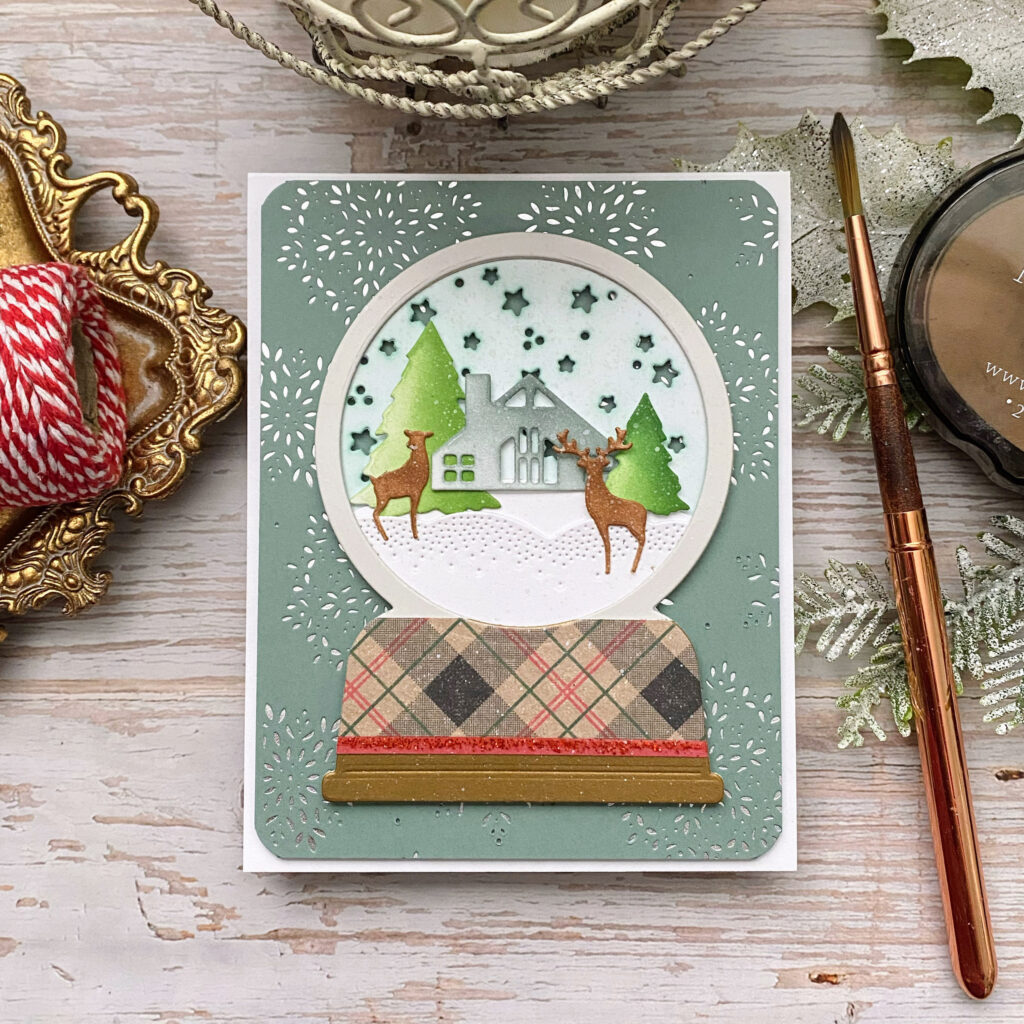
Step 3: Cut the base of the snow globe from pattern paper and antique gold. Cut it again twice from Soft Stone cardstock and glue everything together.
Step 4: Cut all of the pieces for the scene from White card stock and color them with blender, brushes and dye ink. Assemble using liquid glue and foam squares. Add some white ink splatter.
Step 5: Cut all foliage and berries from white cardstock. Color them like the other elements and spritz with distress oxide spray. Attach to snow globe with foam squares and liquid glue.
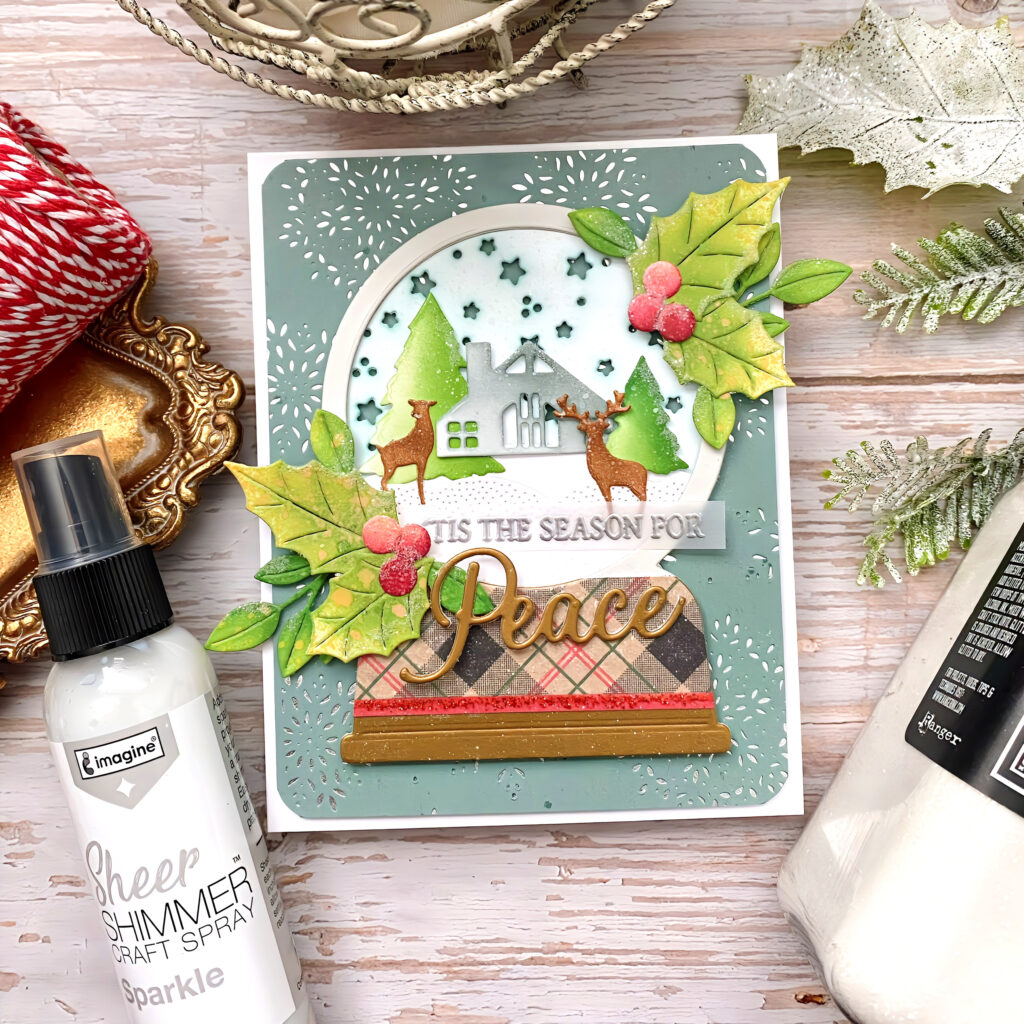
Step 6: Cut the Peace sentiment twice; once from antique gold card stock and once from White. Glue them together and attach to the snow globe using liquid glue. Heat emboss the companion sentiment on a strip of vellum using silver powder. Attach it to the snow globe using strategically placed liquid glue on the back of the embossing.
Step 7: Spritz with shimmer spray and add glitter.
If Kelly’s snowy scene has you dreaming up your own holiday globe, we’d love to see what you create.
Whether you’re inspired by the plaid details, the soft winter colors, or the peaceful message, share your spin on this festive theme by tagging Papertrey Ink or leaving a comment.
Your creativity helps make the season brighter. 🎄💫
Reader Interactions
Comments
Sandy Kaysays
Beautiful! I don’t see a source for the holly dies. What set is that from?


Sandy Kay says
Beautiful! I don’t see a source for the holly dies. What set is that from?
Helen F. says
Lovely Christmas scene, love this card, Kelly!
Jacqueline says
Love it !!!
Laura Corkill says
I would never have thought about using a patterned paper for a snow globe base but I sure will now. This is gorgeous!!!
Kathy Stoessner says
I am so attracted to snow globes and this design is one of the best I’ve seen.
Melissa Leftrick says
Love this!!
Linda Lander says
I love, love all the layers. Great depth without being too fussy.
Also like the variety of patterns.
Debby Allen says
What beautiful winter scenes! I love, love, love the tiny deer!
Rose says
You had me at holly and the deer. Love the card.
Carol Garske says
My number 1 vote goes to the charming snow globe. Great job!
Missy says
This is so beautiful! I love all the die cuts!
Jodi Swirczek says
I absolutely love Kelly Luncford’s designs. She does such a beautiful job.