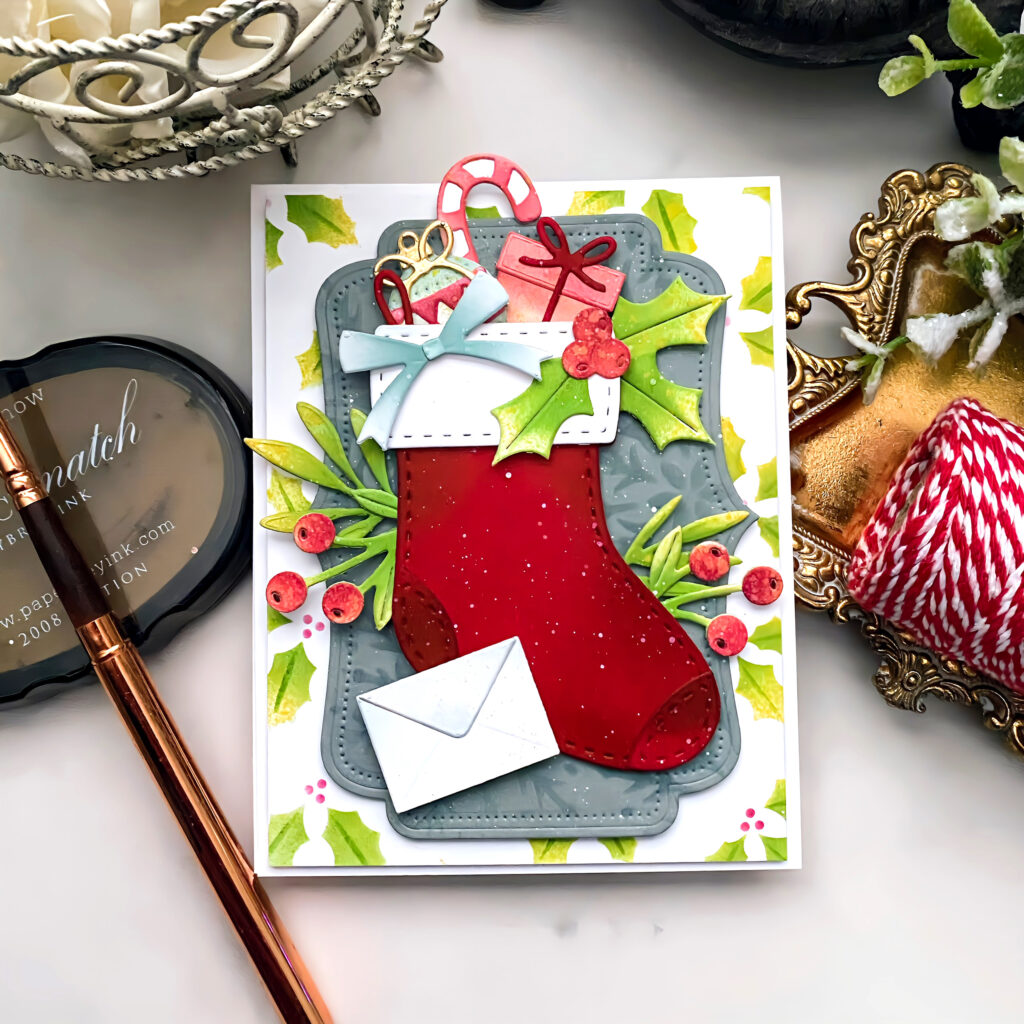
Kelly Lunceford’s A Sweet Stocking Filled with Holiday Charm card captures that timeless Christmas Eve feeling we all know and love. With classic holiday colors, tiny wrapped gifts, greenery, and charming details tucked inside the stocking, this design brings a nostalgic warmth to the season. You can almost picture it hanging by the fireplace, ready to be discovered on Christmas morning.
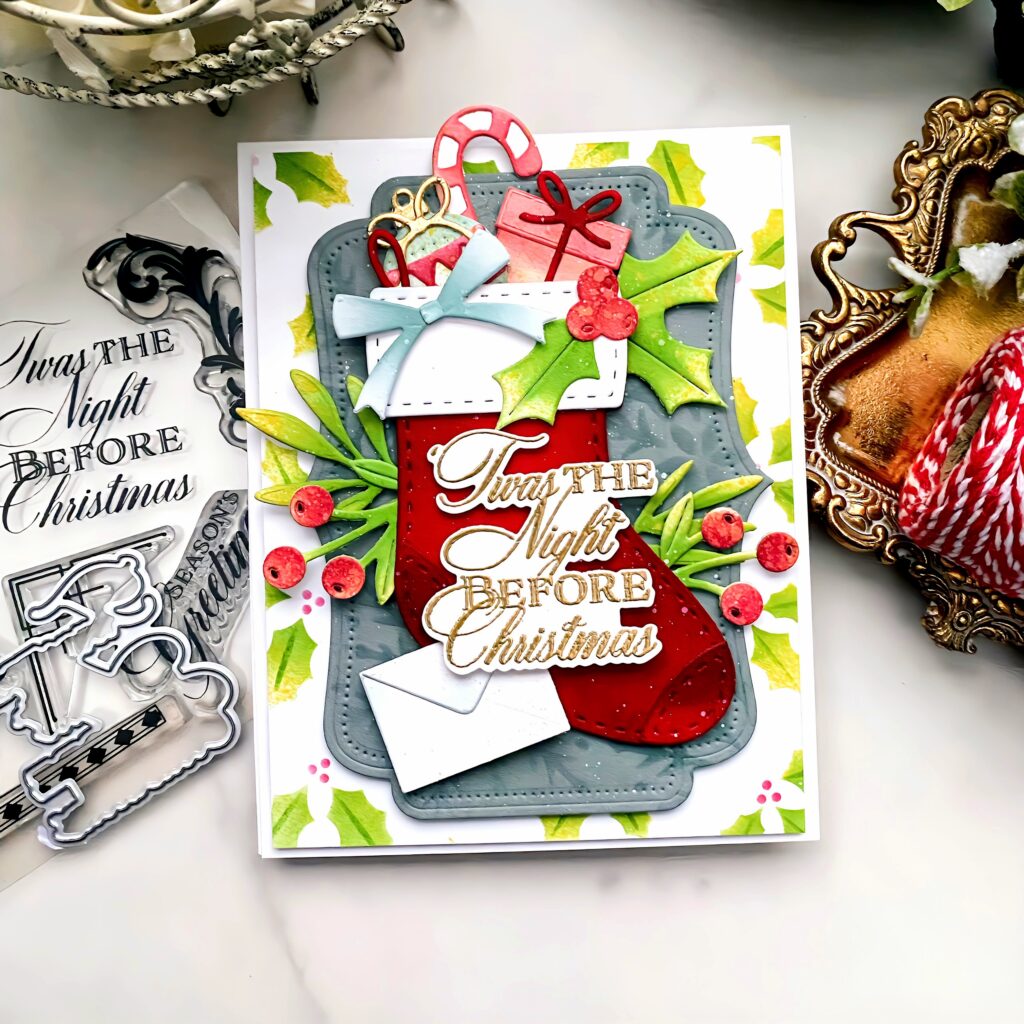
Kelly shares, “When the Merry Motifs stamp/die set was released , I had envisioned combining it with the Build-a-Stocking Die and that is what I’ve done today! I had so much filling this sweet stocking with all of the perfect details and holiday charm and finishing it off with the embossed sentiment! I can imagine a stocking as sweet as this hanging by the chimney with care, in hopes that St. Nicholas soon would be there!”
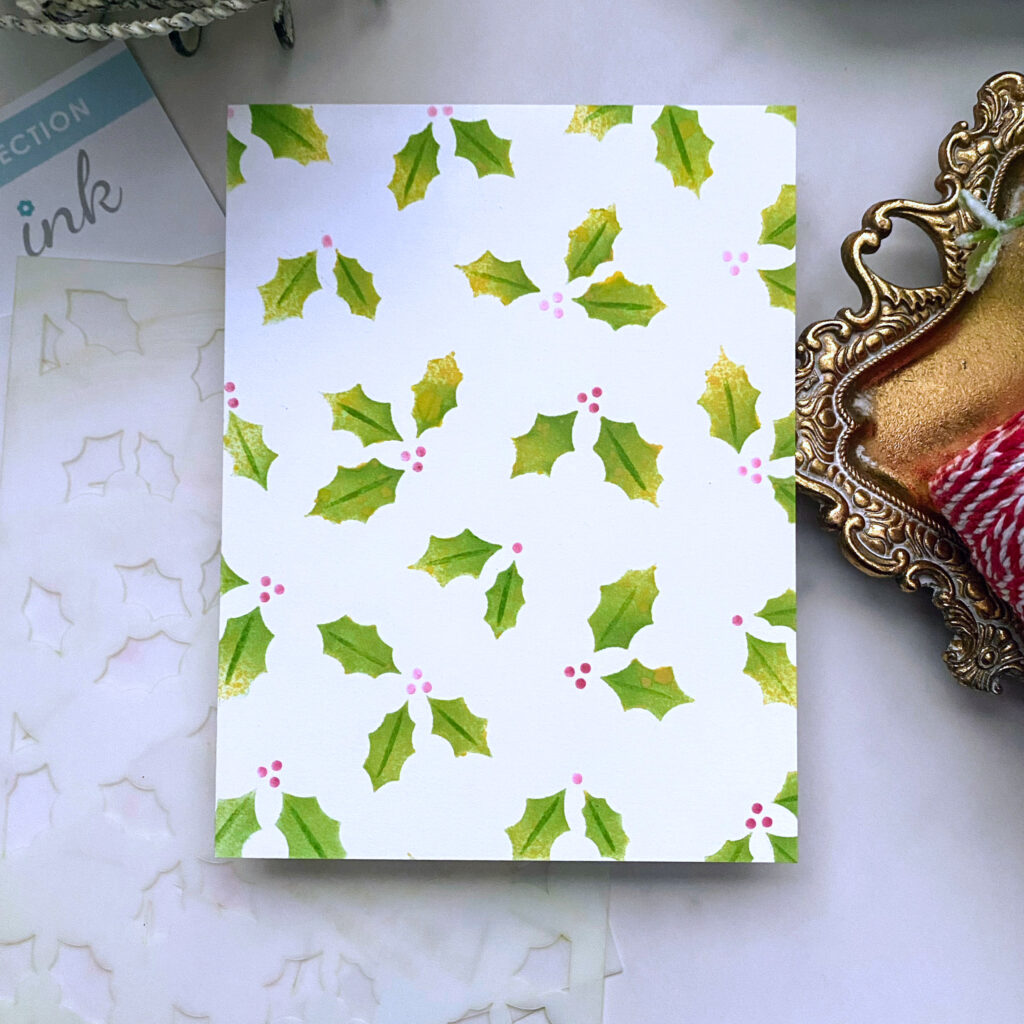
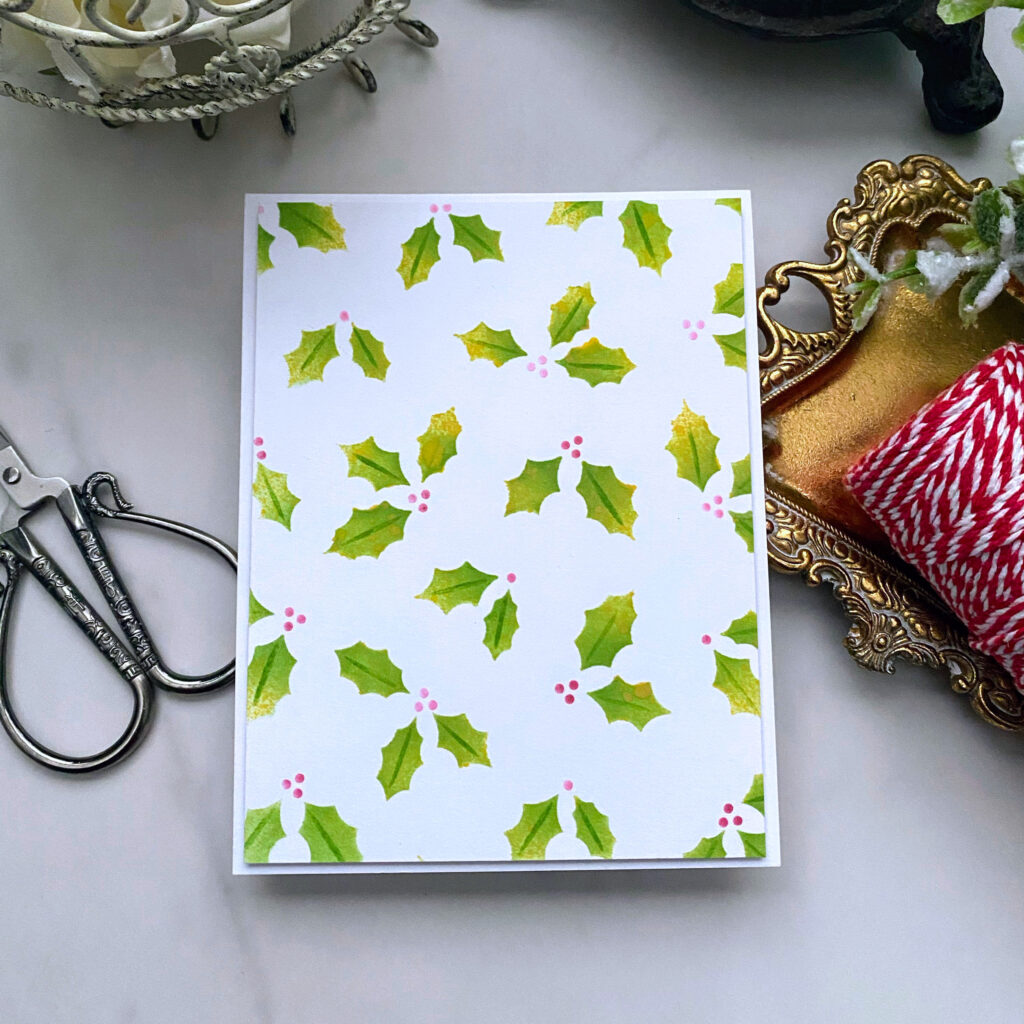
Step 1: Stencil the holly berries on an A2 panel of white cardstock. Before removing the main leaf stencil, spritz some distress spray. Let it dry and then finish up the remaining steps. Trim it down to measure 4” x 5 1/4”.
Step 2: Attach the stencil panel to a top folding Waite card base using foam squares.
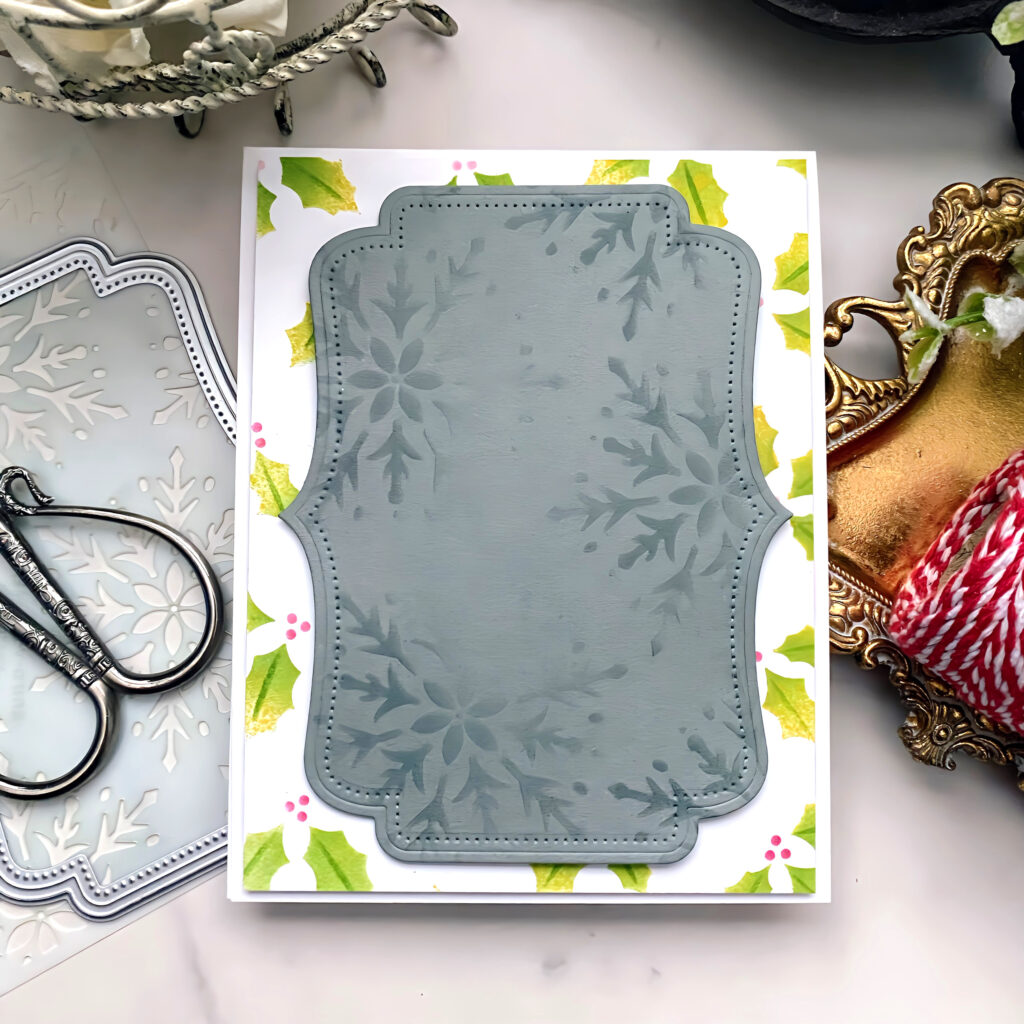
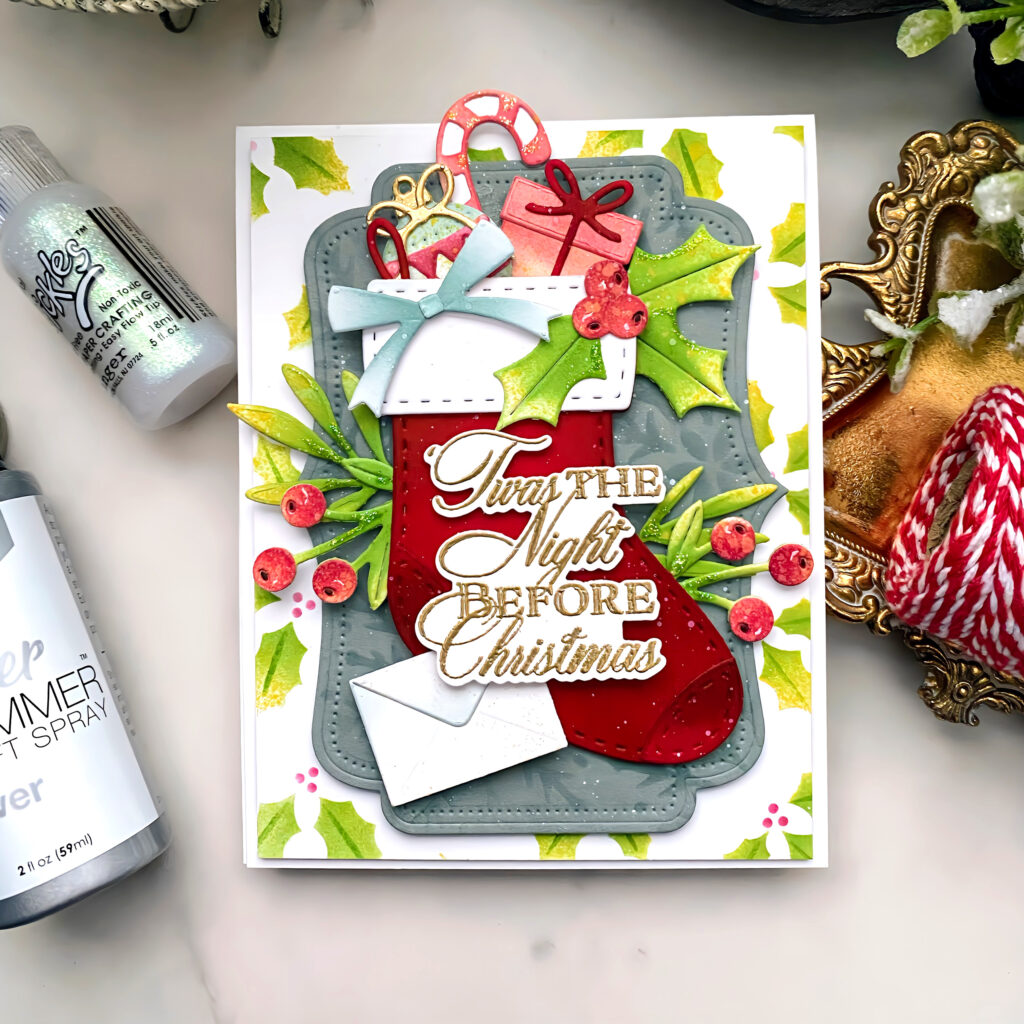
Step 3: Cut a piece of Stormy Sea cardstock using the largest die included in the Love to Layer: Elegant Points Die collection. Stencil the snowflake pattern around the edges. Attach to the background panel.
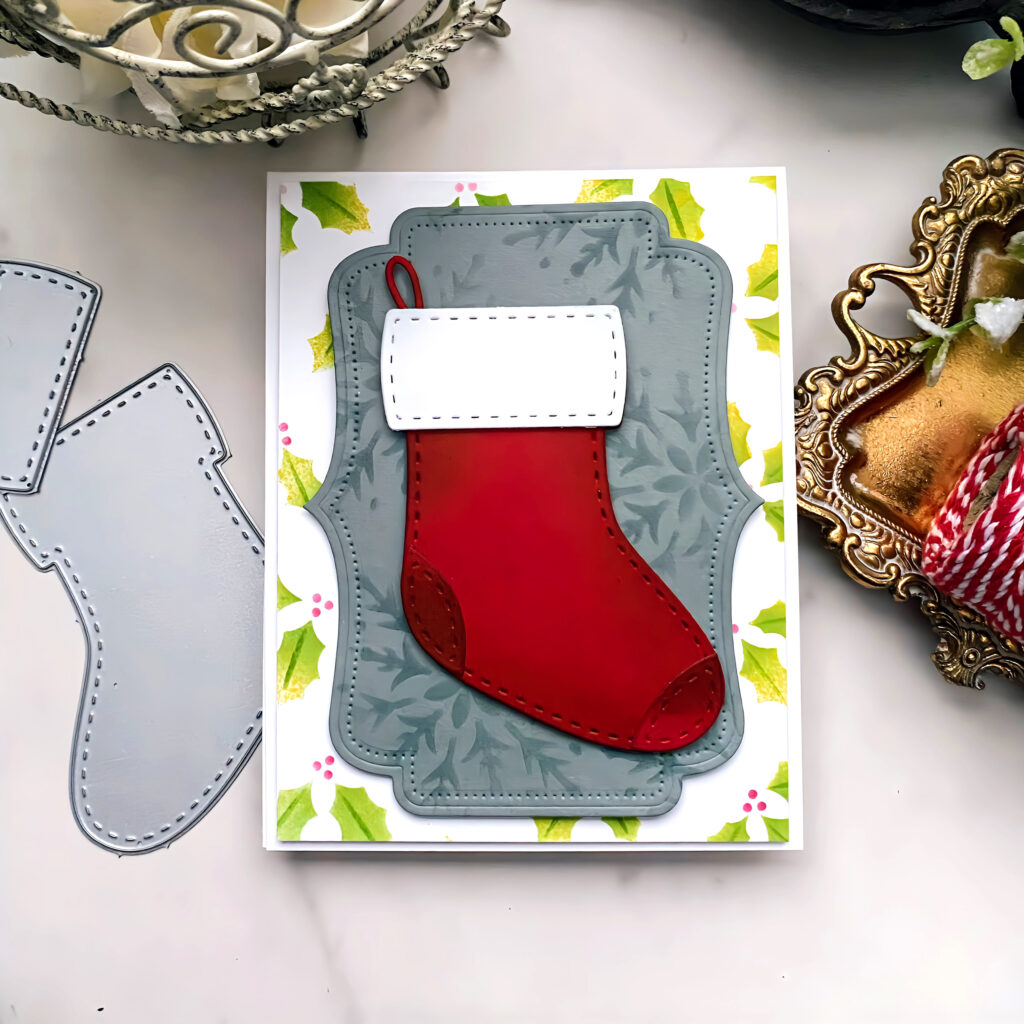
Step 4: Cut the stocking shape from Pure Poppy cardstock including the heel and toe reinforcements. Blend some Scarlet Jewel ink around the edges. Put it together using liquid glue and foam squares for the white top portion. Attach it to the card using foam squares.
Step 5: Cut all of the greenery and all of the other details. Assemble them using liquid glue. Tuck them inside and around the stocking.
Step 6: Heat emboss the sentiment using gold powder, cut it out and attach it to the stocking.
Step 7: Finish off the card with shimmer spray and stickles.
Kelly’s project is a beautiful reminder that holiday cards can be playful, personal, and full of story. Whether you fill your stocking with candy canes, greenery, or tiny gifts, these little details bring so much heart to handmade Christmas cards.
We’d love to see your take on this festive idea, share your creations with us in the comments below or tag Papertrey Ink on Instagram so we can enjoy your holiday magic too!


Leave a Reply